Showing posts with label Bitty Buzzwords: Holidays. Show all posts

Wednesday, December 8, 2021

Baked With Love Apron Shaped Card | Honey Bee Stamps

 We are well into December now, and I'm still making Christmas Cards!  Today I'm sharing my card using Honey Bee Stamps Apron A2 Card die set.  I've made a sweet Christmas apron shaped card to go with some sweet treats that I baked.  This set is a previously released set that works beautifully with some new patterned paper and the sentiment I used on the inside of the card!

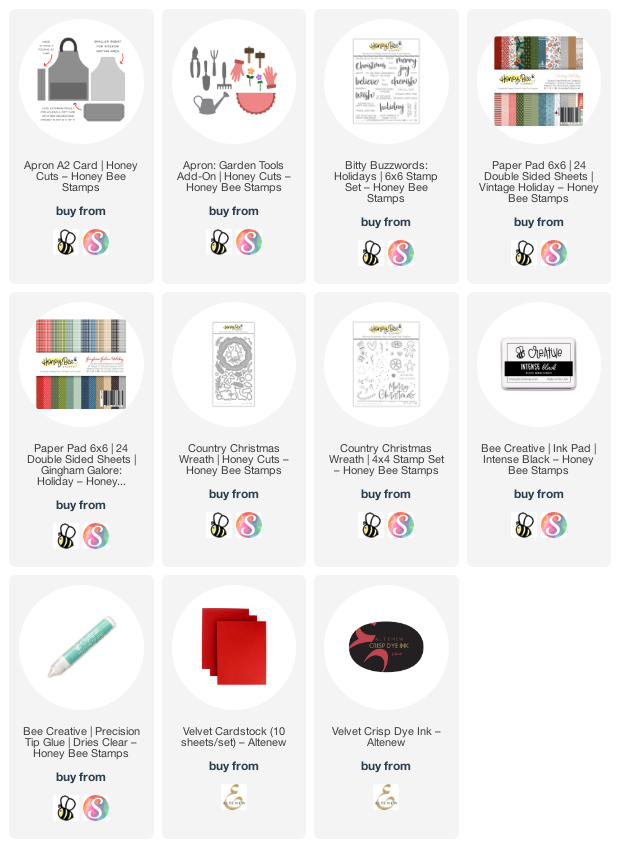
I began by die cutting the bigger A2 Apron Card die from some red card stock and from 80# Neenah.  I used the smaller apron die to cut red gingham paper from the Gingham Galore: Holiday paper pad and adhered it to the red die cut apron. I didn't use the apron pocket in the set, but chose the apron pocket from the Apron Garden Tools Add-on set.  I thought the shape and the scalloped edge were perfect for my Christmas apron!  The patterned paper for the top layer of the pocket is from the Specialty Holiday Card Pack that's free with a qualifying purchase, while supplies last.

Next I used a couple of the sentiments from the Bitty Buzzwords: Holidays and stamped them on the other white die cut apron with Intense Black ink and red ink from my stash.  Then I added strips of leftover gingham and red card stock near the bottom with Bee Creative glue.

So....you did you notice that the hinge I die cut (it's a die in the Apron: A2 die set) and adhered covered up part of my strips near the bottom.  Yep, I didn't notice that "oops" until I photographed the card!  Well, it is handmade, not Hallmark, right?  Haha!

Moving on, I then stamped the elements for the card front.  The sentiment and the baking tools are from the Baked With Love stamp set.  After stamping with Intense Black ink, I colored them with my Copic markers and used the coordinating dies to cut them out.

I wanted some greenery to tuck in the apron pocket and found these pieces that were leftover from a previous project using the Country Christmas Wreath.  Do you save the extra bits in the hope to use it another time?  I always do!!  The little gingerbread cookie is also from this set and another leftover.

I arranged the elements in the apron pocket and adhered them with Bee Creative glue.  I popped the sentiment up with foam squares.  I used a #10 white gel pen to add the stitches on the apron and dots on the scalloped edge of the pocket.

There are so many of Honey Bee's sets that were previously released and are my favorites!  I love being able to pull some out to use with the new products!  Thank you for stopping by today!  I hope the rest of your week is fabulous, and crafty!!
Wednesday, November 24, 2021

Die Cutting Flowers With Felt | Honey Bee Stamps

Happy Wednesday (and day before Thanksgiving) crafty friends!  Today I'm sharing my card that features Honey Bee Stamps' Lovely Layers: Anemone that I die cut using felt!  These dies cut through the felt like butter!  Also, Honey Bee Stamps will be having FOUR days of special Black Friday deals beginning Friday, November 26, 2021.  If you love Honey Bee products like I do, you will not want to miss out on these awesome specials.  I have all of the specific details at the end of my post!

As you may know, felt is very soft and flexible. I found that if I adhered a piece of printer paper to the back of the felt before die cutting, it provided just the right amount of stability to make it much easier when handling the die cut pieces. I put a piece of double-sided adhesive on my printer paper, peeled off the other backer sheet and adhered the felt to the paper. Once that was done I die cut my flower layers and three of the leaves. The black flower center is black glitter sticky back foam, which goes right along with the dimension of the felt! I used a white gel pen to add dots to the black foam. I adhered the flower layers with Bee Creative glue and set it aside to dry. Check out the beautiful layers:

I have also thought about how beautiful fabric would look with these layers. I want to dig through my remnants and give that a try too. I would definitely add some interfacing to the back of the material before die cutting. (Yes, sewing is another talent of mine--hence the fabric remnants--LOL!)

The card base is an A2 top-folding card with a white glitter card stock layer adhered to it. Next I used the gorgeous Fancy Flakes A2 Cover Plate and die cut some white textured card stock. I've had this in my stash FORever, but the Honey Bee shop has this one that I think would look wonderful! Then I placed the Pierced Fancy Flakes cover plate over the die cut and ran it through my machine. I love the piercing look! I adhered the piece to the card with Bee Creative glue. Then I adhered the flower and leaves to the card.

Next I created the sentiment using the Bitty Buzzwords: Holidays stamp set and coordinating Honey Cuts. I ink blended Barn Door Distress Oxide onto some scrap card stock with a Detail Blender brush. I die cut "believe" from the inked paper and then twice more from white card stock. I adhered the layers with glue. Then I die cut the shadow from more white glitter card stock. I adhered the sentiment pieces together. 

Next I stamped the rest of the sentiment (from Bitty Buzzwords: Holidays stamp set) onto black card stock with Versamark ink. I added some white embossing powder and heat set it. After I trimmed it into a strip, I added black foam to the back and white foam to the other sentiment and adhered them to the card. The final touch was to add some Glossy Accents to the die cut sentiment--I really like how it makes it pop!!

I hope you've enjoyed my card using felt and that I've given you more inspiration for the Lovely Layers: Anemone!  I hope you have a wonderful Thanksgiving day tomorrow filled with fun and happy times.  If you are outside the US, have a wonderful, crafty day!  Thank you so much for stopping by--I'm very thankful for you!

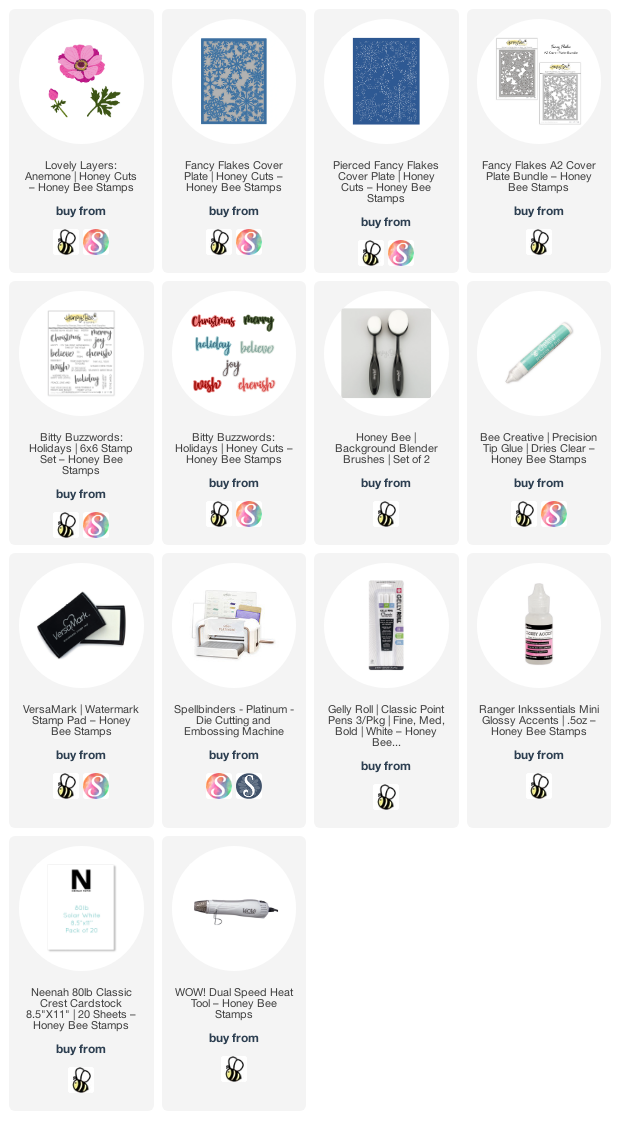
Links to products I've used for this card (some may be affiliate links at NO additional cost to you--thank you for using my links💗)

Please note:  The times for all deals are midnight, PST; 3 am EST

  • Friday, 11-26-2021:  TWO deals Friday only: 1) 20% off your entire purchase; 2) Receive a free Precision Tip Glue Tube with orders of $75 or more.
  • Saturday, 11-27-2021: BOGO: Buy one, get one 50% of ALL dies!
  • Sunday, 11-28-2021:  BOGO:  All HBS brand paper pads and envelopes!
  • Monday, 11-29-2021:  Take an addition 25% of ALL retiring and clearance items! 


Wednesday, November 17, 2021

A Merry Little Christmas | Honey Bee Stamps

Hello crafty friends!! Today I'm sharing a holiday card using my favorite Big Pickup Tailgate set and the new coordinating Loads Of Holiday Cheer set! I truly do have fun decorating the Big Pickup for each season and love that Honey Bee makes it so easy for us to do that! I've even used some of the extras from the Loads of Holiday Cheer set to decorate the inside of my card. Keep reading for all the details!

First I created the layer for the card base:

  • I inked the edges of a piece of 6-¾" x 4-¾" blue card stock with Prize Ribbon, Blueprint Sketch and Black Soot Distress Oxide inks (in that order) using Background Blender brushes. I then used a heat tool to dry the ink.
  • Next I placed the snowfall stencil in the Winter Wonder Scene Builder Stencils set over the blue card stock and spread on some white texture paste. The stencil isn't quite large enough for this size card, so I let that dry and then stenciled the remaining area.
  • When the stenciling was drying, I adhered the panel to a top-folding A7 card base I made from 80# Neenah Solar White card stock. Bee Creative glue is perfect for this and is what I used!
  • Then I die cut two hill from white glitter card stock with the hills from the Horizon Slimline Borders Honey Cuts. I trimmed it to 4-¾" long and adhered them to the card with Bee Creative glue.

Now it's time to stamp, color and die cut the images:

  • First I stamped the pickup from the Big Pickup Tailgate stamp set with Intense Black ink. This truly is my most favorite ink ever!! Then I colored the truck with my Copic markers. I used C5, C3, C1, and C00 for the body and the bumper of the truck. The tires are C9, C7, and C5. The lights are R39 and R37. Then I die cut the truck with the coordinating Honey Cut.
  • I stamped the "hohoho" (from the Loads of Holiday Cheer stamp set) onto the license plate with Versamark ink (after applying my anti-static pouch) and sprinkled on some white embossing powder. Then I heat set it with my heat tool.
  • Next I stamped the other images with Intense Black ink, choosing several from the adorable Loads of Holiday Cheer stamp set. I used these Copic markers: reds are: R89, R39, R37, and R35; greens: G28, YG17, and YG25. The toy bag and the elf's hair are E59, E57, and E23. When I was finished coloring I used the coordinating Loads of Holiday Cheer Honey cuts to cut them out.
  • Using Bee Creative glue, I adhered the elf and toy bag to the truck. I added foam tape to the poinsettia garland and attached it to the truck.
  • Next I die cut the "Christmas" from the Bitty Buzzwords: Holidays Honey Cuts. I colored the shadow layer with a few of the same red Copic markers I used previously. I adhered the top layer to the shadow with glue.
  • Before attaching any of the images to the card front, I folded the card inside out and placed it in my MISTI. I planned out my placement of the extra images by just setting them in place without gluing. (see photo below) Then I stamped the sentiment from the Bitty Buzzwords: Holidays stamp set with Intense Black ink.

With my sentiment stamped, I can now adhere the die cut pieces to the inside of the card.

I finished up the card by adhering the pickup to the card front. I added some foam tape to the tree and added it to the card. I added details to some of the images with a white gel pen and also some more dots for snow to the background. A clear glitter pen adds some fun sparkle to the white parts of the elf's hat and candy canes, and the mirrors.


I hope you've enjoyed this version of the Big Pickup for the holidays!  Thank you very much for stopping by.  I hope you have a wonder, and crafty, day!

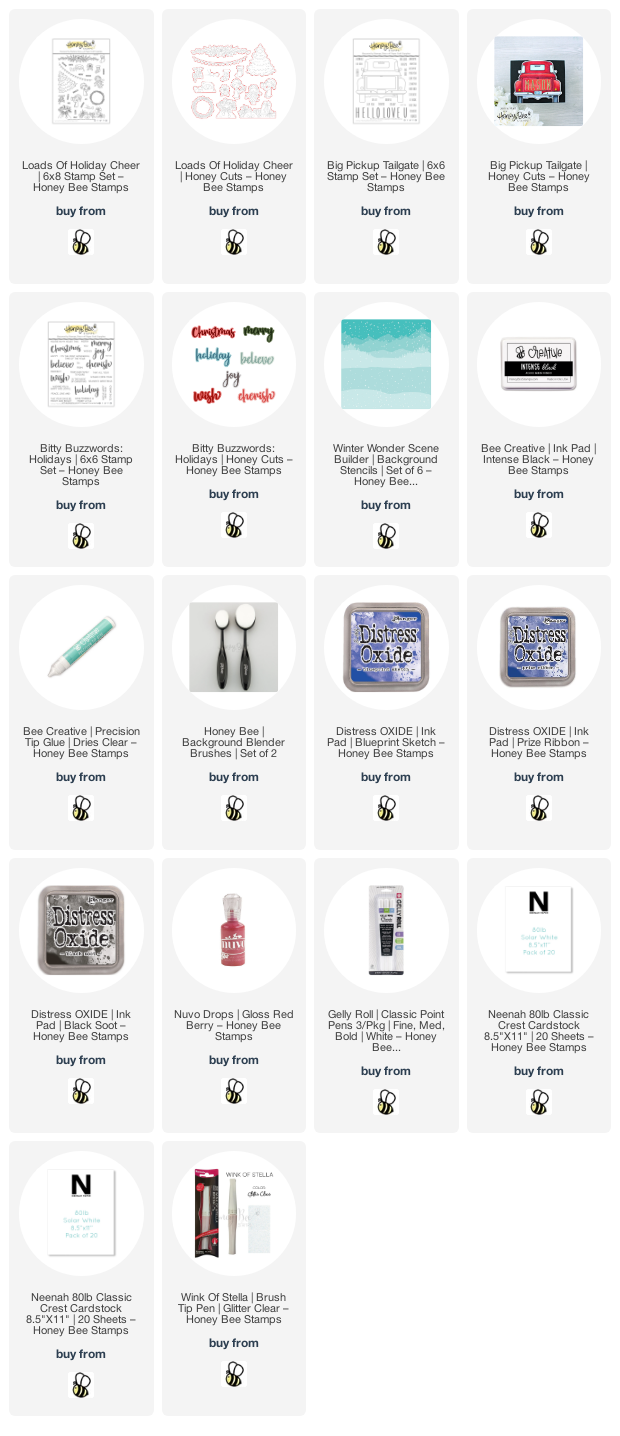
Thank you if you use my product links:

Wednesday, October 20, 2021

Joy To The World & Vintage Holiday Instagram Hop | Honey Bee Stamps

Hello crafty friends!!  Today I'm sharing a card that's part of a fun Instagram hop to celebrate Honey Bee Stamps gorgeous Vintage Holiday release!  I've used the new Sleigh Bells Ring stamp set and coordinating dies and the new Bitty Buzzwords: Holidays to create my beautiful snowy scene.

I started by creating my background.  On an A2 sized 80# Neenah Solar White card I inked some light blue ink around the edges with a Background Blender Brush.  Then I placed the Snow Day background stencil over it and spread some Deco-Art Snow-Tex through the stencil.  I love how bright white the Snow-Tex is!  I set it aside to dry and cleaned up the stencil and my tools.  After it was dry, I adhered it to a top-folding A2 card base.

Next I stamped the sled and rope from the Sleigh Bells Ring stamp set with some brown-grey inks.  I used a bit darker ink to stamp the woodgrain of the sled.  I die cut it with the coordinating dies.   Then I stamped the other images from the set with Intense Black Ink and colored them with my Copic markers.  Then I used the coordinating dies to cut them out.

Then I arranged the pieces on the sled, adhering with Bee Creative Glue and some foam squares.  I added thin foam tape to the back of the sled.  Next I die cut the Joy from Bitty Buzzwords: Holiday die set three times from white card stock and the shadow layer once.  I colored the top layer with a matching blue Copic and adhered the layers together.  I stamped the "to the world" from the Bitty Buzzwords: Holidays stamp set in light blue ink, trimmed it into a strip and adhered it to the "Joy".

I added some layered snowflakes that I die cut with the small flakes from the Layering Snowflakes die set. I added a sparkly gem sticker from the Vintage Holiday Gem Stickers set.

After I adhered the sled and snowflakes to the card I added some fun bling by using a clear glitter pen on the "joy" and the white poinsettia.  Then I added drops of Red Berry Nuvo Crystal Drops to each berry.

I hope you enjoyed my card making process and will join us over on Instagram to see the beautiful projects from the team.  Also, there are prizes so be sure to check out my post for the details.  Thank you so much for stopping by!

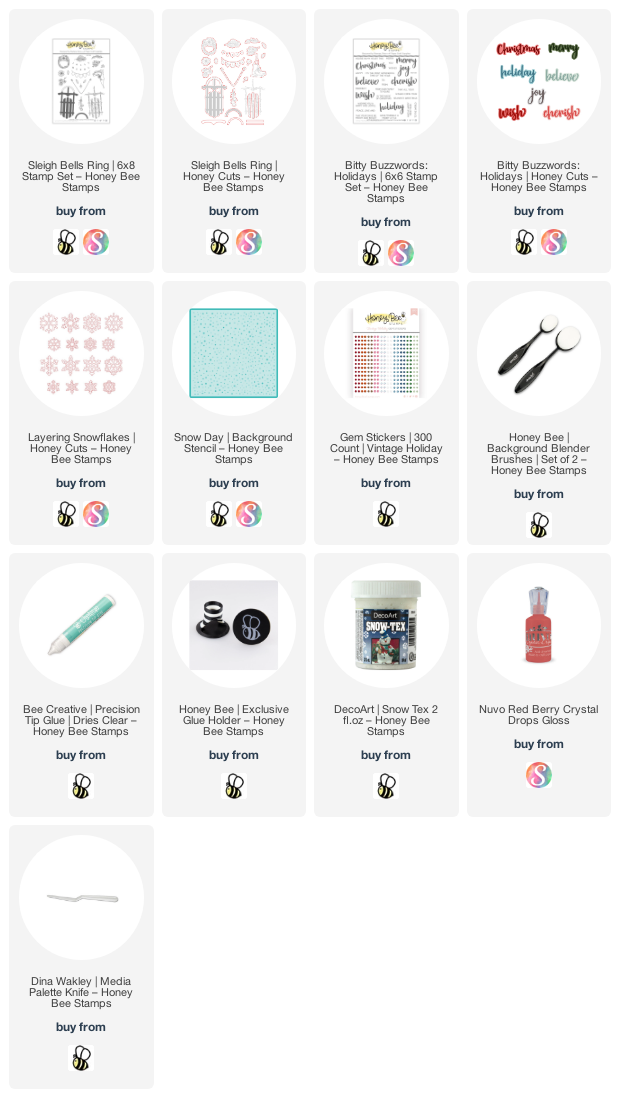
Click the links for product info!