
Hello, crafty friends! With October over half over, I need to get going on my holiday cards to send! Last week, I made an autumn card with the Honey Bee Stamps Bee Quilted: Honeycomb Hexies Honey Cuts and I mentioned that I wanted to make a holiday card with this set.
I couldn't get that out of my mind, so today's card is my holiday version of the Bee Quilted: Honeycomb Hexies! This card's top folding piece is actually the Honeycomb Hexies top layer--keep reading to see more and steps to create your own.

I started by choosing this beautiful patterned paper from the Make It Merry paper pad. (Check out the paper organizer that's included!) I die cut the paper by placing smaller pieces of this paper over the larger stitched Honeycomb Hexies die. There are two other smaller die cuts attached to this larger honeycomb die, but I just wanted the larger one. I repeated this five more times until I had six patterned paper honeycomb pieces.
Using the same die (with the three stitched dies) I die cut red cardstock by placing just the other two die cuts over the paper. As before, I repeated this until I had six sets.
After I die cut white cardstock with the Honeycomb Hexies large grid die and the outer single base die, I used Bee Creative glue to adhere the two layers together. Then I glued all of the Bee Quilted die cuts into the grid pattern.
I have to say that having the new Bee Creative Platinum Scout right beside me to cut these small die cuts was SO good! Honestly, I didn't think I would use this small die cutter all that much, but I have totally changed my mind on that!

Next I die cut shades of green cardstocks and red cardstock with some of the dies in the Lovely Layers: Mini Holiday Florals die set. I glued the layers together, and added white gel pen highlights to the berries.
Next are the steps to create the unique fold for the Honeycomb Hexies layers:
- Emboss one A2 sized white cardstock panel with the Snowflakes 3D embossing folder.
- Trim a scrap of white cardstock to 2-½" x ½". Score the strip at ¼" with a stylus and score board.
- Fold in half, add glue to one side and adhere to the back of the Honeycomb Hexies panel.
- Add glue to the inside of the other half of the strip and adhere to the back side of the Snowflakes embossed panel. (Center the Honeycomb panel horizontally over the embossed panel.)
- Glue a plain A2 white cardstock panel to the back of the embossed panel. This will hide the flap.
- Cut another base of the Honeycomb Hexies, trim a sliver off of one edge (this will facilitate the folding of the panel) and glue to the back of the quilted piece.

To add a smooth surface for the inside sentiment, die cut another Honeycomb Hexies base. Trim each edge by ¼". Then I stamped a sentiment from the Home For The Holidays stamp set onto the panel. Place this face down on the back side of the card top, center it, add glue, then fold the embossed down. Wait a minute for the glue to set. Now you have a centered panel under the Honeycomb Hexies card front.

The sentiment on the front is also in the Home For The Holidays stamp set. After I stamped it in black pigment ink, I cut it out with the coordinating die. I used some foam adhesive to adhere it to the card front.
I absolutely love how this turned out!! Now I'm thinking ahead to a Bee Quilted: Honeycomb Hexies card for spring--soft floral patterned paper, pastel cardstock--I think I would like that too! What do you think?
Thanks so very much for stopping by today! I hope you have a wonderful day and some fun crafty time!
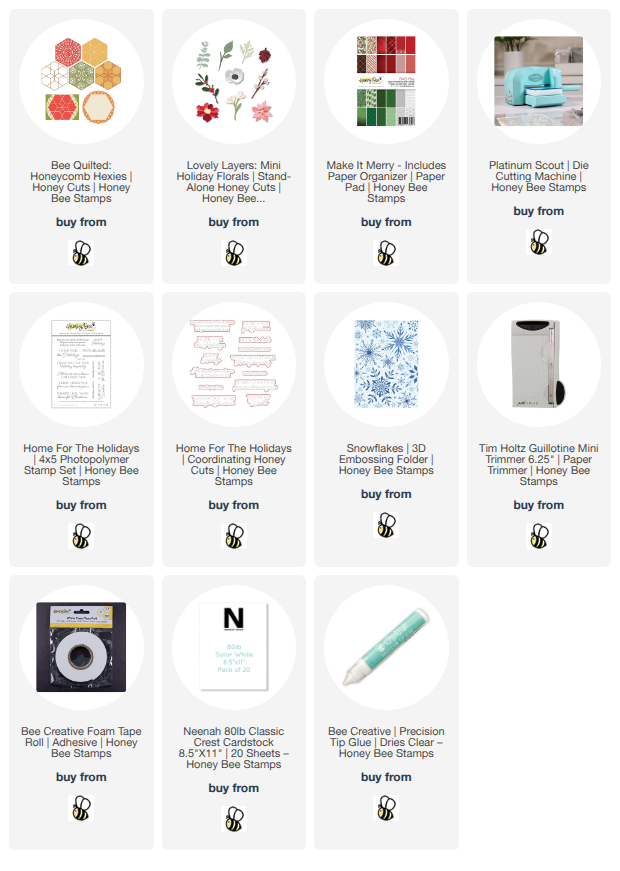
I so appreciate that you use my affiliate links to shop! (There's never any additional cost to you.) It helps me with the expenses of posting my creative content, thank you. Note: You must have "allow cross-site tracking" and cookies turned on in your browser in order for it to know you use my links.

No comments:
Post a Comment
Thank you so much for using my product links to shop. Some of the product links I've provided may have what is called an "affiliate" link. By using my links to purchase products, I may earn a bit of a commission, at absolutely no additional cost for you. Thank you for supporting my blog.