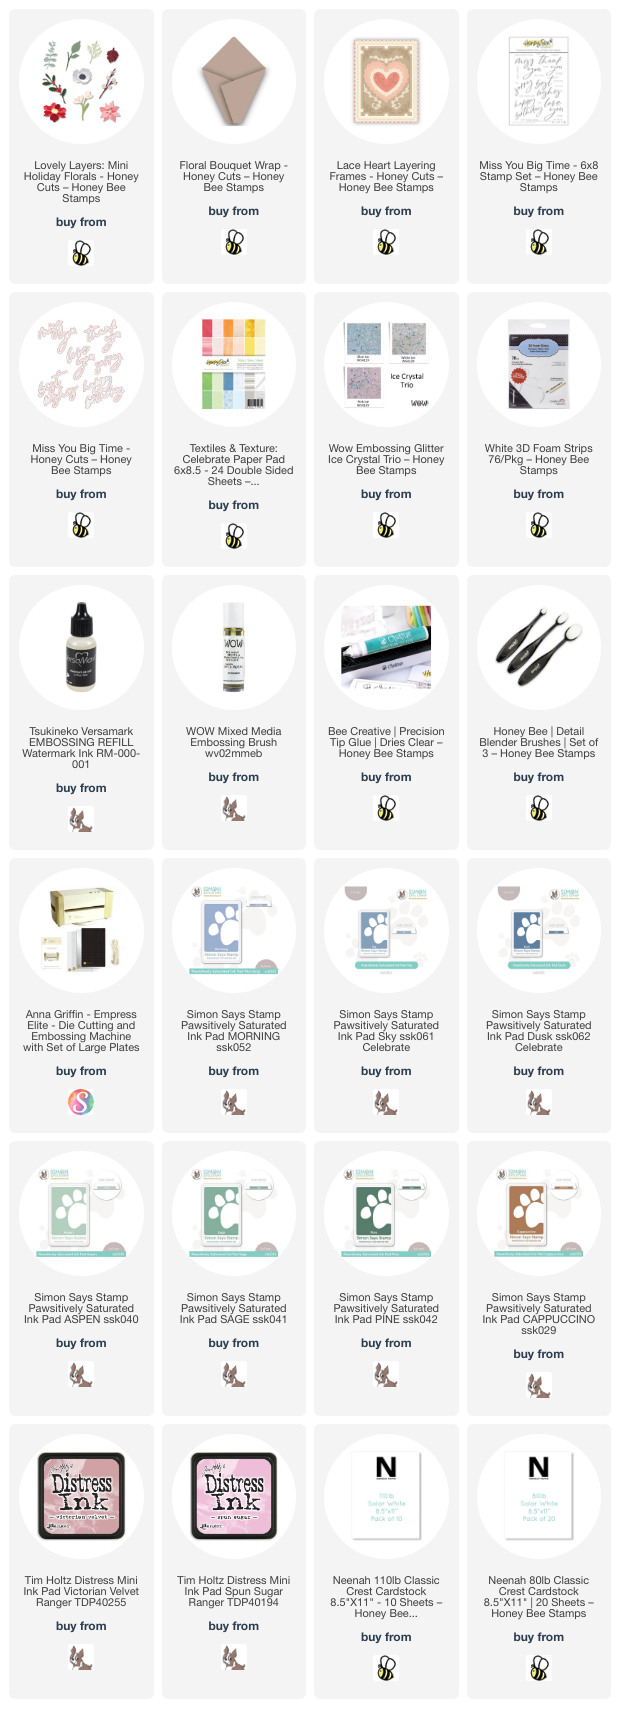
Hello crafty friends!! Is it cold where you are at? It's even cold here in north Texas and it might even snow here tomorrow! Today my card features Honey Bee Stamps beautiful Lovely Layers: Mini Holiday Florals die set. The colors in my card today were inspired by the cold and my love for flowers. As you can see, these beauties are not just for holiday cards!

I die cut all of the Lovely Layers: Mini Holiday Florals from white cardstock. I used all of the florals except the poinsettia and the berries that go on the branch. I wanted a winter feel to this card, but with a little pop of bright color, so I went with cool blues, pinks, greens, and yellow for that pop!
I used ink blending brushes to add shading to the die cut Holiday Florals. The pink shading is done with Victorian Velvet and Spun Sugar Distress Inks. The other colors are dye inks I have in my stash.
I wanted some sparkle on some of the die cuts and I have had these Ice Crystal Embossing Glitters for a few months now. These are so gorgeous that when I first saw them on Instagram, I ordered them right away! These give a bit of any icy feel with the large chunks of glitter that's in them. To help that chunky glitter adhere better, I put a few drops of the Versamark re-inker onto my craft mat. Then I used an old paintbrush to paint it onto the pieces before sprinkling on the embossing powder. I used my heat tool to set the embossing powder.

I die cut the wrap with the Floral Bouquet Wrap die from Neenah Desert Storm cardstock. After I scored it along the score links, I used glue to hold it closed.
Next I die cut a piece of paper from the Textiles & Textures: Celebrate paper pad with the largest of the Lace Heart Layering Frames dies. After I glued it to an A2 card base, I adhered the floral wrap to the card with glue.
I spent a few minutes deciding on the arrangement of the flowers and stems, then used glue and a few foam dots to adhere the pieces into the Floral Bouquet Wrap.
For the sentiment, I used one from the Miss You Big Time stamp set. I stamped it with one of the blue inks I used in the flowers for a cohesive look. Then I die cut it with the coordinating die. I die cut three more from white cardstock and glued all of the layers together. Because the floral wrap is not totally flat, I added pieces of foam strips to the parts of the sentiments that were off the edges of the wrap. Then I added glue to the rest of the sentiment and adhered them to the card.

My goodness I had so much fun creating this card! There is something about taking white die cuts and creating a bouquet of color that is so satisfying to me! Thank you so much for stopping by today. You are so appreciated!!
Thank you so much for using my affiliate links to shop (never any additional cost to you)!