Showing posts with label Christmas cards. Show all posts

Monday, July 13, 2026

Stocking Filled With Holiday Cheer -- Spellbinders

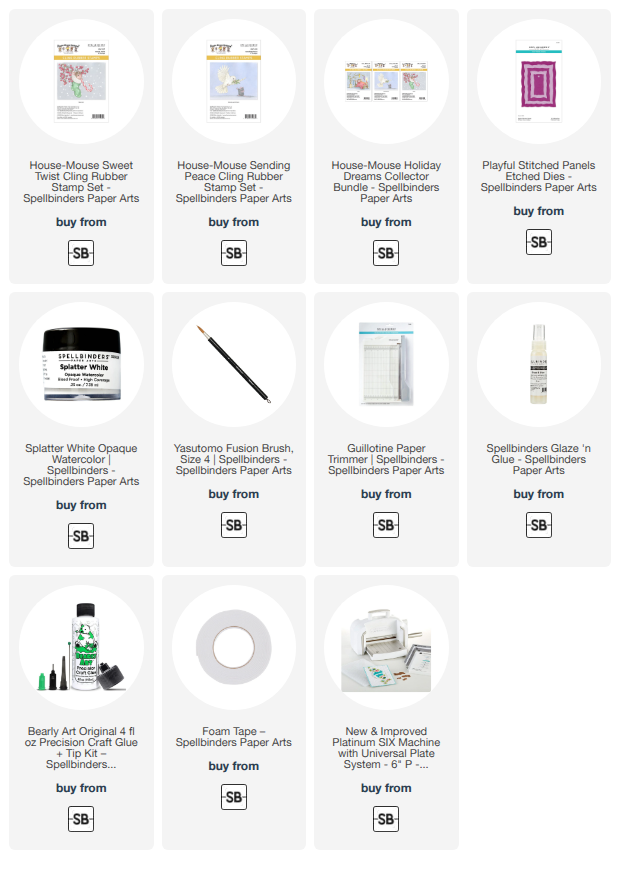
Hi, crafty friends!  Today I am sharing my card that features the adorable Spellbinders House-Mouse Designs Sweet Twist stamp set from the new House-Mouse Holiday Collection!  This Sweet Twist stamp set is one of the three in the Collector Bundle!

One thing I love about the House-Mouse stamps, other than they are SO adorable, is that the artist's images have shading that I use as a guide for my coloring!  After I stamped the Sweet Twist image with Copic safe ink, I colored it with my Copic markers and a few Prismacolor Pencils.  These are the colors I used:

  • candy cane:  R59, R29, RV25, R35, C2, C0
  • berries:  RV69, R39, R37
  • branches: Prismacolor Pencils PC1082, PC941
  • mouse:  E35, E33, E31, E93, E51, E50, R30
  • stocking:  G09, G17, G16, G02
  • stocking fur: Prismacolor Pencils PC1063, PC1060
  • background:  B93

I used the second largest Playful Stitched Panels die to cut the colored image into a cute shaped rectangle.

Next I used a white gel pen to add white accents to the berries, stocking, and candy cane.  Then I used some clear glaze to give the berries some shiny dimension.

When the clear glaze was dry, I diluted some Splatter White Opaque Watercolor with water and used a paint brush to add splatters for the snow.

I let the splatters dry and then I glued the Sweet Twist image to a 5" x 3-¾" white cardstock panel.  I added foam adhesive to the back to adhere it to my A2 card base.

The sentiment I used is one of three in the Sweet Twist stamp set.  After I stamped it with black pigment ink, I used my paper trimmer to cut it into a strip.  I added thin foam adhesive to the back of the sentiment to adhere it to the card.

These House Mouse sets make sweet cards for so many occasions, and they are easy to color too!  Thanks so much for stopping by!  I hope you have a wonderful day!

Thank you for using my affiliate links to shop (never any additional cost to you)!
Friday, July 3, 2026

Sending A Lot Of Merry Your Way -- Spellbinders

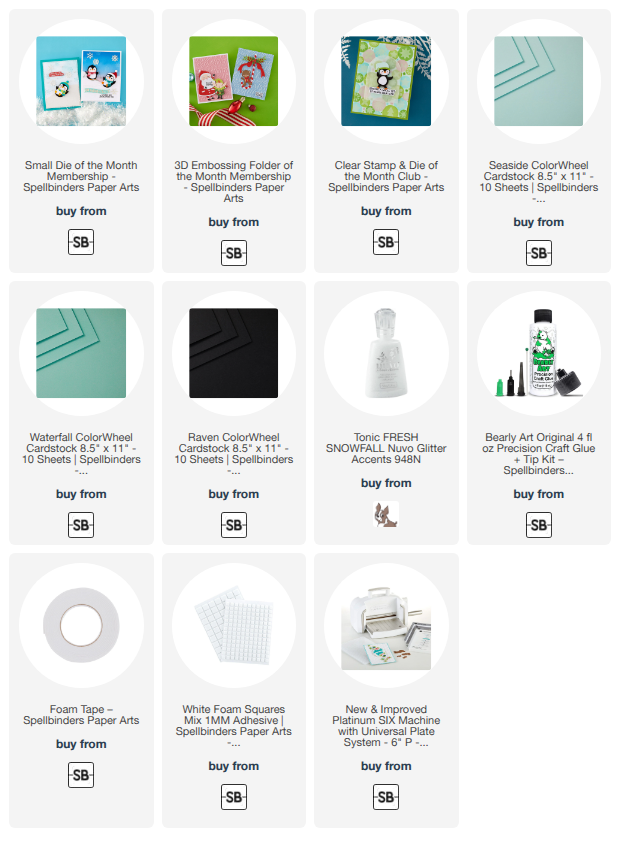
Hi friends!  For this month's Spellbinders Club Kits, we are having a bit of "Christmas in July" fun!  I've used three of the amazing kits to make this card here.  The star of this card are these adorable penguins from the Small Die Of The Month Club Kit, Snow Much Fun.  Read on for more details!

These Club Kits will be open for new subscribers on July 6.  You can preview each Club Kit until then.  But, if you are a current subscriber, you can add one or cancel one now!

First I began by die cutting colored and white glitter cardstocks (colors are in the list below) with the dies in the Small Die, Snow Much Fun.  There are two dies to cut out hills.  I made three hills--one from white glitter cardstock and two from white cardstock.  I glued the back hill to the card and used thin foam adhesive for the other two.

These were super easy to put together!  After I adhered the layers with glue I set them aside to work on the other card elements.

The embossed background layer on my A2 card was made with the Festive Greetings 3D embossing folder.  This 3D folder for July is just so very versatile for all of our Christmas cards!  I'd love to emboss gold or silver metallic cardstock to make a beautiful and elegant card!

The sentiments are from July's Clear Stamp + Dies Club Kit.  There are 13 sentiments and 3 snowflake stamps in the Cue The Merry stamp set.  Of course, each stamp has a coordinating die to cut it out.

I added a bit more sparkle with diluted shimmer watercolor and a paint brush.  Then I used some Nuvo glitter accents just along the top of the white cardstock hills.

Be sure to check out all that the Club Kits from Spellbinders has to offer.  What I love is that you can cancel at any time.  Scroll to the bottom of this page to read all of the FAQs, which should answer any questions you have.

Thanks so much for stopping by!  I hope you have a great day!

Thank you so much for using my affiliate links to shop (never any additional cost to you)!

Wednesday, December 24, 2025

Christmas Blessings Cathedral Holiday Card

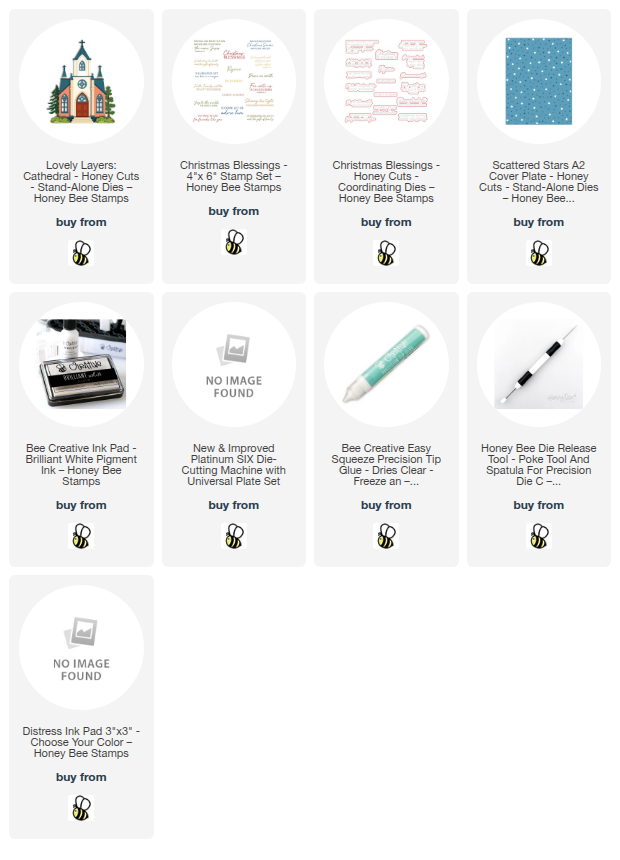
Hello friends, and happy Christmas Eve to you all!  Today I'm sharing this very fitting card that features the gorgeous Lovely Layers: Cathedral and the Christmas Blessings stamps and coordinating dies.

As you read through the details here, be sure to think about how the Cathedral can be used a lot more other than the holiday season!  Think Easter, sympathy cards, and more!

I'm going to try to keep the description today brief as I am sure you may be like me with still a LOT to do!  If you have questions, be sure to follow me on my Instagram.  I'll be sharing a reel within the next few days showing some of the creative process of the card.  You can also DM me there.

I die cut all of the dies of the Lovely Layers: Cathedral from white, two shades of green, dark blue, and brown cardstocks.

This saved me a good bit of time as I was able to use an ink blending brush and coordinating inks to add some quick and easy shading to the colored cardstock.

Since this is my first time using the Lovely Layers: Cathedral set I found the Layering Guide the perfect assist as I glued the layers together.

I set the Cathedral aside to create the background layers for my A2 card base.  I chose a dark blue cardstock from my stash and die cut it with the beautiful Scattered Stars Cover Plate die.  I used blending brushes to add Black Soot Distress Ink around the edges.  I also lightly inked some Brilliant White pigment ink just outside of where the Cathedral will be.

I hand cut a piece of white glitter cardstock to create a snowy hill layer and glued it to the card.

I added foam tape to the back of the Cathedral and adhered it to the card.  Then I placed the trees and shrubs around the Cathedral.  I took a scrap of the glitter cardstock and placed it under the large star is on the Northern Star cover plate and ran it through my die cutting machine.  I glued it into the opening of the dark blue layer.

The sentiment is from the wonderful Christmas Blessings stamp set and stamped in black pigment ink.  I cut it out with the coordinating die and adhered it with foam strips.

I absolutely love how this turned out and hope you do too!

I hope that how ever you celebrate this season, I send many wishes to you and yours for many blessings and joyous memories!  Many hugs to you!

Thank you so very much for using my affiliate links to shop (never any additional cost to you)!

Wednesday, December 3, 2025

Nutcracker Die Cut Holiday Card With Non-traditional Colors

Hello crafty friends!  Now that we are into December, (can you believe it?!) I am making as many Christmas cards as I can and hope to still have time to mail them!  What about you?  Well, if you aren't finished either, I have some inspiration to share today!  My card features Honey Bee Stamps awesome Lovely Layers: Nutcracker dies.  Check it out!

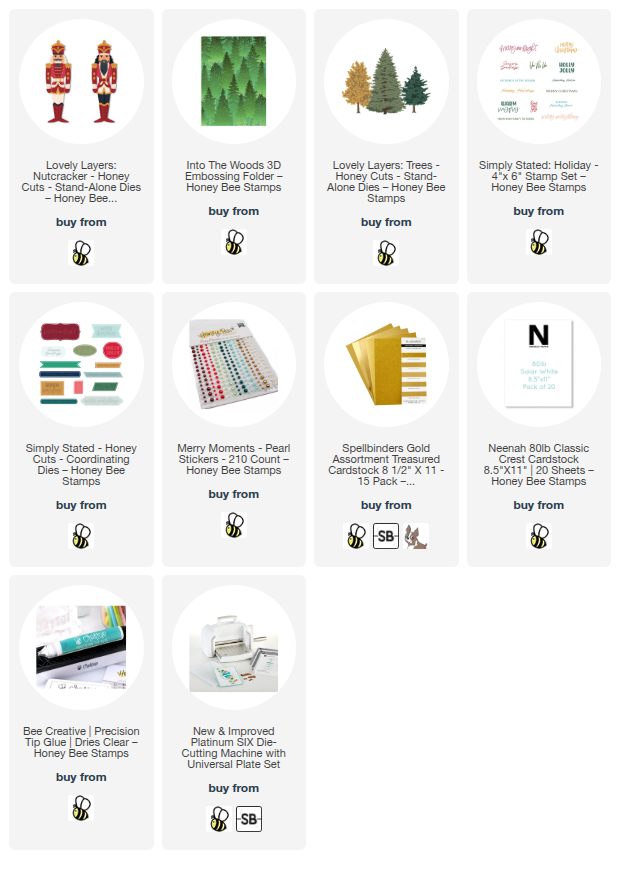
I put a different twist on the Lovely Layers: Nutcracker by using pastel colors instead of the typical red.  I chose some minty green cardstocks, a very pale peach color cardstock, matte gold cardstock, and 80# Neenah to die cut each of the various layers.

I love how Honey Bee provides layering guides for the Lovely Layers sets!  The Nutcracker has some small die cut pieces, but the layering guides makes the assembly easy!  I used Bee Creative glue to adhere all of the layers together.

Note:  I did use a few Copic markers to color the skin and hair.

For the background, I embossed a 4-¼" x 5-½" piece of white cardstock with the beautiful Into The Woods 3D embossing folder and glued it to an A2 card base.

Then I cut white cardstock with my scissors to make a hilly, snowy ground layer and glued that at the bottom of my card.

For more detail, I die cut two shades of minty green and peach cardstocks with the Lovely Layers: Trees dies to create two trees.  For the tree trunk, I die cut gold matte cardstock.  I glued the large tree to the base.  Then I popped up the smaller tree and the Nutcracker with foam tape.

I still have sentiments saved from the one time I stamped the awesome Simply Stated: Holiday stamp.  I love that you get all these sentiments at once and then can die cut them all at once with the Simply Stated die!  I used a foam tape strip to adhere the sentiment to my card.

For a bit of bling, I added gold and pearl stickers from the Merry Moments Pearl Stickers.

I hope you love this Lovely Layers: Nutcracker in the non-traditional colors as much as I do!  Thank you so very much for stopping by!  I hope your day is wonderful!

Thank you SO much for using my affiliate links to shop (never any additional cost to you)!

Wednesday, November 5, 2025

Sleigh Bell Christmas Card

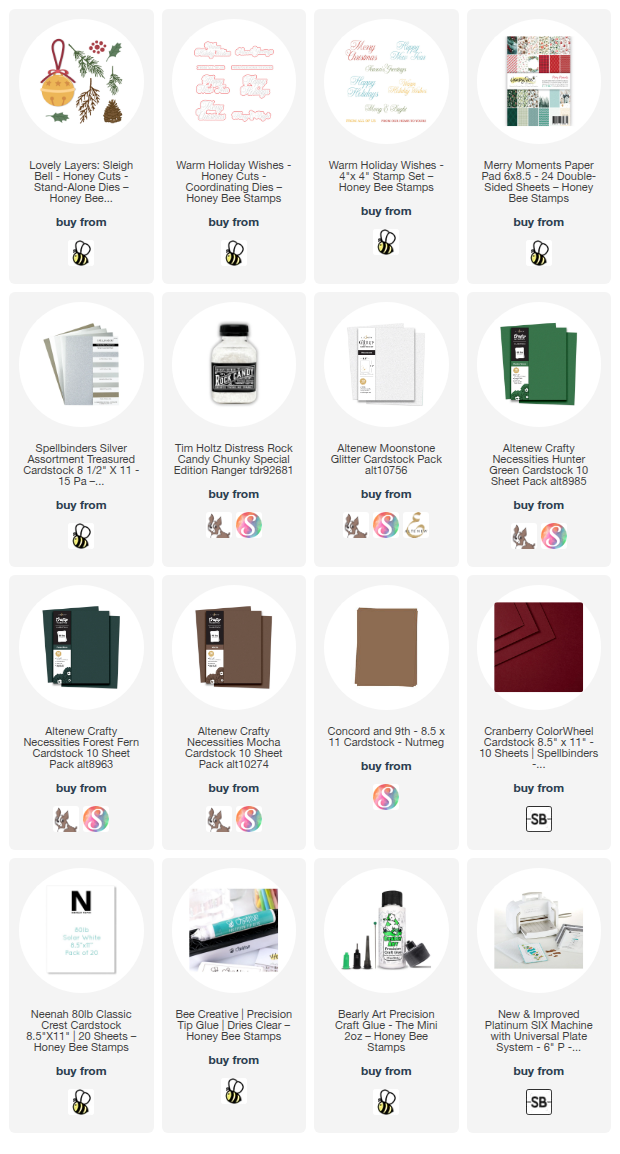
Hello crafty friends!  I'm thrilled to be sharing my first card using some awesome supplies from Honey Bee Stamps awesome Merry Moments release!  Today I'm using the beautiful Lovely Layers: Sleigh Bell Honey Cuts dies along with some gorgeous paper from the Merry Moments paper pad.

NOTE:  Today is Honey Bee's Instagram Hop (beginning at 9 am CST) with lots of inspiration for the Merry Moments release!  Also, if you leave comments along the hop, you will be entered to win one of two Honey Bee Stamps gift cards!  Join me on my Instagram where I will have the complete hop list for you!

I love SO many of the patterned papers in the Merry Moments paper pad and just had to incorporate some into my card design.  I chose one and trimmed the piece to 4-¼" x 5-½" and used Bee Creative glue to adhere the paper to an A2 card base.

This particular patterned paper was the inspiration for my color palette I chose for the Lovely Layers: Sleigh Bell.  I went through my colored cardstock stash and found just the right shades to coordinate with the paper to use for the die cutting.

I used the Lovely Layers: Sleigh Bell dies to cut out each layer from the colors of cardstock I chose.  I cut multiples of the leaves and greenery to fill in around the Sleigh Bell.

I added some red glitter Stickles to each of the berries and set them aside to dry.

I die cut glitter cardstock with the bottom layer die of the Sleigh Bell.  The top is cut from brushed silver cardstock.  After I glued the layers of the Sleigh Bell together, I added a few pieces of foam tape to the back.

Before removing the foam tape backing from the bell, I set it onto the card and fiddled around arranging the branches behind it until I was satisfied with how it looked.  I picked up the Sleigh Bell, then placed Press N Seal over the arranged greenery.  Then I simply added glue to the back of those pieces and flipped it over to the card to adhere.

Next I glued on the glittered berries.  I diluted some opaque white watercolor with water and used my paint brush to add white splatters on the images.  Then I added thin lines of glue to the greenery and sprinkled on some beautiful chunky glitter.  I love the sparkle!!

I stamped two of the sentiments in the Warm Holiday Wishes stamp set in black pigment ink.  Then I cut them out with the coordinating Honey Cuts.  I used a few pieces of foam tape and strips to adhere them to my card.

Thanks so much for stopping by today!  I hope to "see you" over on Instagram for the hop!

Thanks you very much for using my affiliate links to shop (never any additional cost to you)!

Saturday, July 19, 2025

Peace, Joy, and Love To You!

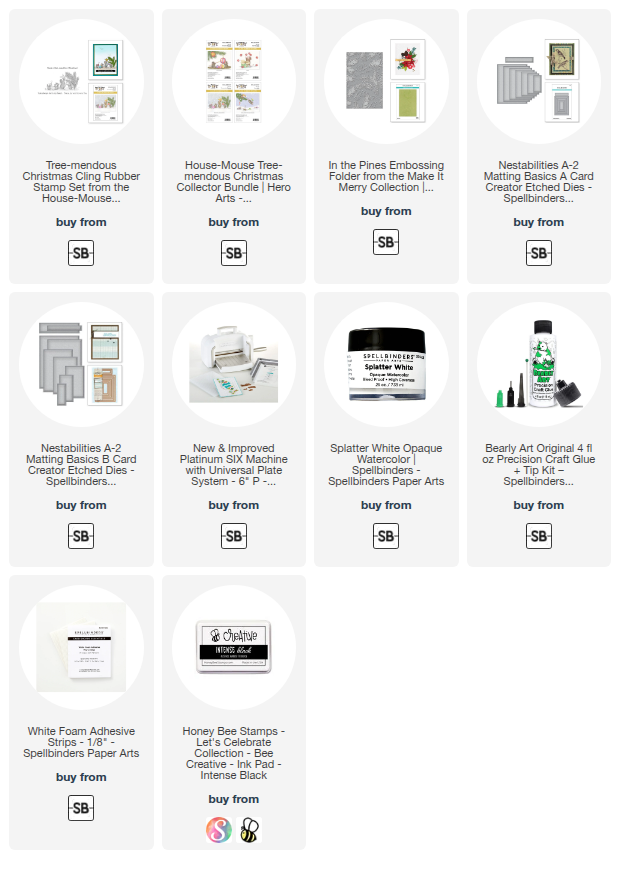
Christmas in July is a good thing, right?!  I love getting a head start on my Christmas cards and today's features another adorable House Mouse stamp set.  This is the Tree-mendous stamp set and is available over at Spellbinders, along with three other sets in this collection.

I stamped the Tree-mendous Christmas image in Copic safe ink and used my markers to color it.  I added gold gel pen accents on the ornaments and the star (too back it doesn't show in photos).

Next I die cut the panel with a die from the A2 Matting Basics A die set.  Then I added Splatter White opaque watercolor diluted with water for the "snow".

I die cut dark gray cardstock with a Matting Basics B die and glued it behind the colored image.  I added foam tape to the back of the layers.

The card base is an A2 size and has a panel of white cardstock embossed with the In The Pines embossing folder.

The sentiment is one of three included in the set and is popped up on the card with foam strips.

That's it!  So easy to make this adorable holiday card with quick coloring.  Thanks so much for stopping by.  I hope you have a wonderful weekend and lots of crafty time!

Thank you for using my affiliate links to shop (never any additional cost to you)!
Wednesday, December 18, 2024

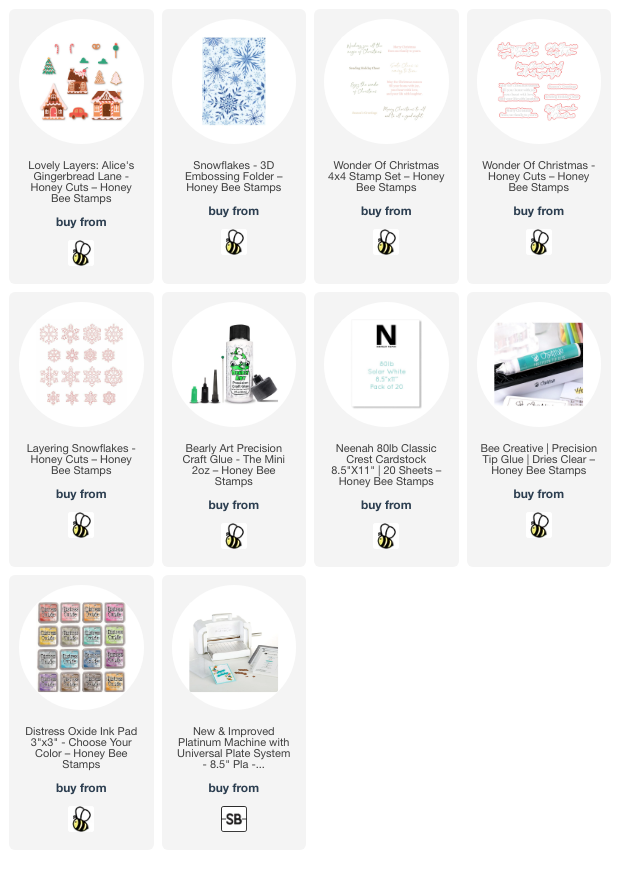
Gingerbread Lane Christmas Card

Hello crafty friends! Can you believe it's only one week until Christmas?! I absolutely love making Christmas cards and just had to share another one with you that features the beautiful Lovely Layers: Alice's Gingerbread Lane Honey Cuts.

I went all out on the sparkles for this card! Haha! I die cut the pieces for the gingerbread house #2 from the Lovely Layers: Alice's Gingerbread Lane dies. These were cut from white and brown cardstocks. I decided on a white iced gingerbread house with peeks of the gingerbread. The other layers are die cut from red and silver glitter paper that I have in my stash.

I also die cut two of the trees from brown and white cardstocks. The green tree is paper that I inked up with Bundled Sage Distress Oxide ink.

Then I used the Layering Guide to assist me as I glued the layers of the Gingerbread House together with Bee Creative glue. Be sure to also use your reverse tweezers and glue with a fine tip to make the layering lots easier.

While the glued layers were drying, I layered my A2 card base with more silver glitter cardstock and then a 4" x 5-¼" panel that I embossed with the gorgeous Snowflakes 3D embossing folder.

I hand trimmed more silver glitter cardstock into a hill for my scene. I used glue to adhere the Gingerbread house and foam dots (cut smaller with scissors) to adhere the trees.

I stamped a sentiment from the Wonder of Christmas stamp set in black ink. Then I cut it out with the coordinating dieand popped it up on the card with foam tape strips.

I decided I want a bit more sparkle and added three Layering Snowflakes that I had saved from another project.

I love all of the sparkles, and hope you do too! Thank you for stopping by and enjoy your week leading up to the holidays!

Thank you so much for using my affiliate links to shop (never any additional cost to you)!

Sunday, October 6, 2024

Spellbinders October 2024 Club Kits -- Simple & Quick Holiday Cards

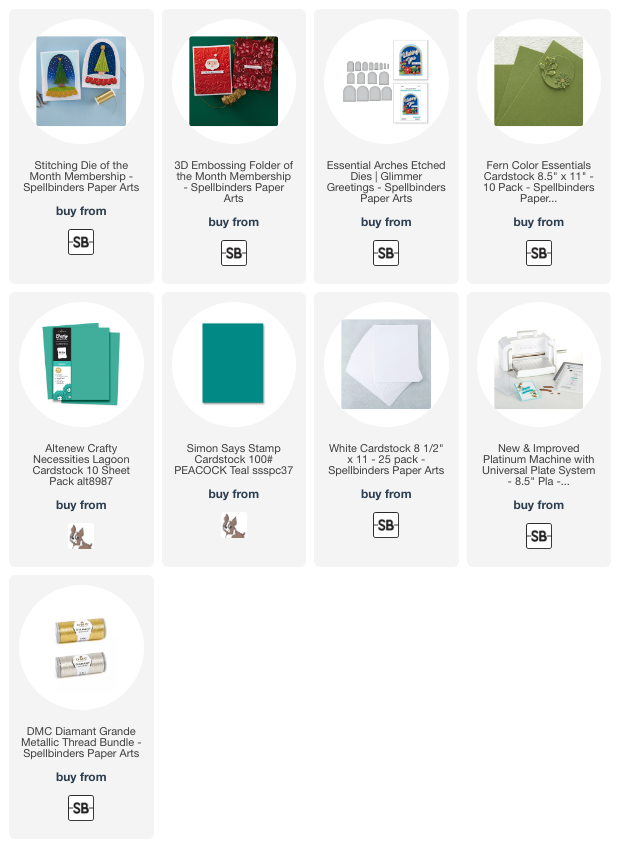
 Hello!  Today I'm sharing my cards that feature two of the Spellbinders' October 2024 Club Kits.  I've used the Stitching Die and the 3D Embossing Folder Club Kits.  This month's stitching die is so easy and very quick to finish that I created two cards!

This first card features most of the dies included in the Merry & Bright Cloche Stitching Die Kit.

I embossed white cardstock with the beautiful Joyful Candy Canes 3D embossing folder of the month.

I die cut teal and white cardstocks with the dies in the Merry & Bright Cloche stitching die set of the mont.  The quick and easy stitching was done with white Coton Perle thread.  I used six strands of DMC 801 to stitch the trunks.

There are two sentiments in the Merry & Bright Cloche to choose from to add with the included oval die too!  I added coordinating gem stickers to the tree for some pretty sparkle.

My second version uses the Merry & Bright Cloche tree dies and the other sentiment that's also included.

For the background layers, first I die cut an Essential Arches die from an A2 sized piece of white cardstock.  Then I put the two pieces into the Joyful Candy Canes 3D embossing folder and ran it through my Platinum machine.

The Merry & Bright Cloche tree is stitched with silver DMC Diamant Grande thread.

I've included the available cardstock colors I used in the list below.  This time I've added some silver gems to the tree.

If you've ever thought of trying the stitching dies, this month would be a good one to get started on!  The clubs have very flexible rules and you can always cancel at any time!

Thank you so much for stopping by!

I so appreciate your using my affiliate links to shop (never any additional cost to you)!


Tuesday, December 12, 2023

Three Quick and Easy Last-Minute Holiday Cards

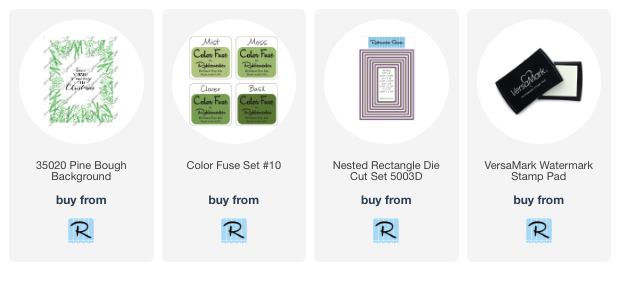
Hello crafty friends!  Today I am sharing three cards I made using the Rubbernecker Stamps' Pine Bough Background stamp!

If you would like to see the detailed instructions for making these cards, please head over to my post on the Rubbernecker blog!  I also have the Copic marker colors over there too.

I stamped two of the Pine Bough backgrounds with Color Fuse Basil ink and the other is gold heat embossed!  This first card was the quickest to make.  It's simple to make, but still quite beautiful! 


This next card took just a bit more time, but only because of the heat embossing.


My third card includes some simple coloring with a few Copic markers.  By keeping the shading to a minimum, it doesn't take too long at all!


I hope you've been inspired by my quick cards, and that you'll hop over to the Rubbernecker blog and say "Hi"!  Have a wonderful day!

Thank you so much for using my affiliate links to shop (never any additional cost to you)!


Wednesday, October 25, 2023

Sparkly Candy Cane Christmas Card

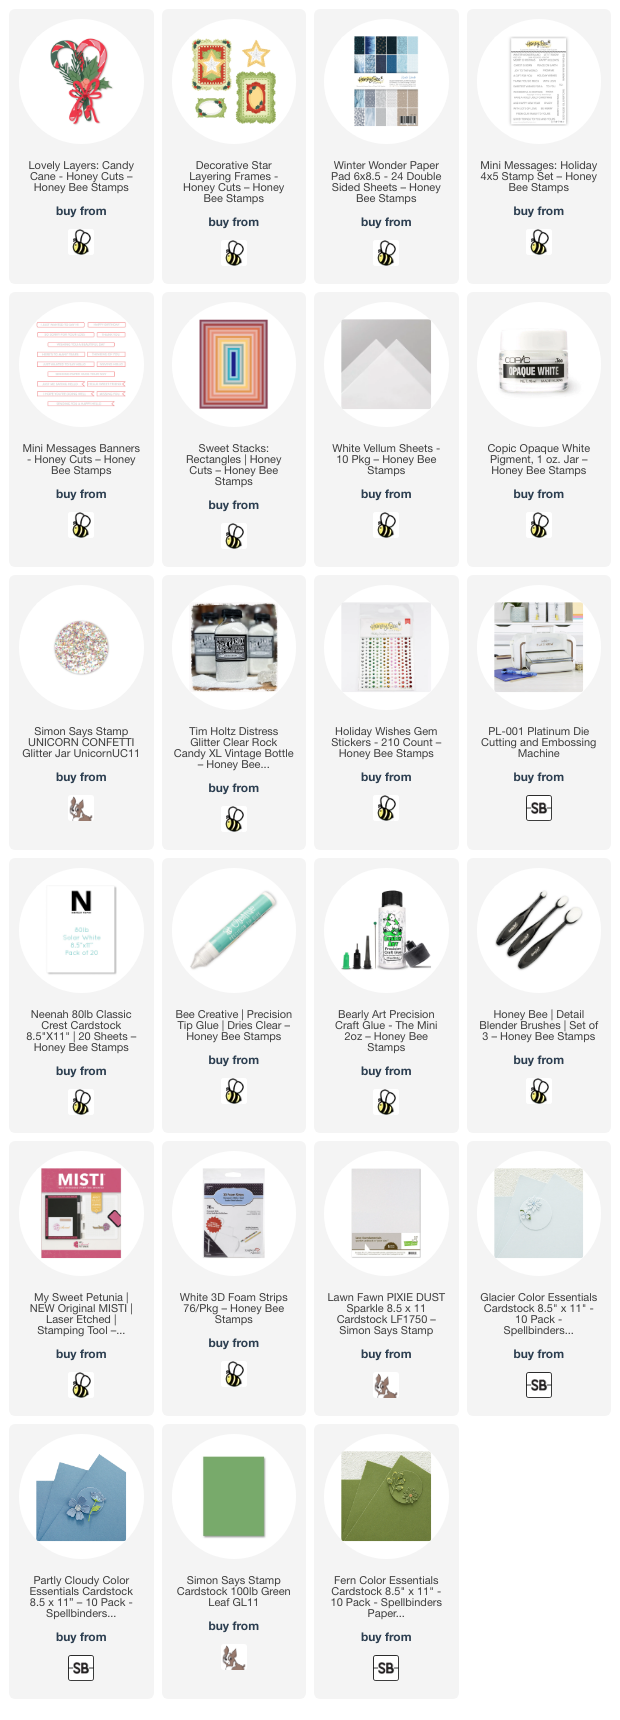
Hello crafty friends! Have you checked out Honey Bee Stamps gorgeous Holiday Wishes release? There are so many awesome products that I can't wait to create with! Today I'm sharing my card featuring the new Lovely Layers: Candy Canes!

I let this gorgeous patterned paper from the new Winter Wonder paper pad be my inspiration for my card's color palette. I love this shade of blue for winter/Christmas cards! I die cut two each of the Lovely Layers: Candy Canes layers from a light blue, dark blue, and white sparkle cardstock. Next I die cut the greenery in this set from two shades of green cardstock. I added shading to the greenery with blender brushes and Mowed Lawn and Rustic Wilderness Distress inks.  (Links for the cardstock are below.)

The berries and bow are also die cut from the same white glitter cardstock. I adhered the layers of the candy canes with Bee Creative glue.

I used the largest Sweet Stacks: Rectangles to die cut the patterned paper from the Winter Wonder paper pad and glued it to my A2 card base. Next I die cut vellum with the Decorative Star Layering Frames largest die. But don't adhere it to the card base yet!

I arranged the Lovely Layers: Candy Canes elements and then used Bee Creative glue to adhere each piece to the vellum. I only added a few dots of glue to each piece so the vellum wouldn't buckle much. I did use a few foam squares at the top of the upper candy cane to support it over the other pieces.

Of course, my wintery Christmas card had to have lots of extras! Before I adhered the vellum to the card, I splattered white paint all over. Then I added some beautiful iridescent chunky glitter to the greenery. If you don't have that glitter, Clear Rock Candy glitter would be beautiful too! 

After the glitter was dry, I added drops of glue to the back of the vellum, hiding the drops behind the elements of the card. Then I attached it to the card and let it dry.

I stamped the sentiment from the Mini Messages: Holiday stamp set with Stormy Sky Distress Oxide ink. Using my MISTI allowed me to stamp it a few times for a good impression. After I cut it out with a die from the Mini Messages Banners Honey Cuts, I added foam tape to the back to adhere it to my card.

A few gem stickers from the Holiday Wishes stickers finished it off with a bit more sparkle!

I love all the sparkle; and if you'd like to see it even better, check out the reel I'll have posted very soon over on my Instagram! 

I hope you've found more inspiration here for the Holiday Wishes release! Thank you so much for stopping! Have a wonderful and crafty day!

Thank you for using my affiliate links to shop (never any additional cost to you)!