Showing posts with label Lovely Layers: Trees. Show all posts

Wednesday, December 3, 2025

Nutcracker Die Cut Holiday Card With Non-traditional Colors

Hello crafty friends!  Now that we are into December, (can you believe it?!) I am making as many Christmas cards as I can and hope to still have time to mail them!  What about you?  Well, if you aren't finished either, I have some inspiration to share today!  My card features Honey Bee Stamps awesome Lovely Layers: Nutcracker dies.  Check it out!

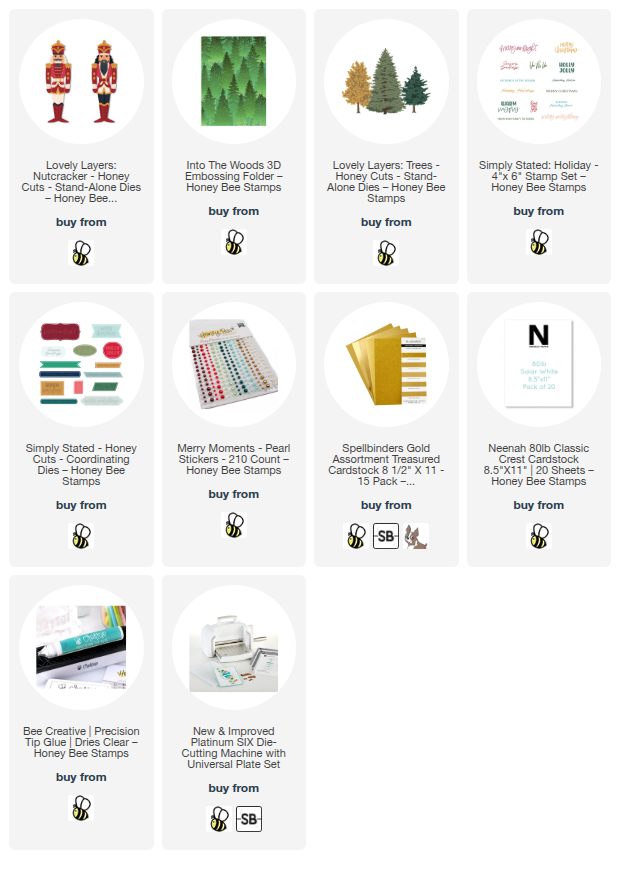
I put a different twist on the Lovely Layers: Nutcracker by using pastel colors instead of the typical red.  I chose some minty green cardstocks, a very pale peach color cardstock, matte gold cardstock, and 80# Neenah to die cut each of the various layers.

I love how Honey Bee provides layering guides for the Lovely Layers sets!  The Nutcracker has some small die cut pieces, but the layering guides makes the assembly easy!  I used Bee Creative glue to adhere all of the layers together.

Note:  I did use a few Copic markers to color the skin and hair.

For the background, I embossed a 4-¼" x 5-½" piece of white cardstock with the beautiful Into The Woods 3D embossing folder and glued it to an A2 card base.

Then I cut white cardstock with my scissors to make a hilly, snowy ground layer and glued that at the bottom of my card.

For more detail, I die cut two shades of minty green and peach cardstocks with the Lovely Layers: Trees dies to create two trees.  For the tree trunk, I die cut gold matte cardstock.  I glued the large tree to the base.  Then I popped up the smaller tree and the Nutcracker with foam tape.

I still have sentiments saved from the one time I stamped the awesome Simply Stated: Holiday stamp.  I love that you get all these sentiments at once and then can die cut them all at once with the Simply Stated die!  I used a foam tape strip to adhere the sentiment to my card.

For a bit of bling, I added gold and pearl stickers from the Merry Moments Pearl Stickers.

I hope you love this Lovely Layers: Nutcracker in the non-traditional colors as much as I do!  Thank you so very much for stopping by!  I hope your day is wonderful!

Thank you SO much for using my affiliate links to shop (never any additional cost to you)!
Wednesday, October 29, 2025

Snowman Winter Scene Holiday Card

Hello crafty friends, and happy release day for Honey Bee Stamps!!  The new release, Merry Moments, will be available after the "release party" this evening on Honey Bee's YouTube channel.

EDIT: This awesome Merry Moments release is available now!!  

I had to schedule this post last week as I am out of town and didn't get a chance to create a sneak peek card for you with the new goodies.  However, I have pulled out a few of my most loved older holiday sets and made a festive card for you!

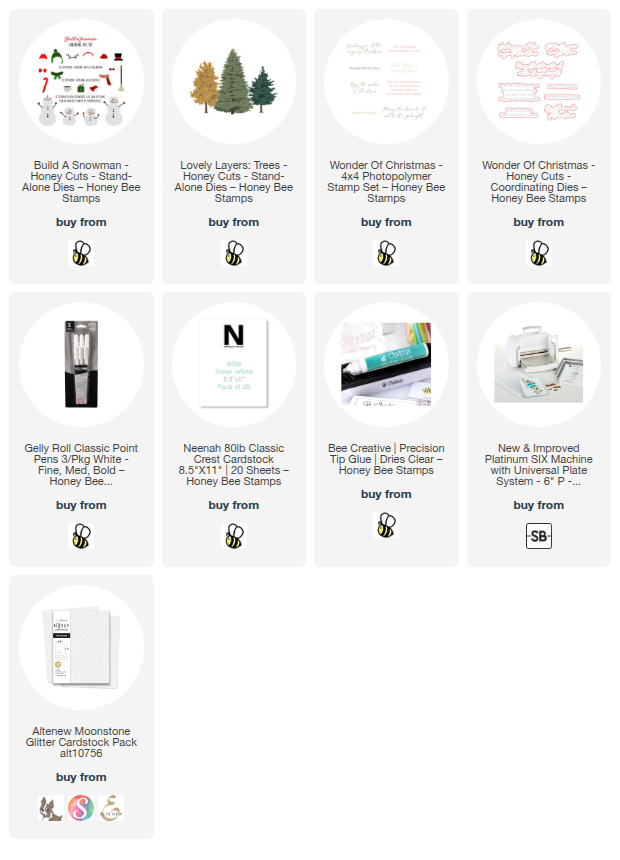
This card features the oh, so adorable Build A Snowman dies and Lovely Layers: Trees!

First I created my A2 card base and added some patterned paper from a retired paper pad (I'm sorry, I had no idea it wasn't available!).

I hand cut a white glitter cardstock hill for the base of the card front.

Then I die cut the top layer of the Lovely Layers: Trees from a pretty white glitter cardstock and layered them onto the base cut from white cardstock.

I glued two of the trees to the card and popped the other up with foam tape.

Then I die cut more white cardstock with the dies from the Build A Snowman set.  This set has so many fun accessories and arms to choose from to create the exact snowman scene you want!

I colored the die cut pieces with a few Copic markers and glued the Snowman layers together.  I used a fine-point black pen to add little eyes on the red birds.  I used a white gel pen for the stripes on the snowman's scarf.  I added foam tape to these pieces to adhered them to the card.

The sentiment is from another older and loved set called Wonder Of Christmas.  I stamped the sentiment with black pigment ink and then cut it out with the coordinating die.  I added foam strips to the back to adhere it to my card.

I love cardinals and just had to add several to my card.  Now, be sure to click this link to check out all of the latest and fabulous items in the Honey Bee Stamps Merry Moments release!

Thanks so much for stopping by!  I'll be back here next week with my first card for this awesome release!

Thank you for using my affiliate links to shop (never any additional cost to you)!

Wednesday, November 15, 2023

All Is Calm, All Is Bright Winter Scene Card

Hello crafty friends! Have you ever began a card with a certain design in mind and then you go off in a totally different direction? Well, that's what happened with my card today featuring Honey Bee Stamps beautiful Lovely Layers: Deer! This time, I'm happy that I just went with what evolved, and I love it!

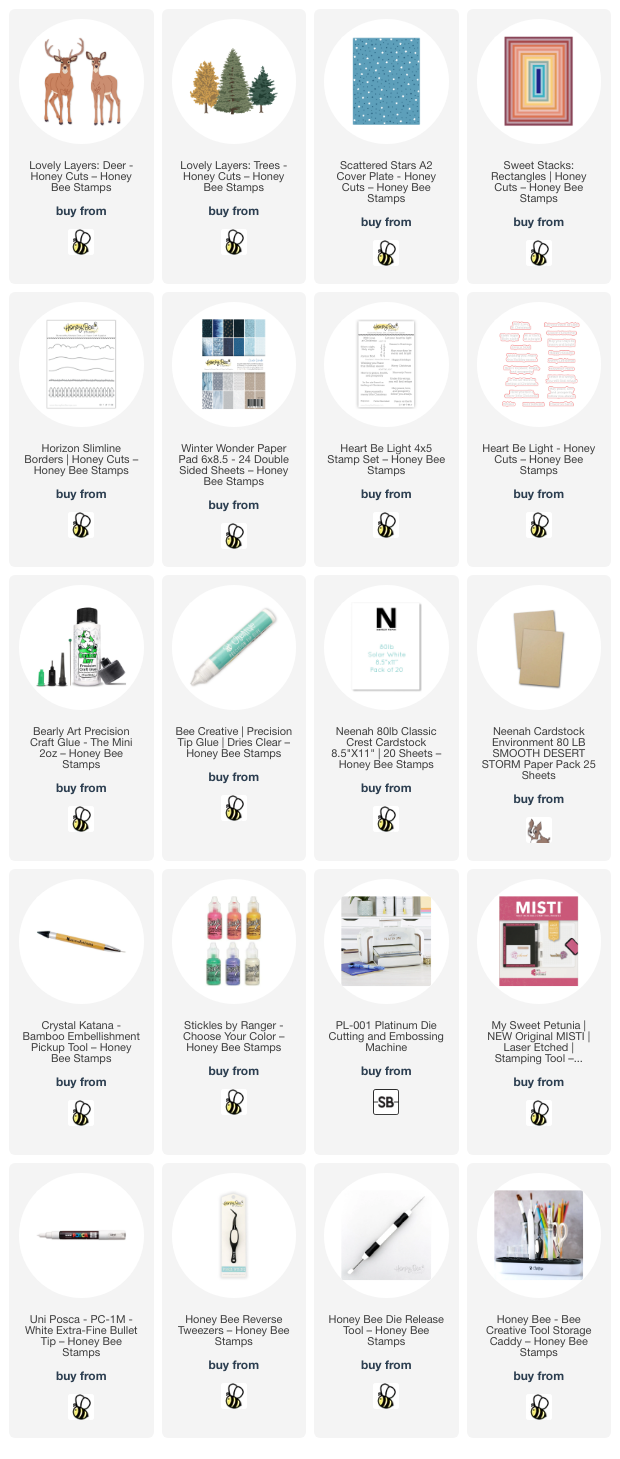
First I die cut the main layers of the Lovely Layers: Deer from Neenah Desert Storm cardstock.  The other small detail pieces are cut from 80# Neenah.  I used my Copic markers in various brown shades to color the deer. I used these markers: B15, B18, B23, B37, and B39. The layering guide, found in the product description, is very helpful for assembling your deer. I think these deer look so sweet!

Three of my go-to tools when assembling detailed dies like these are my reverse tweezers, my die release tool, and my Crystal Katana. These tools stay in front of me in my tool storage caddy at all times!

I used glue with a fine tip to assemble each sweet deer. I used a white paint pen to add a few extra details to the deer.

Next I created the A2 card base and the background layers. The papers in the Winter Wonder paper pad are so gorgeous and I chose two for my background layers. I die cut the tan snowflake paper with the largest Sweet Stacks: Rectangles and then with the Scattered Stars cover plate die. I glued that to my A2 white card base. I die cut the snowy hills with the hills die found in the Horizon Slimline Borders die set and glued them to the card base.

I die cut a set of Lovely Layers: Trees from 80# Neenah. I decided to keep them all white to keep the emphasis on the deer. Then I glued the tree layers together and adhered them to the card.

For the sentiment, I chose one from the Heart Be Light stamp set and stamped it with a coordinating brown ink. Then I cut it out with the coordinating die and popped it up on the card with foam tape.

I added lots of pretty sparkle with some Star Dust Stickles. I love the subtle sparkle this gives! (I wish photos did a better job of showing the sparkle!)

I really love how this turned out and hope you do too!  Thanks so much for stopping by today!

Thank you for using my affiliate links to shop (never any additional cost to you)!

Wednesday, June 14, 2023

Retirement Card Using Products in an Unexpected Way!

Happy Wednesday crafty friends! This retirement card I'm sharing today features a few new products from Honey Bee Stamps newest Adventure Awaits release along with some previously released products that I still love! When I was making this card, I was reminding myself that I (we) need to always look at the products for what they are, not what they may be called. Keep reading and you'll see what I'm talking about!


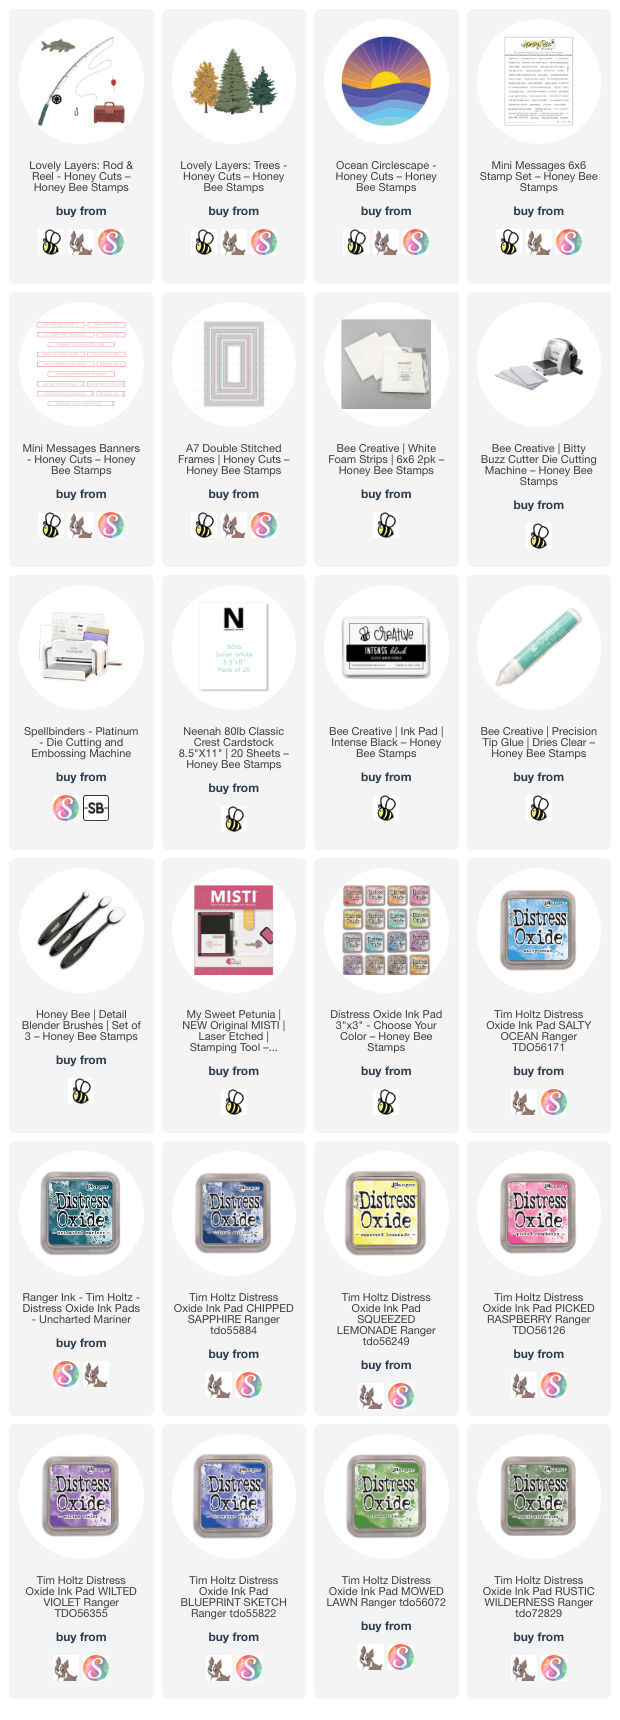
Here is the first example of looking just at the product, not at what the name of it is. I used the Ocean Circlescape Honey Cuts to create a small "lake" scene that would coordinate with the new Lovely Layers: Rod & Reel and the Lovely Layers: Trees!

After I die cut the Ocean Circlescape die from 80# Neenah, I added a few pieces of removable tape to the back of the "lake" layers for ease of ink blending. Then I used several Distress Oxide inks and my Detail Blending brushes to color the lake and sunset. For the lake I used: Chipped Sapphire, Uncharted Mariner, and Salty Ocean. I added some water splatters and white paint splatters to the waves. For the sunset I used: Squeezed Lemonade, Picked Raspberry, Wilted Violet and Blueprint Sketch. 

I cut a circle with a die from the Circlescape Shaker Frames Honey Cuts. Then I used Bee Creative glue to adhere the Ocean Circlescape to the die cut circle.

The Lovely Layers: Rod & Reel pieces were die cut from 80# Neenah and the rod portion from silver cardstock. I used a few Copic markers to color the rod pieces, tackle box, and the fish. I used glue to adhere the rod pieces together.

The Lovely Layers: Trees are also die cut from 80# Neenah and colored with Mowed Lawn, Rustic Wilderness, and Twisted Citron Distress Oxide inks. I colored the trunks with a brown Copic marker.

Here is the second example of looking at the product, not the name. I die cut a piece of paper from the Make It Merry paper pad with the largest A7 Double Stitched Frames die for the card base layer. It was the perfect color to coordinate with my card!

The sentiment strips from the new Mini Messages: Everyday are stamped with Intense black ink and die cut with the coordinating dies. The trees and sentiments have foam tape to pop them up a bit, and the other elements are adhered with glue.

I love combining new products with older favorites! And with this design and card style, just switch out the sentiment to make a birthday, Father's Day, or other masculine card.

I hope you've found inspiration today for looking at your Honey Bee goodies in a different way! If you give this a try, I hope you'll share it over on the Honey Bee Buzzworthy Facebook group (you can share any card made with Honey Bee products in addition to the challenge cards) and tag me--I'd love to see what you create! Thank you so much for stopping by!

Thank you very much for using my affiliate links (never any additional cost to you)!