Showing posts with label Retirement card. Show all posts

Wednesday, July 2, 2025

Firepit and S'Mores Retirement Card With Honey Bee Stamps New Release

Hello crafty friends!!  Today I'm sharing the first card I've made with Honey Bee Stamps awesome new Sawdust and Saddles release!  This is such a fun and unique release and you should definitely check it out!!  And how about a fire pit with s'mores and a beautiful sunset sky--how wonderful that would be!

I created the background layer by first stamping two of the cactuses from the On The Range stamp set onto a 4-¼" x 5-½" white cardstock panel.  I stamped both in a green ink, then stamped them again on masking paper.  After I used my scissors to cut out the masks, I put the masks over the cacti.  (I did stamp one more of the round cactus on white cardstock and cut it out with my scissors.)  All three cactuses are colored with Copic markers.

I used my scissor to cut a strip of more masking paper into a slight hill shape.  I took the bottom mask and placed it just slightly above center on the cardstock.  Then I used blender brushes to blend on Distress Inks creating a sunset.  I used these colors:  Mustard Seed, Wild Honey, Faded Jeans, and Chipped Sapphire.  I added just a bit of Black Soot around the edges.

Before I moved on, I added white paint splatters for stars on the blue sky.

I placed the upper strip of masking tape over the inked sunset sky.  Then I blended on Antique Linen Distress Ink over the entire bottom for a sand look.  I added Gathered Twigs just around the edges.  I added splatters with a paint brush with diluted Gathered Twigs Distress Ink to give the look of small rocks.

Next I die cut all of the pieces of the Lovely Layers: Fire Pit from 80# white cardstock.  I used various Copic markers to color the pieces.  Then I used Bee Creative glue to adhere all of the layers together.  I assembled the fire pit pieces with glue and adhered them to the card with foam tape.  How fun is it that there are dies for roasting marshmallows and dies to make a s'mores?!!!

The sentiments are from the fun new Nailed It stamp set.  After I stamped them with black pigment ink, I cut them out with the coordinating dies.  I used some foam tape strips to adhere them to the card.

This is such a unique release!  I love the sentiments that are a bit "punny" too!  Check it all out over at Honey Bee's shop!

Thank you so much for stopping by today!  I hope your day is wonderful and filled with lots of crafty time!


Wednesday, July 31, 2024

Framed Beach Scene Retirement Card

Hello crafty friends! What would be better than a long trip to the beach to celebrate a retirement? I sure don't know! That thought was my inspiration for this framed beach scene card that features one of my favorites from the latest Honey Bee Stamps release, the Palm Beach Cover Plate and the coordinating Palm Beach stencils.

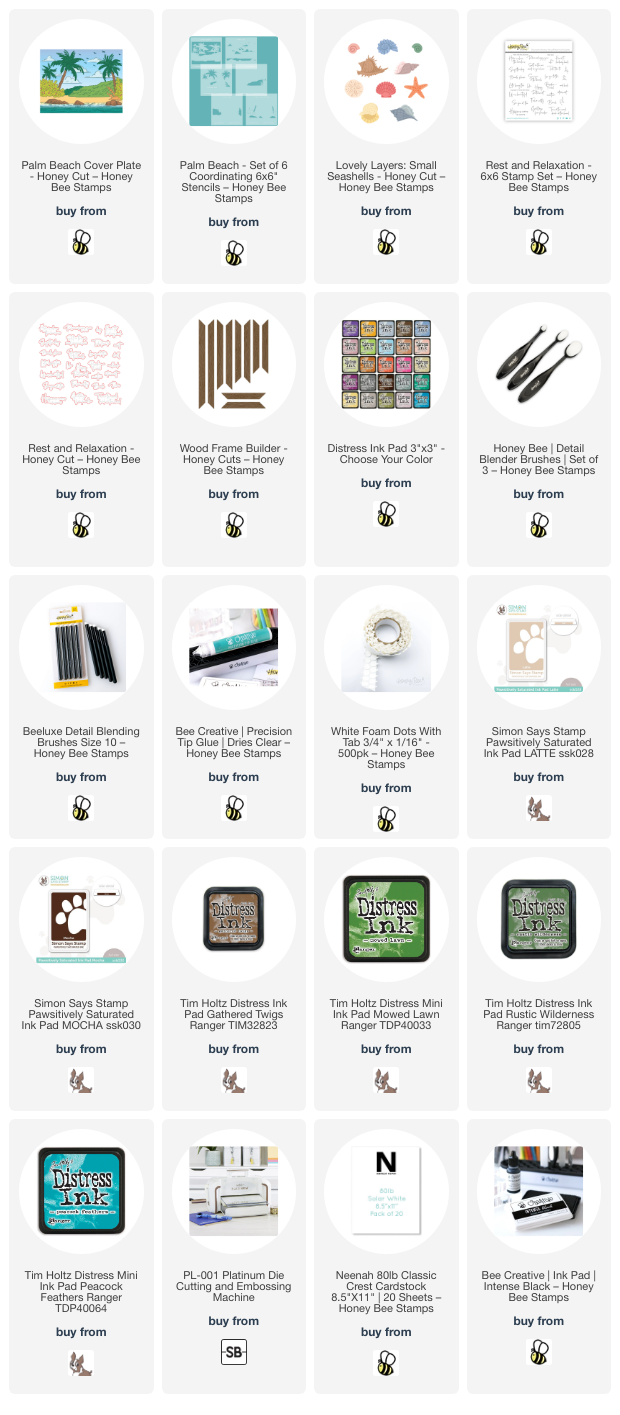
I began by running the Palm Beach Cover Plate die through my die cutting machine with 80# white cardstock. Then I used each of the coordinating stencils to color this beautiful scene with Blender Brushes and various inks. I used a few inks in my stash (linked below) and some Distress Inks. The Distress Inks I used are Peacock Feathers, Mowed Lawn, Rustic Wilderness, Black Soot, and Gathered Twigs.

Next I die cut 110# white card stock with the Wood Frame Builder dies. After I glued the stenciled scene to my A2 card base, I used glue to adhere the frame pieces to the card.

To add a few embellishments to my framed beach scene, I die cut 110# cardstock with the Lovely Layers: Small Seashells dies. I also colored these with Blender brushes and a few inks in my stash. Then I used glue to adhere three of the seashells at the corner of the frame and a foam dot to adhere the sand dollar.

I stamped the sentiment from the Rest & Relaxation stamp set with black ink and cut it out with the coordinating die. To accommodate the extra height added by the seashells, I added a double layer of foam strips to the right side of the sentiment. I added a bit of glue to the back left of the sentiment to adhere it.

I love how quick and easy it was to make this card! I hope you've found some inspiration here too. I appreciate you stopping by and hope you have a wonderful day!

Thank you for using my affiliate links to shop (never any additional cost to you)!

Wednesday, June 14, 2023

Retirement Card Using Products in an Unexpected Way!

Happy Wednesday crafty friends! This retirement card I'm sharing today features a few new products from Honey Bee Stamps newest Adventure Awaits release along with some previously released products that I still love! When I was making this card, I was reminding myself that I (we) need to always look at the products for what they are, not what they may be called. Keep reading and you'll see what I'm talking about!


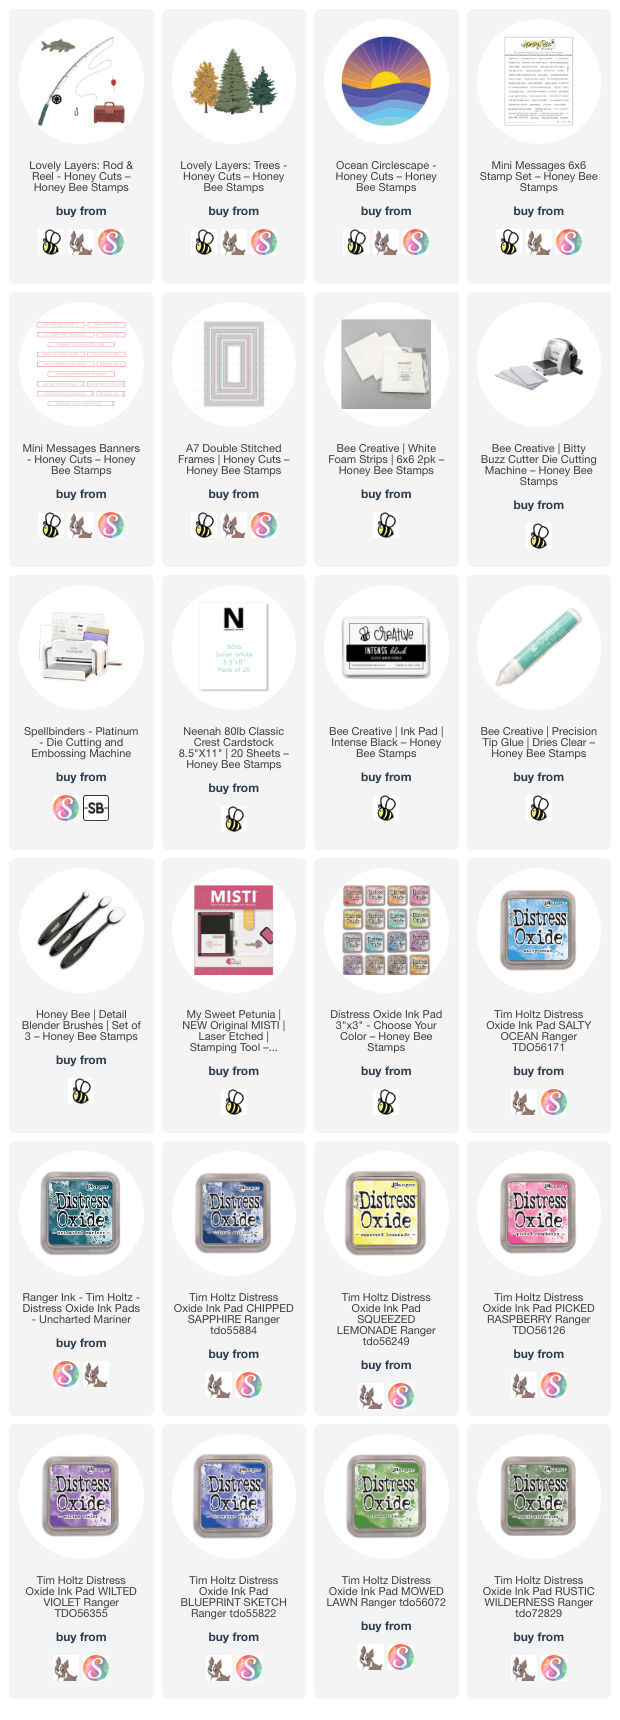
Here is the first example of looking just at the product, not at what the name of it is. I used the Ocean Circlescape Honey Cuts to create a small "lake" scene that would coordinate with the new Lovely Layers: Rod & Reel and the Lovely Layers: Trees!

After I die cut the Ocean Circlescape die from 80# Neenah, I added a few pieces of removable tape to the back of the "lake" layers for ease of ink blending. Then I used several Distress Oxide inks and my Detail Blending brushes to color the lake and sunset. For the lake I used: Chipped Sapphire, Uncharted Mariner, and Salty Ocean. I added some water splatters and white paint splatters to the waves. For the sunset I used: Squeezed Lemonade, Picked Raspberry, Wilted Violet and Blueprint Sketch. 

I cut a circle with a die from the Circlescape Shaker Frames Honey Cuts. Then I used Bee Creative glue to adhere the Ocean Circlescape to the die cut circle.

The Lovely Layers: Rod & Reel pieces were die cut from 80# Neenah and the rod portion from silver cardstock. I used a few Copic markers to color the rod pieces, tackle box, and the fish. I used glue to adhere the rod pieces together.

The Lovely Layers: Trees are also die cut from 80# Neenah and colored with Mowed Lawn, Rustic Wilderness, and Twisted Citron Distress Oxide inks. I colored the trunks with a brown Copic marker.

Here is the second example of looking at the product, not the name. I die cut a piece of paper from the Make It Merry paper pad with the largest A7 Double Stitched Frames die for the card base layer. It was the perfect color to coordinate with my card!

The sentiment strips from the new Mini Messages: Everyday are stamped with Intense black ink and die cut with the coordinating dies. The trees and sentiments have foam tape to pop them up a bit, and the other elements are adhered with glue.

I love combining new products with older favorites! And with this design and card style, just switch out the sentiment to make a birthday, Father's Day, or other masculine card.

I hope you've found inspiration today for looking at your Honey Bee goodies in a different way! If you give this a try, I hope you'll share it over on the Honey Bee Buzzworthy Facebook group (you can share any card made with Honey Bee products in addition to the challenge cards) and tag me--I'd love to see what you create! Thank you so much for stopping by!

Thank you very much for using my affiliate links (never any additional cost to you)!

Wednesday, August 10, 2022

Ocean Scene Retirement Card

 Hello crafty friends!  Today I'm sharing a beautiful retirement card that features Honey Bee Stamps awesome Seaside Summer stamp set!  I also added some pieces from the Shoreline Scene Builder dies to add extra dimension to my ocean scene.  Join me for the steps to make this card as I dream of being at the beach!!!

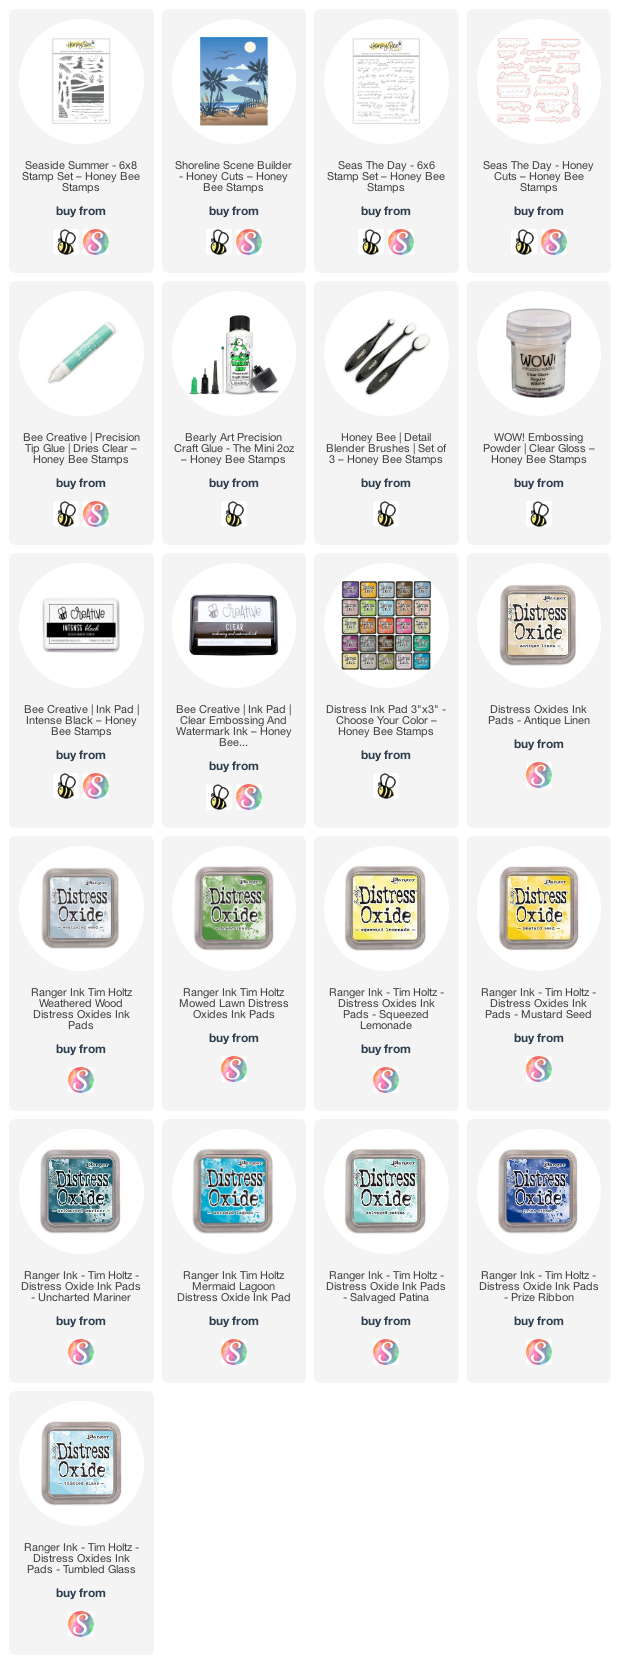
I began by creating my ocean scene using the Seaside Summer set.  All inks used are Distress Oxide inks. I also used my MISTI for all of the stamping so I could repeat the stamping as needed.

  • Stamp the bottom sand dune with Antique Linen.
  • I used a brayer to add Antique Linen to the second sand dune layer to make it appear lighter.
  • Stamp the top sand dune layer.
  • Stamp the shadows of the top sand dunes with Brushed Corduroy.
  • Use an ink blender brush or sponge dauber to color in the sand that will be between the dunes and the water.
Be sure to let these inks dry before beginning the next steps.  I used my heat tool, because I'm a tad bit impatient! LOL!

  • Plan where to position the grasses on the card.
  • Treat the cardstock with an anti static pouch.
  • Stamp the grasses with Mowed Lawn.
  • Then stamp with clear embossing ink, add clear embossing powder, and heat set.
  • Stamp the fences with Weathered Wood.
  • Stamp with clear embossing ink, add clear embossing powder, and heat set.

  • Stamp the ocean with Uncharted Mariner, Mermaid Lagoon, and Salvaged Patine.  Use a towel or ink blending brush to smooth out any hard lines between the color so the colors will blend.
  • Stamp the sun with Squeezed Lemonade and heat emboss with clear embossing powder.  
  • Mask off the ocean with some masking tape.  Use ink blender brushes to blend on Mustard Seed, Squeezed Lemonade, Tumbled Glass, and Mermaid Lagoon.
  • Note:  After I inked the sky, the sun didn't show up anymore!  So I stamped the sun again with clear embossing ink and heat embossed Bee Sweet embossing powder over it.
  • Trim the panel to 3-¾" x 5".
Next I die cut some of the pieces from the Shoreline Scene Builder Honey Cuts and colored them with a few Copic Markers.  I adhered them with small pieces of foam tape and also Bee Creative glue.  The sentiment from the Seas The Day set is stamped with black ink and die cut with the coordinating die.  I popped it up with foam tape.  I adhered the panel to a 4" x 5-¼" piece of cardstock that I inked the edges of in Mermaid Lagoon Distress Oxide.  The panels are then glued to an A2 card base.

Check out the wax seals I made using the new Vitamin Sea Wax Melts and the Seashell Wax Stamper. These are so fun to make! I use my heat tool to melt the wax in the Wax Melting Spoon and pour them out onto a silicone mat. This way, if I mess it up, I won't have ruined an envelope. I just use a very strong adhesive like Glue Dots to attach them when I want to use one.

I wish it showed in the photos, but I did add some sparkle with a clear glitter pen to the white parts of the waves.

I hope you enjoyed my trip to the beach with my card today!  Have a wonderful, crafty day!  As always, thank you so much for stopping by!