Showing posts with label Seas The Day stamps. Show all posts

Wednesday, July 5, 2023

Summer Cabin Beach Scene Dimensional Card

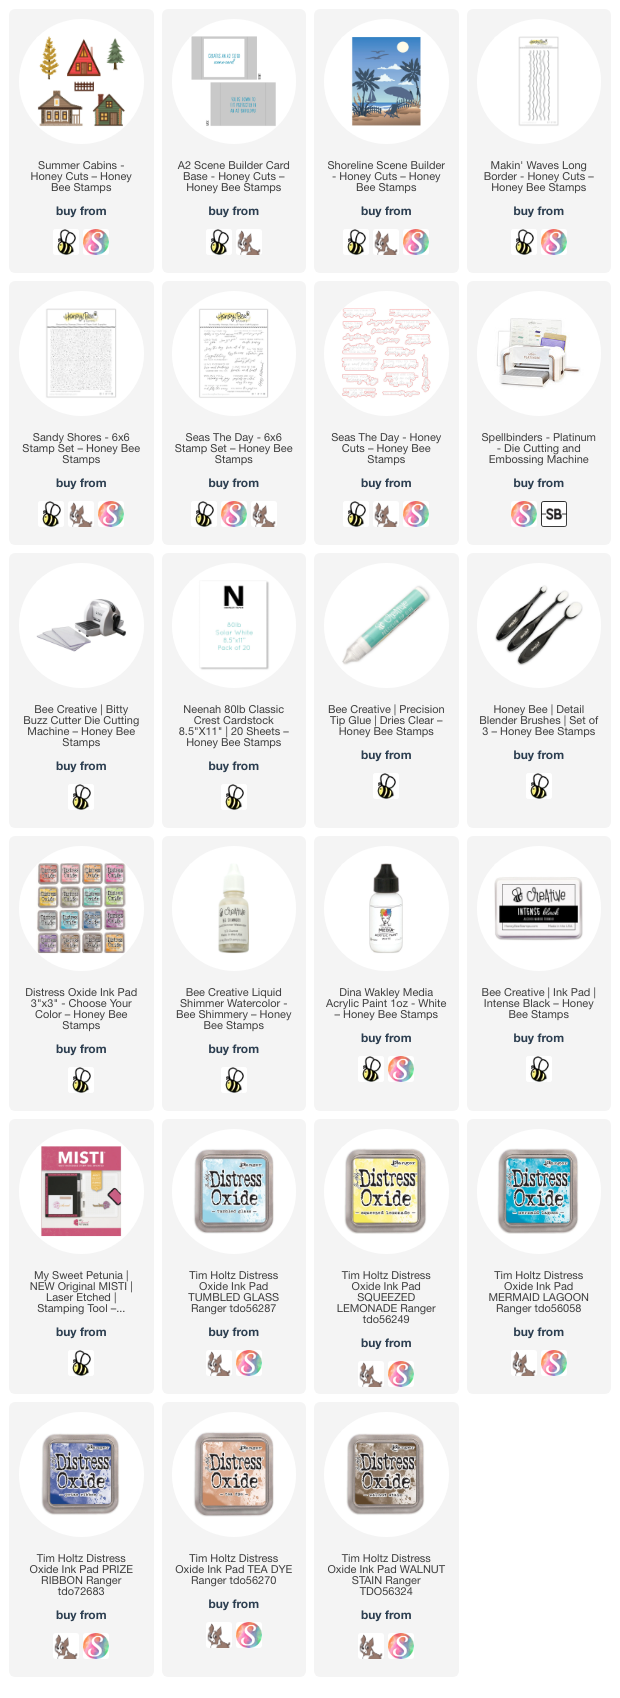
 Hello crafty friends!! Today I'm sharing another way to create a different scene with my favorite Honey Bee Stamps Summer Cabins! It's super hot here now and I wish I had a beach trip planned, (but I don't) so I'll just pretend with this fun beach scene card!

I began by die cutting teal and white cardstock with the two dies in the A2 Scene Builder Card Base set. Next I die cut two strips of white cardstock with two of the waves dies in the Makin' Waves Borders Honey Cuts. I used blender brushes to add Mermaid Lagoon to one strip and Prize Ribbon Distress Oxide ink to the other. I trimmed these strips to 5" wide and one to about 1" tall and the other 1-½" tall. I scored the ends at ¼".

Before I adhered them to the teal frame, I splattered on diluted white paint and some Bee Shimmery liquid shimmer watercolor for some fun sparkle. I added 1/8" double sided tape to the scored tabs to secure the layers to the scene. I created the layer of sand by stamping beige cardstock with the Sandy Shores Background stamp and Tea Dye and Walnut Stain Distress Oxide inks. I hand-trimmed the piece and used my trimmer to cut it to 4-½" and then glued it directly to the back of the frame.

Before I glued on the back of the Card Base I created the other elements for the scene. (I find it easier to glue them in place without the Card Base back adhered.) I chose this cute little cabin from the Summer Cabins Honey Cuts for my scene. I die cut the layers from yellow and teal cardstock and use Bee Creative glue to adhere the pieces. Using your reverse tweezers to place the pieces makes it super easy!

See the little "bushes" in front of the cabin? Well, actually I die cut them using the tiny cloud die in the Shoreline Scene Builder Honey Cuts! This set also is where the palm tree, sailboat and birds are from. I die cut the pieces from white cardstock and used a few Copic markers to color them.

Next I added color to the back of the Card Base by inking on Mustard Seed and Squeezed Lemonade Oxide inks for the sun. I inked on Tumbled Glass Oxide for the sky.

I used glue to adhere the cabin, palm tree, and saiboat to the card layers as shown. Then I folded the back of the Card Base at the score lines and used glue to adhere it to the sides of the card front.

I stamped the sentiment from the Seas The Day stamp set in black ink and cut it out with the coordinating die. Then I glued it and the birds to the back.

I just love that I thought of another scene for the Summer Cabins! I sure hope you've found inspiration too, and thank you so much for stopping by today!

Thank you so much for using my affiliate links to shop (never any additional cost to you)!

Wednesday, August 17, 2022

Serene Beach Scene Card

Hello friends! Today I'm sharing my card that features a piece of beautiful, and so dreamy, paper from Honey Bee Stamps' new Vitamin Sea paper pad! And can you believe I've never used the fun Sand Castle Builder Honey Cuts? It's a great time to use them with some of the newest ocean themed Honey Bee products. Keep reading for all the details!  (If you're on Instagram, I started making reels to go with some of my cards and I have one for this one.  Click HERE to see a bit of my creating this card!)

First I created my card base by die cutting this patterned paper from the Vitamin Sea paper pad with a Sweet Stacks: Rectangles die. (Don't you love the new 6" x 8-½" size?!!) I adhered the paper to an A2 card with Bee Creative glue.

Next I used a detail blender brush to ink up a piece of 80# Neenah with Antique Linen Distress Oxide ink. Then I put the piece into my MISTI and stamped it with the Sandy Shores Background stamp and Antique Linen Distress Ink--not Oxide--as I found this ink stamped a bit darker. Then I die cut the panel with the Sand Castle Builder Honey Cuts. I didn't use all of the sand castle pieces, but now I have extras for another card. I added them to the card with foam squares.

I created more pieces for my scene by die cutting some of the dies from the Shoreline Scene Builder Honey Cuts from 80# Neenah. I used some Copic markers to color them and the sand castle flag. The Copic colors are:  palm trees and grass: G14, YG09, YG11, E39, E37, E35; sailboat and flag: BG53, B00, C3, C1, C00.

I used my scissors to cut foam squares in half and added them to the back of the trees, grass and sailboat to adhere them to the card. I used Bee Creative glue to adhere the seagulls. A Micron 005 pen made it easy to add the beak and eye details to the seagulls.

I stamped the sentiment from the Seas The Day set with Intense Black ink. Then I cut it out with the coordinating die. I popped this up with foam strips. (Yes, I do like dimension on my cards--Haha!) I'm amazed at the beauty of the patterned paper and how it makes such an easy, and beautiful, card!

I just love the calm and serenity this card evolves. This card could be used for several different occasions, depending on what you write inside. Thank you so much for stopping by today! Have a wonderful, crafty day!

Wednesday, August 10, 2022

Ocean Scene Retirement Card

 Hello crafty friends!  Today I'm sharing a beautiful retirement card that features Honey Bee Stamps awesome Seaside Summer stamp set!  I also added some pieces from the Shoreline Scene Builder dies to add extra dimension to my ocean scene.  Join me for the steps to make this card as I dream of being at the beach!!!

I began by creating my ocean scene using the Seaside Summer set.  All inks used are Distress Oxide inks. I also used my MISTI for all of the stamping so I could repeat the stamping as needed.

  • Stamp the bottom sand dune with Antique Linen.
  • I used a brayer to add Antique Linen to the second sand dune layer to make it appear lighter.
  • Stamp the top sand dune layer.
  • Stamp the shadows of the top sand dunes with Brushed Corduroy.
  • Use an ink blender brush or sponge dauber to color in the sand that will be between the dunes and the water.
Be sure to let these inks dry before beginning the next steps.  I used my heat tool, because I'm a tad bit impatient! LOL!

  • Plan where to position the grasses on the card.
  • Treat the cardstock with an anti static pouch.
  • Stamp the grasses with Mowed Lawn.
  • Then stamp with clear embossing ink, add clear embossing powder, and heat set.
  • Stamp the fences with Weathered Wood.
  • Stamp with clear embossing ink, add clear embossing powder, and heat set.

  • Stamp the ocean with Uncharted Mariner, Mermaid Lagoon, and Salvaged Patine.  Use a towel or ink blending brush to smooth out any hard lines between the color so the colors will blend.
  • Stamp the sun with Squeezed Lemonade and heat emboss with clear embossing powder.  
  • Mask off the ocean with some masking tape.  Use ink blender brushes to blend on Mustard Seed, Squeezed Lemonade, Tumbled Glass, and Mermaid Lagoon.
  • Note:  After I inked the sky, the sun didn't show up anymore!  So I stamped the sun again with clear embossing ink and heat embossed Bee Sweet embossing powder over it.
  • Trim the panel to 3-¾" x 5".
Next I die cut some of the pieces from the Shoreline Scene Builder Honey Cuts and colored them with a few Copic Markers.  I adhered them with small pieces of foam tape and also Bee Creative glue.  The sentiment from the Seas The Day set is stamped with black ink and die cut with the coordinating die.  I popped it up with foam tape.  I adhered the panel to a 4" x 5-¼" piece of cardstock that I inked the edges of in Mermaid Lagoon Distress Oxide.  The panels are then glued to an A2 card base.

Check out the wax seals I made using the new Vitamin Sea Wax Melts and the Seashell Wax Stamper. These are so fun to make! I use my heat tool to melt the wax in the Wax Melting Spoon and pour them out onto a silicone mat. This way, if I mess it up, I won't have ruined an envelope. I just use a very strong adhesive like Glue Dots to attach them when I want to use one.

I wish it showed in the photos, but I did add some sparkle with a clear glitter pen to the white parts of the waves.

I hope you enjoyed my trip to the beach with my card today!  Have a wonderful, crafty day!  As always, thank you so much for stopping by!


Wednesday, July 13, 2022

Ocean Deep Scene Builder Dimensional Thank You Card

Hello Honey Bee Friends! Today I have this thank you card I made featuring the awesome Ocean Deep Scene Builder Honey Cuts. I used them in a different way by using the negative portion of the die cuts to make this dimensional, see-all-the-way-through, 5" x 7" card. Read on for the details!

First I created the card base layers. I dove deep (get the pun? LOL!) into my cardstock stash and chose four ombré shades of turquoise cardstock. Then I cut each piece into a 5" x 7" rectangle--EXCEPT the second to darkest shade which was cut to 5-¼" x 7". Use a score board to score it at ¼". Then beginning with the lightest shade of cardstock, I die cut it with the largest of the Ocean Deep Scene Builder dies. (Set the die cut pieces aside to use on another card.) I placed the next shade of cardstock behind the one I just die cut in order to get the second to largest Ocean Deep die positioned. I repeated these steps for each subsequent layer. 

Next I die cut the smallest Ocean Deep die with another piece of the darkest cardstock. To make that last piece stand out, I used an ink blender brush to add Uncharted Mariner Distress Ink over it.

To assemble the card, first I took the scored layer and added Bee Creative glue just along the ¼" scored piece of the layer and folded it over the edge of the darkest cardstock to the back. While that was drying I added foam tape to the back of the top three layers and adhered them to the card, ending with the largest opening on top.

That's the order I made this card in.  However!! Notice the stenciling? It would be LOTS easier to stencil that layer with the top layer of the Layered Waves stencil set before adhering!! I managed to add the Salvaged Patina Distress Oxide ink without making a mess after I had adhered the layers. Whew! Haha!

Next I die cut all of the underwater elements also in the Ocean Deep Scene Builder set from 80# Neenah. I used (way too many to list here) Copic markers to color each one. I added details such as the eyes of the fish and turtle with a black Micron 05 pen.

Then I had fun arranging the plants and animals on the card throughout the layers. I adhered each on with Bee Creative glue. Check out this next photo that shows what the card looks like when it's open.


I stamped the sentiment from the Seas The Day stamp set with Intense Black ink and then used the coordinating Honey Cut to cut it out. I glued it to the inside of the card making sure it was centered when looking at the closed card.

Of course, I needed some bling on the card! There are two shades of gem stickers in the Bee Bliss Gem Sticker set that coordinating perfectly! 

This card was so fun to make! It reminds me of snorkeling in clear blue waters and seeing the beautiful life in the waters! Thank you so much for stopping by!!

Wednesday, July 6, 2022

Friends Are Like Seashells We Collect

Happy Wednesday!! Today I have a card I made that features the beautiful new Lovely Layers: Seashore Honey Cuts. This is one of many fabulous new products in the Perfect Day release. Since the beach/ocean is one of my very favorite places, I couldn't wait to have a play with these beautiful dies!

First I used the new Waves Pierced A2 Cover Plate die to add the pierced waves to 80# Neenah cardstock. Then I used blender brushes to ink up the piece with Distress Inks. I used Mermaid Lagoon, Salty Ocean, and Uncharted Mariner. I used Bee Creative glue to add it to an A2 card base.  (All supplies are linked below.)

Next I die cut all of the pieces in the Lovely Layers: Seashore die set from 80# Neenah. Then I used the tan rubber embossing mat to get even more detail from the etched lines of the dies. This really does deepen the embossed lines even more than the die cutting does! I used various Copic markers to color the shells and sea grass. If you need a guide for the layers, check out the images over on the product page. I placed thin foam squares between each layer for extra dimension.

I arranged the images and popped some up with foam dots and adhered the others with Bee Creative glue.

To finish up, I stamped the sentiment from the new Seas The Day stamp set in black ink. I die cut it with the coordinating Honey Cut, then popped it up with foam dots. I added a bit of bling by gluing on a few small Clear Dew Drops.

Be sure to check out all of the other beautiful new ocean themed sets over in the Honey Bee shop! (The new wedding, florals, and baby sets are just as awesome too!) Thank you so much for stopping by--have a wonderful day!