
Hello crafty friends! Today I'm sharing a beautiful retirement card that features Honey Bee Stamps awesome Seaside Summer stamp set! I also added some pieces from the Shoreline Scene Builder dies to add extra dimension to my ocean scene. Join me for the steps to make this card as I dream of being at the beach!!!

I began by creating my ocean scene using the Seaside Summer set. All inks used are Distress Oxide inks. I also used my MISTI for all of the stamping so I could repeat the stamping as needed.
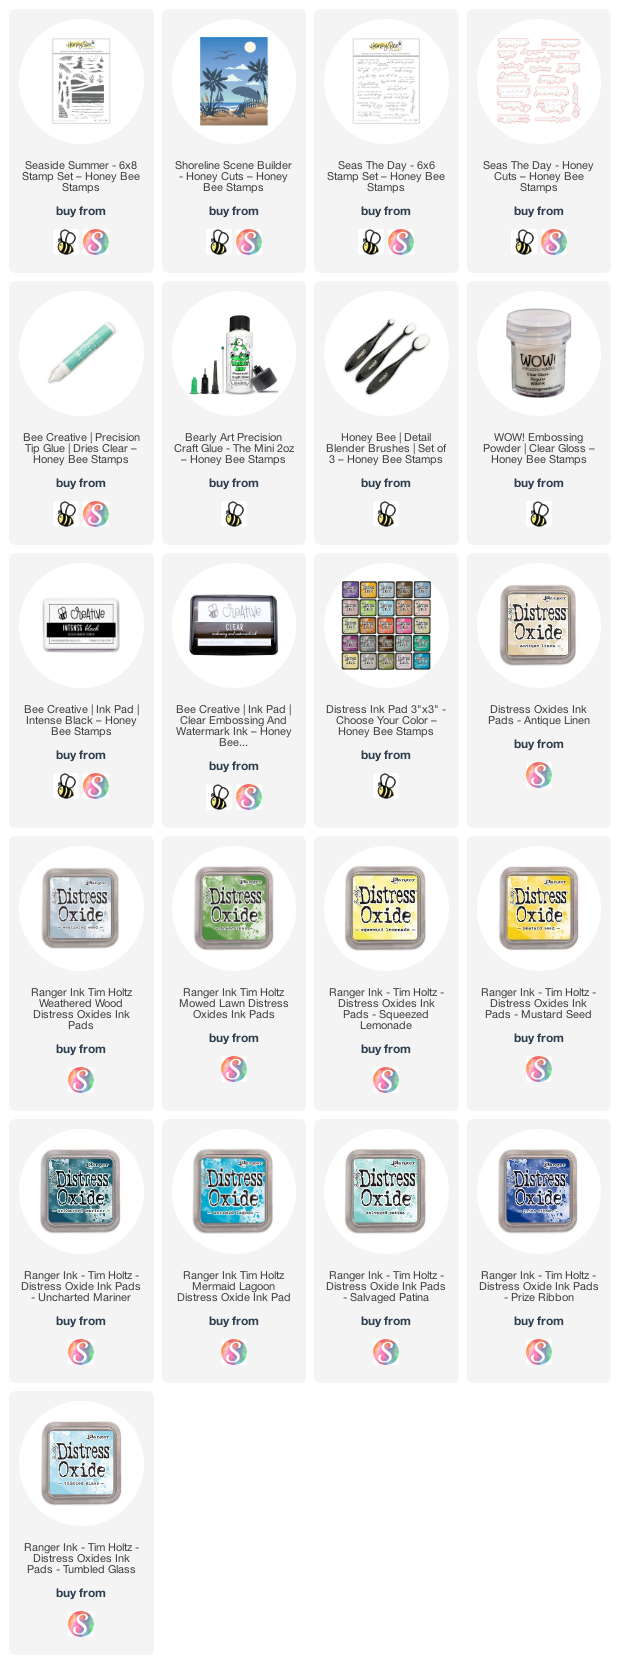
- Stamp the bottom sand dune with Antique Linen.
- I used a brayer to add Antique Linen to the second sand dune layer to make it appear lighter.
- Stamp the top sand dune layer.
- Stamp the shadows of the top sand dunes with Brushed Corduroy.
- Use an ink blender brush or sponge dauber to color in the sand that will be between the dunes and the water.
- Plan where to position the grasses on the card.
- Treat the cardstock with an anti static pouch.
- Stamp the grasses with Mowed Lawn.
- Then stamp with clear embossing ink, add clear embossing powder, and heat set.
- Stamp the fences with Weathered Wood.
- Stamp with clear embossing ink, add clear embossing powder, and heat set.

- Stamp the ocean with Uncharted Mariner, Mermaid Lagoon, and Salvaged Patine. Use a towel or ink blending brush to smooth out any hard lines between the color so the colors will blend.
- Stamp the sun with Squeezed Lemonade and heat emboss with clear embossing powder.
- Mask off the ocean with some masking tape. Use ink blender brushes to blend on Mustard Seed, Squeezed Lemonade, Tumbled Glass, and Mermaid Lagoon.
- Note: After I inked the sky, the sun didn't show up anymore! So I stamped the sun again with clear embossing ink and heat embossed Bee Sweet embossing powder over it.
- Trim the panel to 3-¾" x 5".
Check out the wax seals I made using the new Vitamin Sea Wax Melts and the Seashell Wax Stamper. These are so fun to make! I use my heat tool to melt the wax in the Wax Melting Spoon and pour them out onto a silicone mat. This way, if I mess it up, I won't have ruined an envelope. I just use a very strong adhesive like Glue Dots to attach them when I want to use one.

I wish it showed in the photos, but I did add some sparkle with a clear glitter pen to the white parts of the waves.

I hope you enjoyed my trip to the beach with my card today! Have a wonderful, crafty day! As always, thank you so much for stopping by!
Wonderful card...love that palm tree and fence leading to the shore! Your colors are lovely and inviting!☺
ReplyDelete