Happy Friday crafty friends! Today I'm sharing my card that's part of an Instagram hop to celebrate Honey Bee Stamps new Adventure Awaits release! I've used another gorgeous set in the Lovely Layers line called Lovely Layers: Water Lily!
(THIS HOP HAS CONCLUDED.) I hope you'll pop over to the Instagram hop where I have the complete hop list. There will be two commenters chosen to receive a $50 gift card to Honey Bee's shop!!
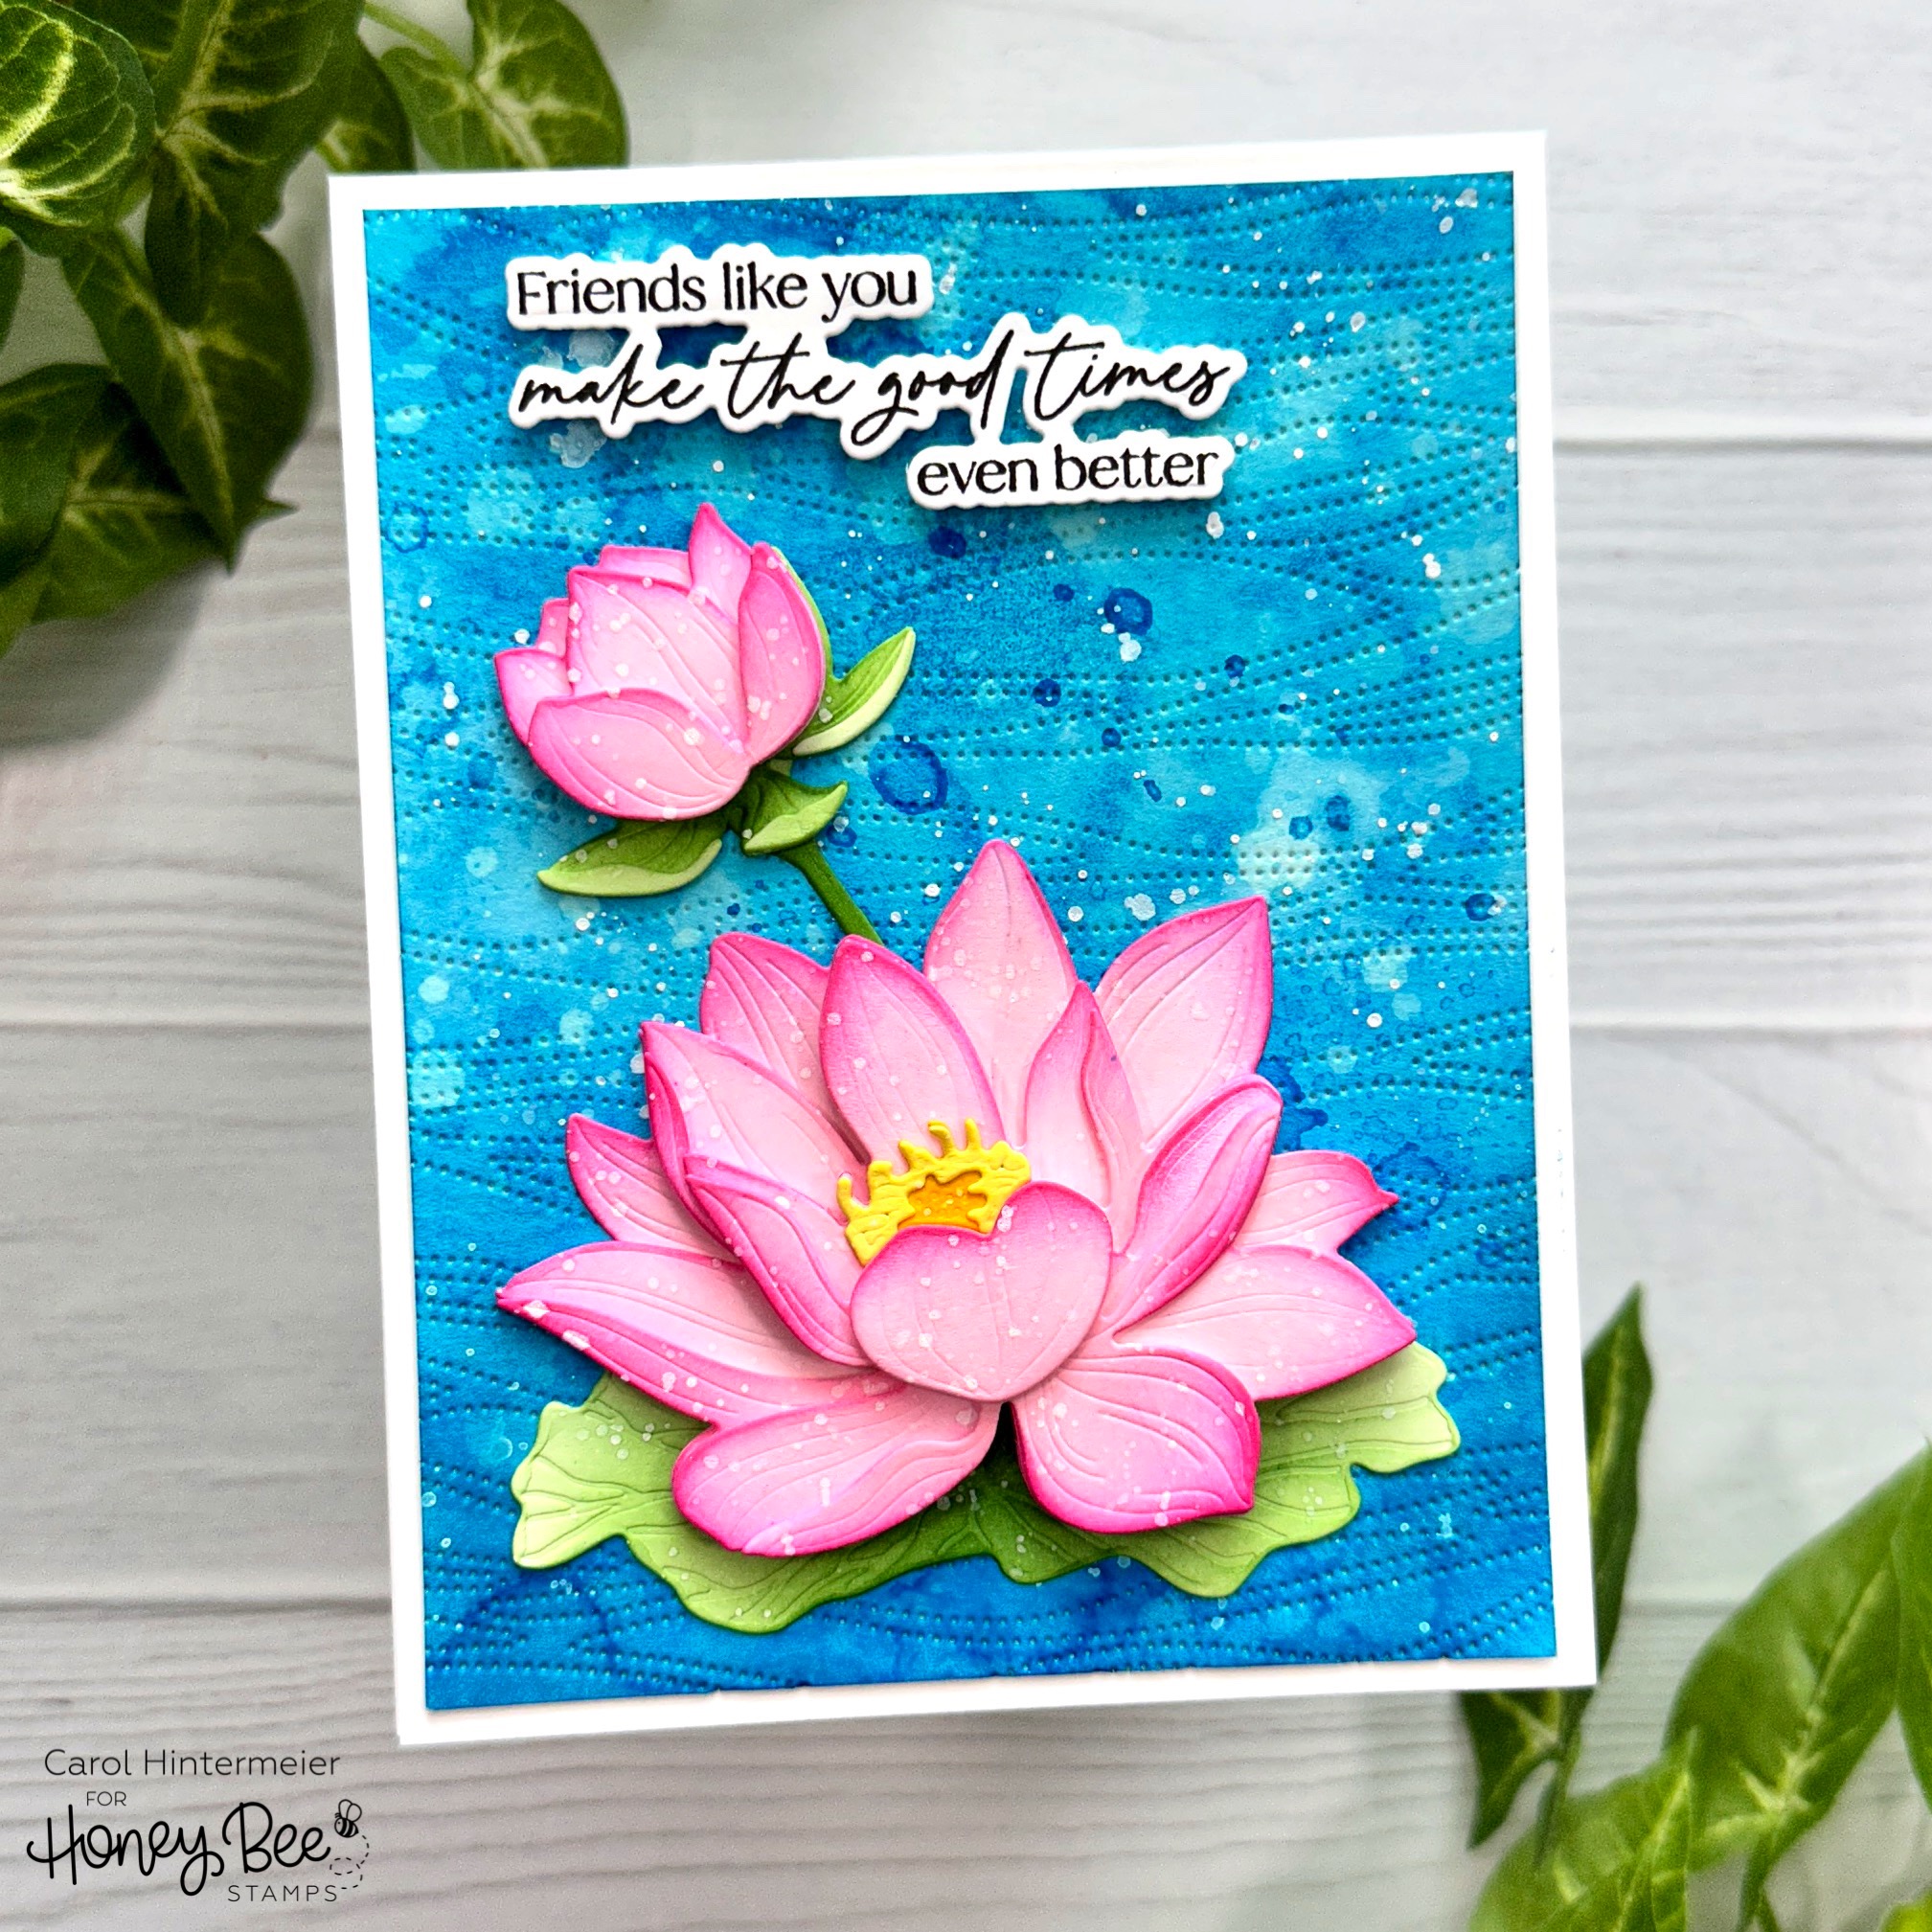
First I created my inky water-like background. I smooshed Salty Ocean and Mermaid Lagoon Distress inks onto my craft mat. I spritzed the ink with water and smooshed a piece of watercolor cardstock into the ink. I dried it with my heat tool, and repeated the steps until I had the look I wanted.
Next I ran the piece through my die cutting machine with the Waves Pierced A2 Cover Plate die. Then I trimmed it to A2 size. I decided to add more of a watery look by first sprinkling on water drops then blotting them up with a clean paper towel. Next I added some small splatters of white paint that I diluted with water.
TIP: I recently discovered white paint that even when diluted will NOT pick up the Distress Ink (or any other ink) colors. I've tried gouache, acrylic, and gel pens and those would all eventually pick up the blue shade. This fabulous paint is called Dr. Ph. Martin's Bleed Proof White and I've found it on Amazon and at Blick art supplies (who I trust for this type of product much more than Amazon).
When I was all dry, I used double-sided tape to adhere it to my card base.

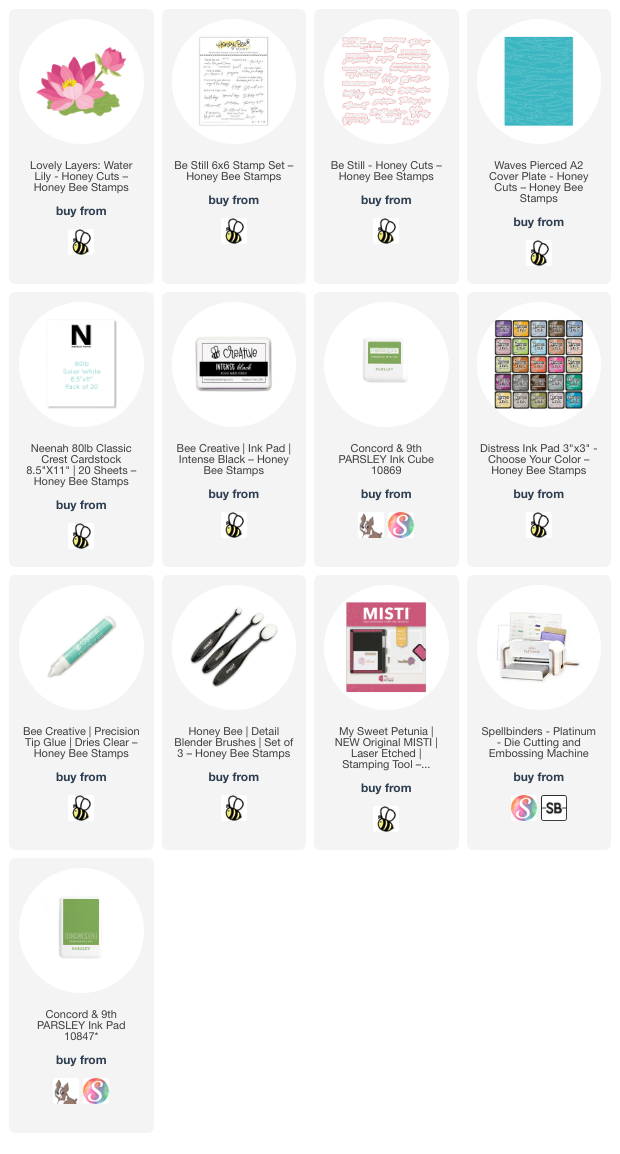
Next I die cut all of the pieces in the Lovely Layers: Water Lily die set from 80# Neenah. I used my ink blending brushes to add color to each piece with Distress Inks and Parsley green ink from Concord & 9th. The Distress Inks I used are: Picked Raspberry, Spun Sugar, Rustic Wilderness, Squeezed Lemonade, and Mustard Seed.
I used some of Honey Bee's thin foam strips to adhere each layer of the flower and bud together. This adds a lot of beautiful dimension, but doesn't make it too thick. I used Bee Creative glue to adhere the flowers to the greenery and then to the card.
I stamped the sentiment from the Be Still stamp set with black ink and cut it out with the coordinating die. I popped it up on the card with narrow foam strips.

I so enjoy creating inky backgrounds like this! And the Lovely Layers: Water Lily is super easy and quick to color and put together! I sure hope your Memorial Day weekend is a good one as we remember those who gave everything for our country.
Don't forget to stop by our inspirational Instagram hop! Thank you so much for stopping by!
Thank you for using my affiliate links to shop (never any additional cost to you)!