Showing posts with label Be Still stamps and dies. Show all posts

Wednesday, July 19, 2023

Birds and Blooms Birthday Card

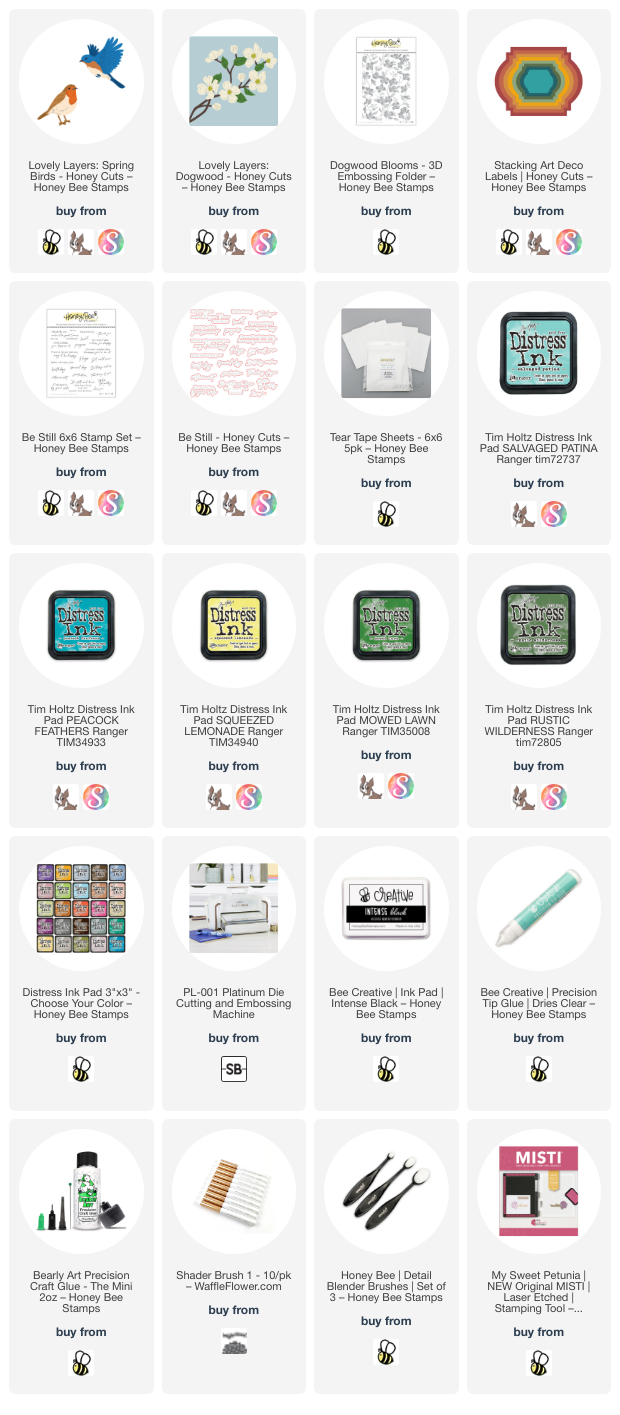
Hello crafty friends! It is so very hot where I am, and I'm longing for those cooler temperatures we had earlier in the year! That was definitely the influence for my card today with Honey Bee Stamps beautiful Lovely Layer: Winter Birds and the Lovely Layers: Dogwood in these cool, pretty colors!

First I created my card base and layers by embossing 80# Neenah with the Dogwood Blooms 3D embossing folder. I used Bee Creative glue to adhere the panel to an A2 card base. Then I die cut white cardstock with the largest Stacking Art Deco Labels die. I added foam tape to the back and adhered it to the card.

Next I die cut the pieces of one of the birds in the Lovely Layers: Winter Birds set. I die cut the main body piece from light yellow cardstock, two pieces from black cardstock, and the others from white cardstock. I used Detail Blender brushes to add Distress Inks to the pieces to color them. I used these Distress Inks: Scattered Straw, Wild Honey, and Lost Shadow. I used glue to assemble the sweet bird and then added a dot to the eye with a white gel pen.

I don't know if there is a pretty yellow bird like this in real life, but hey, with paper we can make our birds any color we'd like! LOL!

Next I added a Tear Tape Sheet to a piece of 80# Neenah. Then I die cut all of the pieces in the Lovely Layers: Dogwoodset twice from this piece. Again, I colored the pieces using blending brushes and Distress Inks. The colors I used are: Salvaged Patina, Peacock Feathers, Squeezed Lemonade, Mowed Lawn, and Rustic Wilderness. I used a brown Copic marker to color the branches of the die cut.

Since I added the Tear Tape sheet to the cardstock before die cutting, next all I need to do was just peel off the backer to adhere each flower and leaf to the branch. That makes it so easy!! I used glue to adhere the branches to the Art Deco Label. I trimmed off the excess of the branch that hung over the edge.

I stamped the sentiment from the Be Still stamp set with black ink. Then I cut it out with the coordinating die. I added a strip of narrow foam tape to the back to pop it up on the card. I added a couple thin foam dots to the back of the bird to adhere it to the card.

This card was super fun and easy to make, and I'm happy to have another birthday card for my stash! Thank you so much for stopping by today! I hope your week is good and filled with lots of crafty time!

Thank you very much for using my affiliate links to shop (never any additional cost to you)!
Wednesday, July 12, 2023

Birthday Card with a Flower-Filled Vintage Creel

Today I'm sharing a sweet birthday card where I've filled Honey Bee Stamps' Vintage Creel from the Adventure Awaits release with flowers and greenery! All of my card elements were colored via the "ink smooshing" technique? I really enjoy this technique! Keep reading to learn how I used a new type of ink to emphasize the embossed lines of Vintage Creel!

All of the elements for the Vintage Creel and the Lovely Layers: Spring Greenery were inked with Distress Inks onto Distress Watercolor Cardstock. Are you familiar with what I call "ink smooshing"? If not, the way I do this technique is to take my ink pad and "smoosh" it onto my glass craft mat. I use a water sprayer to mist water onto the inks. You just want a few sprays of water so the ink is not too diluted. Then take your piece of watercolor cardstock and dip into the ink. Pick it up and use your heat tool to completely dry the piece. Next, repeat the dip and dry steps as often as desired. Add more ink to your crafting surface as needed.

These are the Distress Inks I used for the creel and flowers:

  • Creel basket: Speckled Egg, Salvaged Patina, Antique Linen (white splatters are acrylic paint)
  • Creel trim: Gathered Twigs, Antique Linen
  • Greenery: lighter greens: Mowed Lawn, Twisted Citron; darker greens: Mowed Lawn Rustic Wilderness
  • Flowers: Milled Lavender, Seedless Preserves
Here's a closeup photo of the Spring Greenery pieces after I glued the layers together.

Before I assembled the Vintage Creel, I noticed that the embossed lines that the die adds were not really visible.  I suppose this was because of the various layers of ink on the cardstock.  I had an idea pop into my head and was asking myself "Will this work?"  So I tried it, and it worked!!

THE PROCESS:  Use the new ink formulated for the new Spellbinders BetterPress and tap it onto the Vintage Creel die in the same way the directions say for the BetterPress Plates.  I carefully placed the die cut piece back into the die, added removable tape, and ran it through my Platinum die cutting machine again.  I used the same sandwich as I would for die cutting.  AND, viola!  The Tawny Brown ink I used shows up subtly in the embossed lines of the Vintage Creel!!

I used dots of Bee Creative glue to tuck the Spring Greenery pieces into the Vintage Creel. Trim off the stems to shorten them as needed. I used very little glue as I wanted to have the dimension of the pieces naturally floating above the card.


For the card base I ran a piece of 80# Neenah through my die cutting machine with the Woodgrain 3D embossing folder. I glued the embossed piece to an A2 card base. Next I added glue to the back of the Vintage Creel and to a few of the flowers and adhered it to the card.

I stamped the sentiment from the Be Still stamp set in brown ink and cut it out with the coordinating die. I added a narrow strip of foam tape to the back to pop it up on the card.

If you need to add birthday cards to your stash, this is a fun one to make and did not take me very long either! Thanks so much for stopping by today! I hope the rest of your week is good and filled with lots of crafting!

I so appreciate you using my affiliate links to shop (never any additional cost to you)!

Wednesday, June 7, 2023

Woodsy Birthday Card with Embossing Folder Techniques

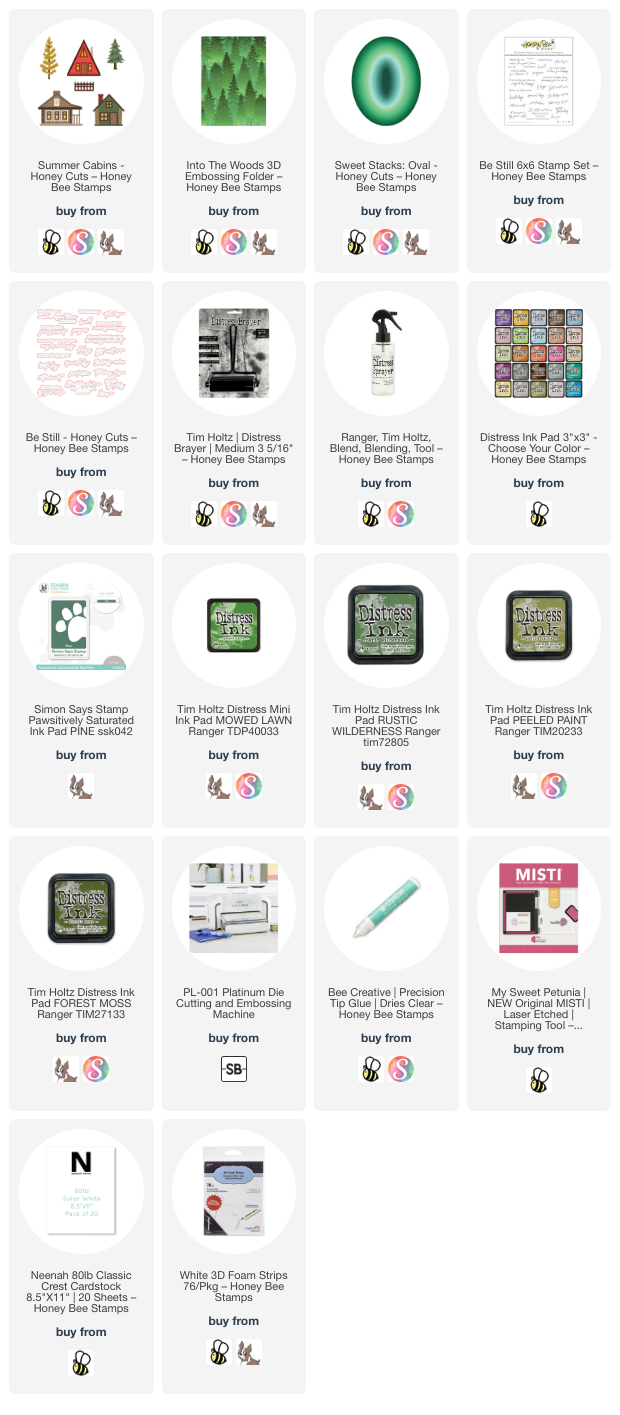
Hello Honey Bee friends!! I love ink smooshing watercolor panels anytime. But when you emboss that panel with an awesome embossing folder like the Into The Woods 3D embossing folder, it takes it to the next level!! Check out the details of how I made this woodsy card with the Summer Cabins that's great for a guy's birthday, but I know I'd love to get one like this too!

I also have a reel posted on my Instagram feed if you'd like to see some of the inky fun!

For the inky panel I used these Distress Inks: Mowed Lawn, Rustic Wilderness, Peeled Paint, and Forest Moss. I used a silicone mat and smooshed Peeled Paint and Forest Moss first. Just press each ink pad 3-4 times onto the mat. Then I used a water sprayer and spritzed water 4-5 times over the ink. I took a panel of watercolor cardstock and began to dip it.

Note: If you don't want ink to stain your fingers, be sure to use gloves. For the first layer, just press the cardstock into the ink two or three times. Use your heat tool to dry the ink. Then press it into the remaining ink and dry again. I repeated these steps with Mowed Lawn and Rustic Wilderness. As long as you dry between each dip into the ink, you will get beautiful layers.

Don't worry if you don't think it's perfect! Because with this next step it will turn into WOW! Take the Into The Woods embossing folder and use a brayer to roll on a dark green ink (I used Simon Says Stamp's Pine ink--linked below). Be sure to brayer the ink onto the side of the embossing folder that is the recessed area behind the trees.

Place your inky cardstock onto the non-inked side of the embossing folder. Carefully close the embossing folder closed and run it through your die cut machine with the suggested layers for embossing folders. I was totally amazed at the dimension this adds! Trim this to 4" x 5-¼" and adhere to an A2 card base.

Next I die cut one of the cabins in the Summer Cabins Honey Cuts from 80# Neenah. I used Copic markers to color all of the pieces. Here's a list of the colors I used:

  • Green pieces: G29, G28, G94, G24
  • Browns: E59, E57, E25
  • Chimney and stone foundation: W5, W3
  • Window lights: YR31

I used Bee Creative glue to adhere the layers together. If you need some help, be sure to check out the graphics in the product link. Then I used an oval from the new Sweets Stacks: Oval to cut a piece of vellum. I used tape runner and some dots of glue on the cabin and trees to adhere them to the oval. Now it's easy to hide the glue by adding tape runner on the back of the oval behind the cabin to adhere it to your card!

I stamped the sentiments from the Be Still stamp set with the Pine ink. Then I cut them out with the coordinating Honey Cuts. I used thin foam strips to pop them up onto the card.

This is such a fun technique and I hope I've given you inspiration today!  Thanks so very much for stopping by!  Have a crafty day y'all!

Thank you so much for using my affiliate links to shop (never any additional cost to you)!

Friday, May 26, 2023

Friends Like You -- Lovely Layers: Water Lily

Happy Friday crafty friends!  Today I'm sharing my card that's part of an Instagram hop to celebrate Honey Bee Stamps new Adventure Awaits release!  I've used another gorgeous set in the Lovely Layers line called Lovely Layers: Water Lily!

(THIS HOP HAS CONCLUDED.)  I hope you'll pop over to the Instagram hop where I have the complete hop list.  There will be two commenters chosen to receive a $50 gift card to Honey Bee's shop!!

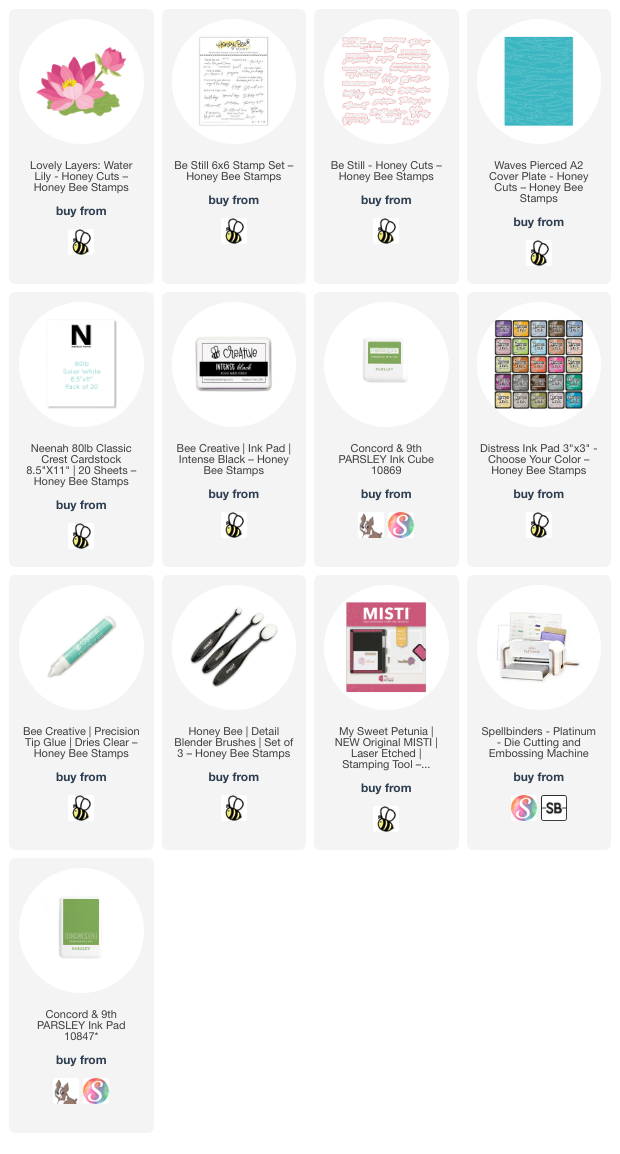
First I created my inky water-like background.  I smooshed Salty Ocean and Mermaid Lagoon Distress inks onto my craft mat.  I spritzed the ink with water and smooshed a piece of watercolor cardstock into the ink.  I dried it with my heat tool, and repeated the steps until I had the look I wanted.

Next I ran the piece through my die cutting machine with the Waves Pierced A2 Cover Plate die.  Then I trimmed it to A2 size.  I decided to add more of a watery look by first sprinkling on water drops then blotting them up with a clean paper towel.  Next I added some small splatters of white paint that I diluted with water.

TIP:  I recently discovered white paint that even when diluted will NOT pick up the Distress Ink (or any other ink) colors.  I've tried gouache, acrylic, and gel pens and those would all eventually pick up the blue shade.  This fabulous paint is called Dr. Ph. Martin's Bleed Proof White and I've found it on Amazon and at Blick art supplies (who I trust for this type of product much more than Amazon).

When I was all dry, I used double-sided tape to adhere it to my card base.

Next I die cut all of the pieces in the Lovely Layers: Water Lily die set from 80# Neenah.  I used my ink blending brushes to add color to each piece with Distress Inks and Parsley green ink from Concord & 9th.  The Distress Inks I used are:  Picked Raspberry, Spun Sugar, Rustic Wilderness, Squeezed Lemonade, and Mustard Seed.

I used some of Honey Bee's thin foam strips to adhere each layer of the flower and bud together.  This adds a lot of beautiful dimension, but doesn't make it too thick.  I used Bee Creative glue to adhere the flowers to the greenery and then to the card.

I stamped the sentiment from the Be Still stamp set with black ink and cut it out with the coordinating die.  I popped it up on the card with narrow foam strips.

I so enjoy creating inky backgrounds like this!  And the Lovely Layers: Water Lily is super easy and quick to color and put together!  I sure hope your Memorial Day weekend is a good one as we remember those who gave everything for our country.  

Don't forget to stop by our inspirational Instagram hop!  Thank you so much for stopping by!

Thank you for using my affiliate links to shop (never any additional cost to you)!

Wednesday, May 24, 2023

Beautiful Lakeside Scene Card

Hello crafty friends! Have you seen the new Adventure Awaits release by Honey Bee Stamps? This is such an awesome release and one of my favorite products of this release is the Lakeside Scene Builder Honey Cuts! After I made this card I wanted to find a cabin at the lake to stay at this summer!! It looks so calming and peaceful.

Before I get to my card details, I want to let you know that there will be an Instagram Hop on May 26 and a YouTube hop on May 27 with lots more inspiration from the Adventure Awaits Release. Both will be posted at 9 am CST on the respective days, and there will be two prizes for each hop of two $50 gift certificates to Honey Bee's shop.  Just hop along and the more comments you leave, the greater your chances of winning.  You can find the hops by going to my Instagram page and Honey Bee's YouTube channel.

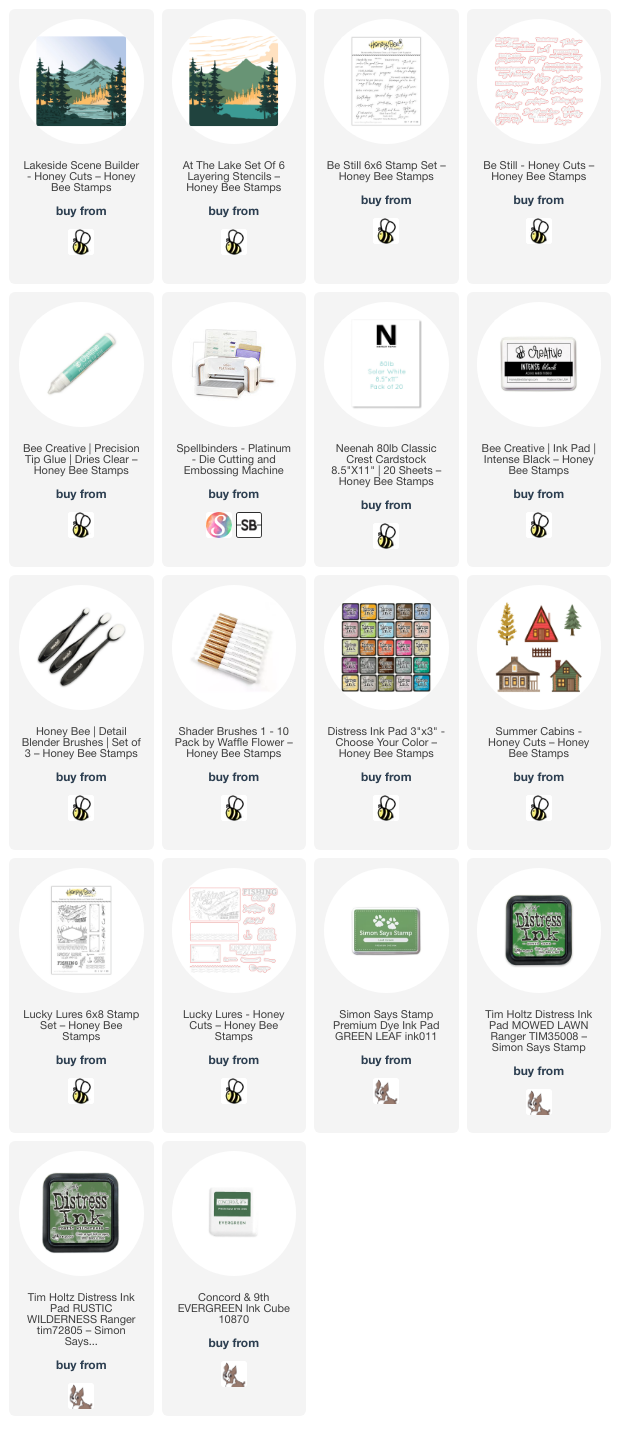
First I created a 5-½" square card base by scoring a 5-½" x 11" piece of 80# Neenah cardstock at 5-½". Then I used the At The Lake stencil set to begin my coloring. Each of the six stencils have the description etched on it. I found the stencil for the Sky and Lower Tree Bank and used removable tape to hold it in place over my card base. I used a couple of blue inks to stencil the sky directly onto the card base.

Then I die cut the Lakeside Scene Builder die from 80# Neenah. I place the same stencil over the die cut and stenciled the lower tree bank. I used several shades of green inks from my stash to complete each layer of stenciling. I used the same blue inks for the lake that were used for the sky. The small Detail Blender Brushes and some of these brushes are awesome for all of the stenciling.

If you're curious about what green inks I used, I've listed the ones available below. Evidently, Altenew has discontinued their Crisp Dye Ink line (that I used four green and two blue of) for the newer version, which I don't have.

I love how the Lakeside Scene Builder cuts slits in the lake to insert the oar and canoe! This smaller canoe and oar are found in the Lucky Lures stamp set. I stamped them in brown ink and lightly blended on more brown ink over it all. I fussy cut both out but there are coordinating dies for the Lucky Lures images. I used a couple of brown Copic markers to add simple shading to the canoe. I inserted both into the slits and used Bee Creative glue to hold them in place. The larger canoe and oar are in the Lakeside Scene Builder die set. I popped that one up with foam tape.

I added a few extra trees from the Summer Cabins Honey Cuts. After I cut them out, I used a couple of the green inks to color them.

I finished the card by adding a sentiment from the Be Still stamp set stamped in Intense Black ink. I cut it out with the coordinating die and popped it up with foam tape.

I absolutely love the peaceful serenity this card evokes! I hope you've found some inspiration today for your cards. Thank you so much for stopping by!