
Hello crafty friends! It is so very hot where I am, and I'm longing for those cooler temperatures we had earlier in the year! That was definitely the influence for my card today with Honey Bee Stamps beautiful Lovely Layer: Winter Birds and the Lovely Layers: Dogwood in these cool, pretty colors!

First I created my card base and layers by embossing 80# Neenah with the Dogwood Blooms 3D embossing folder. I used Bee Creative glue to adhere the panel to an A2 card base. Then I die cut white cardstock with the largest Stacking Art Deco Labels die. I added foam tape to the back and adhered it to the card.
Next I die cut the pieces of one of the birds in the Lovely Layers: Winter Birds set. I die cut the main body piece from light yellow cardstock, two pieces from black cardstock, and the others from white cardstock. I used Detail Blender brushes to add Distress Inks to the pieces to color them. I used these Distress Inks: Scattered Straw, Wild Honey, and Lost Shadow. I used glue to assemble the sweet bird and then added a dot to the eye with a white gel pen.
I don't know if there is a pretty yellow bird like this in real life, but hey, with paper we can make our birds any color we'd like! LOL!
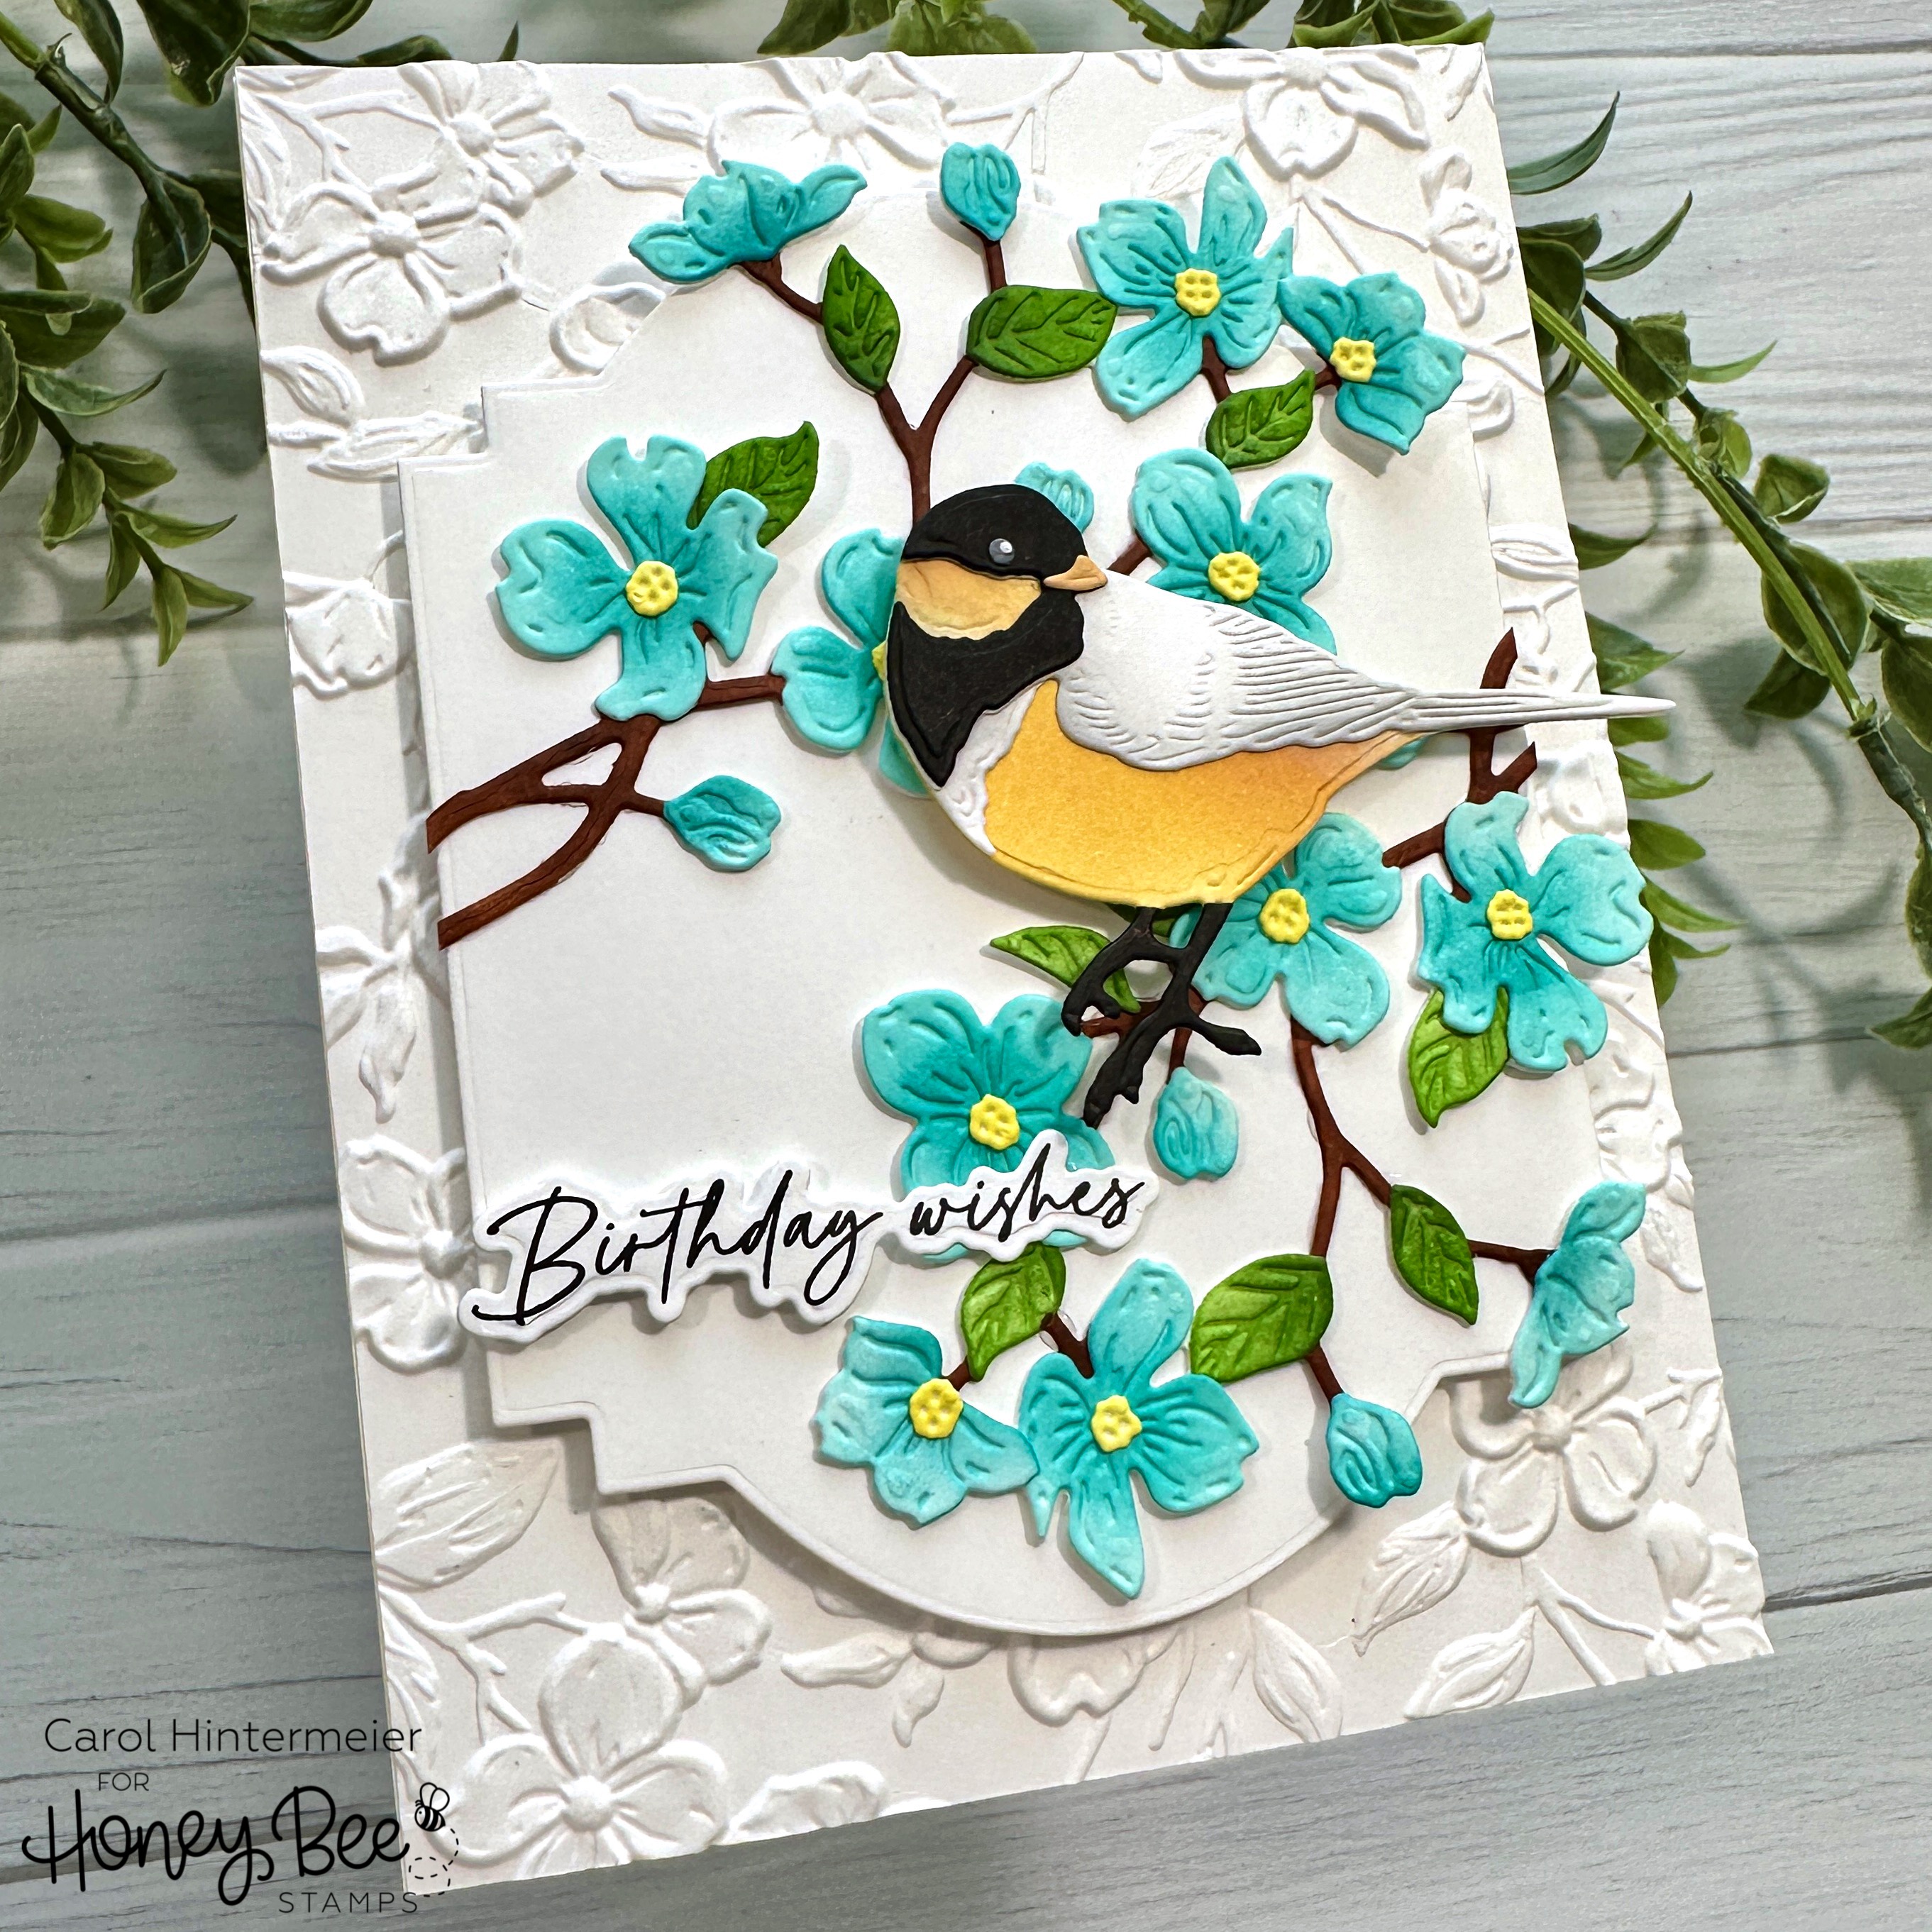
Next I added a Tear Tape Sheet to a piece of 80# Neenah. Then I die cut all of the pieces in the Lovely Layers: Dogwoodset twice from this piece. Again, I colored the pieces using blending brushes and Distress Inks. The colors I used are: Salvaged Patina, Peacock Feathers, Squeezed Lemonade, Mowed Lawn, and Rustic Wilderness. I used a brown Copic marker to color the branches of the die cut.
Since I added the Tear Tape sheet to the cardstock before die cutting, next all I need to do was just peel off the backer to adhere each flower and leaf to the branch. That makes it so easy!! I used glue to adhere the branches to the Art Deco Label. I trimmed off the excess of the branch that hung over the edge.

I stamped the sentiment from the Be Still stamp set with black ink. Then I cut it out with the coordinating die. I added a strip of narrow foam tape to the back to pop it up on the card. I added a couple thin foam dots to the back of the bird to adhere it to the card.

This card was super fun and easy to make, and I'm happy to have another birthday card for my stash! Thank you so much for stopping by today! I hope your week is good and filled with lots of crafty time!
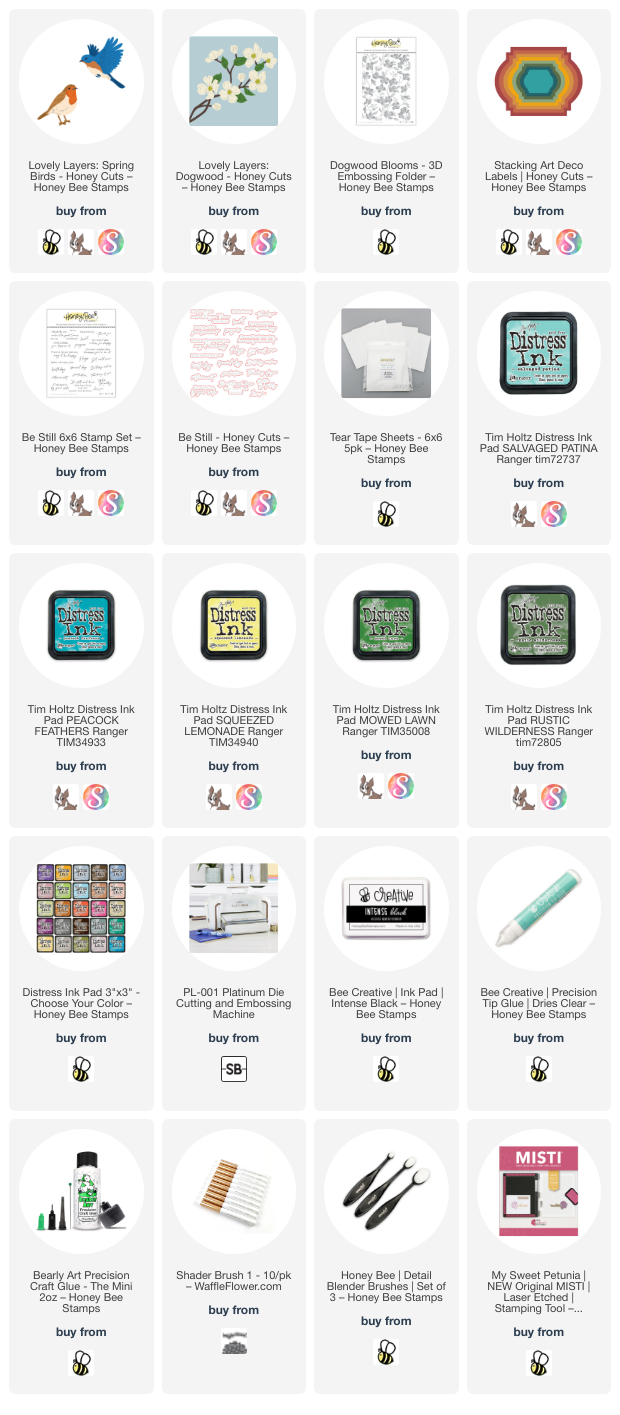
Thank you very much for using my affiliate links to shop (never any additional cost to you)!
Ohhhh, Carol! I cannot fathom a more beautiful bird and card, this is simply stunning!
ReplyDelete