Showing posts with label Stacking Art Deco Labels. Show all posts

Wednesday, August 19, 2026

Hello, Sweet Friend -- Honey Bee Stamps

Hello, crafty friends!   Today I'm sharing my card that features the Picked With Love stampsHoney Cuts, and coordinating stencils.  I love strawberry lemonade drinks with crushed ice and that was my inspiration for my card.  It is incredibly hot here in Texas (106º today) and I wish I had a nice delicious and cold one right now!

First I started with the Picked With Love stencil set.  I chose a few red ink shades, and some greens and yellow inks.  This set is a seven-stencil set and is filled with awesome details to add to your images!

I used ink blending brushes to add my colors through each of the stencils.  I decided to also make a few of the small blueberry clusters.  I was very happy at how I achieved the bluish/purple color for the berries.  First I blended a fairly dark blue for the berries.  Before I removed that stencil, I also blended a dark reddish purple over it.  Perfect color!  I used the dark purple ink to finish the two other layers of the berries.

Before I die cut any of the images, I needed to stamp the Picked With Love stamp for each one.  Using my MISTI, I put the stamps over each stenciled image, carefully lining it up.  I almost always stencil first, then stamp the images.  You can double check your stamp alignment by placing acetate over the stenciled piece.  I inked up my stamps with Intense Black ink and stamped them onto the acetate.  If you are satisfied with the alignment, remove the acetate and stamp again onto the stenciled panel.

I cut the images out with the coordinating Picked With Love Honey Cuts.  I set these aside to create my card base and layers.

I started with a white cardstock A2 card base.  Then I chose paper from the Summer Picnic paper pad, trimmed it to 4" x 5-¼".  Before I used glue to adhere it to the card, I wrapped a piece of yellow gingham ribbon around the panel and tied it into a bow.

Next I die cut white cardstock with the largest Stacking Art Deco Labels die, and embossed it with the Wood Planks embossing folder.

The white-cardstock die-cut heart is from the Lace Heart Layering Frames.  I used Bee Creative Foam Tape to adhere it and the remaining images to the card.

I stamped a sentiment from the Picked With Love stamp set in black pigment ink. After I cut it out with the coordinating Picked With Love die, I glued it to the heart.

I love this fun summery and so very cheerful card!  Now I need to go get me some strawberry lemonade!!  LOL!

Thank you so much for stopping by today!  If you are also in this awful heat wave, I hope you stay cool, stay inside, and craft your heart out!

I so appreciate that you use my affiliate links to shop! (Never any additional cost to you.)  It helps me with the expenses of posting my creative content, thank you!

Wednesday, July 19, 2023

Birds and Blooms Birthday Card

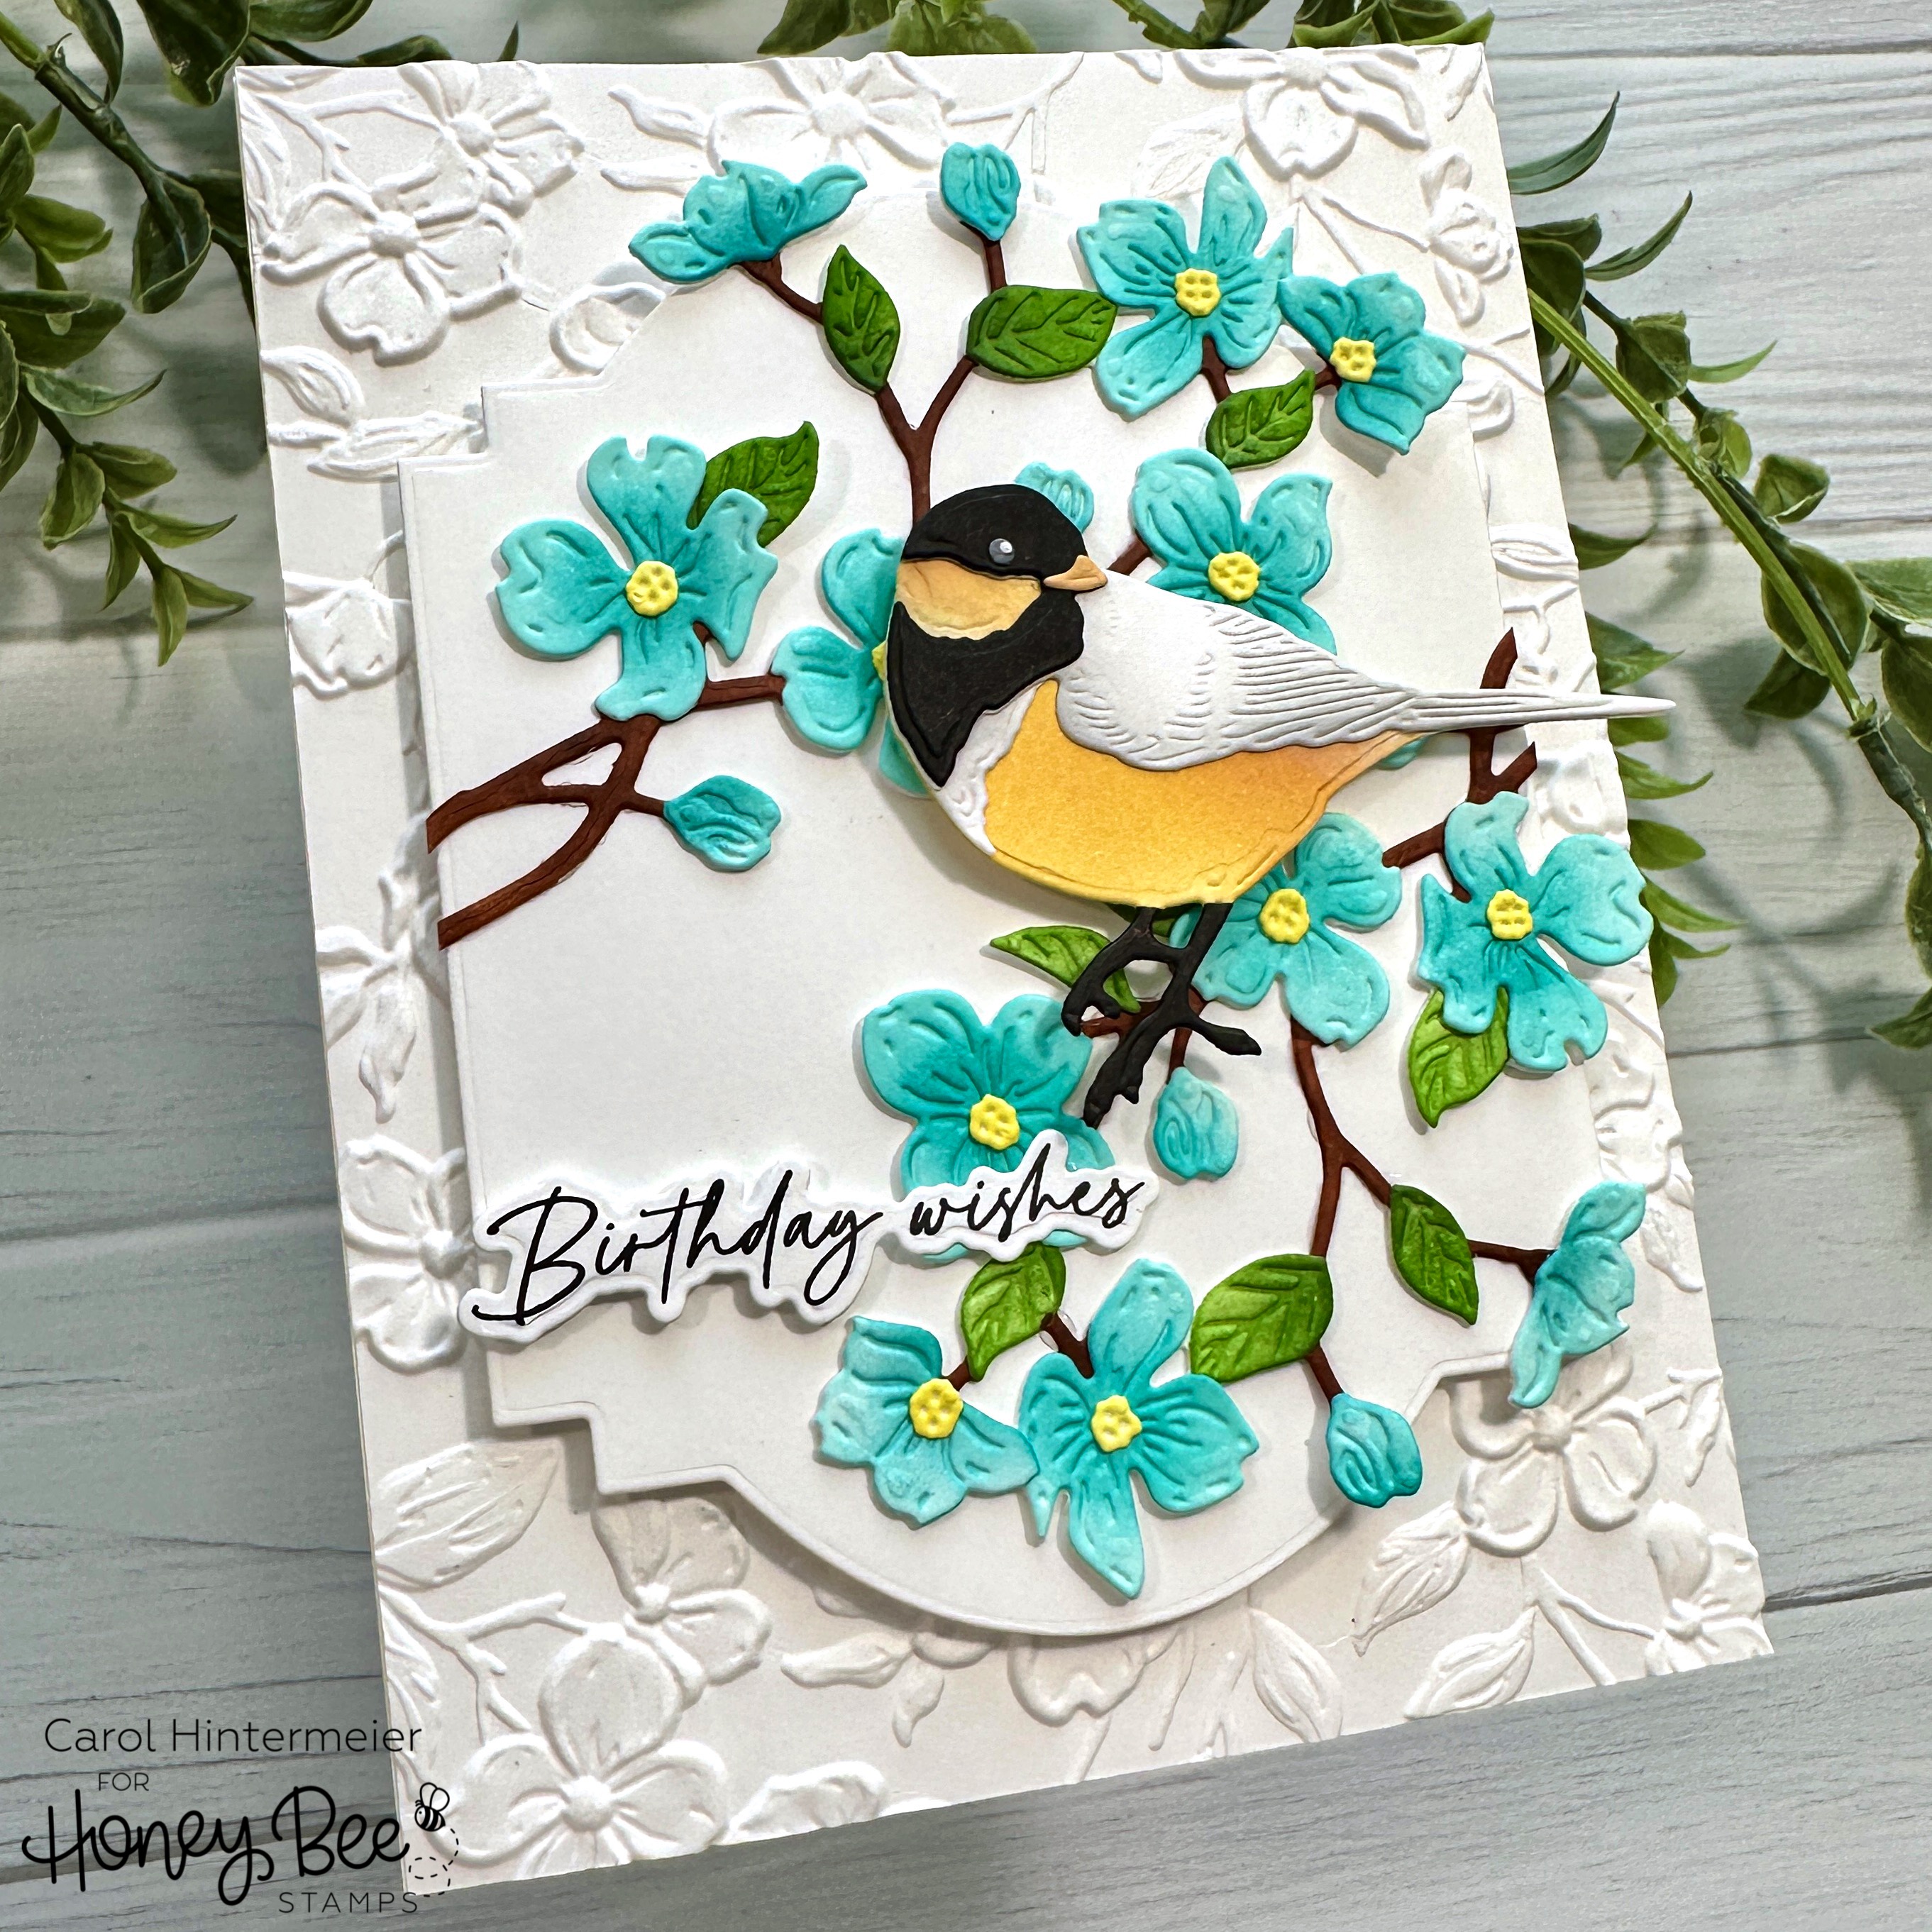
Hello crafty friends! It is so very hot where I am, and I'm longing for those cooler temperatures we had earlier in the year! That was definitely the influence for my card today with Honey Bee Stamps beautiful Lovely Layer: Winter Birds and the Lovely Layers: Dogwood in these cool, pretty colors!

First I created my card base and layers by embossing 80# Neenah with the Dogwood Blooms 3D embossing folder. I used Bee Creative glue to adhere the panel to an A2 card base. Then I die cut white cardstock with the largest Stacking Art Deco Labels die. I added foam tape to the back and adhered it to the card.

Next I die cut the pieces of one of the birds in the Lovely Layers: Winter Birds set. I die cut the main body piece from light yellow cardstock, two pieces from black cardstock, and the others from white cardstock. I used Detail Blender brushes to add Distress Inks to the pieces to color them. I used these Distress Inks: Scattered Straw, Wild Honey, and Lost Shadow. I used glue to assemble the sweet bird and then added a dot to the eye with a white gel pen.

I don't know if there is a pretty yellow bird like this in real life, but hey, with paper we can make our birds any color we'd like! LOL!

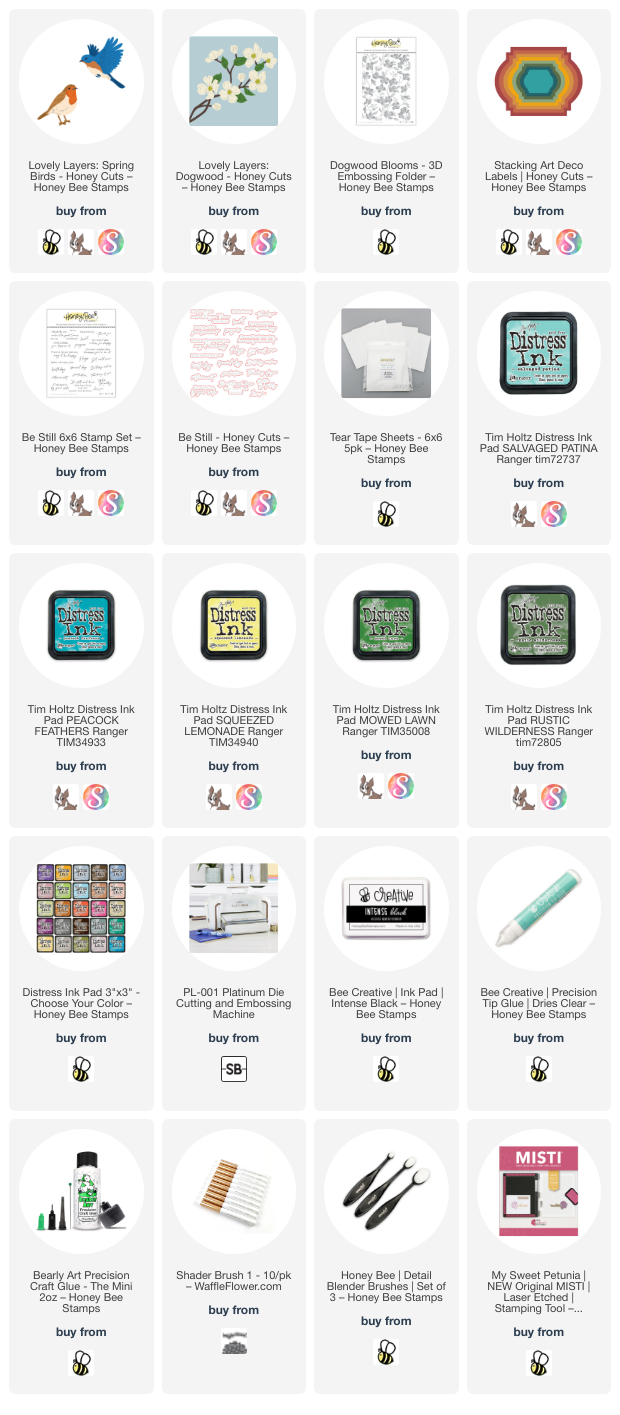
Next I added a Tear Tape Sheet to a piece of 80# Neenah. Then I die cut all of the pieces in the Lovely Layers: Dogwoodset twice from this piece. Again, I colored the pieces using blending brushes and Distress Inks. The colors I used are: Salvaged Patina, Peacock Feathers, Squeezed Lemonade, Mowed Lawn, and Rustic Wilderness. I used a brown Copic marker to color the branches of the die cut.

Since I added the Tear Tape sheet to the cardstock before die cutting, next all I need to do was just peel off the backer to adhere each flower and leaf to the branch. That makes it so easy!! I used glue to adhere the branches to the Art Deco Label. I trimmed off the excess of the branch that hung over the edge.

I stamped the sentiment from the Be Still stamp set with black ink. Then I cut it out with the coordinating die. I added a strip of narrow foam tape to the back to pop it up on the card. I added a couple thin foam dots to the back of the bird to adhere it to the card.

This card was super fun and easy to make, and I'm happy to have another birthday card for my stash! Thank you so much for stopping by today! I hope your week is good and filled with lots of crafty time!

Thank you very much for using my affiliate links to shop (never any additional cost to you)!

Wednesday, February 9, 2022

Sending Love -- Inking and Stenciling Fun! | Honey Bee Stamps

 Hi crafty friends!  Today I'm sharing a card featuring some Honey Bee Stamps stamps, dies and stencil set!  This card would be perfect for lots of occasions like Valentine's Day, a birthday, or just to show you care!

First I sprayed the back of one of the three Art Deco Patterns stencil with Pixie Spray to hold it in place on my white cardstock. Then I used a Detail Blending brush to add pink ink through the stencil in an ombré pattern. I left the stencil in place and spattered some white paint on the piece. I let that dry and then spattered some gold paint with my paint brush. I removed the stencil and set the piece aside to dry. When it was dry, I adhered it to a top folding card base.

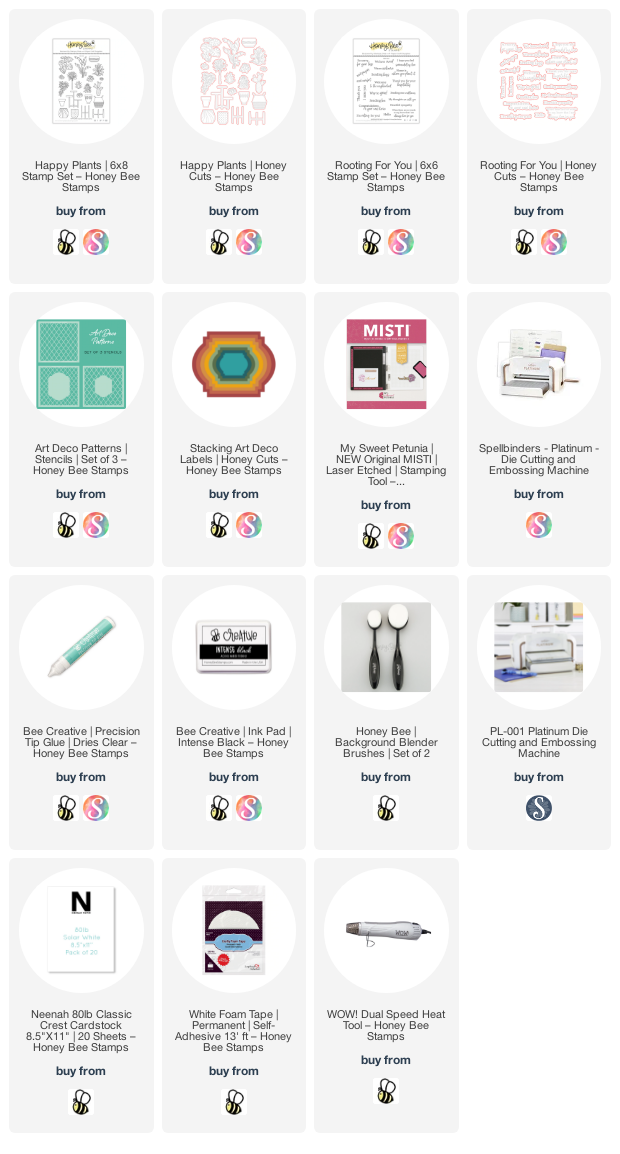
To avoid coloring with my Copic markers over the gold heat embossing I used my MISTI to stamp the images from the Happy Plants stamp set with No Line Coloring ink. I left the stamps on the MISTI door while I colored the plant and the pot. Then I placed the paper back into the MISTI and re-stamped the images with Clear Embossing ink. I sprinkled on gold embossing powder and heat set it. Next I used the coordinating dies to cut them out.

Next I die cut some gold cardstock and white card stock with two of the Stacking Art Deco Labels dies. I adhered the gold one to the stenciled piece with Bee Creative glue. I added foam tape to the back of the white Art Deco Labels die cut and put it on top of the gold one.

I stamped the sentiment from the Rooting For You set with Clear Embossing ink, sprinkled on gold embossing powder, and heat set it. I used the coordinating Honey Cut to cut the sentiment out and also die cut it four more times from white cardstock. I adhered all of the die cuts with Bee Creative glue and then added it to my card with glue. To finish up, I added foam dots to the back of the flower pot and plant and adhered them to my card.

I sure hope I've given you some inspiration for your stencils and inking fun!  Thanks so very much for stopping by---I always appreciate you so much!

Thank you should you use my links (some affiliate, at no extra cost to you)

Friday, August 27, 2021

We Are Better Together | Honey Bee Stamps

 Hi friends!  My card today is part of an Instagram hop to celebrate Honey Bee Stamps Autumn Splendor release.  There are several new stencils in this release and today I've used the Art Deco Patterns Stencil set (3 included).  What I really love about this stencil set is that it coordinates with the new Stacking Art Deco Labels Honey Cuts!

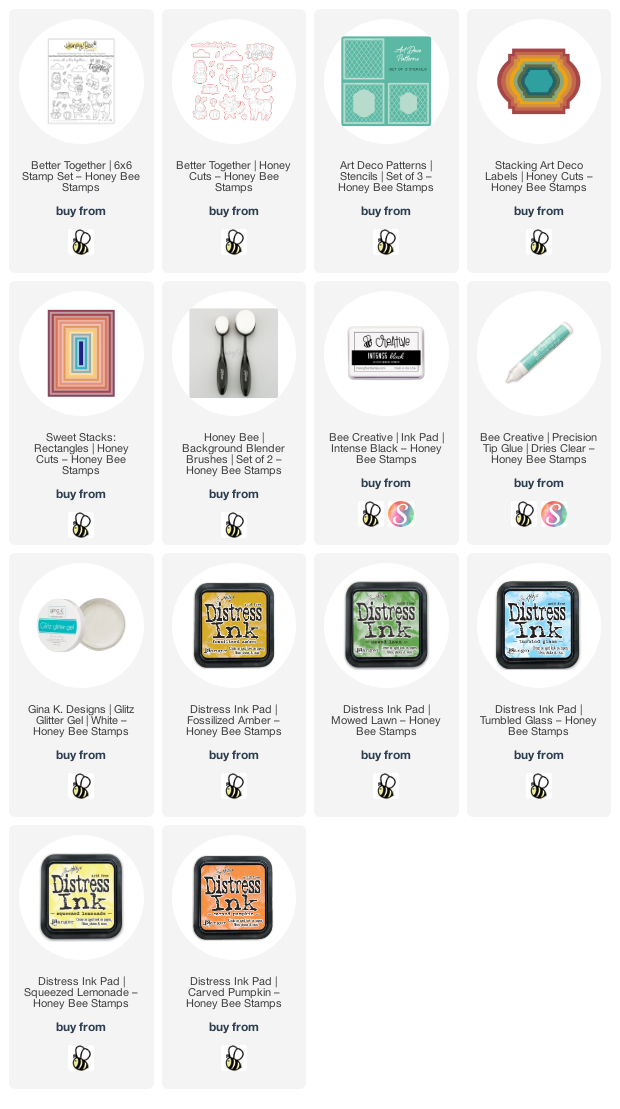
I love inking up stencils and then using texture paste to enhance the inking!  I sprayed the back of the stencil with Pixie Spray and placed it onto some 80# Neenah card stock.  Then  I added Squeezed Lemonade, Fossilized Amber, and Carved Pumpkin Distress inks with a blender brush.  I left the stencil in place and wiped the ink off with a dry towel.  Then I spread some white Glitz Glitter Gel through the stencil for some fun sparkle!  (Be sure to clean up right away!)

When the stenciled piece was dry, I die cut it with the 2nd largest Sweet Stacks: Rectangles die.  I used Bee Creative glue to adhere it to an A2 card base.

Next I used the 3rd largest Stacking Art Deco Labels Honey Cuts and cut out some 80# Neenah.  Then I added Mowed Lawn and Tumbled Glass Distress ink for the background.   I added foam tape to the back and adhered it to the card front.

Next I stamped the cute images and sentiment from the Better Together stamp set with Intense Black ink.  After I colored them with my Copic markers, I used the coordinating Honey Cuts to cut them out.  I added foam tape to the rabbit, mouse, and sentiment and adhered them to the card.  I adhered the other images with Bee Creative glue.

For some finishing touches, I used a white gel pen to add details to several images.

From the stenciling to coloring the adorable images, this was so fun to create!  I hope you'll pop over to my Instagram and join the hop.  There will be two $25 gift cards to the Honey Bee shop given away to two of the commenters!  Plus you'll get to see lots more amazing inspirational cards from the team!  Thank you so much for stopping by!

Products I used for today's card: