Showing posts with label Happy Plants. Show all posts

Wednesday, February 23, 2022

Someone Like You | Honey Bee Stamps

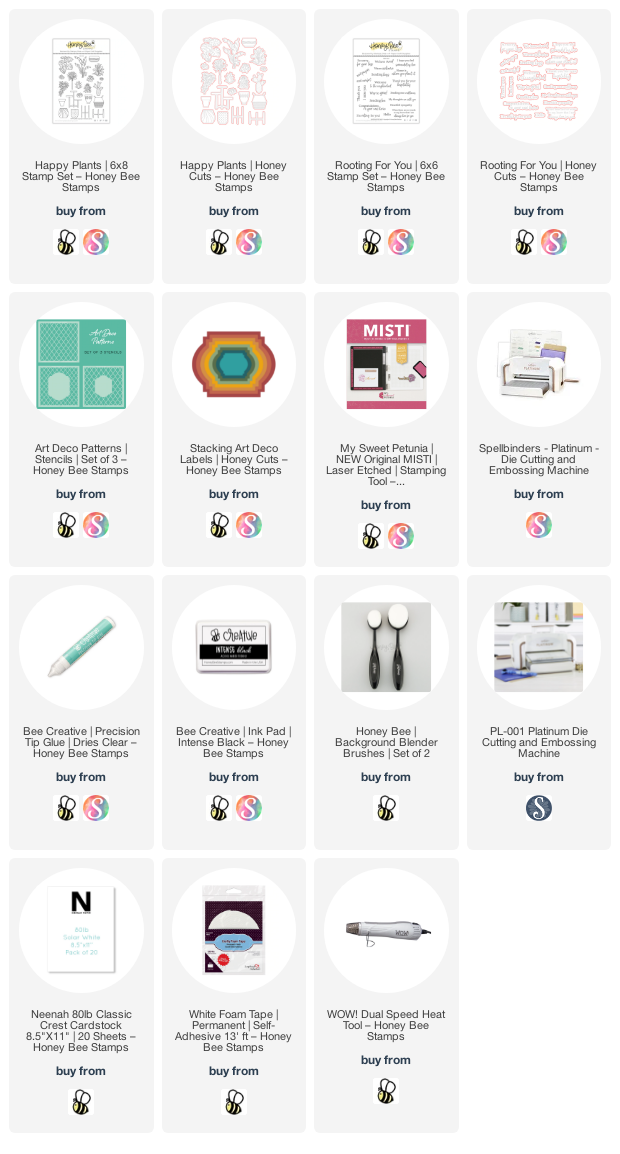
Hello crafty friends!  I'm super happy to share a card I made using new products from Honey Bee Stamps new Modern Spring release!  I've used Friendship Ladder stamp set along with the coordinating dies to create this sweet card to send to an awesome friend!  I've also added a few plants from the Happy Plants set to complete my plant scene.

First I stamped all of my images from the Friendship Ladder and Happy Plants stamp sets in Intense Black ink.  I colored them with my Copic markers and then used the coordinating Friendship Ladder and Happy Plants dies to cut them out.

Next I selected some patterned paper from the Modern Spring paper pad and trimmed it to 4" x 5-¼".  I trimmed another piece of paper to ¾" x 4".  Then I adhered them to a top-folding A2 card base.

I played around with the ladder and images, and once I decided on an arrangement, I used Bee Creative glue to adhere them to the ladder.  Before adhering the ladder, I decided where I wanted the large plant to go and adhered it with glue leaving the top leaves without glue.  Then I added foam tape to the back of the ladder and adhered it to the card.  I slipped the ladder under one of the larger leaves for more interest.  I popped up the other plant and water bucket with foam squares.

I stamped the sentiment from the Friendship Ladder set in Intense Black ink and cut it out with the coordinating die.  I added foam tape to the back to pop it up on my card.

There is also a wonderful coordinating envelope set with this release.  I've added one of the envelopes from the Modern Spring Envelope set to these last photos.  

There are lots of other images, such as books, a lantern, diffuser, camera and others, to use to create a card with a different theme!  I really do enjoy versatile sets such as this one.  Be sure to check out all of the other fabulous sets in the Modern Spring release over in the Honey Bee shop.  Thank you so much for stopping by, and I hope you have a wonderful day!


Thank you so much should you choose to use my affiliate links: 
Wednesday, February 9, 2022

Sending Love -- Inking and Stenciling Fun! | Honey Bee Stamps

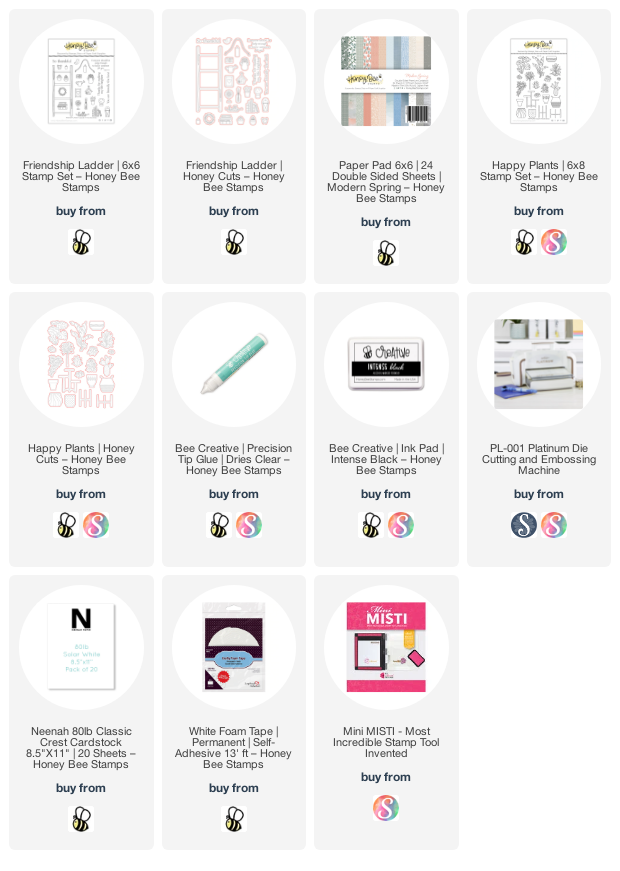
 Hi crafty friends!  Today I'm sharing a card featuring some Honey Bee Stamps stamps, dies and stencil set!  This card would be perfect for lots of occasions like Valentine's Day, a birthday, or just to show you care!

First I sprayed the back of one of the three Art Deco Patterns stencil with Pixie Spray to hold it in place on my white cardstock. Then I used a Detail Blending brush to add pink ink through the stencil in an ombré pattern. I left the stencil in place and spattered some white paint on the piece. I let that dry and then spattered some gold paint with my paint brush. I removed the stencil and set the piece aside to dry. When it was dry, I adhered it to a top folding card base.

To avoid coloring with my Copic markers over the gold heat embossing I used my MISTI to stamp the images from the Happy Plants stamp set with No Line Coloring ink. I left the stamps on the MISTI door while I colored the plant and the pot. Then I placed the paper back into the MISTI and re-stamped the images with Clear Embossing ink. I sprinkled on gold embossing powder and heat set it. Next I used the coordinating dies to cut them out.

Next I die cut some gold cardstock and white card stock with two of the Stacking Art Deco Labels dies. I adhered the gold one to the stenciled piece with Bee Creative glue. I added foam tape to the back of the white Art Deco Labels die cut and put it on top of the gold one.

I stamped the sentiment from the Rooting For You set with Clear Embossing ink, sprinkled on gold embossing powder, and heat set it. I used the coordinating Honey Cut to cut the sentiment out and also die cut it four more times from white cardstock. I adhered all of the die cuts with Bee Creative glue and then added it to my card with glue. To finish up, I added foam dots to the back of the flower pot and plant and adhered them to my card.

I sure hope I've given you some inspiration for your stencils and inking fun!  Thanks so very much for stopping by---I always appreciate you so much!

Thank you should you use my links (some affiliate, at no extra cost to you)