Showing posts with label Wood Planks 3D embossing folder. Show all posts

Wednesday, August 19, 2026

Hello, Sweet Friend -- Honey Bee Stamps

Hello, crafty friends!   Today I'm sharing my card that features the Picked With Love stamps, Honey Cuts, and coordinating stencils.  I love strawberry lemonade drinks with crushed ice and that was my inspiration for my card.  It is incredibly hot here in Texas (106ยบ today) and I wish I had a nice delicious and cold one right now!

First I started with the Picked With Love stencil set.  I chose a few red ink shades, and some greens and yellow inks.  This set is a seven-stencil set and is filled with awesome details to add to your images!

I used ink blending brushes to add my colors through each of the stencils.  I decided to also make a few of the small blueberry clusters.  I was very happy at how I achieved the bluish/purple color for the berries.  First I blended a fairly dark blue for the berries.  Before I removed that stencil, I also blended a dark reddish purple over it.  Perfect color!  I used the dark purple ink to finish the two other layers of the berries.

Before I die cut any of the images, I needed to stamp the Picked With Love stamp for each one.  Using my MISTI, I put the stamps over each stenciled image, carefully lining it up.  I almost always stencil first, then stamp the images.  You can double check your stamp alignment by placing acetate over the stenciled piece.  I inked up my stamps with Intense Black ink and stamped them onto the acetate.  If you are satisfied with the alignment, remove the acetate and stamp again onto the stenciled panel.

I cut the images out with the coordinating Picked With Love Honey Cuts.  I set these aside to create my card base and layers.

I started with a white cardstock A2 card base.  Then I chose paper from the Summer Picnic paper pad, trimmed it to 4" x 5-¼".  Before I used glue to adhere it to the card, I wrapped a piece of yellow gingham ribbon around the panel and tied it into a bow.

Next I die cut white cardstock with the largest Stacking Art Deco Labels die, and embossed it with the Wood Planks embossing folder.

The white-cardstock die-cut heart is from the Lace Heart Layering Frames.  I used Bee Creative Foam Tape to adhere it and the remaining images to the card.

I stamped a sentiment from the Picked With Love stamp set in black pigment ink. After I cut it out with the coordinating Picked With Love die, I glued it to the heart.

I love this fun summery and so very cheerful card!  Now I need to go get me some strawberry lemonade!!  LOL!

Thank you so much for stopping by today!  If you are also in this awful heat wave, I hope you stay cool, stay inside, and craft your heart out!

I so appreciate that you use my affiliate links to shop! (Never any additional cost to you.)  It helps me with the expenses of posting my creative content, thank you!

Wednesday, December 11, 2024

Santa Is Coming Down The Chimney Holiday Card

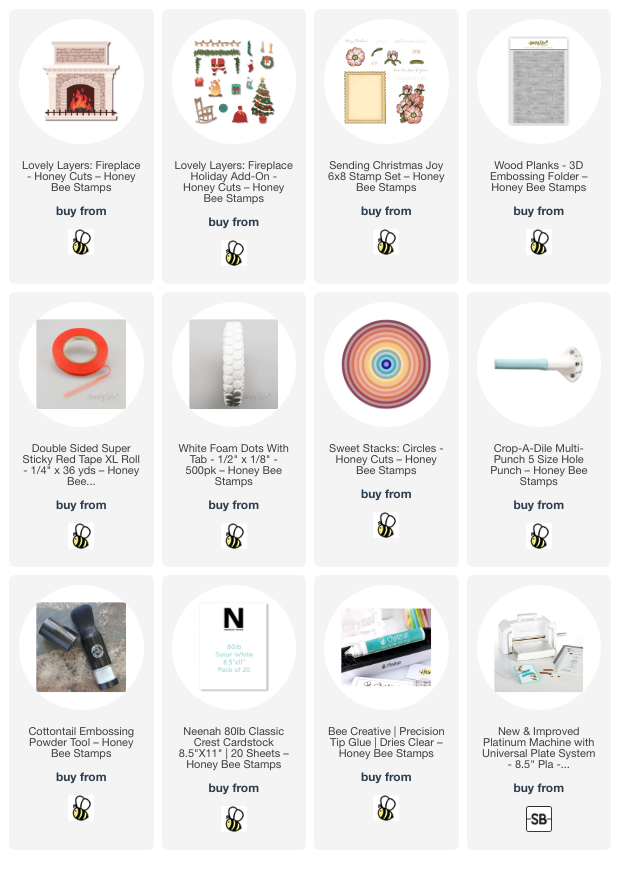
 Hello crafty friends! Today I'm sharing my interactive card featuring Honey Bee Stamps' Lovely Layers: Fireplace with the Lovely Layers: Fireplace Add-On Honey Cuts. Santa is swinging on down the fireplace in this cute scene! I love these sets because I can create any color of theme and also use the "fire" dies for the fireplace too!

I first created my 5" x 7" card base and added a white cardstock layer that I embossed with the Wood Planks 3D embossing folder. I trimmed 1-¼" off of the bottom before adhering it to the card with glue. I stamped the sentiment from the Sending Christmas Joy stamp set onto a 1-¼" x 5" strip of white cardstock in black pigment ink. I adhered this to the bottom of the card and glued on a strip of dark gray cardstock just above it.

Next I die cut the Lovely Layers: Fireplace dies from three shades of gray cardstock. I used the Layering Guide to help me in assembling the fireplace layers with glue. I did not adhere the inner fireplace brick piece at this time.

Then I die cut the desired pieces from the Lovely Layers: Fireplace Holiday Add-On from green, red, white, brown, and black cardstock. I, again, referred to the Layering Guide as I glued the pieces together. I added some sparkle to the lights with a clear glitter pen.

Next I worked on the interactive portion of the card. I will do my best to explain it here, but I will have a reel posted over on my Instagram soon where you will get a visual of how I made this. Here are the steps for the interactive portion:

  • Using the completed fireplace as a guide, I used a pencil to trace the opening onto the card.
  • Then I adhered a piece of dark gray cardstock that is larger than the tracing.
  • Still using the fireplace as a guide, I added glue to the back of the brick insert and glued it to the dark gray piece.
  • Next you will need a circular, dimension piece for the swinging portion. You can use a penny, or die cut/punch several small circles (no larger than ¼" and adhere them together. It just needs to have a bit of height for the Santa to swing.
  • First cut a strip of cardstock that is a bit wider than your chosen circular piece and is about 1" to 1-½" long.
  • Adhere your dimensional circle to the card with a small piece of strong double-sided tape. Then I used my anti-static tool on the adhesive that is around my dimensional circle so that the Santa piece will not stick to it.
  • Now you will need to trim a piece of cardstock that is a bit wider than your dimensional circle and about an inch or so long. Punch a hole that's a bit wider than your dimensional circle near the top of the strip.
  • Glue this strip to the back of the Santa.
  • I placed a piece of removable tape onto the front of the Santa and fireplace to hold him in place.
  • Then I added thick foam dots to the back of the fireplace to adhere to the card and removed the temporary tape.

I finished up the card by placing the other elements of the scene around the fireplace. I used glue and more thick foam dots to adhere them.

If I decide to mail this card I will used a padded envelope. It will be a bit more postage but I think this card is worth it!! If you have any questions about how to make this fun swinging Santa card, please leave me use the "contact me" form in the left column, and I will be happy to help.

Thank you so much for stopping by today! Have a wonderful day!

Thank you for using my affiliate links to shop (never any additional cost to you)!

Wednesday, December 4, 2024

Beautiful Window Scene Card

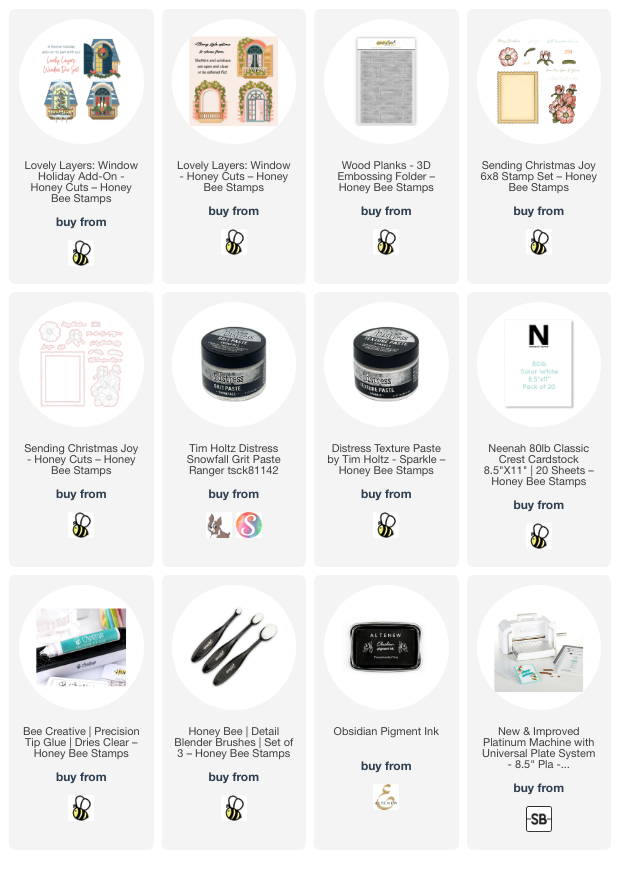
Hello crafty friends!!! Can you believe it is December?!! It is now only three weeks until Christmas! Which means we still have time to get our holiday cards made. Today I'm sharing my card that features the so fun and beautiful Lovely Layers: Window with the new Lovely Layers: Window Holiday Add-On.

Except for the sentiment, this entire card is die cut with an embossing folder background. I die cut all of the dies from the Lovely Layers: Window and Window Holiday Add-On from either white cardstock and some colored cardstock, with two exceptions. The warm yellow you see through the window was white cardstock inked using a yellow ink and a detail blending brush. I inked up a scrap of white cardstock with Festive Berries Distress Ink to use to die cut the tree ornaments and holly berries.

For the snow layers on the roof and balcony, I first die cut the snow dies with white cardstock. Then I used a palette tool to dab on Snowfall Distress Grit Paste. This will dry clear with some sparkle and a subtle crackle which adds to the icy feel, I think. If you don't have that paste, this one would be just as pretty.

I always print out the Layering Guides that are found in the products' description on the website. These are so very handy and makes gluing your die cuts very easy! When I am finished assembling the Lovely Layers, I store the guide with the product. All of the Window layers are adhere together with glue.

I added a layer to my A2 card base that I embossed with the Wood Planks 3D embossing folder. Then I adhered the window to the card with foam dots.

I thought this sentiment from the Sending Christmas Joy stamp set was perfect for this card. I stamped it and the Merry Christmas stamp with black ink and then cut them out with the coordinating Honey Cuts. I adhered the Merry Christmas sentiment with glue to the inside of the card. The other sentiment is popped up on the card front with foam tape strips.

I added a bit of shine to the holly berries with some Nuvo Crystal Drops that I still have in my stash.  Do you still have any of these? 

I love making die cut cards! I hope you've found some inspiration here today! Thanks so much for stopping by!

Thank you very much for using my affiliate links to shop (never any additional cost to you)!