Hello crafty friends! Today I'm sharing my interactive card featuring Honey Bee Stamps' Lovely Layers: Fireplace with the Lovely Layers: Fireplace Add-On Honey Cuts. Santa is swinging on down the fireplace in this cute scene! I love these sets because I can create any color of theme and also use the "fire" dies for the fireplace too!
I first created my 5" x 7" card base and added a white cardstock layer that I embossed with the Wood Planks 3D embossing folder. I trimmed 1-¼" off of the bottom before adhering it to the card with glue. I stamped the sentiment from the Sending Christmas Joy stamp set onto a 1-¼" x 5" strip of white cardstock in black pigment ink. I adhered this to the bottom of the card and glued on a strip of dark gray cardstock just above it.
Next I die cut the Lovely Layers: Fireplace dies from three shades of gray cardstock. I used the Layering Guide to help me in assembling the fireplace layers with glue. I did not adhere the inner fireplace brick piece at this time.
Then I die cut the desired pieces from the Lovely Layers: Fireplace Holiday Add-On from green, red, white, brown, and black cardstock. I, again, referred to the Layering Guide as I glued the pieces together. I added some sparkle to the lights with a clear glitter pen.
Next I worked on the interactive portion of the card. I will do my best to explain it here, but I will have a reel posted over on my Instagram soon where you will get a visual of how I made this. Here are the steps for the interactive portion:
- Using the completed fireplace as a guide, I used a pencil to trace the opening onto the card.
- Then I adhered a piece of dark gray cardstock that is larger than the tracing.
- Still using the fireplace as a guide, I added glue to the back of the brick insert and glued it to the dark gray piece.
- Next you will need a circular, dimension piece for the swinging portion. You can use a penny, or die cut/punch several small circles (no larger than ¼" and adhere them together. It just needs to have a bit of height for the Santa to swing.
- First cut a strip of cardstock that is a bit wider than your chosen circular piece and is about 1" to 1-½" long.
- Adhere your dimensional circle to the card with a small piece of strong double-sided tape. Then I used my anti-static tool on the adhesive that is around my dimensional circle so that the Santa piece will not stick to it.
- Now you will need to trim a piece of cardstock that is a bit wider than your dimensional circle and about an inch or so long. Punch a hole that's a bit wider than your dimensional circle near the top of the strip.
- Glue this strip to the back of the Santa.
- I placed a piece of removable tape onto the front of the Santa and fireplace to hold him in place.
- Then I added thick foam dots to the back of the fireplace to adhere to the card and removed the temporary tape.
I finished up the card by placing the other elements of the scene around the fireplace. I used glue and more thick foam dots to adhere them.
If I decide to mail this card I will used a padded envelope. It will be a bit more postage but I think this card is worth it!! If you have any questions about how to make this fun swinging Santa card, please leave me use the "contact me" form in the left column, and I will be happy to help.
Thank you so much for stopping by today! Have a wonderful day!
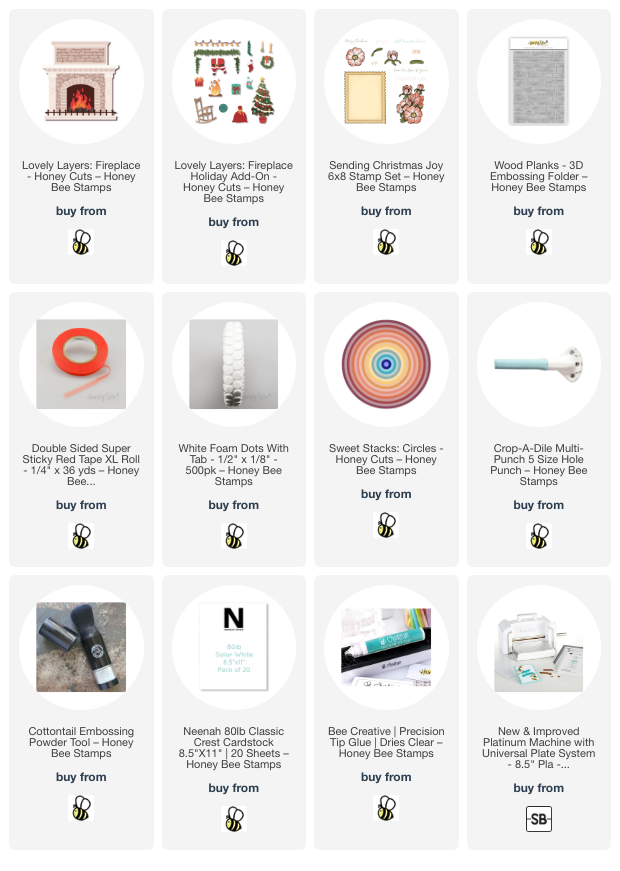
Thank you for using my affiliate links to shop (never any additional cost to you)!


Carol, this scene is absolutely wonderful! Love the details and feelings of joy evoked through it
ReplyDelete