Showing posts with label Lovely Layers: Window Holiday Add-On. Show all posts

Wednesday, October 8, 2025

Thank You For Making My Heart So Full

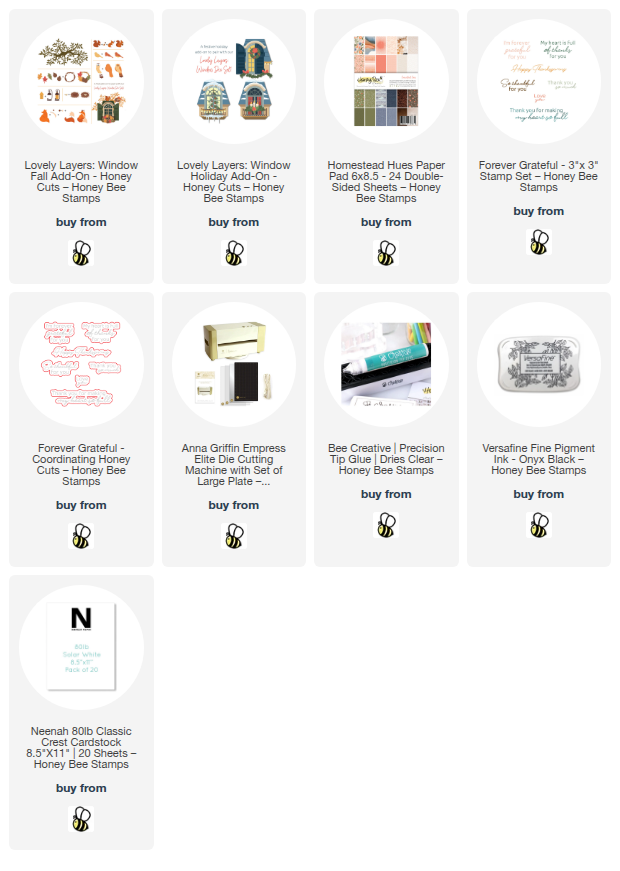
Happy Wednesday crafty friends!  Today I've used Honey Bee Stamps beautiful Lovely Layers: Window Fall Add-On and the Forever Grateful sentiments for my autumn card.  These are part of the awesome Hello Harvest release!

I love how the new Lovely Layers: Window Fall Add-On also coordinates with the Lovely Layers: Window AND the Lovely Layers: Holiday Add-On!  I've used bits from the older two sets to complete my window scene.

Do you ever struggle creating die cut cards and what colors to use?  What totally works for me is to think about a color palette.  That was a no-brainer for this autumn card. Once you have a color palette in mind just look through your colored cardstocks and choose the colors that you like.

I proceeded to die cut the pieces of colored cardstock with the dies in the window, the Fall Add-On, and the Holiday Add-On.  (I have to say that purchasing the Anna Griffin Empress Elite die cutting machine was a TOTAL game-changer for die cut lots of dies!  The magnetic mat means no more taping down the dies and the machine is electric.  I know it is pricey, but well worth the cost.)

The only piece I cut from white cardstock was the large leafy branch that's in the new Lovely Layers: Window Fall Add-On set.  I used my Copic markers to quickly color the branch.  (This branch is so pretty and is large!  It could easily be cut into 2-3 pieces, if needed.)

I used glue and referred to the Layering Guides to adhere the layers of each piece.  I tied a piece of twine into a bow and glue it to the wreath.

This is a 5" x 7" card and I cut a piece of pretty patterned paper from the Homestead Hues paper pad to fit the card base.  I wanted to use the entire branch (I love it!) so I tucked it and angled it around the left side of the window and used glue to adhere it in place.

Next I added foam tape to the back of the window and cut a few very narrow strips of the foam to go behind some of the branches.

The sentiment is from the new Forever Grateful stamp set.  After I stamped it in black ink I cut it out with the coordinating die.  A couple of foam strips adheres it to the card.

I do love making autumn themed cards!  Do you?  Be sure to check out the Fall Add-On set, if you haven't yet.  It's awesome!

Thank you so much for stopping by!  I hope your day a great one!

Thank you so much for using my affiliate links to shop (never any additional cost to you)!
Wednesday, December 4, 2024

Beautiful Window Scene Card

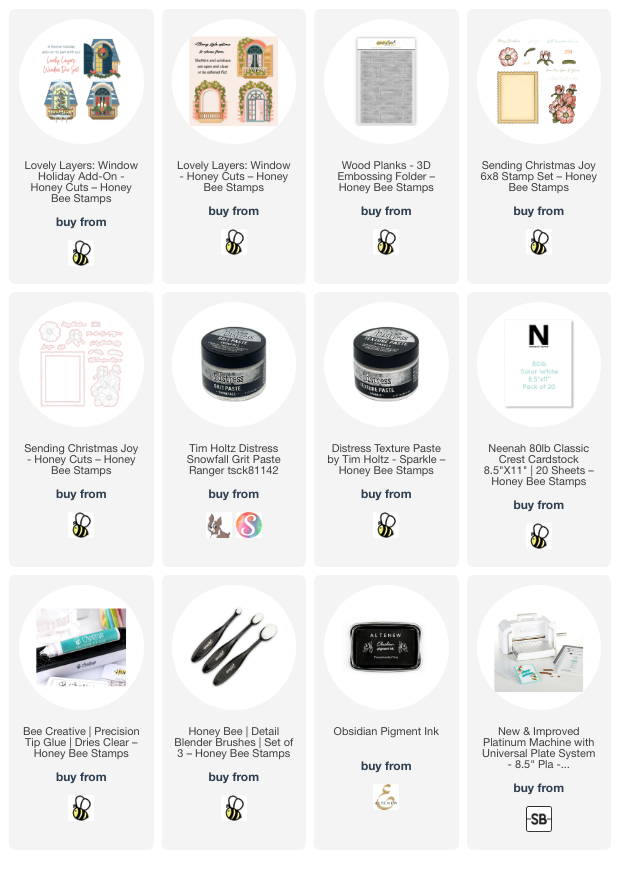
Hello crafty friends!!! Can you believe it is December?!! It is now only three weeks until Christmas! Which means we still have time to get our holiday cards made. Today I'm sharing my card that features the so fun and beautiful Lovely Layers: Window with the new Lovely Layers: Window Holiday Add-On.

Except for the sentiment, this entire card is die cut with an embossing folder background. I die cut all of the dies from the Lovely Layers: Window and Window Holiday Add-On from either white cardstock and some colored cardstock, with two exceptions. The warm yellow you see through the window was white cardstock inked using a yellow ink and a detail blending brush. I inked up a scrap of white cardstock with Festive Berries Distress Ink to use to die cut the tree ornaments and holly berries.

For the snow layers on the roof and balcony, I first die cut the snow dies with white cardstock. Then I used a palette tool to dab on Snowfall Distress Grit Paste. This will dry clear with some sparkle and a subtle crackle which adds to the icy feel, I think. If you don't have that paste, this one would be just as pretty.

I always print out the Layering Guides that are found in the products' description on the website. These are so very handy and makes gluing your die cuts very easy! When I am finished assembling the Lovely Layers, I store the guide with the product. All of the Window layers are adhere together with glue.

I added a layer to my A2 card base that I embossed with the Wood Planks 3D embossing folder. Then I adhered the window to the card with foam dots.

I thought this sentiment from the Sending Christmas Joy stamp set was perfect for this card. I stamped it and the Merry Christmas stamp with black ink and then cut them out with the coordinating Honey Cuts. I adhered the Merry Christmas sentiment with glue to the inside of the card. The other sentiment is popped up on the card front with foam tape strips.

I added a bit of shine to the holly berries with some Nuvo Crystal Drops that I still have in my stash.  Do you still have any of these? 

I love making die cut cards! I hope you've found some inspiration here today! Thanks so much for stopping by!

Thank you very much for using my affiliate links to shop (never any additional cost to you)!