Showing posts with label autumn card. Show all posts

Sunday, November 16, 2025

Autumn Greetings Card With Beautiful Embossed Background

Hi, crafty friends!  Today I'm sharing my card that features Spellbinders 3D embossing folder for November.  This beauty is called Petite Tuft.  If you are a fan of Spellbinders embossing folders, this one may seem familiar to you.  That's because the Petite Tuft is a scaled down version of the Tufted 3D embossing folder that's been out for a while!

The Tufted 3D embossing folder has long been a favorite of mine and this month's Petite Tuft is a perfectly sized version for our cards!  I used this folder to emboss some Neenah Desert Storm cardstock.  I trimmed it to an A2 size and glued it to my card base.

The decorative elements of my card come from the Autumn Greetings Wreath die set.  This time I cut the Wreath dies from white cardstock and used my Copic markers to color them.

I love the off white pumpkins and used Copic markers in the colors of E43, E42, E41, and E40 to color them.  I kept a more muted palette by coloring the leaves with a mixture of G99, G94, YG93, YG91, YG25, and G40.

The sentiment dies are also included in the Autumn Greetings Wreath set.  I die cut the top layers from glossy black cardstock and glued them to the white cardstock die cut base.

I used foam tape strips to pop them up on the card.

So, what do you think about the muted autumn color palette?  I hope you like it as much as I do!  Also, be sure to check out all of Spellbinders Club Kits!  There's still time to join and receive November's kit!

Thanks so much for stopping by!  I hope you have a wonderful day.

Thank you for using my affiliate links to shop (never any additional cost to you)!
Wednesday, October 22, 2025

Autumn Gallery Wall and Wreath

Happy Wednesday, crafty friends!  Today I'm sharing my card that features Honey Bee Stamps beautiful new Lovely Layers: Gallery Wall Art and the Gallery Wall: Fall stamps and dies!  These are more of the new products available in the latest Hello Harvest release.

I started by die cutting six of the frames and the medallion from the Lovely Layers: Gallery Wall Art dies.  I cut each die three times from white cardstock.  Then I used glue to adhere the layers of each frame and medallion together.  Tip:  Be sure to save one of the middle die cut pieces for each frame.

Next I arranged the frames and medallion onto a white card base.  After fiddling with the arrangement a bit (LOL!) I glue the pieces to the card.  Then I used my guillotine paper trimmer to cut off the excess.  There was enough of one frame left to use it to adhere into the upper right corner.

I die cut three of the wreath die and colored each one with a different brown colored Copic marker.  Then I die cut the leaf bases and flowers and also used my Copic markers to easily color them.

I glued the leaves and flowers to the wreath and set it aside.

Next I placed the middle part of the frames into my MISTI.  Then I chose stamps from the Gallery Wall: Fall stamp set that fit each frame middle.  I used Antique Linen Distress Oxide Ink to stamp the images onto the cardstock pieces.  Then I glued the stamped pieces into the coordinating frame and used my scissors to trim off the excess.  Again, I placed the portion of the lower left piece into the frame on the upper right.

I thought that the medallion that was all white stood out too much.  So I placed the negative die cut piece around it and used scrap paper to mask off the area around the medallion.  Then I just lightly swiped the Antique Linen ink pad over the raised portions of the medallion.  Much better, I thought!

I stamped two of the small sentiments from the Gallery Wall: Fall stamp set directly onto the card front.  I stamped the third onto white card with Antique Linen ink.  I cut it out with the coordinating die.

I used glue to adhere the wreath to the card.  I added a foam tape strip to the die cut sentiment and attached it to the card.

That's my idea for using the beautiful Lovely Layers: Gallery Wall Art dies.  What do you think?  I hope you like this and have been inspired to give this awesome set a try!

Thanks so much for stopping by today!  I hope you have a fabulous day!

Thank you for choosing to use my affiliate links to shop (never any additional cost to you)!

Wednesday, October 8, 2025

Thank You For Making My Heart So Full

Happy Wednesday crafty friends!  Today I've used Honey Bee Stamps beautiful Lovely Layers: Window Fall Add-On and the Forever Grateful sentiments for my autumn card.  These are part of the awesome Hello Harvest release!

I love how the new Lovely Layers: Window Fall Add-On also coordinates with the Lovely Layers: Window AND the Lovely Layers: Holiday Add-On!  I've used bits from the older two sets to complete my window scene.

Do you ever struggle creating die cut cards and what colors to use?  What totally works for me is to think about a color palette.  That was a no-brainer for this autumn card. Once you have a color palette in mind just look through your colored cardstocks and choose the colors that you like.

I proceeded to die cut the pieces of colored cardstock with the dies in the window, the Fall Add-On, and the Holiday Add-On.  (I have to say that purchasing the Anna Griffin Empress Elite die cutting machine was a TOTAL game-changer for die cut lots of dies!  The magnetic mat means no more taping down the dies and the machine is electric.  I know it is pricey, but well worth the cost.)

The only piece I cut from white cardstock was the large leafy branch that's in the new Lovely Layers: Window Fall Add-On set.  I used my Copic markers to quickly color the branch.  (This branch is so pretty and is large!  It could easily be cut into 2-3 pieces, if needed.)

I used glue and referred to the Layering Guides to adhere the layers of each piece.  I tied a piece of twine into a bow and glue it to the wreath.

This is a 5" x 7" card and I cut a piece of pretty patterned paper from the Homestead Hues paper pad to fit the card base.  I wanted to use the entire branch (I love it!) so I tucked it and angled it around the left side of the window and used glue to adhere it in place.

Next I added foam tape to the back of the window and cut a few very narrow strips of the foam to go behind some of the branches.

The sentiment is from the new Forever Grateful stamp set.  After I stamped it in black ink I cut it out with the coordinating die.  A couple of foam strips adheres it to the card.

I do love making autumn themed cards!  Do you?  Be sure to check out the Fall Add-On set, if you haven't yet.  It's awesome!

Thank you so much for stopping by!  I hope your day a great one!

Thank you so much for using my affiliate links to shop (never any additional cost to you)!

Thursday, August 28, 2025

Autumn Themed Card With Coffee!

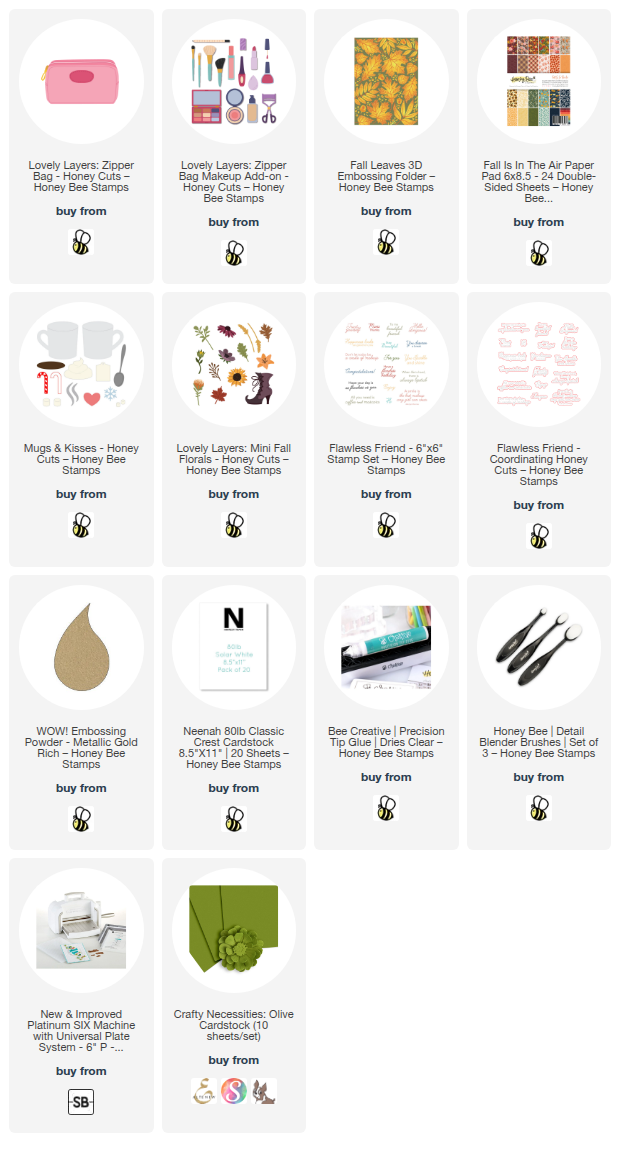
Hello crafty friends!  I'm a day late getting this posted!  Spent a good chunk of yesterday setting up a new computer.  Ugh.  Anyway, let's channel some autumn vibes!  The inspiration for my card today is a sentiment from Honey Bee Stamps Flawless Friend stamp set!  I thought an autumn setting was just right with the coffee and the Lovely Layers: Zipper Bag!

The A2 card base is layered with green cardstock that I embossed with the Fall Leaves 3D embossing folder.

I die cut the Lovely Layers: Zipper Bag from a piece of patterned paper from the Fall Is In The Air paper pad.  I inked the top edge of the bottom layer with a light gray ink to add a bit of contrast.  I die cut the zipper pull and decorative oval from mat gold cardstock.  I glued the layers together omitting any glue along the top edge of the top layer.

Next I chose four elements from the Lovely Layers: Zipper Bag Makeup Add-On and die cut those from white and mat gold cardstock.  I used some Copic markers to color the pieces in colors to coordinate with the patterned paper.  Then I used glue to adhere them all together.

The coffee cup is from the Mugs and Kisses Honey Cuts.  I cut the mug from orange card stock, the coffee from white, and the steam from vellum.  After I colored the coffee layer with a couple of brown Copic markers, I glued the layers together.

I added a decorative leaf to the mug by die cutting white cardstock with a leaf from the Lovely Layers: Mini Fall Florals dies.  I inked on some green and yellow inks to color it and glued it to the cup.  I added decorative gold touches to the cup and leaf with a gold gel pen.

To adhere the Zipper Bag, I added some foam tape to the back of it.  I used glue to adhere the brushes, eyelash curler, and mascara base from the Zipper Bag Add-On  inside the bag.

Next I stamped a sentiment from the Flawless Friend stamp set with VersaMark ink.  I added gold embossing powder and used my heat tool to set it.  When the embossing had cooled, I cut out the sentiment with the coordinating Flawless Friend die.  I added foam tape and some glue to adhere it to the card.

I really love the autumn look for the Zipper Bag and other elements!  What do you think?  I hope you were inspired today for your autumn cards!  Thank you so much for stopping by--you are appreciated!!

Thank you for shopping with my affiliate links (never any additional cost to you)!

Sunday, October 27, 2024

Watercolor Autumn Leaves Card

Happy Sunday, crafty friends!  Today I'm over on the blog at Brass & Bliss today to share my fun watercolor card!  This card features the Fall Leaves stamps and Nested Woodgrain die set.

I used Distress re-inkers as my watercolor medium.  If you would like to see all of the exact details, they are over on Brass & Bliss' blog, along with helpful process photos.

I love how the watercolors bled into the die cut lines of the Nested Woodgrain Sign die!

I coordinated the sentiment from the Fall Leaves stamp by stamping and heat embossing in gold.  I was thrilled when I discovered that a leaf shaped die from the Fall Leaves die set would work with the sentiment.

Thanks for stopping by today!  I hope you have a wonderful week with lots of crafty time!

Wednesday, October 16, 2024

There Is Always Something To Be Thankful For

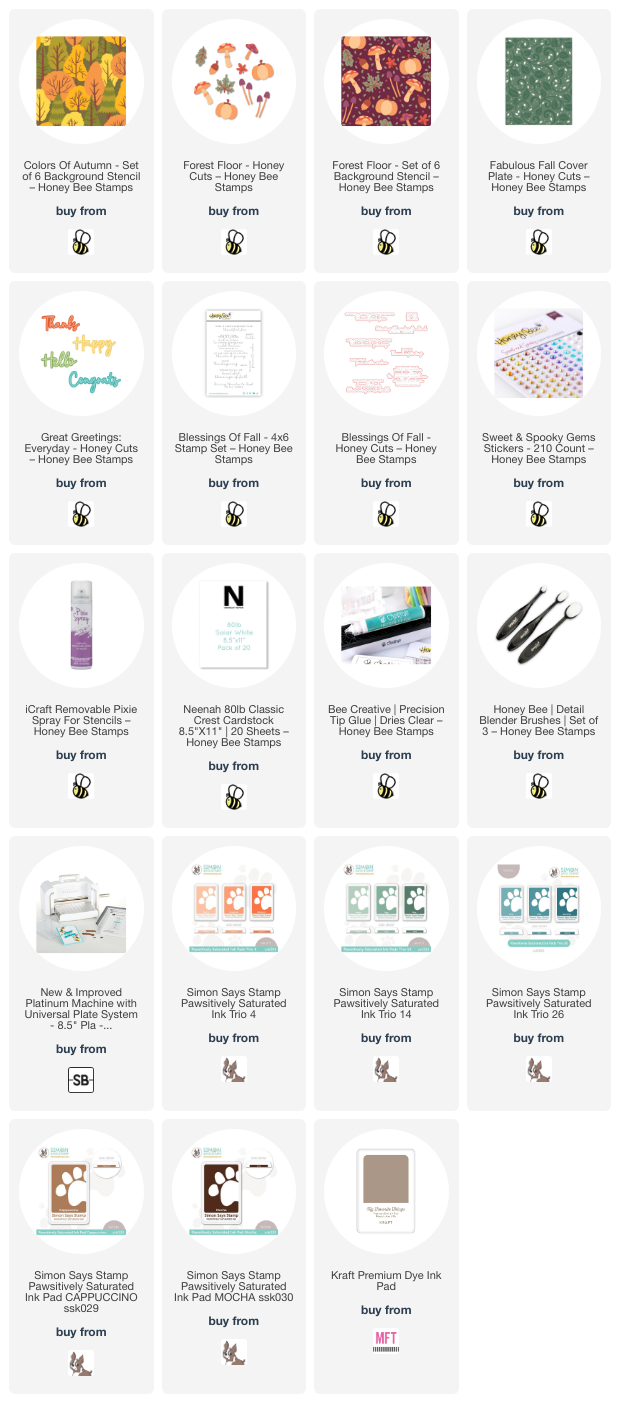
Happy Wednesday crafty friends! My card today features Honey Bee Stamps gorgeous Colors of Autumn stencil set but not in traditional autumn colors! I used green inks with the stencils for a nontraditional autumn card. I love how this turned out and hope you do too!

I started out by spraying the Colors of Autumn stencils with Pixie Spray. I only sprayed the few stencils that have very delicate parts that would move when I swiped the blending brush over it.

I used green ink in a light, medium, and darker shade with each of the Colors of Autumn stencils and Detail Blending Brushes. I used two shades of brown ink for the tree trunks. By using the lightest green ink at the top of the trees it adds lots of definition to each tree.  (All of the inks I used are linked in the list below.)

Next I cut the panel in half crosswise. Then I trimmed each piece to be 2" x 4-¼". I adhered these with glue to a piece of white cardstock I die cut with the Fabulous Fall Cover Plate die. I inked up a scrap of white cardstock with the darkest green ink and cut two thin strips. I used glue to adhere these strips to the stenciled pieces.

Next I die cut white cardstock with some of the dies in the Forest Floor Honey Cuts. Then I used the coordinating Forest Floor stencils to color and shade the pieces with teal blue, light orange, beige, brown, and green inks with blending brushes.

I used glue and a few foam dots to adhere the Forest Floor pieces to the card.

Next I inked up more white cardstock with the darkest green ink and die cut the top layer of "hello" that's from the Great Greetings: Everyday dies. Then I die cut white cardstock with the shadow three times. I used glue to stack up the shadow die cuts and to adhere the top layer.

I stamped the greeting from the Blessings of Fall with green ink. I cut it out with the coordinating die and cut two more white cardstock layers. I glued the layers together and then glued the stack to the card.

I added some matching pearls from the Sweet and Spooky Gem Stickers around the sentiment and the pumpkin arrangement for a bit of bling.

So, what do you think about the shades of green? I think this set could be used in the springtime too with a brighter set of green inks! Thanks so much for stopping by. Have a fabulous day!

Thank you so very much for using my affiliate links to shop (never any additional cost to you)!

Monday, October 7, 2024

Pumpkin Patch Stenciled Card -- Altenew October 2024 Release

Hello crafty friends!  I have a quick blog post to share some details of my card that is part of Altenew's October 2024 Release Instagram hop!

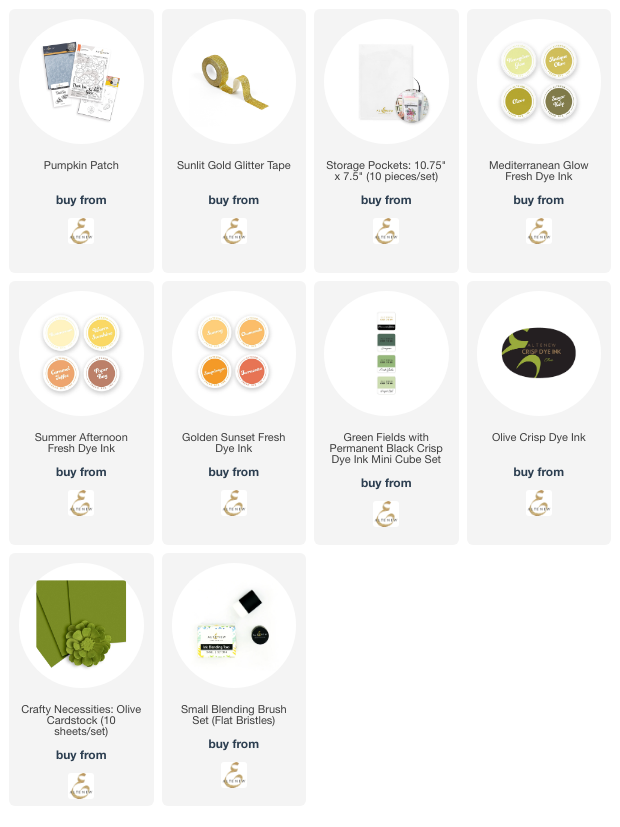
First I stamped the Pumpkin Patch image in black dye ink.  Then I used ink blending brushes with the Pumpkin Patch stencils and various inks that you can see the colors of in the next photo.  I've also linked the products in the list below.

When I finished coloring the image, it was easy to line it up with the Pumpkin Patch 3D embossing folder.  The texture of the embossing doesn't show in the photos, but it definitely is a nice touch when you see it in real life!

I trimmed the panel to 4" x 5-¼" and adhered a mat layer of Olive cardstock.  Then I trimmed more Olive cardstock into a strip and added a piece of Sunlit Gold Glitter Tape.  I stamped the sentiment from the Pumpkin Patch stamp set with Olive ink and cut it out with the coordinating die.

When I'm all finished, I can store the entire collection in one of these fabulous new Storage Pockets.  The weight of these pockets is heavier with a tabbed top closure.  Highly recommend!

I hope you'll join me on Instagram for the hop!  Of course, Altenew is offering up some awesome prizes too!  Have a fabulous week!

Thank you for using my affiliate links to shop (never any additional cost to you)!
Wednesday, October 2, 2024

Hello Fall Card With A Decorative Sign

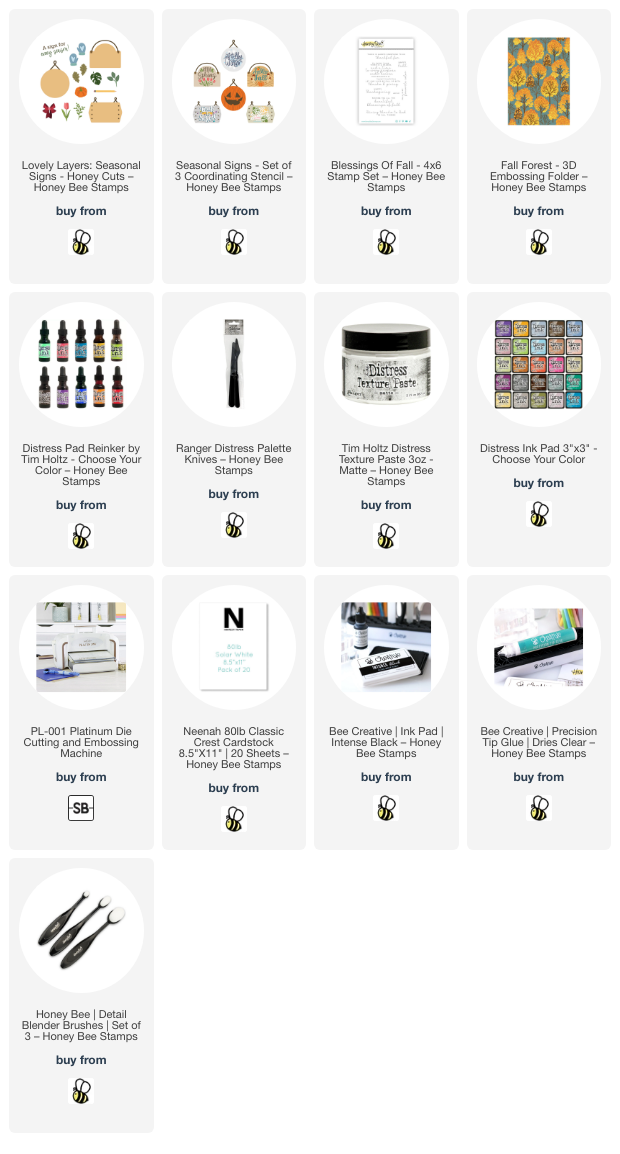
Happy October crafty friends! I love the decorated signs you see in gift shops and was excited to see the new Lovely Layers: Seasonal Signs dies by Honey Bee Stamps!  This is a fun set that you can use year round!

EDIT:  Today, October 5 is World Card Making Day and to celebrate, EVERYTHING in the Honey Bee shop is 20% off!  No coupon code needed!  Check off your wish list and shop at Honey Bee!

I started out by die cutting the Lovely Layers: Seasonal Signs round sign die from white woodgrain cardstock. I use an ink blending brush to add Gathered Twigs Distress Ink to color it.

Next I used the Seasonal Signs stencil set and placed the stencil with the words " hello Fall" onto the sign and taped around the edges to cover the rest of the sign. Then I mixed texture paste with a drop of Carved Pumpkin re-inker. I used a pallet tool to spread the colored embossing paste through the stencil. Then I removed the stencil, set the piece aside to dry, and immediately washed up the stencil and tools.

Next I die cut the pumpkins, leaves and stems (most are die cut three times) that are also in the Lovely Layers: Seasonal Signs from white cardstock. I used more Distress Inks and my blending brushes to color the pieces. Here are the colors I used:

  • Oak leaves: Aged Mahogany, Wild Honey, Rusty Hinge, Fossilized Amber, and Peeled Paint
  • leafy branches: Mowed Lawn, Rustic Wilderness
  • pumpkins: Carved Pumpkin, Crackling Campfire, and Gathered Twigs

I embossed a 5-½" x 8" piece of white cardstock with the gorgeous Fall Forest 3D embossing folder with the bottom 1" of the cardstock hanging out of the folder. Then I stamped the sentiment from the Blessings of Fall stamp set on the smooth bottom portion. I trimmed the piece just a bit to be 5" x 7". I inked up just the edges of an A7 folded card base with Gathered Twigs Distress ink and adhered the stamped/embossed panel to it with glue.

I glued the sign to the card base. Then I arranged all of the Seasonal Signs elements around the edge, adhering with glue and a few foam dots.

I topped the sign off with a cute little gingham bow!

Thanks so very much for stopping by.  I hope you are having a wonderful week so far!

I know you have many choices for shopping and I so appreciate your using my affiliate links (never any additional cost to you)!

Tuesday, October 24, 2023

Leaf Trio Die Autumn Thank You Card

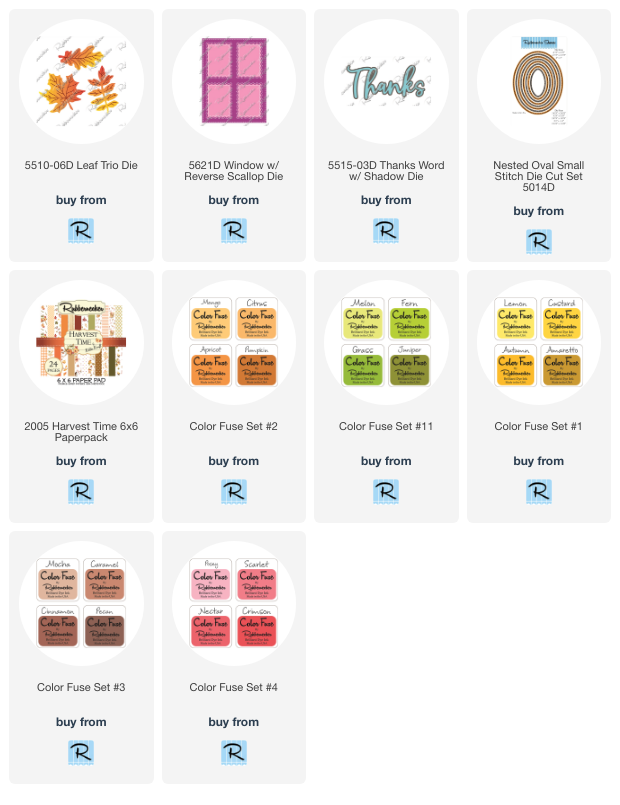
Hello crafty friends!  Today I'm sharing a gorgeous autumn Thank You card!  My collaged background features Rubbernecker Stamps beautiful Leaf Trio Die along with some other elements from their shop.

I used a large piece of Strathmore Bristol Smooth cardstock and ink blended several autumn colored dye inks in a random pattern until the piece was covered.  Then I die cut the Leaf Trio Dies from the inked cardstock several times until I had die cut the entire panel.

Then I die cut three pieces of white cardstock with the Window w/Reverse Scallop die.  I glued the layers together and set it aside to dry.

Next I trimmed a piece of striped cardstock from the Harvest Time paper pad to 3-¾" x 5".  I arranged all of the die cut leaves onto the paper and adhered them with glue.  I let some overhang the edge and trimmed off the excess to use to fill in empty spots along the edge.

I die cut and adhered three of the top layer of the Thanks Word w/Shadow die.  The shadow is orange cardstock from the Harvest Time paper pad.  I used the same orange cardstock as a base layer for the collage piece.

I arranged five of the remaining leaves around the sentiment adding a double bow made with twine.

I always like a bit of sparkle so I added some pretty coordinating gem stickers near the sentiment.

Thank you so much for stopping by!  I hope you have a wonderful day!


 Thank you so much for using my affiliate links to shop (never any additional cost to you)!

Friday, September 22, 2023

Honey Bee Stamps & Altenew Stampwheel Collaboration Hop

Happy Friday y'all!!  I'm sharing the details of my card that's in the Instagram hop today as part of the collaboration between Honey Bee Stamps and Altenew!  I was thrilled to be gifted the Stampwheel from Altenew to use in creating my card for the hop.  P.S.: There are some awesome gift cards to be chosen from the commenters over on the hop!  Be sure to check it out!

I'm guessing by now most of you have heard of and/or seen Altenew's Stampwheel.  It is a product that I have been wondering whether or not I "needed".  Haha!

Disclaimer:  I was gifted the Stampwheel with the only expectation being that I must feature it in my card making for this hop.  Any opinions I have are based solely on my use of this product.  I am not required to give any type of review.

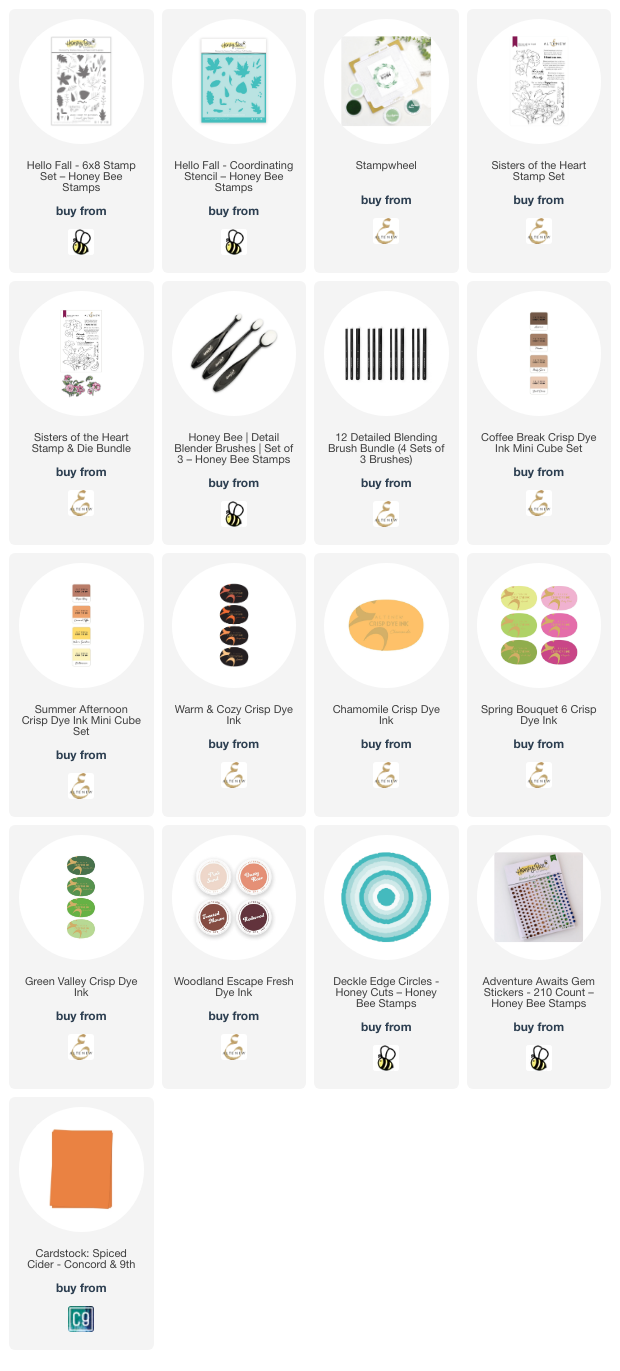
For this card I wanted to try out some of the techniques that I've read of that the Stampwheel is good for.  I chose Honey Bee Stamps' Hello Fall stamp set to use to create a circular stamped image.

The Hello Fall stamps are a solid image stamp and I wanted to use the coordinating stencil set to color the leaves.  To have a guide for the stencils, I stamped the leaves in a very light yellow ink.  I knew the light yellow would blend with any autumn colors I chose.

I found that the Stampwheel makes it very easy to leave the stamp on the clear top plate and rotate the plate to form a circle.  The sticky mat included with the Stampwheel held my A2 card panel in place with zero movement!

The next thing I wanted to test was using the sticky mat in the base of the platform to hold the stencils in place.  I used various inks (linked below) to color the leaves with the Hello Fall stencil.  The Stampwheel's sticky mat totally eliminated the need to use tape to hold the stencils!

Before I adhered the stenciled piece to the card base, I wrapped some jute twine around it and then added foam tape to adhere it to the card.  I die cut two circles, one a Deckle Edge and the other a Stitched circle die.  The coordinating colored cardstock is listed below.  I stamped the sentiment from Altenew's Sisters of the Heart set with brown ink.  I added foam to the back to adhere it over the twine.

For a bit of bling I added coordinating gem stickers here and there on the front.

I really did enjoy using the Stampwheel in making this card.  I know that this will not be the last time I use this fabulous tool! Thank you for stopping by today!  I hope you will join me over on Instagram for the hop!

I really appreciate your shopping with my affiliate links (never any additional cost to you)!


Wednesday, September 13, 2023

Autumn Card with the Grateful Gatherings Sets

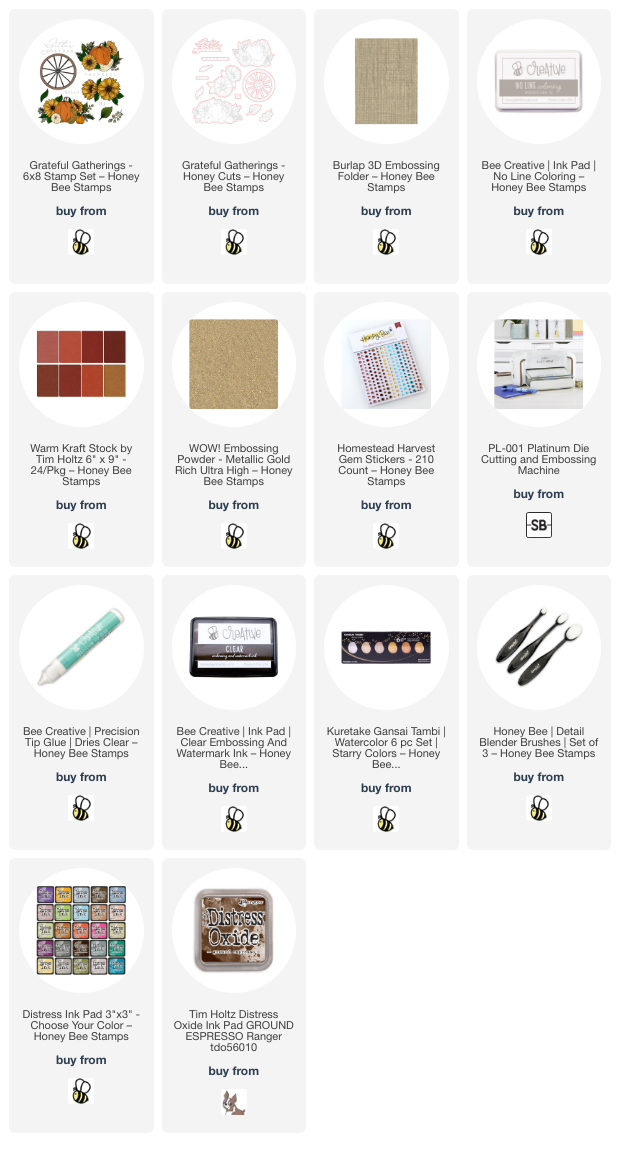
Hello crafty friends! Today my autumn card features Honey Bee Stamps beautiful new Grateful Gatherings stamps and Honey Cuts.  These are part of the awesome Heartfelt Harvest release. You do know this was illustrated by our so very talented team mate, Kelly Taylor, right?  I'm so thrilled to get to create with such talented people!

First I partially embossed an A2 sized piece of Warm Kraft Stock with the Burlap 3D embossing folder. I just let about 1-½" of the panel hang out of the embossing folder while I ran it through my machine. Now, raise your hand if you still have one of those sanders by Tim Holtz! I don't know if those are still available, but there are his sanding disks in the Honey Bee shop.

The cool thing about this Kraft Stock paper is that the core of it is kraft color so that when you sand it, you will see the kraft! After I sanded it, I lightly used a blender brush to add Ground Espresso Distress Ink around the edges. Then I splattered on some red gold and yellow gold metallic paint. (I used removable tape to mask off the smooth area while sanding, inking and splattering.)

Next I used another piece of the Kraft Stock paper to stamp the wagon wheel and the sentiment from the Grateful Gatherings set with clear embossing ink. I added gold embossing powder and heat set it. Then I cut them out with the coordinating Honey Cuts.

I love the no-line coloring look, so I stamped one of the floral images from the Grateful Gatherings set with Bee Creative No Line Coloring ink. I used quite a few Copic markers (LOL!) and some Prismacolor pencils to color the image. I like to use colored pencils with Copic coloring to add in some detail lines and more depth to the shadow areas. You can use these colors and stamp it in black ink to get the same beautiful look. Here is a list of the colors I used.

  • pumpkin: E15, YR18, YR15, YR13, E11, E18, PC944
  • gourd: YG0000, G85, G28, YG63, YG61, PC908
  • red flower: R59, R39, R29, Y00, E99, YR27, E09, PC1034, PC1095
  • leaves near flower: G28, YG17, YG25, PC908
  • yellow leaves: YR27, YR24, YR21, PC944
  • wispy leaves: G28, YG17, YG23, PC911, PC908
  • round leaves: YR21, PC946

Confession: I realized after I finished the coloring that I mistakenly colored two more petals for the top red flower that are actually leaves. It totally makes sense now that I "see" the leaves! Oh well, I still am happy with how it turned out. I cut it out with the coordinating die.

I adhered the wagon wheel to the back of the floral image with glue. Then I added foam tape to the back of it and the sentiment to pop them up on the card.

I added a few coordinating gem stickers from the Homestead Harvest Gem Stickers for a bit more sparkle!

I hope you've enjoyed my card making process and are inspired by something you've seen.  I'm very thankful that you've stopped by today!

Thank you so much for using my affiliate links (never any additional cost to you)!
Tuesday, September 12, 2023

Hooray For Fall!

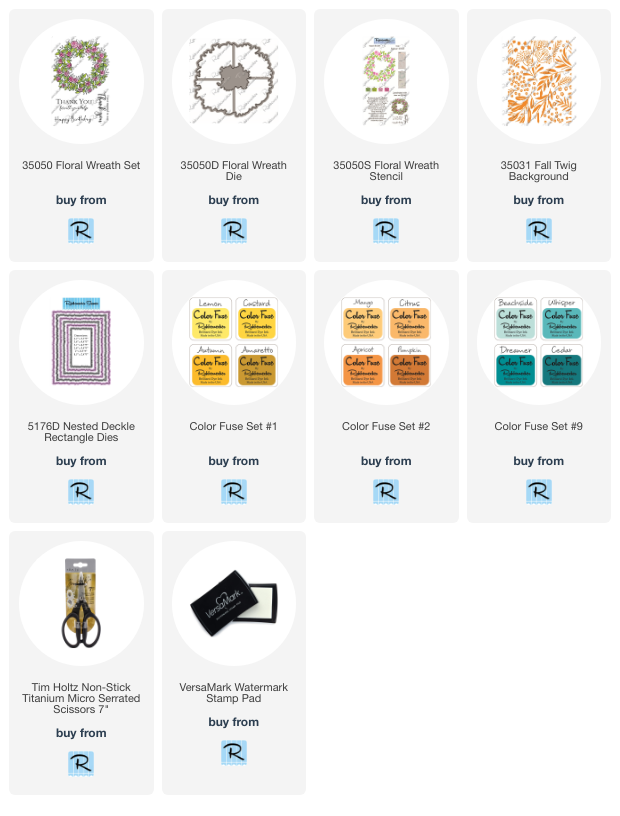
 Hello crafty friends!  Today my card features Rubbernecker Stamps Floral Wreath stamps, die, and layering stencils with an autumn look!  I created a spring themed card with the same sets--check it out on this blog post.

My card base is A2 sized and I topped that with a Nested Deckle Rectangle die cut from white cardstock.  I tapped a Versamark ink pad around the edges and added copper embossing powder and heat set it.  This makes a nice coordinating layer!

For the next layer I stamped the Fall Twig Background stamp with Versamark onto an orange piece of cardstock.  I added clear embossing powder and heat set it.  I trimmed it to 3-¾" x 5" and adhered it to the card.

The Floral Wreath is stamped with Versamark with copper embossing powder heat set onto it.  I used the coordinating Floral Wreath stencils and ink blending brushes to add some Color Fuse inks.  I used these colors:  Autumn, Amaretto (#1); Apricot, Pumpkin (#2); Grass, Juniper (#11).  I cut the wreath out with the coordinating die.

The sentiment from the Autumn Harvest set is also heat embossed with gold embossing powder.  I made it look like a sign hanging in the wreath with jute twine knotted through two holes I punched on the corners of the sentiment.  I tied a double bow from the twine for the top.  I used a small glue dot to adhere it.

I'm so happy that our temps here have begun to trend down and that fall is almost here!!  Thank you for stopping by.  Have a wonderful and crafty day!

Thank you so much for using my affiliate links to shop (never any additional cost to you)!