Showing posts with label Harvest Time paper pad. Show all posts

Sunday, September 8, 2024

Welcome Autumn Window Scene Card

I'm over on the blog at Brass & Bliss Craft Co. to share all of the fun details of my autumn card!  This features the Winter Window Die set but I omitted the snow die cut and use autumn themed patterned paper!

I die cut the Winter Window Die set from white cardstock, except the curtains, which are die cut from paper in the Harvest Time paper pad.  The "view" from the window is patterned paper from the Festival of Colors paper pad.

I added die cut pumpkins from the Pumpkins and Ivy Die set after I colored them with various Color Fuse inks.  The sentiment is from the Autumn Gnomes Set.  I used my scissors to trim around the top for a different look!

All of the details, ink colors, and step-by-step photos are over on the Brass & Bliss blog!  Thank you for stopping by!

Tuesday, October 24, 2023

Leaf Trio Die Autumn Thank You Card

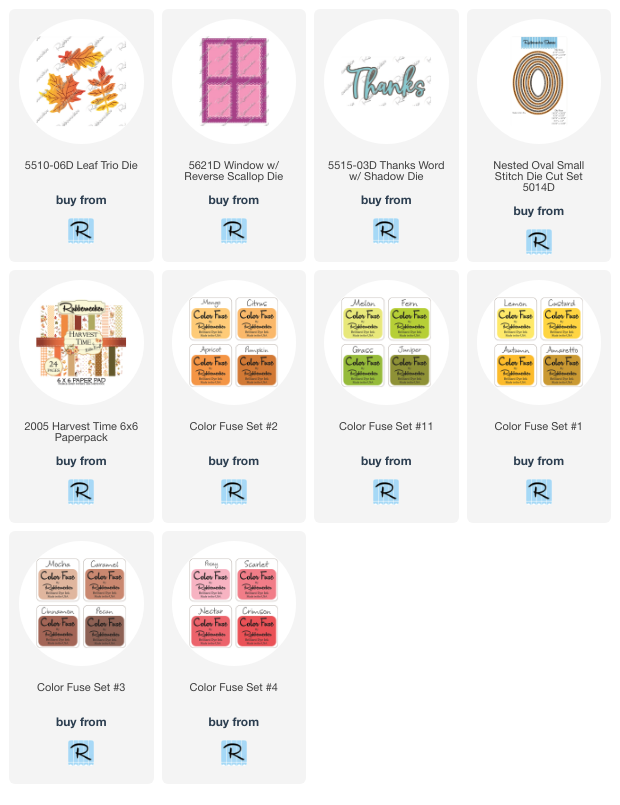
Hello crafty friends!  Today I'm sharing a gorgeous autumn Thank You card!  My collaged background features Rubbernecker Stamps beautiful Leaf Trio Die along with some other elements from their shop.

I used a large piece of Strathmore Bristol Smooth cardstock and ink blended several autumn colored dye inks in a random pattern until the piece was covered.  Then I die cut the Leaf Trio Dies from the inked cardstock several times until I had die cut the entire panel.

Then I die cut three pieces of white cardstock with the Window w/Reverse Scallop die.  I glued the layers together and set it aside to dry.

Next I trimmed a piece of striped cardstock from the Harvest Time paper pad to 3-¾" x 5".  I arranged all of the die cut leaves onto the paper and adhered them with glue.  I let some overhang the edge and trimmed off the excess to use to fill in empty spots along the edge.

I die cut and adhered three of the top layer of the Thanks Word w/Shadow die.  The shadow is orange cardstock from the Harvest Time paper pad.  I used the same orange cardstock as a base layer for the collage piece.

I arranged five of the remaining leaves around the sentiment adding a double bow made with twine.

I always like a bit of sparkle so I added some pretty coordinating gem stickers near the sentiment.

Thank you so much for stopping by!  I hope you have a wonderful day!


 Thank you so much for using my affiliate links to shop (never any additional cost to you)!

Tuesday, October 11, 2022

Friends Forever Floral Card with Stenciling

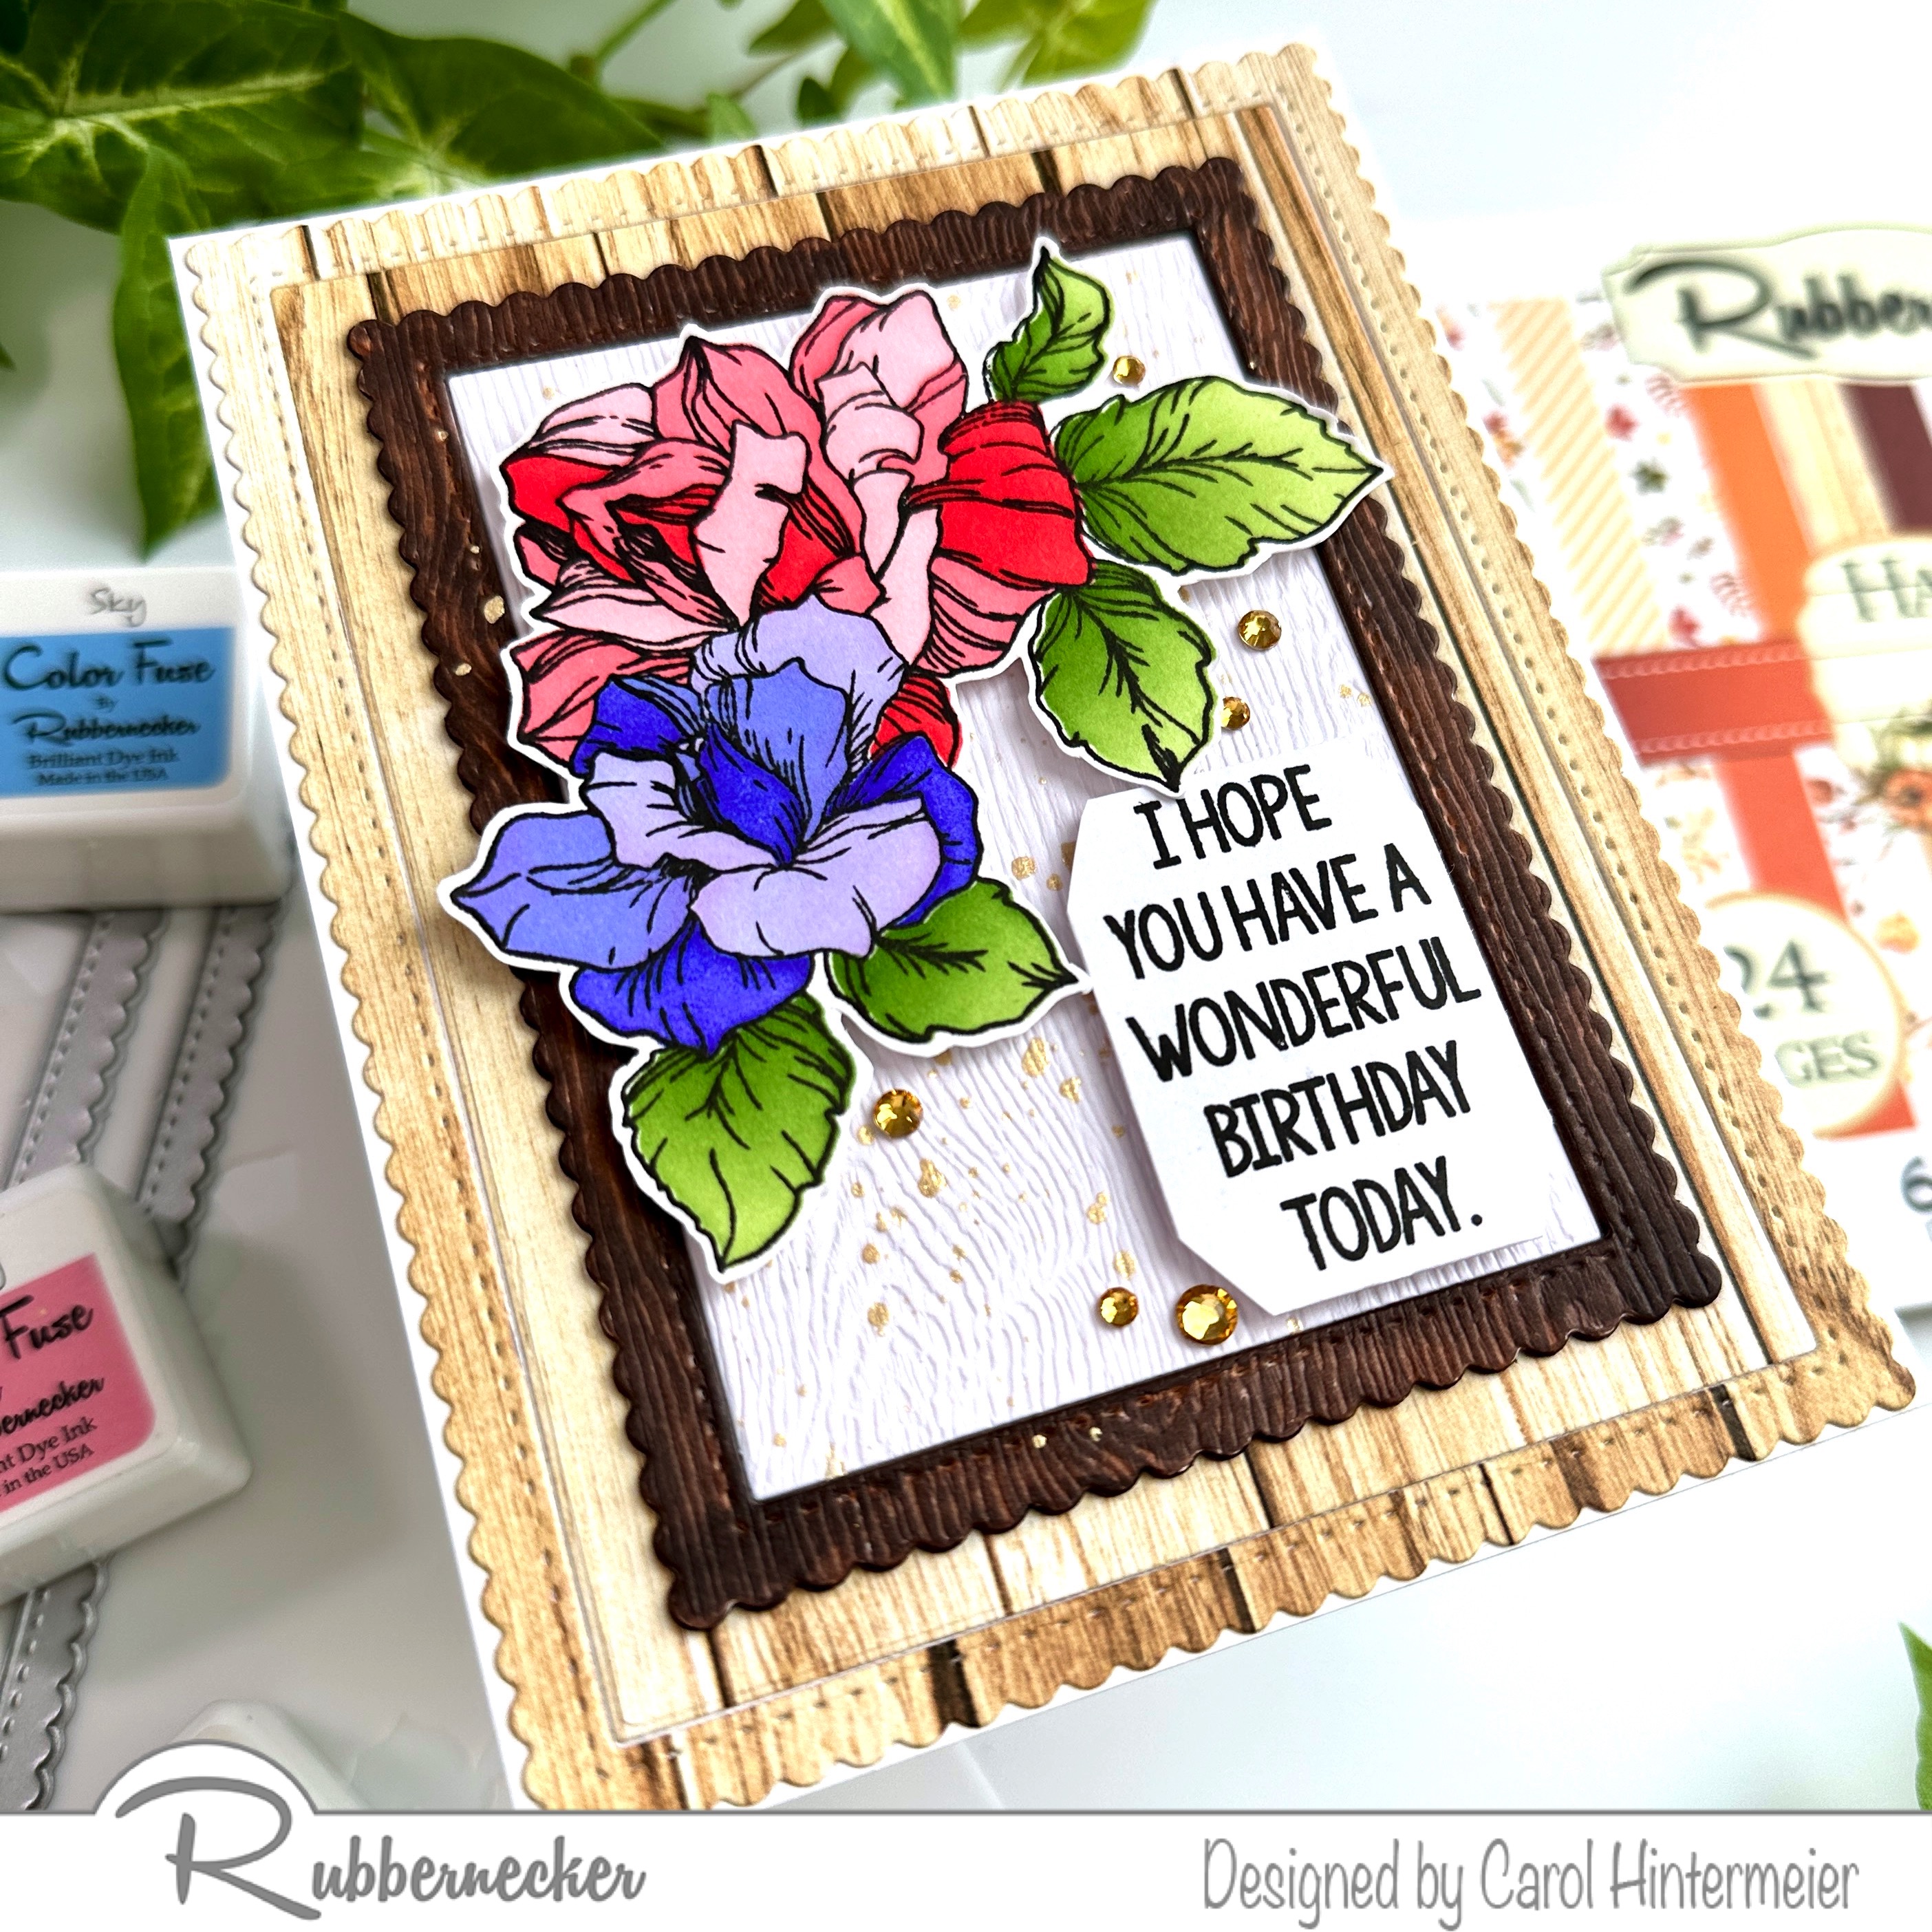
 Today I'm sharing my card using Rubbernecker Stamps' new Friends Forever set and the coordinating coloring stencils.  This is a beautiful set with several fun sentiments to choose from!

First I created my card base by die cutting some paper from the new Harvest Time paper pad with an Outside Frame Scallop die.  I adhered the pieces to an A2 card base.  I intentionally did not match up the center rectangle paper because I thought it added more interest and dimension.  What do you think?

I die cut the next smaller Outside Frame Scallop die with some woodgrain cardstock.  I colored the frame portion with a couple of brown Copic markers.  I added some gold metallic splatters to the white rectangle and then adhered the pieces to my card.

Next I stamped the Friends Forever image in a no-line coloring ink.  Tip:  Leave the stamp on the MISTI door!  The reason for this is that I'm just using this stamped image to line up the coordinating coloring stencils.  It keeps from dulling or smearing a black outline stamped image and you can still see how to line up the stencils.

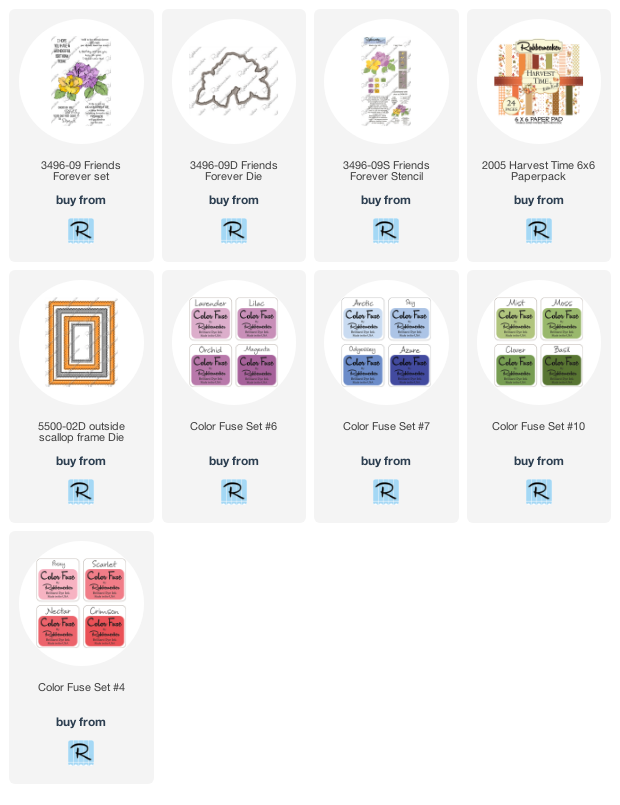
I used Color Fuse inks from set #'s 6 and 7 to stencil the blue-voilet flower.  Then I used Scarlet, Posey, and Crimson (set #4) and Clover and Basil (set #10) to finish the other flower and leaves.  I fussy cut the image out, but there is a coordinating die to use too.

I added foam tape to the back of the flowers and sentiment.  The sentiment is in the Friends Forever set and stamped in Versafine Onyx Black ink.  I hand trimmed it and added it to the card.

I added a few gem stickers for a bit more sparkle!

Thank you so much for stopping by!  Have a great, and crafty, day!

Check out the products here: (affiliate links--never any additional cost to you).