Showing posts with label Blessings of Fall. Show all posts

Wednesday, October 16, 2024

There Is Always Something To Be Thankful For

Happy Wednesday crafty friends! My card today features Honey Bee Stamps gorgeous Colors of Autumn stencil set but not in traditional autumn colors! I used green inks with the stencils for a nontraditional autumn card. I love how this turned out and hope you do too!

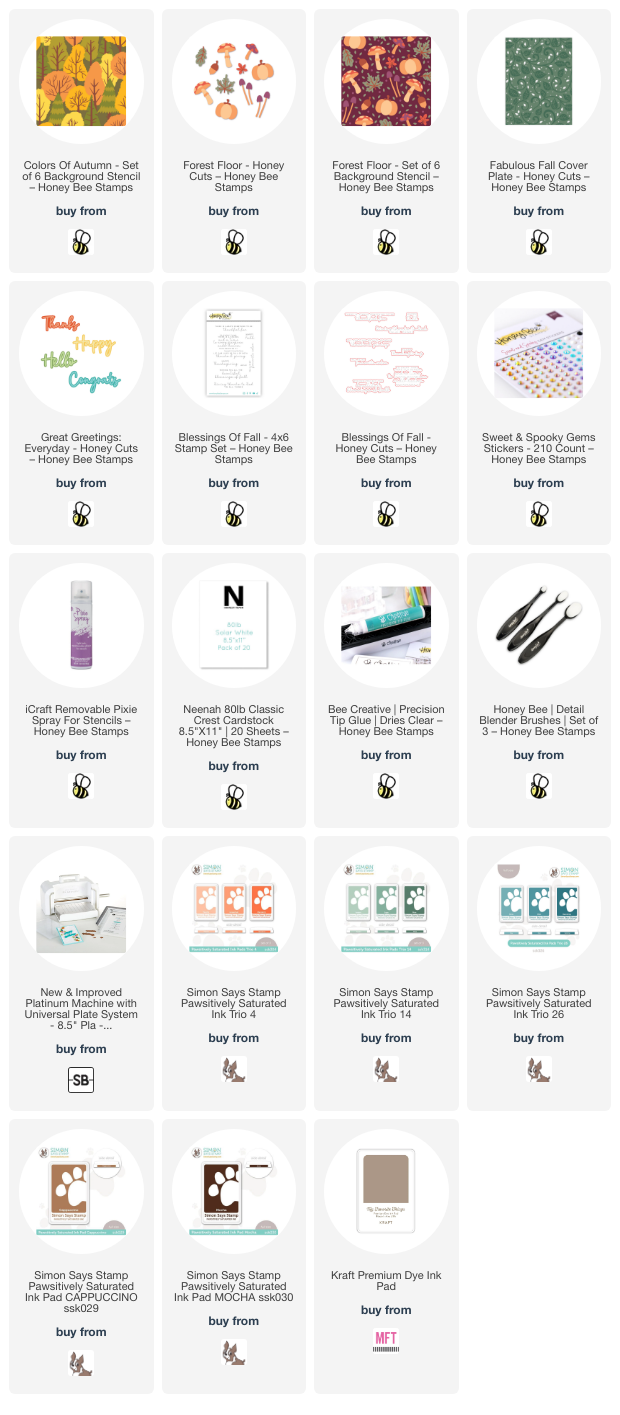
I started out by spraying the Colors of Autumn stencils with Pixie Spray. I only sprayed the few stencils that have very delicate parts that would move when I swiped the blending brush over it.

I used green ink in a light, medium, and darker shade with each of the Colors of Autumn stencils and Detail Blending Brushes. I used two shades of brown ink for the tree trunks. By using the lightest green ink at the top of the trees it adds lots of definition to each tree.  (All of the inks I used are linked in the list below.)

Next I cut the panel in half crosswise. Then I trimmed each piece to be 2" x 4-¼". I adhered these with glue to a piece of white cardstock I die cut with the Fabulous Fall Cover Plate die. I inked up a scrap of white cardstock with the darkest green ink and cut two thin strips. I used glue to adhere these strips to the stenciled pieces.

Next I die cut white cardstock with some of the dies in the Forest Floor Honey Cuts. Then I used the coordinating Forest Floor stencils to color and shade the pieces with teal blue, light orange, beige, brown, and green inks with blending brushes.

I used glue and a few foam dots to adhere the Forest Floor pieces to the card.

Next I inked up more white cardstock with the darkest green ink and die cut the top layer of "hello" that's from the Great Greetings: Everyday dies. Then I die cut white cardstock with the shadow three times. I used glue to stack up the shadow die cuts and to adhere the top layer.

I stamped the greeting from the Blessings of Fall with green ink. I cut it out with the coordinating die and cut two more white cardstock layers. I glued the layers together and then glued the stack to the card.

I added some matching pearls from the Sweet and Spooky Gem Stickers around the sentiment and the pumpkin arrangement for a bit of bling.

So, what do you think about the shades of green? I think this set could be used in the springtime too with a brighter set of green inks! Thanks so much for stopping by. Have a fabulous day!

Thank you so very much for using my affiliate links to shop (never any additional cost to you)!
Wednesday, October 2, 2024

Hello Fall Card With A Decorative Sign

Happy October crafty friends! I love the decorated signs you see in gift shops and was excited to see the new Lovely Layers: Seasonal Signs dies by Honey Bee Stamps!  This is a fun set that you can use year round!

EDIT:  Today, October 5 is World Card Making Day and to celebrate, EVERYTHING in the Honey Bee shop is 20% off!  No coupon code needed!  Check off your wish list and shop at Honey Bee!

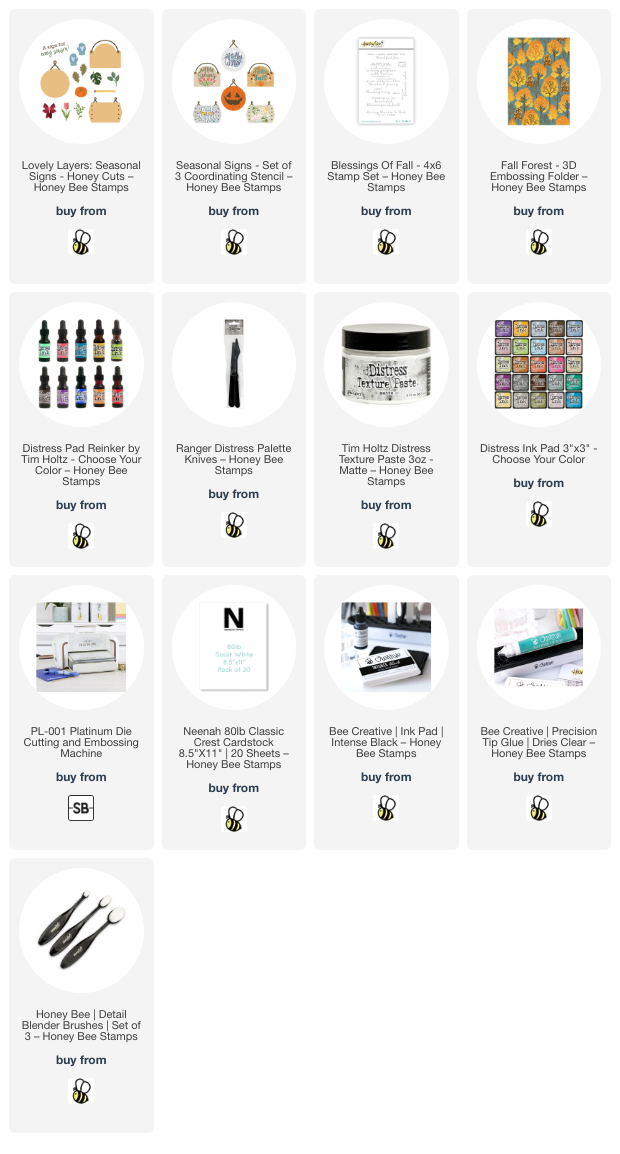
I started out by die cutting the Lovely Layers: Seasonal Signs round sign die from white woodgrain cardstock. I use an ink blending brush to add Gathered Twigs Distress Ink to color it.

Next I used the Seasonal Signs stencil set and placed the stencil with the words " hello Fall" onto the sign and taped around the edges to cover the rest of the sign. Then I mixed texture paste with a drop of Carved Pumpkin re-inker. I used a pallet tool to spread the colored embossing paste through the stencil. Then I removed the stencil, set the piece aside to dry, and immediately washed up the stencil and tools.

Next I die cut the pumpkins, leaves and stems (most are die cut three times) that are also in the Lovely Layers: Seasonal Signs from white cardstock. I used more Distress Inks and my blending brushes to color the pieces. Here are the colors I used:

  • Oak leaves: Aged Mahogany, Wild Honey, Rusty Hinge, Fossilized Amber, and Peeled Paint
  • leafy branches: Mowed Lawn, Rustic Wilderness
  • pumpkins: Carved Pumpkin, Crackling Campfire, and Gathered Twigs

I embossed a 5-½" x 8" piece of white cardstock with the gorgeous Fall Forest 3D embossing folder with the bottom 1" of the cardstock hanging out of the folder. Then I stamped the sentiment from the Blessings of Fall stamp set on the smooth bottom portion. I trimmed the piece just a bit to be 5" x 7". I inked up just the edges of an A7 folded card base with Gathered Twigs Distress ink and adhered the stamped/embossed panel to it with glue.

I glued the sign to the card base. Then I arranged all of the Seasonal Signs elements around the edge, adhering with glue and a few foam dots.

I topped the sign off with a cute little gingham bow!

Thanks so very much for stopping by.  I hope you are having a wonderful week so far!

I know you have many choices for shopping and I so appreciate your using my affiliate links (never any additional cost to you)!

Wednesday, September 18, 2024

Pumpkin Patch Autumn Card

Hello Honey Bee friends! Today I'm sharing my card I made with the beautiful Bold Background: Pumpkin Patch Honey Cuts! I love creating cards in all the colors of autumn!

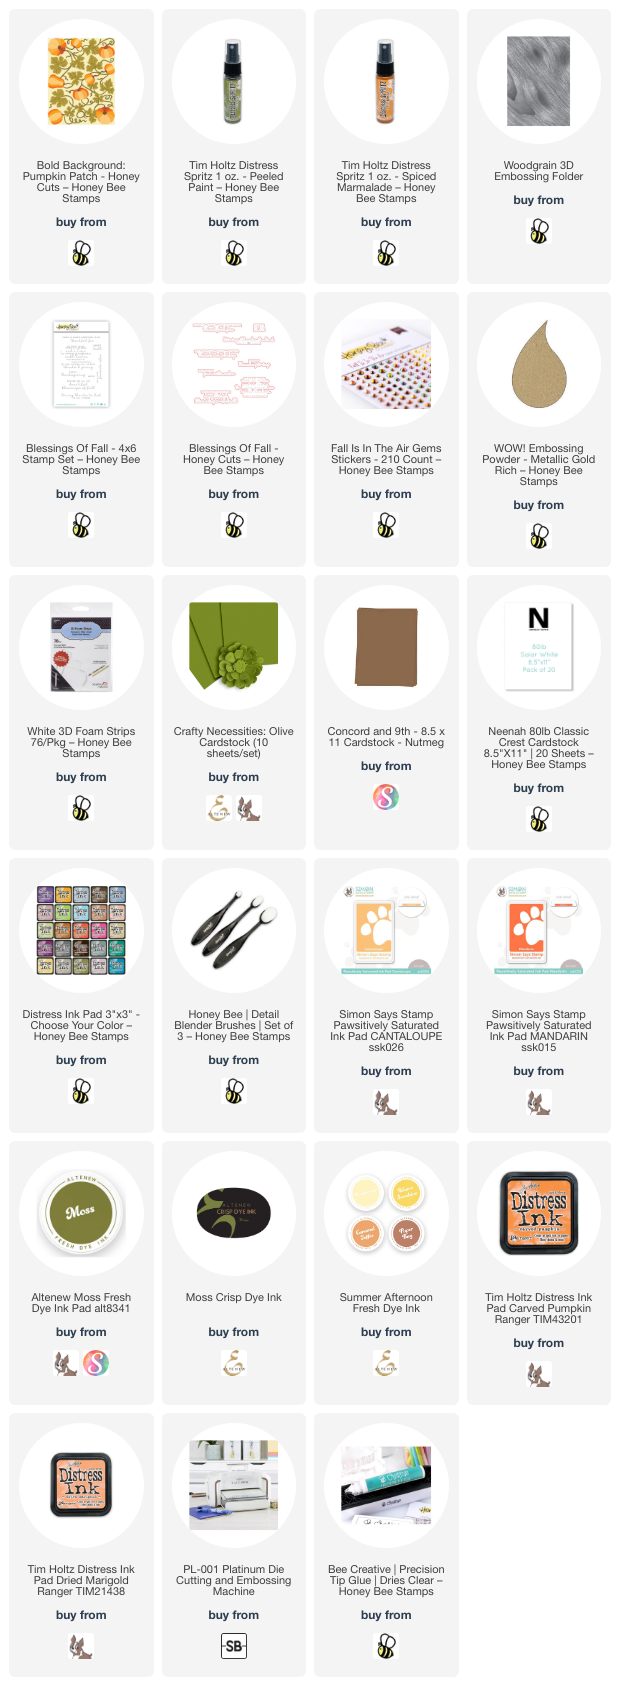
First I die cut the Bold Background: Pumpkin Patch background die and leaves die from some rich olive green cardstock. I like how all of the leaves are on one die! If you look at the Layering Guide, you will see how many of each leaf you will need. This will give you extra die cut leaves to save for another project!

I spread the background die cut and the leaves onto my craft mat. Then I lightly sprayed them all with some Peeled Paint Distress Spritz. I love the shimmer of this spray!

Next I die cut all of the pumpkin dies from white cardstock. Be sure to refer to the Layering Guide to see how many of each pumpkin you will need. I pulled out several shades of orange and warm yellow inks from my stash and had fun using my blending brushes to add color to the layers.

When I was finished coloring the pumpkin layers, I used glue to adhere the layers together. Then I sprayed them with some Spiced Marmalade Distress Spritz. I die cut the pumpkin stems from brown cardstock and glued one to each pumpkin.

Next I embossed another piece of the olive green cardstock with the Woodgrain 3D embossing folder. I adhered the Pumpkin Patch background die cut to the embossed layer and then glued this to an A2 card base. I love the tone-on-tone textured look of this!

I used my fingers to slightly shape the leaves before gluing them in place. Next I glued the pumpkins to the piece.

I gold heat embossed the sentiment from the Blessing of Fall set onto olive cardstock. Then I cut it out with the coordinating Honey Cut.

I added a bit of sparkle to the card with some gems from the Fall Is In The Air gem stickers set.

I love the warm, rich colors of this card and hope you do too! Thank you so much for stopping by!

I know you have many options for shopping, and I appreciate your using my affiliate links (never any additional cost to you)!