Showing posts with label Nested Deckle Rectangle dies. Show all posts

Sunday, November 24, 2024

Thanks For Always Being So Wonderful

Happy Sunday!  I'm over on the Brass & Bliss Craft Co. blog today to share my card featuring the new, and so beautiful, Wildflowers in the Breeze layering stamp set.

The card base is A2 size and layered with an embossed panel.  I dry embossed the Flourish stencil by using my tan rubber mat according to the directions for embossing with my die cutting machine.

I stamped the layers of the Wildflowers in the Breeze stamp set with Color Fuse inks.  Then I die cut the panel with one of the Nested Deckle Rectangle dies.

Before I popped the panel up with foam tape, I used the Flourish stencil again with blue ink.  I used a very light hand so that the stenciling wouldn't distract from the stamped image.

The sentiment is from the Thank you stamps and dies set and stamped with black ink.  Then I cut it out with the coordinating die.

Please join me on the Brass & Bliss blog for even more details and process photos!  Thanks so very much for stopping by!

Sunday, March 10, 2024

Wishing You A Beautiful Day

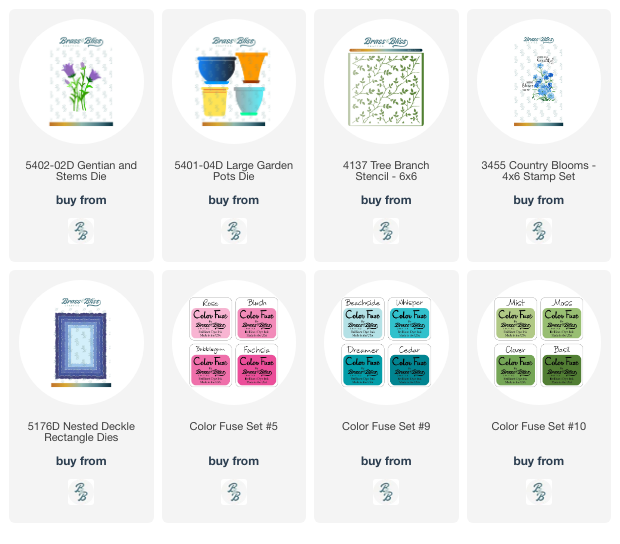
Hello friends!  Today I'm over on the Brass & Bliss Craft Co. blog (formerly Rubbernecker Stamps) with my card featuring their Gentian Blooms dies with the Tree Branch stencil.  The Brass & Bliss Craft Co. website went live last week and it's a new improved and lovely site--be sure to check out the products, including the latest release!

All of my card details are on the Brass & Bliss Craft Co. blog.  Please click HERE to check it out!  After I die cut and colored the Gentian flowers I added them to one of the four flower pots from the Large Garden Pot die set.  I used small ink blending brushes and Color Fuse ink sets #5, 9, and 10.  I die cut it with a Deckle Rectangle die before adhering it to my A2 card base.

The stenciled background is the Tree Branch stencil colored with the Color Fuse ink set #10.

I chose a sentiment from the Country Blooms set and hand trimmed it.  The flower pot is adhered with glue to a deckle cut rectangle piece of vellum.  I added foam tape to the back of the vellum to pop it up.

I have many more details and photos over on the Brass & Bliss blog, and I hope you will join me there!  Thanks so much for stopping by!

Thank you so much for shopping with my affiliate links (never any additional cost to you)!

Tuesday, September 12, 2023

Hooray For Fall!

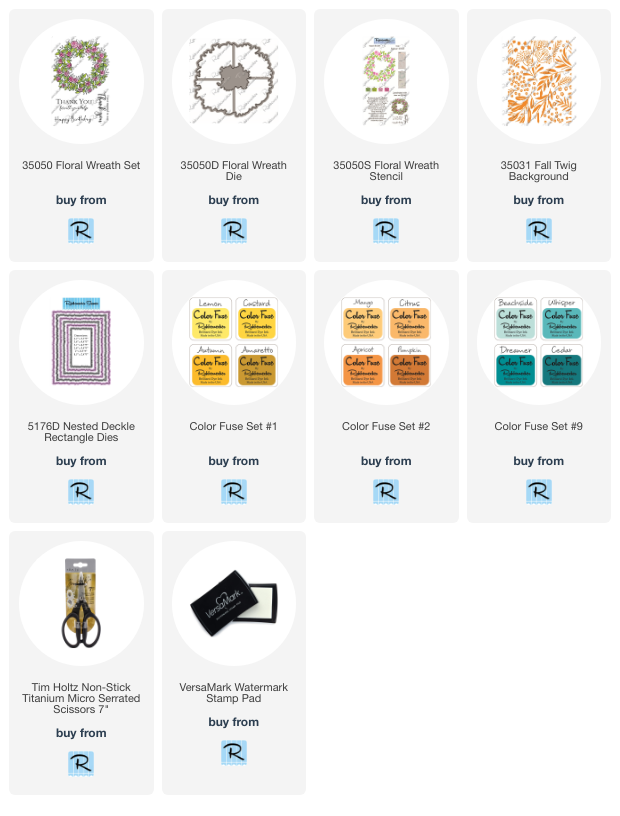
 Hello crafty friends!  Today my card features Rubbernecker Stamps Floral Wreath stamps, die, and layering stencils with an autumn look!  I created a spring themed card with the same sets--check it out on this blog post.

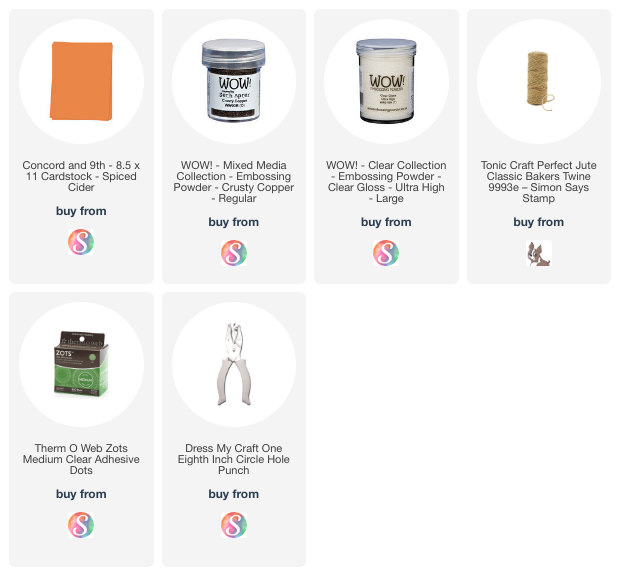
My card base is A2 sized and I topped that with a Nested Deckle Rectangle die cut from white cardstock.  I tapped a Versamark ink pad around the edges and added copper embossing powder and heat set it.  This makes a nice coordinating layer!

For the next layer I stamped the Fall Twig Background stamp with Versamark onto an orange piece of cardstock.  I added clear embossing powder and heat set it.  I trimmed it to 3-¾" x 5" and adhered it to the card.

The Floral Wreath is stamped with Versamark with copper embossing powder heat set onto it.  I used the coordinating Floral Wreath stencils and ink blending brushes to add some Color Fuse inks.  I used these colors:  Autumn, Amaretto (#1); Apricot, Pumpkin (#2); Grass, Juniper (#11).  I cut the wreath out with the coordinating die.

The sentiment from the Autumn Harvest set is also heat embossed with gold embossing powder.  I made it look like a sign hanging in the wreath with jute twine knotted through two holes I punched on the corners of the sentiment.  I tied a double bow from the twine for the top.  I used a small glue dot to adhere it.

I'm so happy that our temps here have begun to trend down and that fall is almost here!!  Thank you for stopping by.  Have a wonderful and crafty day!

Thank you so much for using my affiliate links to shop (never any additional cost to you)!

Tuesday, May 16, 2023

Life Was Made for Camping!

Today I have a fun card to share that's perfect for all of the people that love camping!  Personally, for me, the sentiment would need to say "glamping"!  LOL!  This features Rubbernecker Stamps fun Camping stamps and coordinating dies.

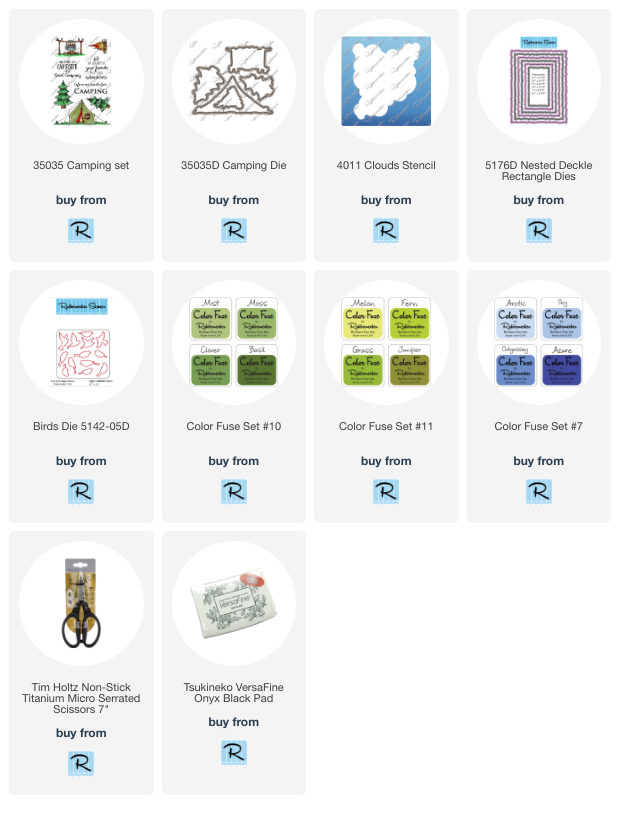
First I created the background by ink blending green Basil and Juniper for the ground.  (See all of the product links at the end.)  Next I used the Clouds stencil and Arctic ink for the sky.  I kept all of the ink blending and stenciling closer to the center of the A2 card panel.

Next I used the largest Nested Deckle Rectangle die to cut out the inked background piece.  Then I stamped the images from the Camping set with Copic safe black ink.  After I finished my coloring, I cut them out with the coordinating Camping dies.

I chose a sentiment from the Camping set and stamped it with black ink.  I glued on the tent and tucked one tree behind it before the glue dried.  I used thin foam squares to pop up the other two trees.  I decided to add a bird to the sky.  I chose a bird in flight from the many that the Birds Die cuts.  After I colored it with brown Copics, I popped it up with a foam square.

And that's it!  A super quick, but fun and easy card to make!

I so appreciate your stopping by today to check out my card!  I hope your week is wonderful and filled with lots of crafty time!

Thank you so much for using my affiliate links to shop (never any additional cost to you).