Showing posts with label Clouds Stencil. Show all posts

Tuesday, May 16, 2023

Life Was Made for Camping!

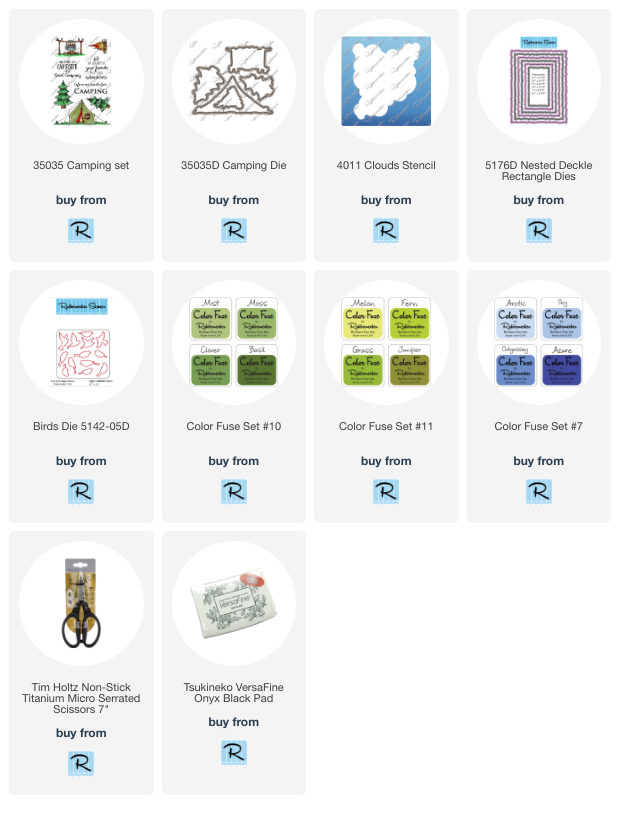
Today I have a fun card to share that's perfect for all of the people that love camping!  Personally, for me, the sentiment would need to say "glamping"!  LOL!  This features Rubbernecker Stamps fun Camping stamps and coordinating dies.

First I created the background by ink blending green Basil and Juniper for the ground.  (See all of the product links at the end.)  Next I used the Clouds stencil and Arctic ink for the sky.  I kept all of the ink blending and stenciling closer to the center of the A2 card panel.

Next I used the largest Nested Deckle Rectangle die to cut out the inked background piece.  Then I stamped the images from the Camping set with Copic safe black ink.  After I finished my coloring, I cut them out with the coordinating Camping dies.

I chose a sentiment from the Camping set and stamped it with black ink.  I glued on the tent and tucked one tree behind it before the glue dried.  I used thin foam squares to pop up the other two trees.  I decided to add a bird to the sky.  I chose a bird in flight from the many that the Birds Die cuts.  After I colored it with brown Copics, I popped it up with a foam square.

And that's it!  A super quick, but fun and easy card to make!

I so appreciate your stopping by today to check out my card!  I hope your week is wonderful and filled with lots of crafty time!

Thank you so much for using my affiliate links to shop (never any additional cost to you).
Tuesday, March 29, 2022

Everyone Needs A Friend Who Is All Ears

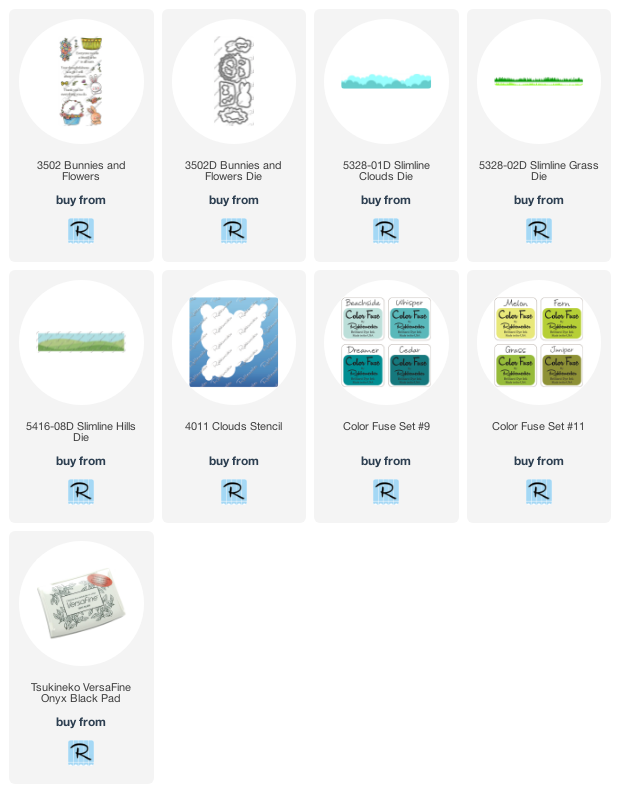
Hello crafty friends!  Today I'm sharing an adorable card I made using Rubbernecker Stamps new Bunnies and Flowers set.  I think bunnies are so cute and I really like having this set with sentiments that aren't just for Easter!  Of course, these cuties would be perfect for an Easter card too!

Creating the card base with the scene layers:

  • Using the Slimline Hills die and the Slimline Grass die, cut one grass layer and two hill layers with green cardstock.  I highly recommend getting the slimline dies for your scenes--these work for any size card you want to make!  Trim the pieces to 4-¼" wide.
  • Add some shading to one hill using an ink blender brush and Juniper ink (Color Fuse #11).
  • Die cut some green gingham paper with the Slimline Grass die and trim to 4-¼" wide.
  • Adhere all four layers with liquid glue, staggering them for your scene.  Tip: I only add glue at the bottom and sides to be able to tuck in the die cut images easily.
  • Die cut cloud layers with the Slimline Cloud dies.  Using the Clouds Stencil, ink the clouds with Beachside (Color Fuse #9) and a blender brush.
  • Ink some clouds at the top of an A2 card base (see above photo).
  • Glue the more narrow cloud layer near the top of the card base.
  • Add foam tape to the back of the large cloud layer and, overlapping the first cloud layer, adhere to the card base.
  • Adhere the grass/hill layers with glue.
  • Lightly ink the edges of the adhered layers with Juniper ink using a blender brush.

The images:

  • Stamp the images from the Bunnies and Flower set in black Copic safe ink.  Color the images with Copic markers, or medium of your choice.
  • Die cut the images with the coordinating Bunnies and Flower set dies.
  • Stamp the sentiment from the Bunnies and Flowers set with Versafine Onyx Black ink.  Trim it into a rectangle shape and adhere to a black mat layer.  Add foam squares to the back.
  • Arrange the images by tucking them into the hills and grass layers.  I do this first without any adhesive to be able to move them around until I like the arrangement.
  • I adhered them all with glue except the top of the flower pot where I put a strip of foam tape to compensate for the layers of the hills and grass.
  • To complete the scene, I added a few butterflies from the Small Butterflies Die Cut set that I cut, and then colored, with Copic markers.

These bunnies are so adorable and I had fun creating the little scene for them!  Thanks so very much for stopping by!  Have a wonderful, crafty week!

Products used in this card:

Tuesday, January 11, 2022

Coffee and Then The World!

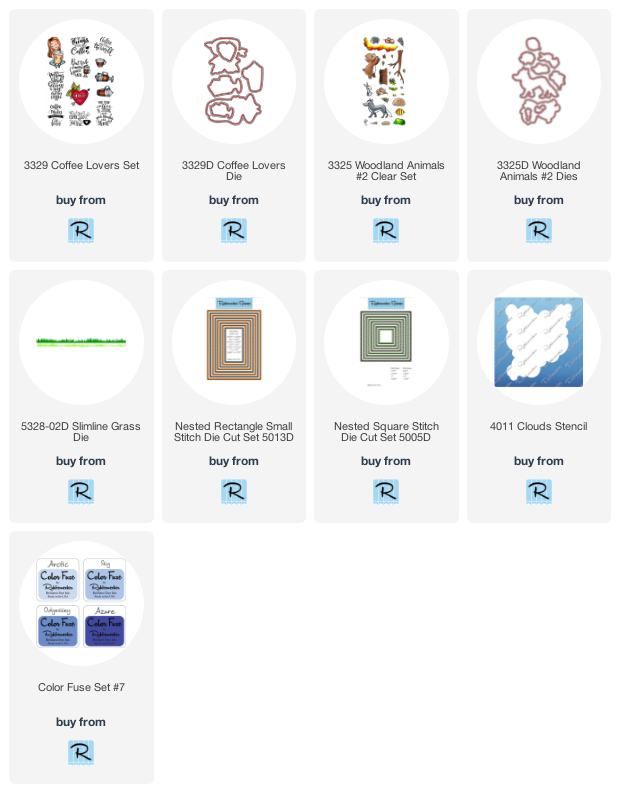
Hello crafty friends!  I hope 2022 is off to a good start for you!  Today I'm sharing this cute card using Rubbernecker Stamps Coffee Lover Set where I created a relaxing scene for the girl with her coffee!

  • Stamp the images from the Coffee Lovers Set and the Woodland Animals #2 set with Copic safe black ink.
  • Color the images with Copic markers and die cut with the coordinating dies.
  • Stamp the tree branch and leaves outline from the Woodland Animals #2 set with Copic safe black ink onto an A2 sized card.
  • Color the tree with various green Copic markers by randomly dabbing the tip while holding the marker at an angle.  I used G07, YG25, YG23, and YG03.
  • Die cut the tree panel with the largest Nested Rectangle Small Stitch die.  Then adhere it to a top-folding A2 card base.
  • Die cut a strip of white card stock with a Slimline Grass Border die.  Then color it with the same green Copic markers as listed above.  I used the Rectangle Small Stitch die to cut it out to match the background layer on the card.
  • Stamp the sentiment from the Coffee Lovers Set with black ink and die cut the with the third smallest Nested Square Stitch die.
  • Add foam tape to the back of the girl and the sentiment to adhere to the card.
  • Use liquid glue to adhere the rabbit on the left and foam tape for the rabbit on the right.

I sure appreciate you stopping by today and hope I've inspired you with an idea for your cards!  Have a wonderful day!


Tuesday, September 28, 2021

Celebrate Autumn! Shaker Card | Rubbernecker Stamps

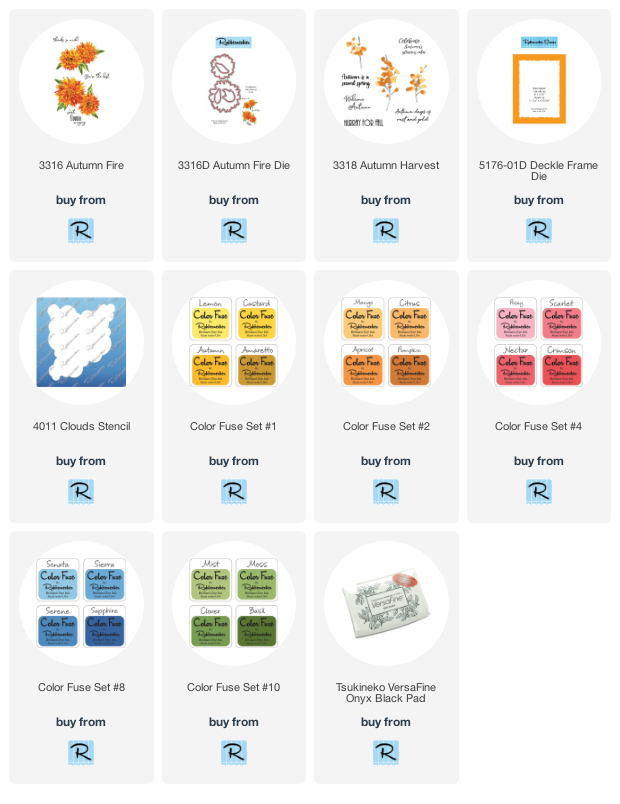
 Hello crafty friends!  Today I have a fun shaker card featuring Rubbernecker Stamps gorgeous Autumn Fire stamp set and coordinating dies.

I used Color Fuse inks to stamp the flower and leaf layers.  Here are the set numbers and colors I used:

  • Flower (from base layer to top layer): Lemon (CF #1); Citrus (CF #2); Apricot (CF #2); and Crimson (CF #4).
  • Leaves: Clover and Basil (CF #10
When I was finished stamping, I used the coordinating flower dies to cut those out and fussy cut the leaves.

Next I used the Cloud Stencil and ink blended some Sonata ink (CF #8) to add clouds to a 4-1/8" x 5-1/8" piece of white card stock.  I adhered this to a top-folding card base.

Next I stamped the sentiment and then adhered one of the flowers and some leaves to the cloud panel.

I prepared a window for the shaker by die cutting the Deckle Frame die twice from woodgrain card stock. I adhered the two frames together and added a clear acetate window.  Then I put foam tape around all of the edges.  I sprinkled in my shaker bits, removed the foam backing, and adhered the cloud piece to it.

I adhered the other flowers and leaves to the outside of the acetate with liquid glue.  Be sure to give it a few extra minutes to dry.