Showing posts with label Slimline Clouds dies. Show all posts

Tuesday, March 29, 2022

Everyone Needs A Friend Who Is All Ears

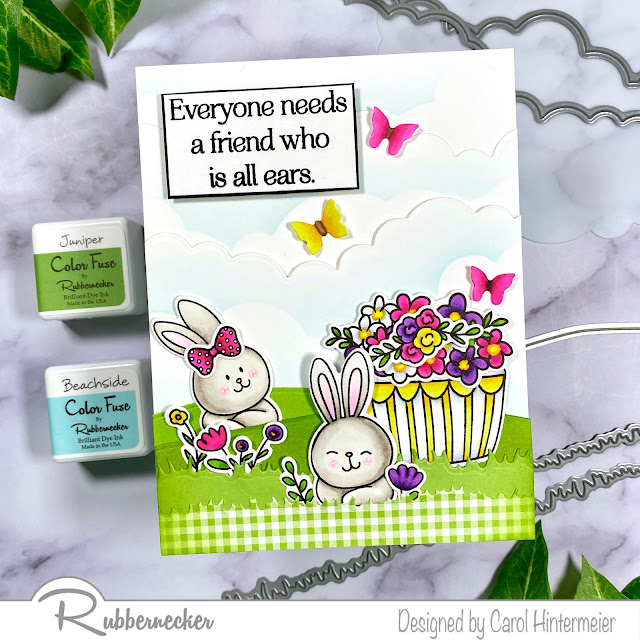
Hello crafty friends!  Today I'm sharing an adorable card I made using Rubbernecker Stamps new Bunnies and Flowers set.  I think bunnies are so cute and I really like having this set with sentiments that aren't just for Easter!  Of course, these cuties would be perfect for an Easter card too!

Creating the card base with the scene layers:

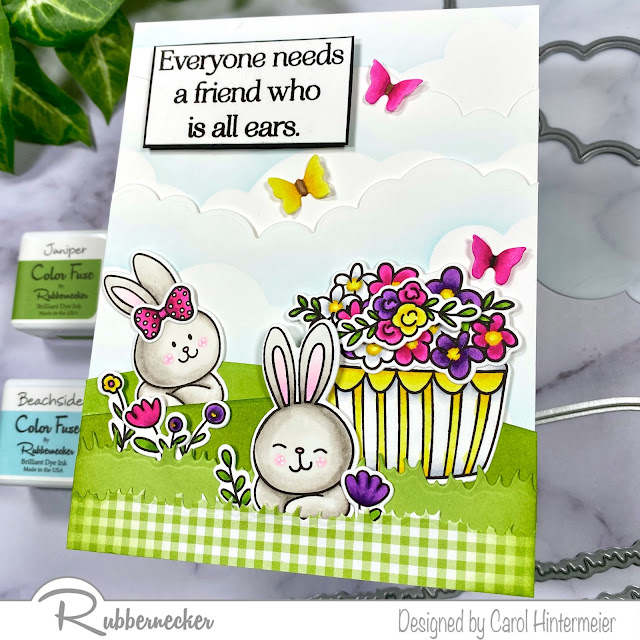
  • Using the Slimline Hills die and the Slimline Grass die, cut one grass layer and two hill layers with green cardstock.  I highly recommend getting the slimline dies for your scenes--these work for any size card you want to make!  Trim the pieces to 4-¼" wide.
  • Add some shading to one hill using an ink blender brush and Juniper ink (Color Fuse #11).
  • Die cut some green gingham paper with the Slimline Grass die and trim to 4-¼" wide.
  • Adhere all four layers with liquid glue, staggering them for your scene.  Tip: I only add glue at the bottom and sides to be able to tuck in the die cut images easily.
  • Die cut cloud layers with the Slimline Cloud dies.  Using the Clouds Stencil, ink the clouds with Beachside (Color Fuse #9) and a blender brush.
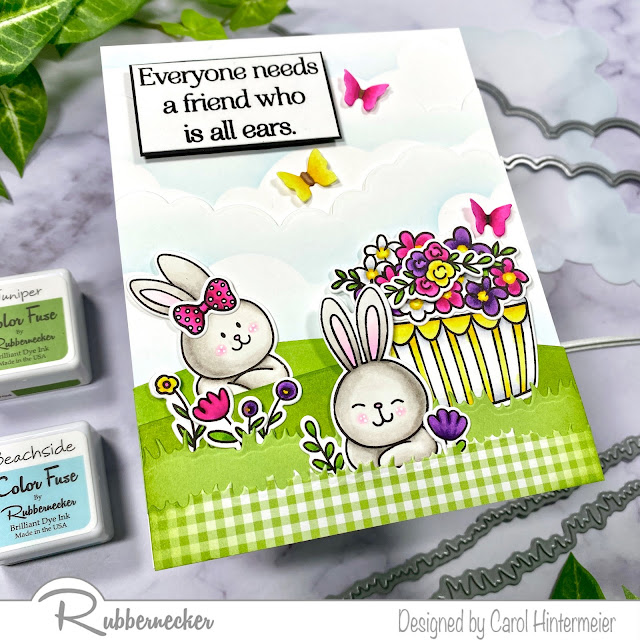
  • Ink some clouds at the top of an A2 card base (see above photo).
  • Glue the more narrow cloud layer near the top of the card base.
  • Add foam tape to the back of the large cloud layer and, overlapping the first cloud layer, adhere to the card base.
  • Adhere the grass/hill layers with glue.
  • Lightly ink the edges of the adhered layers with Juniper ink using a blender brush.

The images:

  • Stamp the images from the Bunnies and Flower set in black Copic safe ink.  Color the images with Copic markers, or medium of your choice.
  • Die cut the images with the coordinating Bunnies and Flower set dies.
  • Stamp the sentiment from the Bunnies and Flowers set with Versafine Onyx Black ink.  Trim it into a rectangle shape and adhere to a black mat layer.  Add foam squares to the back.
  • Arrange the images by tucking them into the hills and grass layers.  I do this first without any adhesive to be able to move them around until I like the arrangement.
  • I adhered them all with glue except the top of the flower pot where I put a strip of foam tape to compensate for the layers of the hills and grass.
  • To complete the scene, I added a few butterflies from the Small Butterflies Die Cut set that I cut, and then colored, with Copic markers.

These bunnies are so adorable and I had fun creating the little scene for them!  Thanks so very much for stopping by!  Have a wonderful, crafty week!

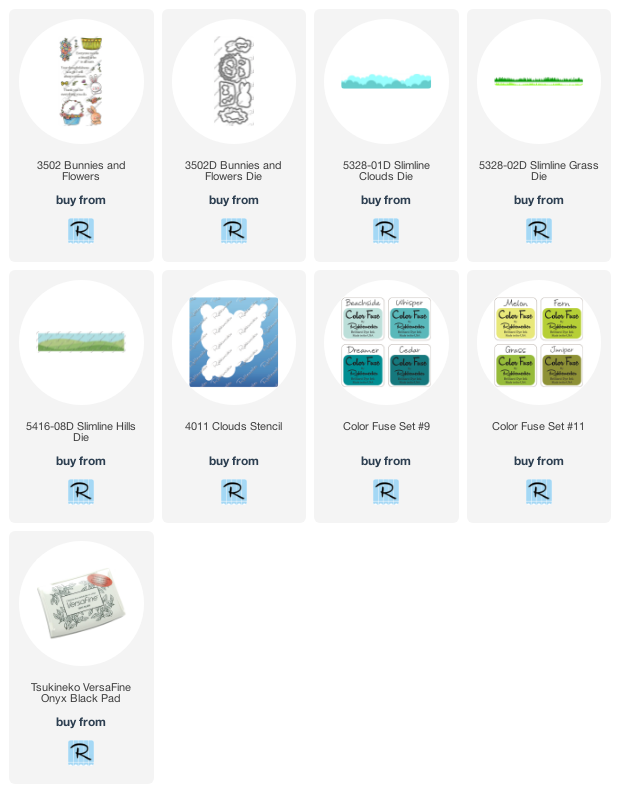
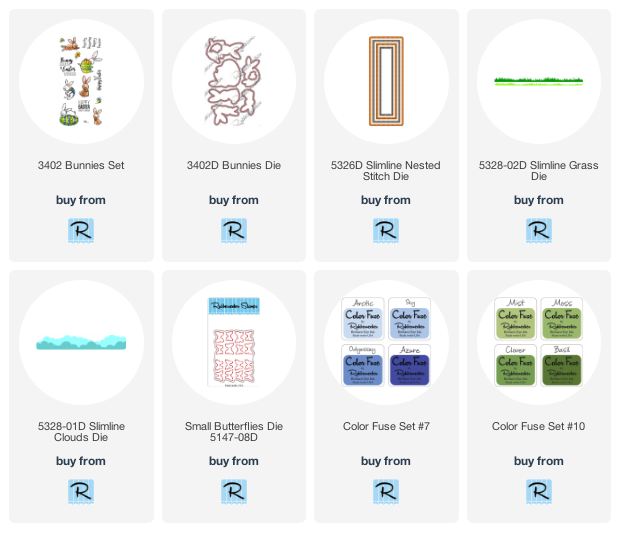
Products used in this card:

Tuesday, March 16, 2021

Slimline Happy Easter Card | Rubbernecker Stamps

Hello crafty friends!  Today I'm sharing a cute slimline card with Rubbernecker Stamps' new Bunnies Set.  This is such an adorable set that has three more sentiments plus three more bunnies in it!  So much fun!  I used their Color Fuse inks to add color to the grass and cloud layers too!  Keep reading for the details!

Card base:

  • Create a slimline card base by scoring a 7" x 8-½" white card stock at 3-½".  Fold at score line.
  • Die cut two pieces of white card stock with the largest Slimline Nested Stitch die.  On one blend Arctic Color Fuse ink along the top with a foam ink blending tool.  (I began with an ink blending brush, but with light colors, I find that a foam tool lays down the ink faster and more even.)
  • Use one of the Slimline Clouds dies and die cut the clouds across the top of the second Slimline Nested Stitch piece.
  • Blend Arctic ink along the bottom of the second piece leaving the area just below the cloud line white.  
  • Stamp the sentiment, as shown on the finished card, in black ink.  Add foam tape to the back of the cloud piece and adhere to the other Slimline Nested piece.  Adhere these to the card base.
  • Next, cut some white card stock into two 1-¼" x 8-½" strips.  Use the Slimline Grass dies to die cut the strips near the top edge.  Blend Mist and Basil Color Fuse inks on the grass strips.  
  • Next, die cut each grassy strip with the largest Slimline Nested die to add stitching along the bottom.  See the photo for further explanation.
  • Add liquid glue just along the bottom edge of the light green grass and adhere to the dark green grass.  Then add liquid glue to the back side just along the bottom and adhere to the card.  The reason for adding the glue just along the bottom edges is so I can easily tuck the images into the grass.

Card elements:

  • Stamp the images from the Bunnies Set with Copic safe ink.  Color them with Copic markers and fussy cut them out.  (There are coordinating dies that I ordered but had not received at the time I was making my card.)
  • Arrange the images and adhere with liquid glue.  Note:  I did not add glue to the bunnies' ears so I could slightly bend them up for dimension and to add even more cuteness to them!
  • Die cut white card stock with the Small Butterflies die.  Use a black Micron .05 pen to draw the butterflies bodies, then color with Copic markers.
  • Add a dot of glue to the center of the butterflies and adhere to the card.  When dry, bend the wings up for some dimension.


To finish, I added some sparkle with a clear glitter pen and Glossy Accents to the egg details.  I know it doesn't show in the photos (I tried!!) but it does add a fun bit of bling!


I hope my card today has inspired you to get hopping on those Easter cards!  Thank you so much for stopping by!!!


Click the images to check them out: