
Hello crafty friends! Today I'm sharing a cute slimline card with Rubbernecker Stamps' new Bunnies Set. This is such an adorable set that has three more sentiments plus three more bunnies in it! So much fun! I used their Color Fuse inks to add color to the grass and cloud layers too! Keep reading for the details!

Card base:
- Create a slimline card base by scoring a 7" x 8-½" white card stock at 3-½". Fold at score line.
- Die cut two pieces of white card stock with the largest Slimline Nested Stitch die. On one blend Arctic Color Fuse ink along the top with a foam ink blending tool. (I began with an ink blending brush, but with light colors, I find that a foam tool lays down the ink faster and more even.)
- Use one of the Slimline Clouds dies and die cut the clouds across the top of the second Slimline Nested Stitch piece.
- Blend Arctic ink along the bottom of the second piece leaving the area just below the cloud line white.
- Stamp the sentiment, as shown on the finished card, in black ink. Add foam tape to the back of the cloud piece and adhere to the other Slimline Nested piece. Adhere these to the card base.
- Next, cut some white card stock into two 1-¼" x 8-½" strips. Use the Slimline Grass dies to die cut the strips near the top edge. Blend Mist and Basil Color Fuse inks on the grass strips.
- Next, die cut each grassy strip with the largest Slimline Nested die to add stitching along the bottom. See the photo for further explanation.
- Add liquid glue just along the bottom edge of the light green grass and adhere to the dark green grass. Then add liquid glue to the back side just along the bottom and adhere to the card. The reason for adding the glue just along the bottom edges is so I can easily tuck the images into the grass.


Card elements:
- Stamp the images from the Bunnies Set with Copic safe ink. Color them with Copic markers and fussy cut them out. (There are coordinating dies that I ordered but had not received at the time I was making my card.)
- Arrange the images and adhere with liquid glue. Note: I did not add glue to the bunnies' ears so I could slightly bend them up for dimension and to add even more cuteness to them!
- Die cut white card stock with the Small Butterflies die. Use a black Micron .05 pen to draw the butterflies bodies, then color with Copic markers.
- Add a dot of glue to the center of the butterflies and adhere to the card. When dry, bend the wings up for some dimension.

To finish, I added some sparkle with a clear glitter pen and Glossy Accents to the egg details. I know it doesn't show in the photos (I tried!!) but it does add a fun bit of bling!

I hope my card today has inspired you to get hopping on those Easter cards! Thank you so much for stopping by!!!
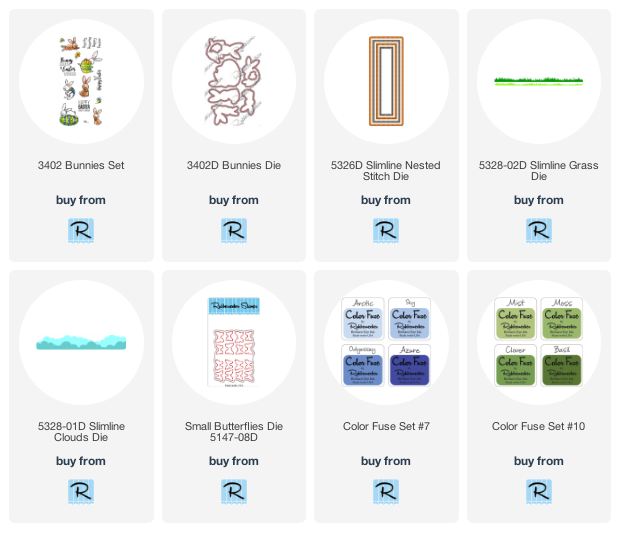
Click the images to check them out:
That is a really cute card! Very nicely done!
ReplyDelete