Showing posts with label shaker card. Show all posts

Monday, August 11, 2025

You're A Ray Of Sunshine!

 Hello friends!  While I've been on the mend from a horrible dog attack, I've had time to play with some new products from a NEW company!  This company is called My Pretty Things by Erin Thompson!  This is part of her very first release and it's filled with fun beach/summer themed stamps, dies, and stencils.

The first thing I did is have fun making the background with the Making Waves Stencil set!  I added Peacock Feathers Distress Oxide ink through the first stencil onto a panel of A2 sized white cardstock.  I positioned the next stencil over the panel and spritzed on Shiny Bauble Distress Mica Stain.  Before I removed the stencil, I pressed another piece of white cardstock onto the stencil to pick up the mica stain that was on the stencil!  This will make a great piece for another card (coming soon)!

When the Mica Stain was dry, I spread some Iridescent Glitter gel through the third stencil.  I set the piece aside to dry.

Next I die cut the Sweet Sunshine Layered Dies twice from two different shades of yellow cardstock.  I used a mini blending brush to add shading with two inks.

I glued the bottom two layers together, slightly offsetting the layers.  Then I glued the two pieces of the next layer, again offset.  I added foam tape to the back to adhere it to the bottom layer of the sun.  After I added the smiley face die to the inner circle, I glued on a small piece of pink cardstock behind the cheeks. I popped it up with foam tape to adhere.

I trimmed the Making Waves stenciled piece to 4" x 5-¼".  Then I placed it into a shaker pocket and adhered all sides except the top.  I poured in a pretty sequin mix that coordinates with the stenciled colors and sealed the top of the shaker pocket.  I added double-sided adhesive to the back of the shaker to adhere it to an A2 card base.

The sentiment is from the Hey There Sunshine stamp set.  I used the Hey There Sunshine dies to create the layered sentiment with a shadow die.

This is the first of three cards I will be sharing where I used other products from My Pretty Things!  I hope you enjoyed this one!  Thanks so much for stopping by!

Thank you for shopping with my affiliate links (never any additional cost to you)!
Saturday, September 21, 2024

Joy To The World Shaker Card

Hi crafty friends!  I have a super quick post to share a bit more about my card in my Instagram reels featuring Picket Fence Studios gorgeous Winter Blooms.

I love the colors of the Jingle All The Way sequin mix and wanted to coordinate my card colors so I could use this in a shaker card!  After I stamped the large image from the Winters Blooms set in black ink, I used these Copic marker colors:

  • Flowers: V09, V17, V15, V01; leaves: YG17, YG25, YG03, G19, G17, G09, G05, G03, G28; berries: B18, B05, B04.

I cut it out with the coordinating Winter Blooms die.  Next I added tape runner on the back around all of the images to adhere a piece of acetate and then thick foam tape all around.  Then I removed the backing paper of the foam tape.

I added probably over half of the beautiful Jingle All The Way sequin mix to the center of the acetate.  Then I added glue to the foam tape.  There's two reasons for this: 1) it gives you a bit of "wiggle room" to position the card base, and 2) the glue will hold the layers together over the long term.  I've found that just the adhesive of the foam tape alone, over time, looses its stickiness.

The sentiment is from the Deck the Halls stamp set.  I cut it out with the coordinating die and adhered it to the card with glue.

Thank you for stopping by today!  I hope it's a wonderful one!

I know there are many choices for shopping, and I really appreciate you using my affiliate links (never any additional cost to you)!

Sunday, August 25, 2024

Snowman Cheer Snowy Shaker Card

Happy new week crafty friends!  Today I'm over on the blog at Brass & Bliss (to be posted soon--the owners were ill) to share all of the details to make this cute shaker card that features the Snowman Cheer stamps and dies!

First I die cut a Classic Nested Oval from a piece of paper from the Snowflake Fun paper pad.  Then I used the Christmas Lights Stencil to create the texture paste background.  See that sparkle?  I gently pressed glitter into the paste before removing the stencil!

The shaker window was filled Distress Mica Flakes and iridescent glitter.

This adorable snowman from the Snowman Cheer set was Copic colored and die cut with its coordinating die.  He's having fun swinging from a Branch die cut!

I white heat embossed the sentiment with white embossing powder and die cut it with a Nested Scallop Oval Die.  This is one of six sentiments included with the Snowman Cheer stamp set.

Be sure to check out all of the details over on the Brass & Bliss blog!  Thank you so much for stopping by!

Friday, April 5, 2024

Spring Greetings Shaker Card

Hello friends!  Today I'm sharing this card over on Instagram as part of Honey Bee Stamps' hop to celebrate their latest release for their 9th birthday!  Just so you know, there will be two $50 gift card prizes chosen from those that leave a comment on the Instagram posts!

The new products I've used are the Storybook Spring stamps with the coordinating dies and stencils, and the Sandie's Garden 3D embossing folder.

I used Honey Bee's new Beeluxe Blending Brushes to color the image through each Storybook Spring stencil layer.  These brushes are pencil shaped and make getting into the small openings very easy.

I used Distress Inks in these colors:  Kitsch Flamingo, Mustard Seed, Squeezed Lemonade, Dried Marigold, Mowed Lawn, Rustic Wilderness, and Lost Shadow.  When I finished with each stencil layer I placed the panel into my MISTI.  Then I aligned each stamp over its image and picked them up with the MISTI door.  I inked up the stamps with Intense Black ink.  Then I cut them out with the coordinating Storybook Spring dies.

For the background layer, I placed a die from the Sweet Stacks Circles in the center of an A2 white cardstock panel.  After I cut out the circle, I put it into the Sandie's Garden 3D embossing folder to emboss it.

I adhered a piece of acetate to the back of the circle opening, then added strips of the World's Best Foam Tape by Pear Blossom Press around the opening and to the edges of the panel.  I've talked about this foam tape before, but if you missed it, this tape is truly amazing!!!  If you need to reposition your adhered panel, the tape is temporary for about 30 minutes!!  It becomes permanent after that.  

Next I added my shaker mix, then removed the adhesive backing, and placed my A2 card base onto the panel.  I love using some of my stash of embellishments!

The sentiment from the Storybook Spring set is stamped in black ink and cut out with the coordinating die.  The cute tiny bees add a bit of extra something!

Thank you for stopping by today!  I hope you'll click over to my Instagram to check out more inspiration from this awesome release!

Thank you for using my affiliate links to shop (never any additional cost to you)!

Saturday, June 10, 2023

Sea You Soon Shaker Card

Happy Saturday!!  I have a quick blog post with another card that features Trinity Stamps' new Sea You Soon set!  It's a fun shaker card using one of the new A2 Layer Shaker pouches!  It is sized just right for your card front layer!

I used the Undersea Adventure stencil set to create the background scene.  I used ink blending brushes with the Distress Oxide inks in the list below.  I added the subtle light rays with some white pigment ink.

When all of the inks were dry I added ¼" double sided tape to the back of the scene panel.  Then I placed it face down into the A2 Layer Shaker pouch.  (There's a protective film on the outside that you will need to remove.)  After I folded and creased the edges I removed the backing from all of the tape except the top and folded the edges over to seal three sides.

Next I added some coordinating sequins and sealed the top.  I added ½" double-sided tape to the back of the shaker and adhered it to an A2 card base.

Next I stamped the adorable mermaid from the Sea You Soon set and colored it with some Copic markers.   The sentiments are also in the set!  I cut all of the pieces out with the coordinating dies.  I used more double-sided tape to adhere the sentiment and image to the front of the shaker.

Thank you so much for stopping by!  I hope you have a wonderful weekend!

Thank you for using my affiliate links to shop (never any additional cost to you)!

Wednesday, November 30, 2022

Simon Says Stamp 2022 DieCember® Release & Celebration

Happy December 1, and happy DieCember® 2022!!!!  

To celebrate dies as one of our favorite crafty products, Simon Says Stamp hosts a month-long celebration during the month of December!  I am thrilled to be part of the kick-off with my shaker card featuring one of the new release dies called Fancy Birthday.  There are so many varieties and styles of dies in this DieCember® release by Simon.  Be sure to check it all out in their shop!

I made my shaker card by first using the Layered Confetti Stencil set and inking some Distress Oxides through the layers with ink blending brushes.  I used Kitsch Flamingo, Wilted Violet, and Mermaid Lagoon.

Next I used the shadow layer of the Fancy Birthday die to cut the opening of the stenciled panel.  I added adhesive on the back around the opening and adhered a piece of acetate for my shaker window.  Then I trimmed the piece to 4" x 5-¼".

I added foam tape to the back of the panel edges and around the die cut opening to create a space for my shaker bling.  I added some bling from my stash, then adhered another piece of acetate to the foam tape.  This closes the window and makes it so much easier to then adhere the shaker panel to my A2 card base.

I die cut the birthday die three times from white cardstock and once from a scrap of cardstock I inked up with Kitsch Flamingo Oxide ink.  I used glue to adhere the layers and then to the center of the shaker window.  I used Honey Bee's Happy Birthday stamp set to stamp "happy" with Kitsch Flamingo Oxide.

Be sure to head over to Simon Says Stamp's blog to get all of the details for this DieCember® release and the rest of the month!  Thank you so much for stopping by!

Thank you for shopping with my affiliate links (never any additional cost to you).

Wednesday, November 9, 2022

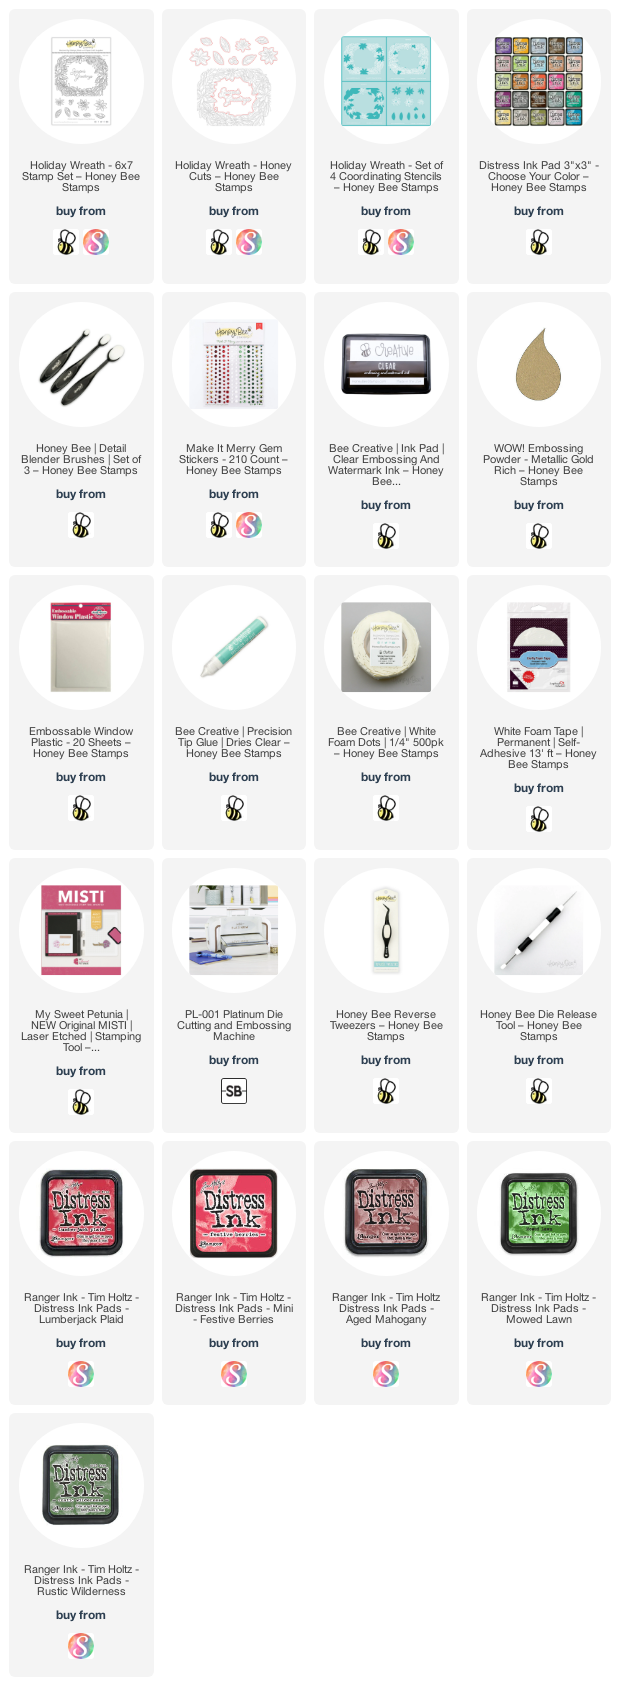
Holiday Wreath Shaker Card

Happy Wednesday!  Today I'm sharing a beautiful shaker card I made with Honey Bee stamps new Holiday Wreath stamps and coordinating dies and stencils!

First I used the Holiday Wreath Stencils to ink on Distress Inks with my detail blender brushes.  I used the new Lumberjack Plaid Distress ink and Aged Mahogany on the flowers--these pair beautifully together!  For the berries I used Festive Berries, the leaves are Rustic Wilderness and Mowed Lawn.  I used the same  colors for the individual flower, leaves, and berries stencil.

When the stencils aren't too detailed, I do my stenciling first so I don't have to worry about any ink dulling stamped or embossed lines.  Honey Bee's stencils are so easy to line with because of the etched lines in them.  When the inks were dry, I lined up the coordinating Holiday Wreath stamp and heat embossed it with gold embossing powder.  Don't forget to use your anti-static tool first!

Next I used the coordinating dies to cut all the pieces out.  Then I stamped the sentiment from the Holiday Wreath set onto embossable window plastic and heat set it with gold embossing powder.  I used double sided adhesive to add it to the back of the wreath panel.  Then I added foam tape to the back of the panel and poured in some coordinating sequins from my stash.  I like to add another piece of acetate to the back to close the shaker window.  This makes it much easier to line it up with my card base.

After I adhered the shaker panel to the A2 card base with Bee Creative glue, I used glue and foam dots to add on the additional flowers, leaves, and berries!

I really do enjoy having coordinating stencils to color the stamped images!  I think this Holiday Wreath would be so pretty in other colors and would definitely be just as beautiful as a flat non-shaker card!  Thank you so much for stopping by today!

Thank you for using my affiliate links (never any additional cost to you).

Wednesday, October 12, 2022

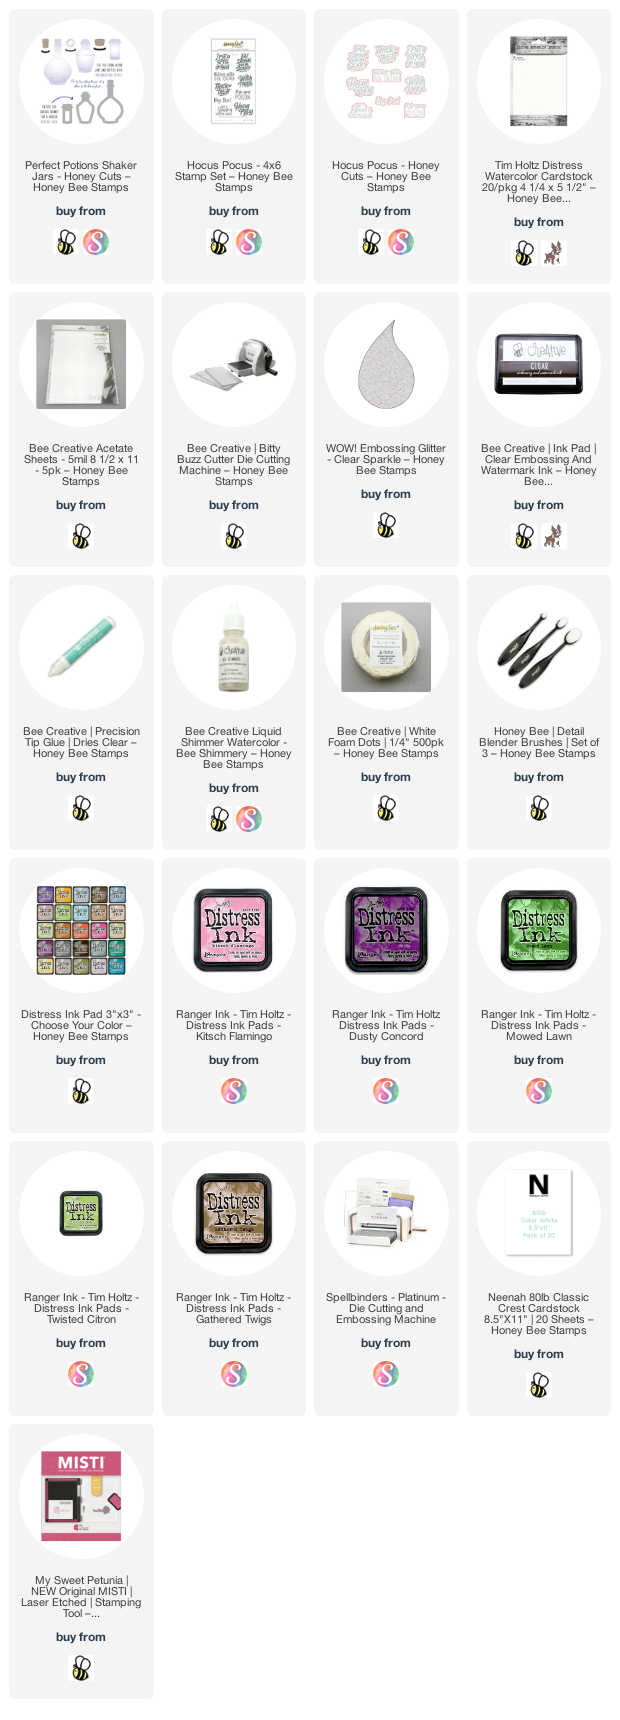
Hocus Pocus, A Cute Halloween Shaker Card

Hello friends!  Today my cute, not spooky Halloween card features Honey Bee Stamps Perfect Potions Shaker Jars Honey Cuts and the Hocus Pocus stamp set and coordinating Honey Cuts. I love creating cute cards for Halloween!

First I created the background for my card. I ink-smooshed some Distress Oxides onto a panel of watercolor cardstock. You know what ink smooshing is, right? If not, it's where you press the ink pad onto a craft mat, lightly spritz it with a water spritzer, then use a piece of acetate (I used a piece of a stamp package) to pick up the ink and "smoosh" it onto the watercolor card. The key is: not too much water, don't over work it, and use a heat tool to dry before adding more color! I used Dusty Concord, Kitsch Flamingo, Twisted Citron, and Mowed Lawn Distress inks.

When the piece was dry, I splattered drops of Bee Shimmery liquid shimmer watercolor onto the panel. I dried the droplets and adhered it to an A2 panel that I first inked the edges of with Kitsch Flamingo.

Next I die cut the pieces for the Perfect Potions Shaker Jars, once from white cardstock, then just the jar dies from adhesive foam sheets. (The foam sheet I used has adhesive on both sides.) I used the same Distress Inks and ink blender brushes to color the jar frames. The "cork" stoppers are die cut from Neenah Desert Storm cardstock with edges inked in Gathered Twigs.

You will need two pieces of acetate for each shaker jar. First I peeled off the adhesive backing of one side of the foam, added the acetate covering, replaced the backing, flipped it over, and filled it with bling from my stash. Then I added the second piece of acetate to hold the bling in the shaker. I adhered the inked shaker jars die cut to the front after I removed the backing. Just repeat for each of the jars. I used Bee Creative glue to attached the cute shakers to my card.

I stamped the sentiment from the Hocus Pocus stamp set in Kitsch Flamingo Distress ink, then in clear embossing ink. I sprinkled on clear sparkle embossing powder and heat set it. Then I die cut it with the coordinating Honey Cut and popped it up with foam dots.

Whether you're team spooky, or team cute, I hope you've enjoyed my card today!  Thanks so much for stopping by!

Thank you for choosing to use my affiliate links (never any additional cost to you).

Wednesday, September 21, 2022

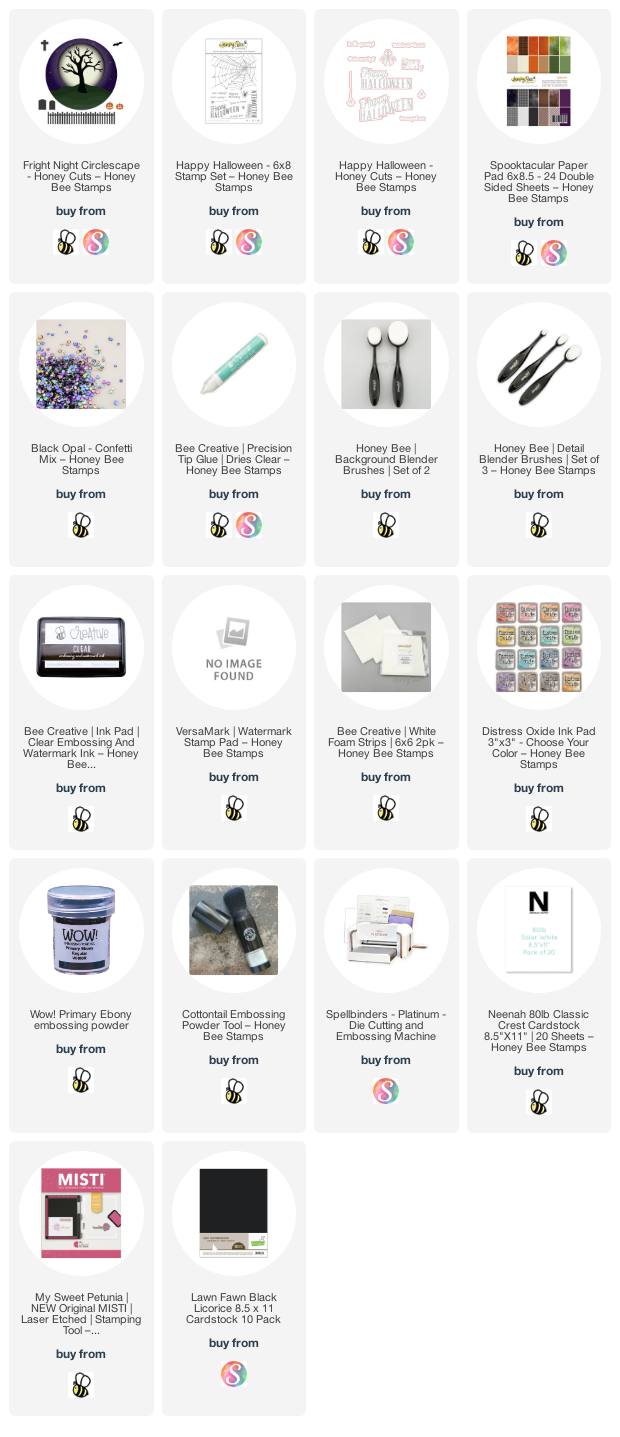
Happy BOOday! with Fright Night Circlescape Shaker Card

Hello crafty friends!  Today I'm sharing a fun shaker card for Halloween featuring Honey Bee Stamps new Fright Night Circlescape die set.  This is such a fun die set that I can easily see using different colors and featured as a winter scene!  Hmm, I need to add that to my idea list!

First I'll share the steps for creating the shaker/card base:

  • First, I chose paper from the Spooktacular 6" x 8-½" paper pad and trimmed it to A2 size.
  • Then I used an ink blender brush to add some Black Soot Distress ink around the edges of the paper.
  • Next I placed it into an A2 Shaker Creator shaker pocket, removed the adhesive liners from the sides and bottom flaps, and folded them over onto the back of the paper.
  • I poured in some of the so very pretty Black Opal Confetti Mix and sealed the top flap.
  • I used Bee Creative glue to adhere the shaker to a top folding A2 card base.

Next I created the details for the front of the card:
  • First I die cut the largest Circlescape Shaker Frames from black cardstock. I saved the frame and the circle from this die cut as we will be using both.
  • Also from black cardstock, I die cut the fence, bat (x 3), and the tree from the Fright Night Circlescape Honey Cuts. (I used a scrap of black cardstock that just fit the tree for that part.)
  • I die cut the entire Fright Night Circlescape die from 80# Neenah.
  • I used ink blender brushes and Distress Oxides for all of the coloring of the die cut pieces.
    • Moon: Antique Linen, Scattered Straw
    • Sky: Villanous Potion, Wilted Violet, and a touch of Antique Linen
    • Grassy hills: Rustic Wilderness, Mowed Lawn
    • Tree: Black Soot (this will go under the black die cut tree)
    • Cross/headstones: Weathered Wood
  • I die cut the pumpkins from a scrap of orange card stock.
  • For the yellow behind the pumpkins, I inked a scrap of cardstock with Scattered Straw Distress Oxide. One at a time, I glued the pumpkins to it, and then cut them off of the yellow piece just under the edge of the pumpkins on top. Goodness, I hope that makes sense! LOL!

Let's finish this fun card!
  • I adhered the colored pieces of the Fright Night Circlescape to the reserved black die cut circle with Bee Creative glue.
  • Adhere the black die cut tree onto the image.
  • The cool thing about the fence is that the die cut is bendable since the pickets are only joined by the top fence rail! I shaped the fence and glued that in place along with the other small images.
  • Next I adhered the Circlescape frame to the front of the card with glue. Then I glued the main image inside the frame.
  • I used black embossing powder and clear embossing ink to stamp and emboss the sentiment and spider from the Happy Halloween stamp set. After I used the coordinating dies, I used a bit of foam tape strips to adhere them to the card.

This was such a fun card to make with all of these fun elements!  I hope you've enjoyed my process.  Thank you, always, for taking a minute to stop by!  I hope you have a wonderful, crafty day!

Thank you for using my links to check out the products I used!  (affiliate link--never any cost to you!)

Tuesday, June 28, 2022

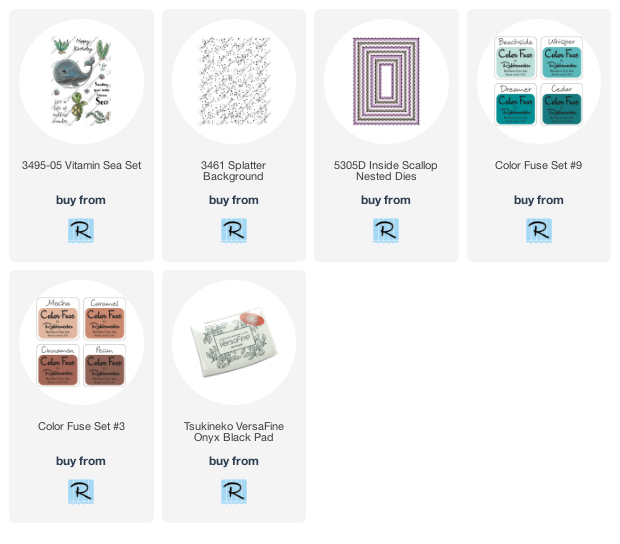
Sending You Some Vitamin Sea Infinity Shaker Card

Today I have a super cute card featuring Rubbernecker Stamps adorable Vitamin Sea Set!  I've created this sparkly infinity edge shaker card for even more fun!!

Here are the steps for the shaker portion:

  • Use ink blender brushes and Color Fuse #9 inks with the Wavy stencil to create an "ocean like" background.  Stencil the darkest color at the bottom of an A2 card panel, working up to the lightest shade at the top.  (Pixie Spray on the back of the stencil will hold it in place.)
  • Trim about 1/8" off of one side and the top or bottom of the stenciled piece.  This will allow the panel to lay flat in the shaker pocket.
  • Place the stenciled piece in the shaker pocket.  Remove the adhesive backer from both sides and the bottom.  Fold over to adhere.  These A2 Shaker Pockets make it SO easy to create shaker cards!
  • Pour in the shaker bits (however much, or little, you want) and fold the top flap over to adhere.
  • Add strong double-sided adhesive to the back of the shaker and adhere to an A2 card base.

The card details:

  • Stamp the images from the Vitamin Sea set in Copic safe ink.  Color all of the images.  I used these Copic colors:  whale: C5, C3, C1, W3, W1; turtle: G99, G46, YG63, G94, G43; sea plants: G07, YG17, YG25, YG03, E57, E31.
  • Fussy cut the images.
  • Create a "sandy" sea floor by coloring a strip of scrap cardstock with E31 Copic marker.
  • Ink up the Splatter Background stamp set with Pecan ink (Color Fuse Set #3).  Randomly stamp it over the strip for a look of sand.
  • Trim the sand strip to 4-¼" and use liquid glue to adhere to the card.
  • Stamp the sentiment from the Vitamin Sea set in Versafine black ink.  Use a Nested Inside Scallop die to cut it out.  First place the top of the die near the top of the sentiment.  Run it through your die cutting machine.  Reposition the die by lining up the scallops on the edge with the bottom edge of the die near the bottom of the sentiment.  Die cut it.
  • Adhere the sentiment and all of the images to the shaker with liquid glue.
  • Adhere a few crystal dew drops above the turtle to emulate air bubbles.

Thanks so much for stopping by!  Have a wonderful, and crafty, week!

Tuesday, September 28, 2021

Celebrate Autumn! Shaker Card | Rubbernecker Stamps

 Hello crafty friends!  Today I have a fun shaker card featuring Rubbernecker Stamps gorgeous Autumn Fire stamp set and coordinating dies.

I used Color Fuse inks to stamp the flower and leaf layers.  Here are the set numbers and colors I used:

  • Flower (from base layer to top layer): Lemon (CF #1); Citrus (CF #2); Apricot (CF #2); and Crimson (CF #4).
  • Leaves: Clover and Basil (CF #10
When I was finished stamping, I used the coordinating flower dies to cut those out and fussy cut the leaves.

Next I used the Cloud Stencil and ink blended some Sonata ink (CF #8) to add clouds to a 4-1/8" x 5-1/8" piece of white card stock.  I adhered this to a top-folding card base.

Next I stamped the sentiment and then adhered one of the flowers and some leaves to the cloud panel.

I prepared a window for the shaker by die cutting the Deckle Frame die twice from woodgrain card stock. I adhered the two frames together and added a clear acetate window.  Then I put foam tape around all of the edges.  I sprinkled in my shaker bits, removed the foam backing, and adhered the cloud piece to it.

I adhered the other flowers and leaves to the outside of the acetate with liquid glue.  Be sure to give it a few extra minutes to dry.


Wednesday, June 16, 2021

Framed Anemones Shaker Card | Honey Bee Stamps

 Hello crafty friends!  Did you catch the full reveal of the Honey Bee Stamps newest release called Summer Stems?  If not, be sure to check it out in the Honey Bee shop!  It is full of so many awesome stamps and dies, with several different styles, and will have something for everyone!  Today I've used the absolutely gorgeous stamp set called Framed Anemones.  This beautiful set was illustrated by our super talented design teammate, Emily Midgett!

Did you notice that this shaker card is frameless?!!  This new product is an A2 Shaker Pocket by Tonic Studios, and guess what?  This was the idea by another amazingly talented design team member, Ilda Dias!  I'm so honored to be on this awesome team!  (Note: I'm so sorry but this is currently out of stock.  If you click the notify me button, you will receive an email as soon as it's available.)  Now, onto my card.

First I stamped this gorgeous image on 80# Neenah Solar White card stock with Honey Bee's Intense Black Copic safe ink.  I really like this ink!!  Then I colored it with these Copic markers.

Flowers: N5, BG49, BG13, BG11, BG10
Leaves:  G28, G07, YG09, YG06
Background:  BG18
Frame:  W9, W7

When I was finished coloring, I added dots to the flower centers with a white gel pen.


Now it's time to make the shaker part of the card.  First I trimmed the panel down to 4-¼" x 5-½".  I did find that when I placed it into the shaker pocket, I needed to trim it just the tiniest bit for it to lay flat.  When you have your card face down inside the pocket, remove the adhesive backing from the sides and bottom, then fold the flaps to adhere.  Then I sprinkled in some of Honey Bee's Bokeh Lights confetti mix and sealed the top.  Easy-peasy!!

There are several sentiments included in the set and I chose one, stamped it in Intense Black ink, then cut it out with the coordinating die.  I adhered it to the card with Bee Creative glue.


I love how this turned out, and I hope you do too!  Thank you so much for stopping by!