Showing posts with label Spooktacular paper pad. Show all posts

Sunday, October 13, 2024

Happy Halloween, Friend!

 I'm over on the blog at Brass & Bliss today to share the details of my Halloween card that features the Jack O Lanterns stamps and coordinating dies.

I used patterned paper from the Spook-tacular paper pad to frame the stamped and Copic colored scene within the Nested Square die cut opening.  The tree stamp is in the Jack O Lantern stamp set.

I stamped the string of pumpkins and the other pumpkin images and colored them with my Copics.  The images are die cut with the coordinating Jack O Lantern dies.

There are five sentiments in the Jack O Lantern stamp set and I chose one to stamp and trim for my card.

I was so dismayed to discover some mysterious smudges on the patterned paper and actually tossed this in the trash!  However, after other attempts to save this card I ended up retrieving it from the trash.  I hid the smudges by creating the two frames you see on the card!  Two dies nested together from two set (Nested RC Squares and Classic Nested Rectangle dies) created the frames and saved the card!

Get lots more details and progress photos over on the Brass & Bliss blog.  Thank you so much for stopping by!

Wednesday, September 28, 2022

Thinking of You Floral Card with Hot Foiled Sentiment

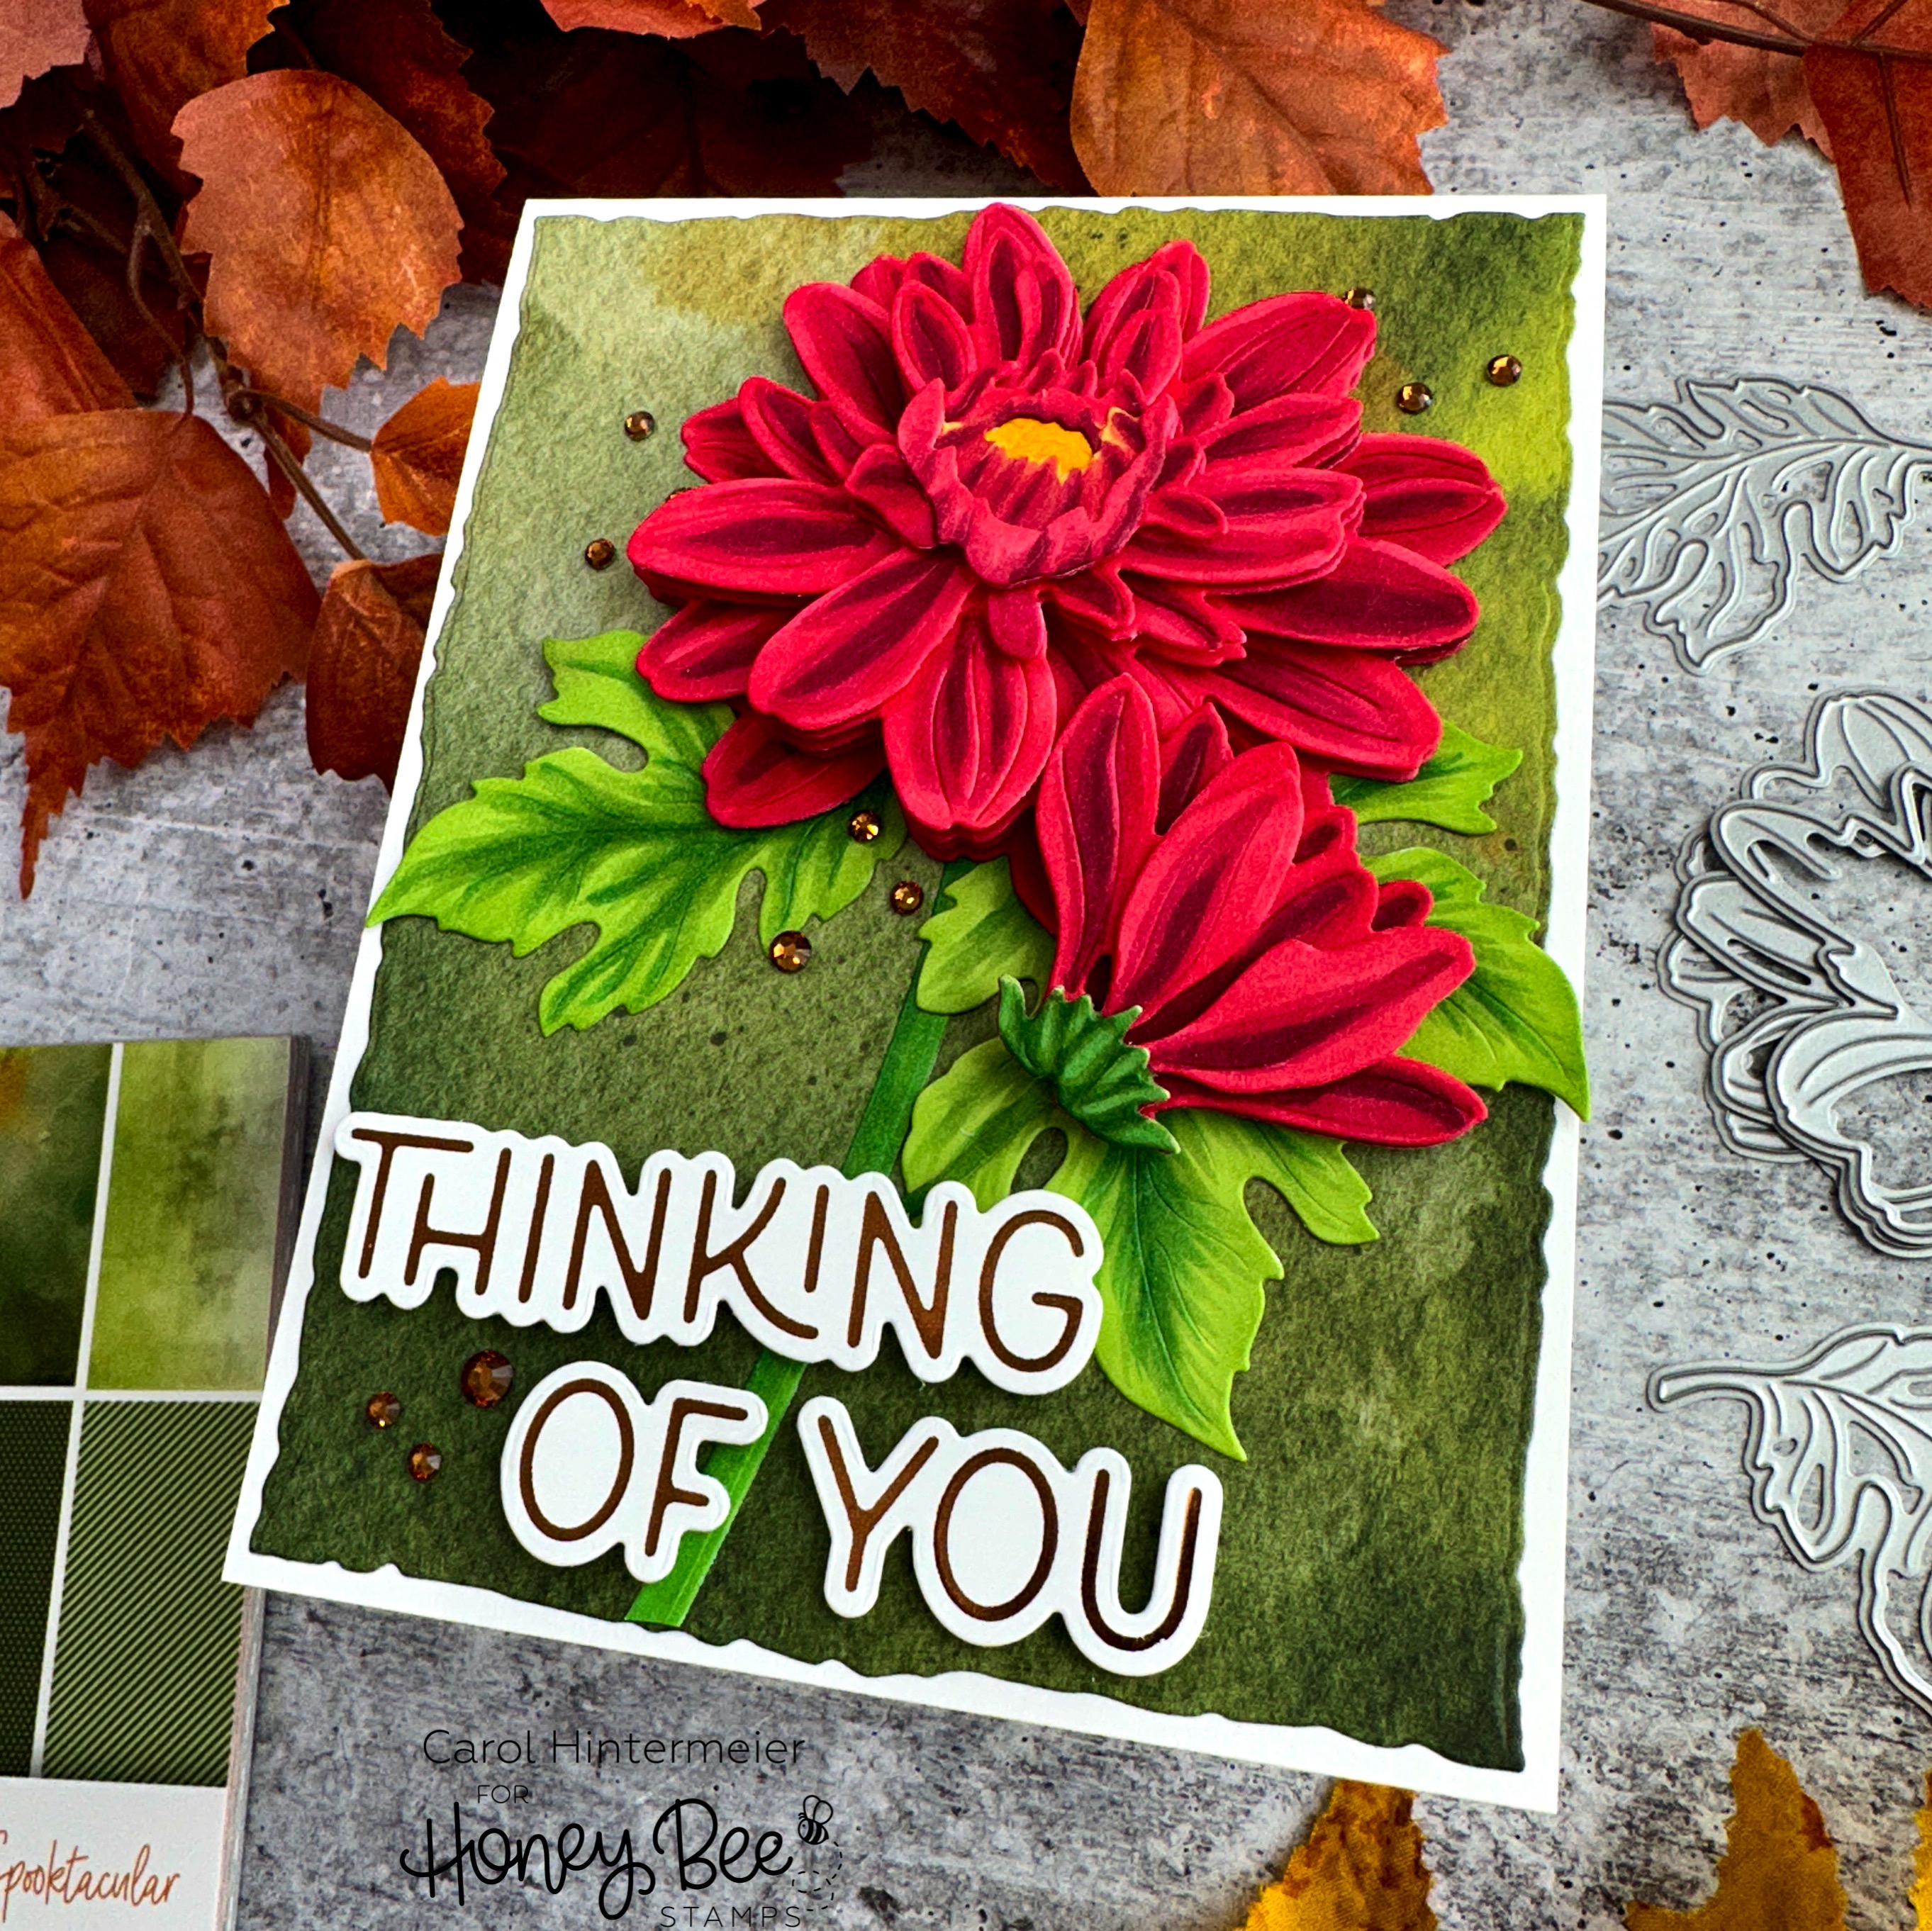
 Today I'm sharing a card featuring Lovely Layers: Mum which is one of the newest in the Lovely Layers line! I also used some new patterned paper for the gorgeous background and added a hot foiled sentiment for some shine!

I die cut all of the pieces of the Lovely Layers: Mum from 80# Neenah cardstock. I used my Copic markers to color the layers. Tip: You only need to color the portion of each layer that is not covered up by the layer above it! The Copic markers I used are: R39, R37, R35, Y19, G07, YG17, and YG25.

While the Lovely Layers are gorgeous glued together, I love the look of extra dimension, and cannot resist adding foam tape between most of the flower layers! I will either hand deliver this card or mail it in a padded envelope.

Next I die cut some paper from the new Spooktacular paper pad with the largest Deckle Edge A2 Honey Cut. I adhered that to an A2 card base. (There are plenty of non-Halloween papers in this beautiful paper pad!) Then I used Bee Creative glue to adhere the flowers and leaves to my card.

The sentiment is from the Fall Foliage Sentiments Hot Foil Plate set. I used my Glimmer machine with the sentiment, copper foil, and Glimmer Specialty cardstock. I used the coordinating Honey Cuts that are in the Fall Foliage Frame Honey Cuts to die cut it out. Of course, I added foam tape to pop up the sentiment too!!

To finish off this beauty, I added some copper colored gems that are in the Grain and Grunge gem sticker set.

I love how this card turned out, and hope you do too!  Thank you so much for stopping by today!  You are always so appreciated!

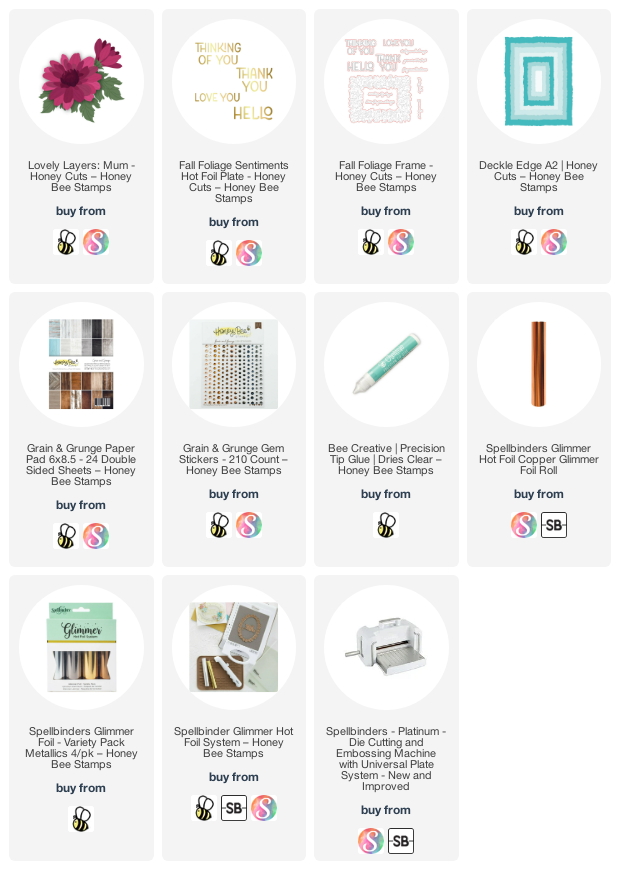
Thank you if you choose to use my affiliate links to check out these products I used.  (never any additional cost to you!)

Wednesday, September 21, 2022

Happy BOOday! with Fright Night Circlescape Shaker Card

Hello crafty friends!  Today I'm sharing a fun shaker card for Halloween featuring Honey Bee Stamps new Fright Night Circlescape die set.  This is such a fun die set that I can easily see using different colors and featured as a winter scene!  Hmm, I need to add that to my idea list!

First I'll share the steps for creating the shaker/card base:

  • First, I chose paper from the Spooktacular 6" x 8-½" paper pad and trimmed it to A2 size.
  • Then I used an ink blender brush to add some Black Soot Distress ink around the edges of the paper.
  • Next I placed it into an A2 Shaker Creator shaker pocket, removed the adhesive liners from the sides and bottom flaps, and folded them over onto the back of the paper.
  • I poured in some of the so very pretty Black Opal Confetti Mix and sealed the top flap.
  • I used Bee Creative glue to adhere the shaker to a top folding A2 card base.

Next I created the details for the front of the card:
  • First I die cut the largest Circlescape Shaker Frames from black cardstock. I saved the frame and the circle from this die cut as we will be using both.
  • Also from black cardstock, I die cut the fence, bat (x 3), and the tree from the Fright Night Circlescape Honey Cuts. (I used a scrap of black cardstock that just fit the tree for that part.)
  • I die cut the entire Fright Night Circlescape die from 80# Neenah.
  • I used ink blender brushes and Distress Oxides for all of the coloring of the die cut pieces.
    • Moon: Antique Linen, Scattered Straw
    • Sky: Villanous Potion, Wilted Violet, and a touch of Antique Linen
    • Grassy hills: Rustic Wilderness, Mowed Lawn
    • Tree: Black Soot (this will go under the black die cut tree)
    • Cross/headstones: Weathered Wood
  • I die cut the pumpkins from a scrap of orange card stock.
  • For the yellow behind the pumpkins, I inked a scrap of cardstock with Scattered Straw Distress Oxide. One at a time, I glued the pumpkins to it, and then cut them off of the yellow piece just under the edge of the pumpkins on top. Goodness, I hope that makes sense! LOL!

Let's finish this fun card!
  • I adhered the colored pieces of the Fright Night Circlescape to the reserved black die cut circle with Bee Creative glue.
  • Adhere the black die cut tree onto the image.
  • The cool thing about the fence is that the die cut is bendable since the pickets are only joined by the top fence rail! I shaped the fence and glued that in place along with the other small images.
  • Next I adhered the Circlescape frame to the front of the card with glue. Then I glued the main image inside the frame.
  • I used black embossing powder and clear embossing ink to stamp and emboss the sentiment and spider from the Happy Halloween stamp set. After I used the coordinating dies, I used a bit of foam tape strips to adhere them to the card.

This was such a fun card to make with all of these fun elements!  I hope you've enjoyed my process.  Thank you, always, for taking a minute to stop by!  I hope you have a wonderful, crafty day!

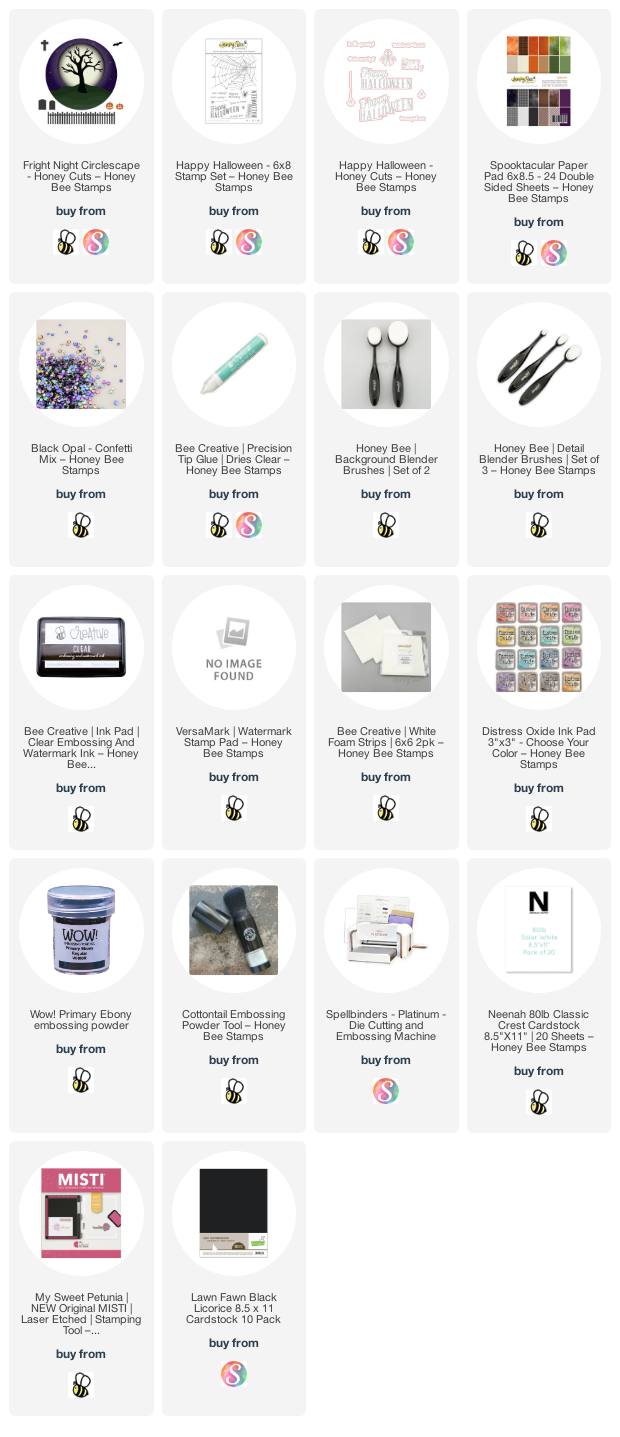
Thank you for using my links to check out the products I used!  (affiliate link--never any cost to you!)

Wednesday, September 7, 2022

Beautiful Blooms Autumn Card With Hot Foiled Sentiment

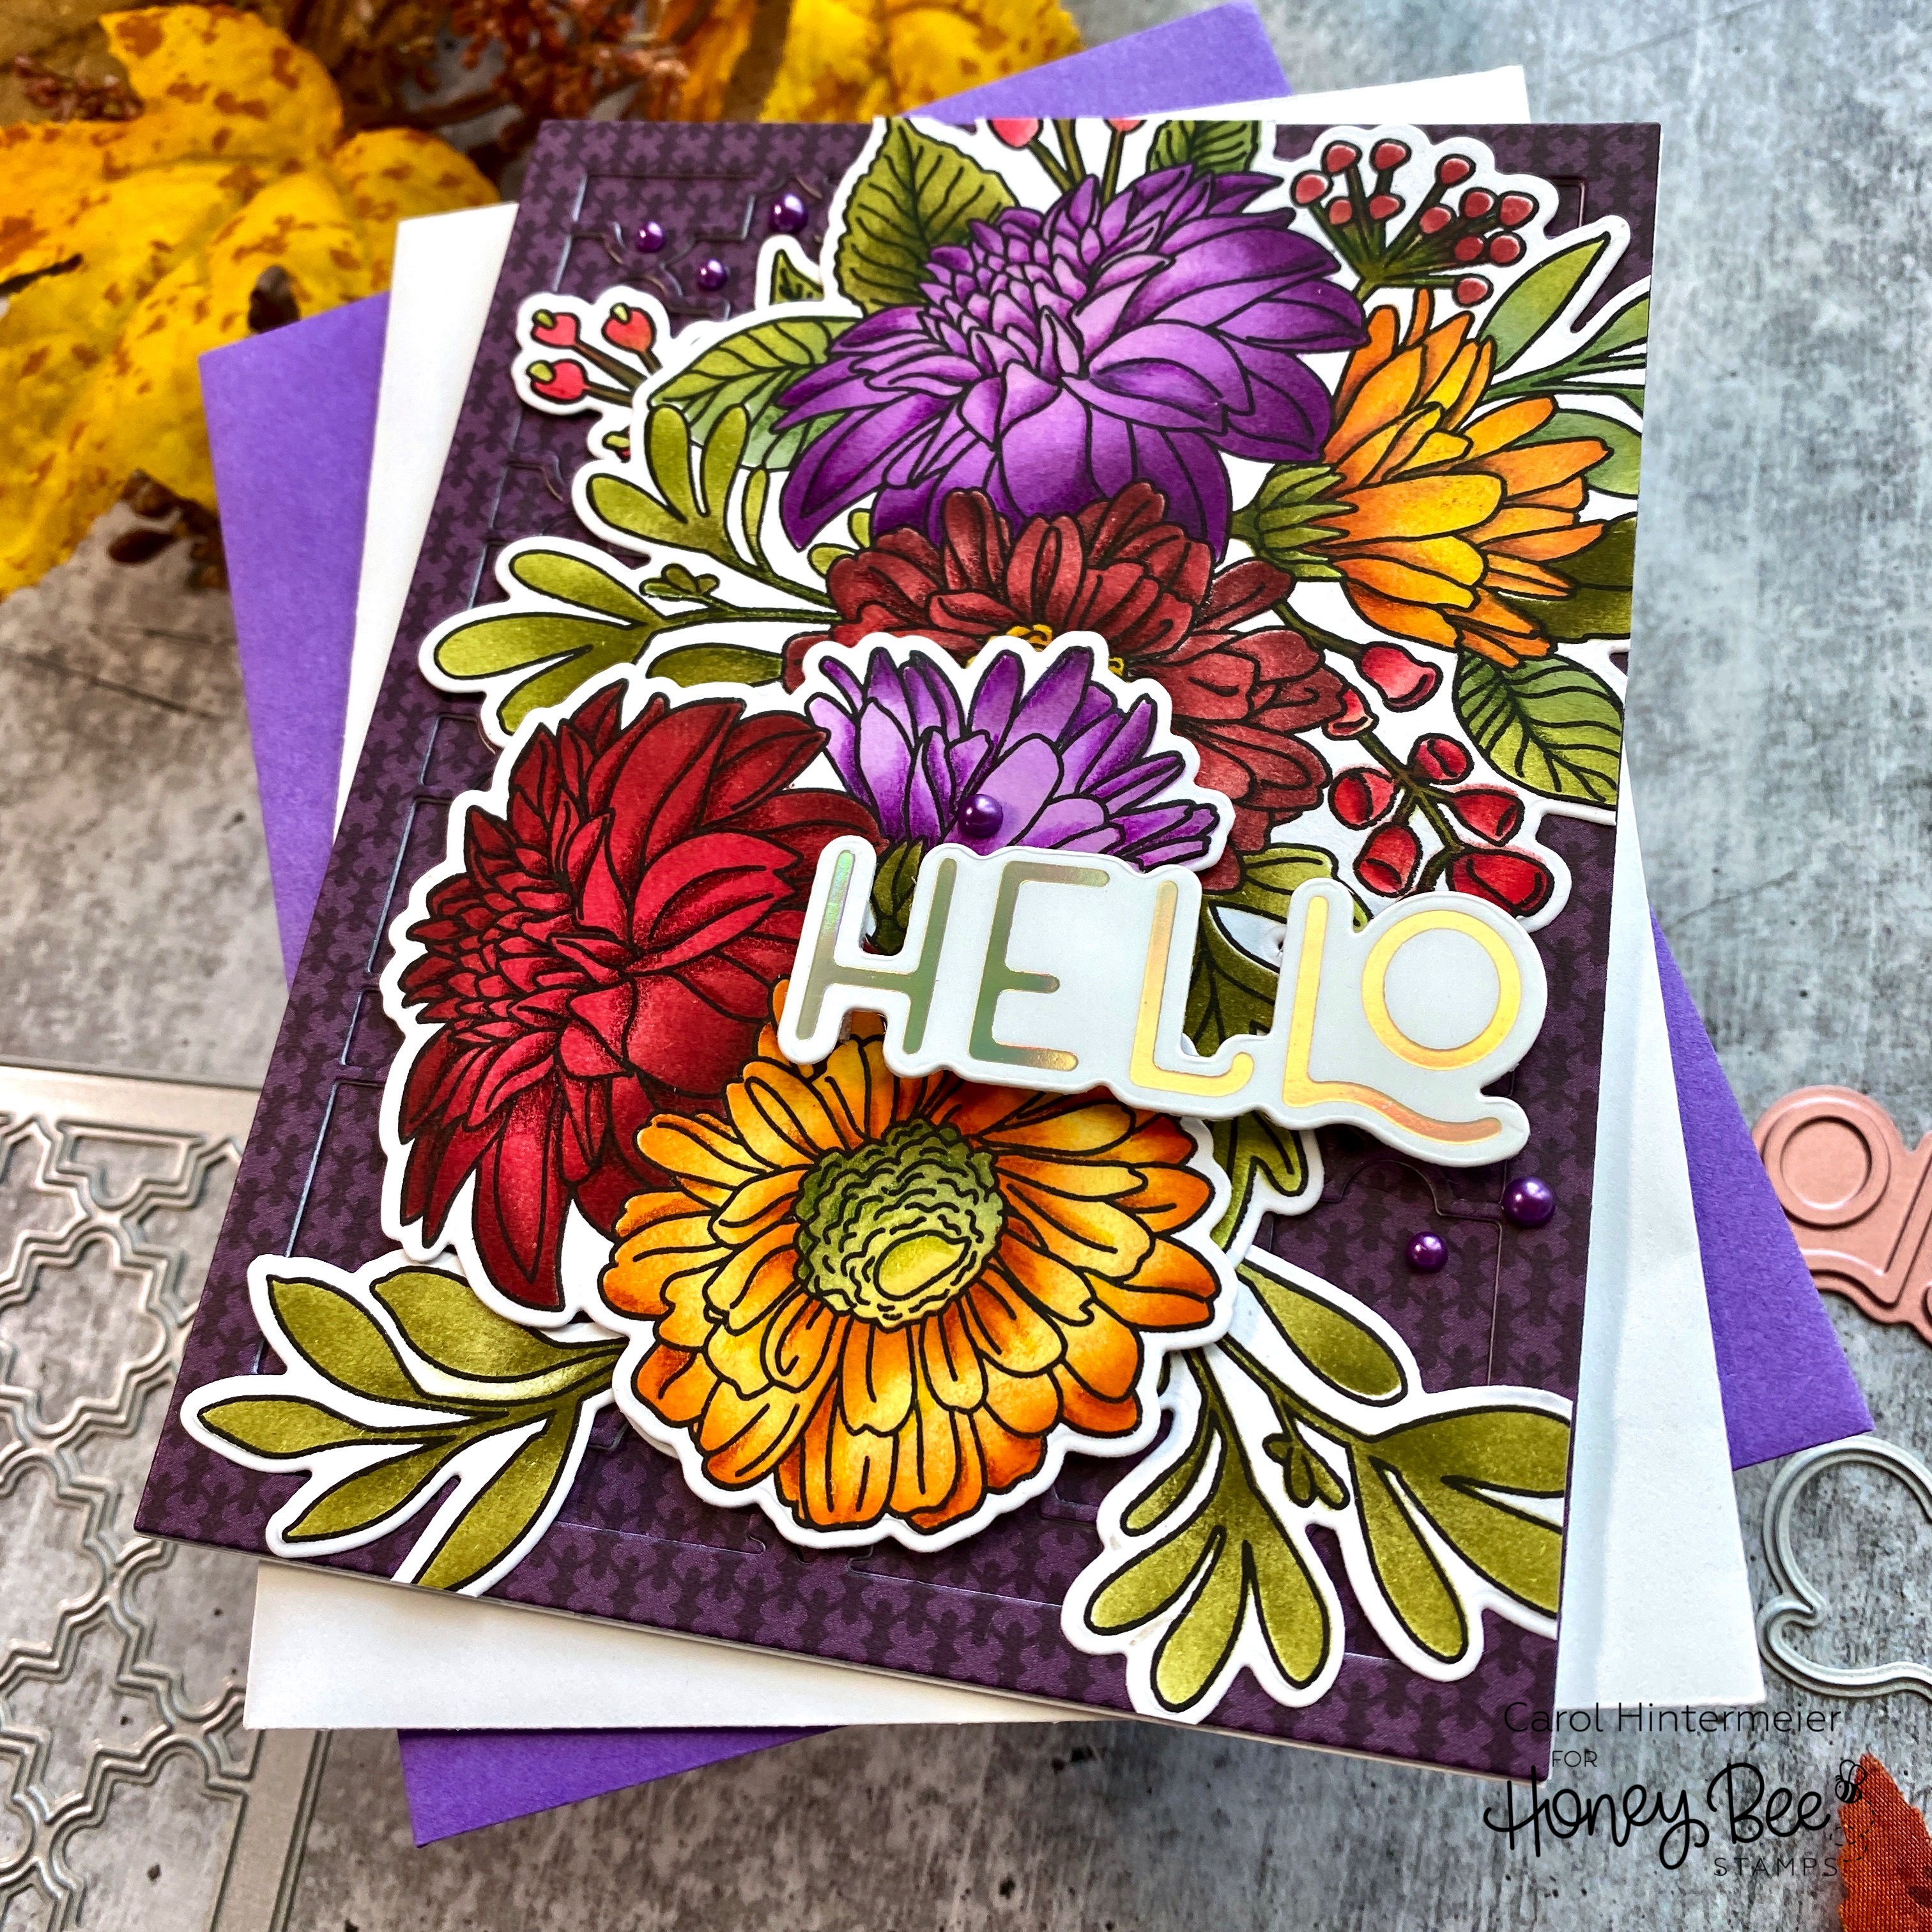
Today I'm sharing a card I made using the Beautiful Blooms stamps,  coordinating dies, and stencils that are in the Honey Bee Stamps Spooktacular Release that just became available. I used Distress Inks to color the flower images and a few colored pencils to create depth and shadows on the flowers. As much as I enjoy coloring this type of image with my Copic markers, using the stencils to get the base colors down first is a big time saver!!

First I created the A2 card base and layers by die cutting the top layer of the Ornate A2 Cover Plate die three times. Once from patterned paper in the new 6 x 8-½" Spooktacular paper pad, and twice from 80# Neenah.  (NOTE: Be sure to save the negative pieces of the purple paper die cut. I pressed a piece of Press N Seal over it to keep all of the pieces in place.)

Next I adhered all three die cut layers together with Bee Creative glue. Then I glued this piece to my card base. I added dots of glue in the open spaces of the Ornate A2 Cover Plate and added the reserved purple pieces into the opening.

For the florals, I stamped the images from the Beautiful Blooms set with Intense Black ink. It's very important to make sure the ink is dry before you begin the stenciling! I used sponge daubers to add the ink through the stencil layers. There are four stencils in the Beautiful Bloom stencil set and are very easy to line up! I inked on the darker colors of Distress Ink where there would be more shadows. Here is a photo of the Distress Inks I used for your reference:

I did use two lighter color purple inks from my stash since I don't have Milled Lavender Distress Ink (that's on my wish list now). When I finished inking through the stencils, I felt that I wanted the flowers to have a bit more dimension. I accomplished that by choosing a few coordinating colored pencils to add shadows in certain areas. The trick here is to always use a light hand when coloring with the pencils. It doesn't take a lot to achieve the effect!  I cut the images out with the coordinating dies.


After I adhered the images to my card with glue and foam tape I trimmed the bits hanging off the card with my scissors. Then I used a sentiment form the Fall Foliage Sentiments hot foil plates and foiled it with Aura Glimmer Foil. I followed the directions for my Glimmer Machine to foil it onto Glimmer Specialty Cardstock. The coordinating dies for these hot foil plates are in the Fall Foliage Frame die set. I used the coordinating die cut out the sentiment. A few foam dots popped it up on the card.

I finished up by adding a bit of pretty bling from the new Autumn Pearl stickers set. I hope I've inspired you with my card today!  If you're on Instagram check out the REEL I made showing some of the card making process!  Thanks so much for stopping by. Have a wonderful, crafty day!

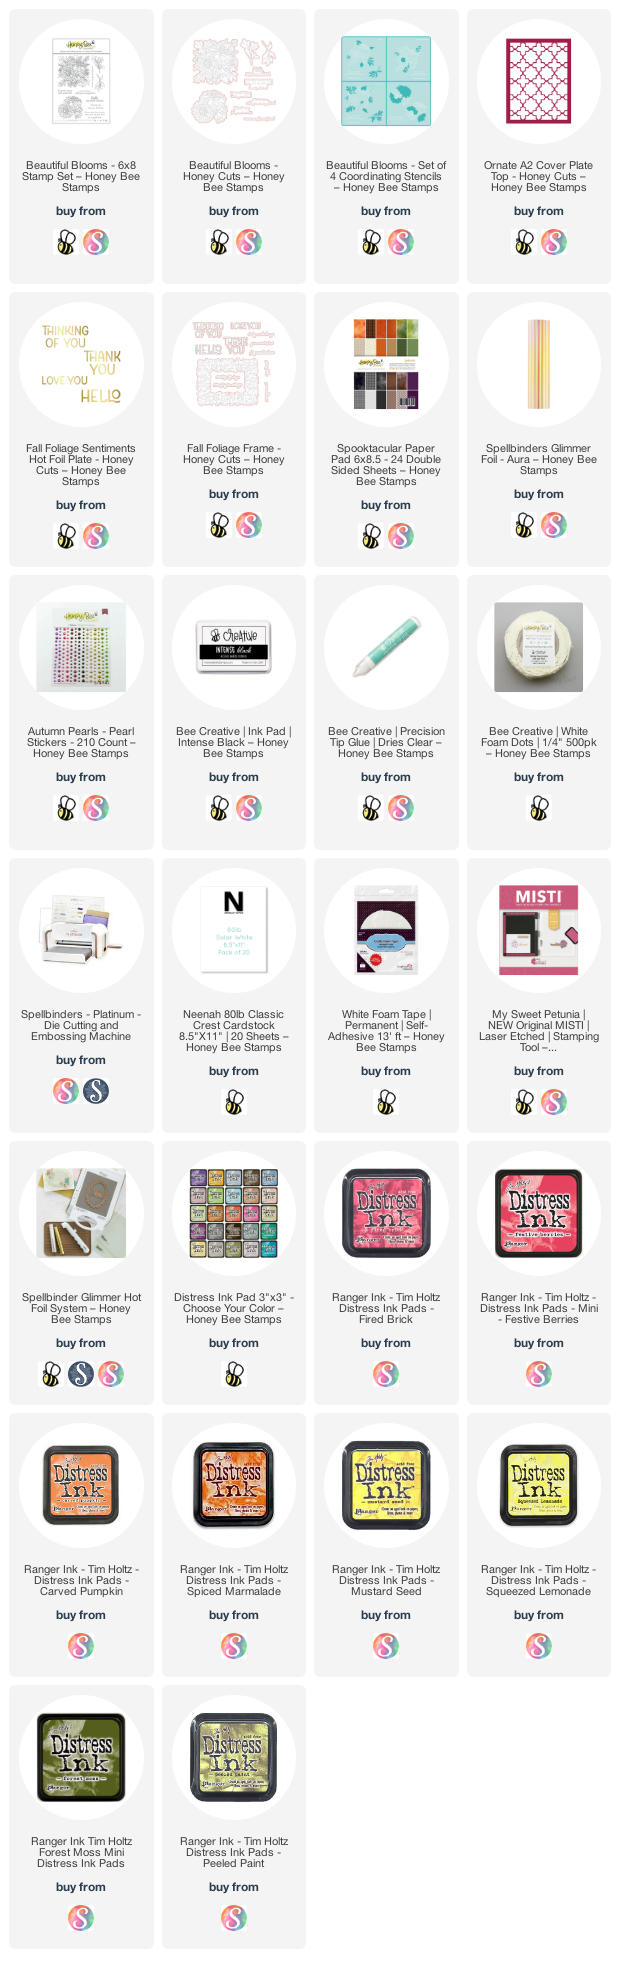
Thank you so much if you use my affiliate links (never any additional cost to you).