Showing posts with label Glimmer Hot Foil System. Show all posts

Thursday, October 15, 2026

New Autumn In Kyoto by Alex Syberia Designs for Spellbinders

Hello, friends!  I'm so happy to be joining in an Instagram hop to celebrate the Spellbinders Autumn In Kyoto by Alex Syberia Designs release!  The products are all available at the Alex Syberia Designs' shop and in the Spellbinders' website.  If you'd like to check out the various options of bundles and individual sets, click either of these links to get to each shop.

From the product description on Spellbinders website:

"Explore the beauty of the Autumn in Kyoto Collection by Alex Syberia with this thoughtfully curated bundle filled with Japanese-inspired designs. Create charming kokeshi dolls, graceful maple foliage, richly textured backgrounds, and peaceful scenic projects with a versatile assortment of stamps, dies, Press + Foil plates, and a 3D embossing folder.

The designs coordinate beautifully for layering and scene building, making it easy to mix playful characters with elegant botanical and architectural details. Create warm autumn projects filled with colorful maple leaves, explore softer palettes for year-round crafting, and mix the collection’s patterns and textures to make each project uniquely your own."


There is a beautiful Japanese Maple Branch die set that is exclusive and only available in the Autumn In Kyoto Curated Bundle.  This Bundle is available here, or here.


Keep reading for my card details and supply list!


First I used the Scenic Kyoto Press + Foil Plate for the card background.  I love that these plates can now be used in the BetterPress Letterpress system or the Glimmer Hot Foil System.  I chose to use glossy black foil and my Glimmer System with the plate.  This gives you the most beautiful crisp black image.

Next I used the stencils that come in the Autumn In Kyoto Press + Foil & Stencil Bundle.  I've listed the inks and blending brushes I used in my list below.  There are six stencils for you to color the details in every season!

When I finished coloring the image, I trimmed the panel to 4" x 5-¼" and glued it to an A2 card base.

Next I used one of the three letterpress/hot foil kokeshi dolls in the Autumn In Kyoto Press + Foil Plate & Die Set and added black foil with my Glimmer System to my white cardstock. 

I used my Copic markers to color the doll and then cut it out with the included coordinating die.

I added foam tape to the back of the kokeshi doll to adhere it to the card.  There are dies for sentiments included in the Autumn In Kyoto Press + Foil Plate & Die Set and I die cut black glossy cardstock with two sentiments, two times.  After I glued the layers together I glued the sentiments to my card.

Thanks so very much for stopping by today!  I hope you will join me over on my Instagram to see lots more beautiful inspiration with the 

Friday, April 17, 2026

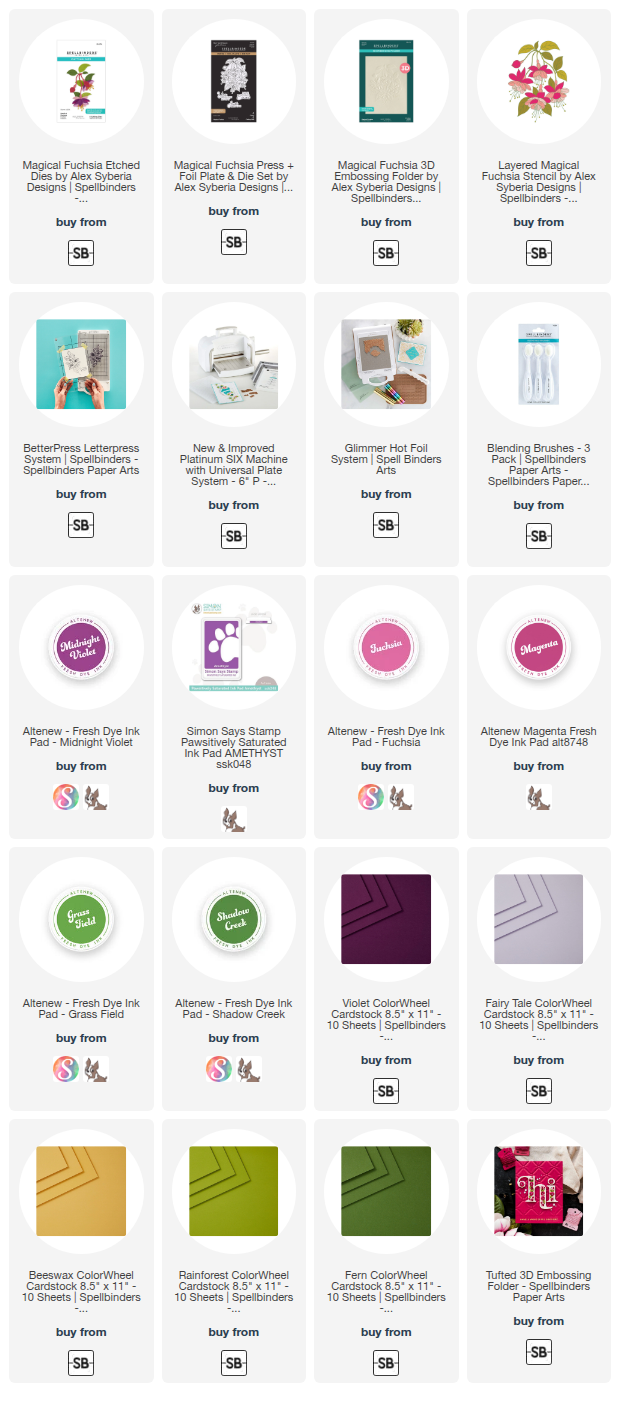
The Beautiful Magical Fuchsia Collection By Alex Syberia For Spellbinders

Hi, crafty friends!  Today I am happy to share two cards with you that I made featuring Spellbinders' gorgeous Magical Fuchsia Collection by Alex Syberia!  This collection has all of my favorites:  a 3D embossing folder, layered stencils, stand-alone die set, and a press + foil plate + die set!  Everything you need to make an assortment of gorgeous cards!!

For this first card I used the Layered Magical Fuchsia stencils and the Magical Fuchsia 3D Embossing Folder.

To begin, I first cut white cardstock with the outline die in the Magical Fuchsia Press + Foil + Die set.  This die not only cuts out the BetterPress image!  The cut shape also works with the Layered Magical Fuchsia stencils and can then be placed in the Magical Fuchsia 3D embossing folder!!
So I used the stencils to add various inks with blending brushes through each layer.  Then I placed the colored piece into the 3D Embossing Folder and secured it with small pieces of removable tape.  I ran it through my Platinum 6 die cutting machine.

This Fuchsia piece is so beautiful with all of the dimension added from the embossing folder!  I wish photos showed that better.

I wanted a bold dramatic background that wasn't too busy.  So I embossed Violet cardstock with the Tufted 3D embossing folder, one of my favorites.

The sentiment is one of three included with the Magical Fuchsia Press and Foil set.  Both elements are popped up on the card front with foam adhesive.

------------------------------------------------------------------------------

This second card features the Magical Fuchsia die set along with a background pressed from the Magical Fuchsia Press and Foil plate.

I die cut various ColorWheel cardstocks (in the list below) with the dies in the Magical Fuchsia die set.  I didn't worry about making these flowers realistic, but just arranged the layers how I liked.  A bit of an abstract look, maybe?
I do love a white background to make a focal point pop!  I really love this subtle interest I added by simply using my BetterPress Letter Press system to press the Magical Fuchsia press plate twice into white cardstock.  In real life, this adds not only beautiful visual details, but also tactile interest!  (I really hope to make a card using this with foil and my Glimmer Hot Foil System!)

Be sure to check out the entire Magical Fuchsia Collection!  Each item is also available to purchase separately at the Spellbinders' website.

I am thankful for you all that stop by for a look.  I hope your Friday, and weekend, are filled with rest, relaxation, and lots of crafty time!!

Thank you so much for using my affiliate links to shop (never any additional cost to you)!

Monday, March 23, 2026

Born To Shine Year After Year

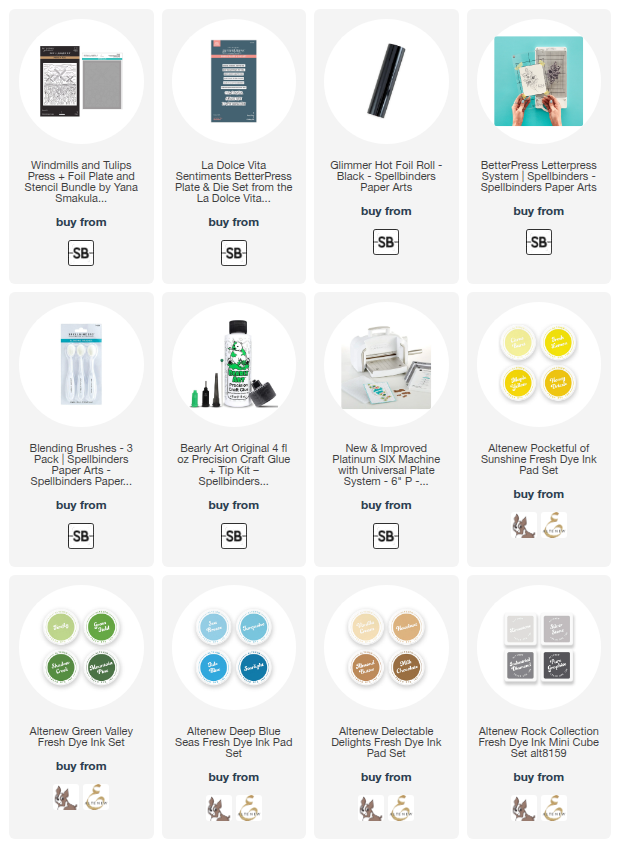
Happy Monday, crafty friends!  Today I'm sharing a card I made featuring Spellbinders beautiful Windmills and Tulips Press + Foil Plate and Stencil Bundle by Yana Smakula.  I love how Spellbinders is now making plates that can be pressed and/or foiled!  You get to choose!

I am a huge fan of layering stencils and so enjoy the process of adding ink layer by layer!  Every time I pull off a stencil seeing the new layer of ink just makes me smile!

This time, I chose to foil the Windmills and Tulips press plate.  I used 80# Neenah and Black Glimmer Foil with my Glimmer Hot Foil Machine to achieve the super crisp and slightly shiny outline of the images.

Next I used blending brushes to add various inks through each layer of the six layers of the Layered Windmills and Tulips stencil set.  All of the ink colors I used are in the list below.  I used sets of coordinating inks to achieve shading with the darker inks.

I used a brown Copic marker to make the doors and windows on the windmills a bit darker.  I think adding these small details make cards that more special!

I added a sentiment that is from the La Dolce Vita Sentiments that is a sweet birthday sentiment.  This is a Press Plate that will press/foil nine sentiments in one pass.  There is a die included that cuts out each sentiment in one pass!  I love having multiple sentiments already created and ready to use!

A trip to see a field of tulips with windmills in real life is certainly a bucket-list item!  I hope I have time to use this Windmills and Tulips set again--I'm thinking maybe pink tulips!!

Thanks so much for stopping by today.  I hope you have a wonderful week ahead!

Thank you for using my affiliate links to shop (never any additional cost to you)!

Friday, January 23, 2026

Two Sweet Baby Cards Feat. Simple Stories Classic Pooh Baby Collection

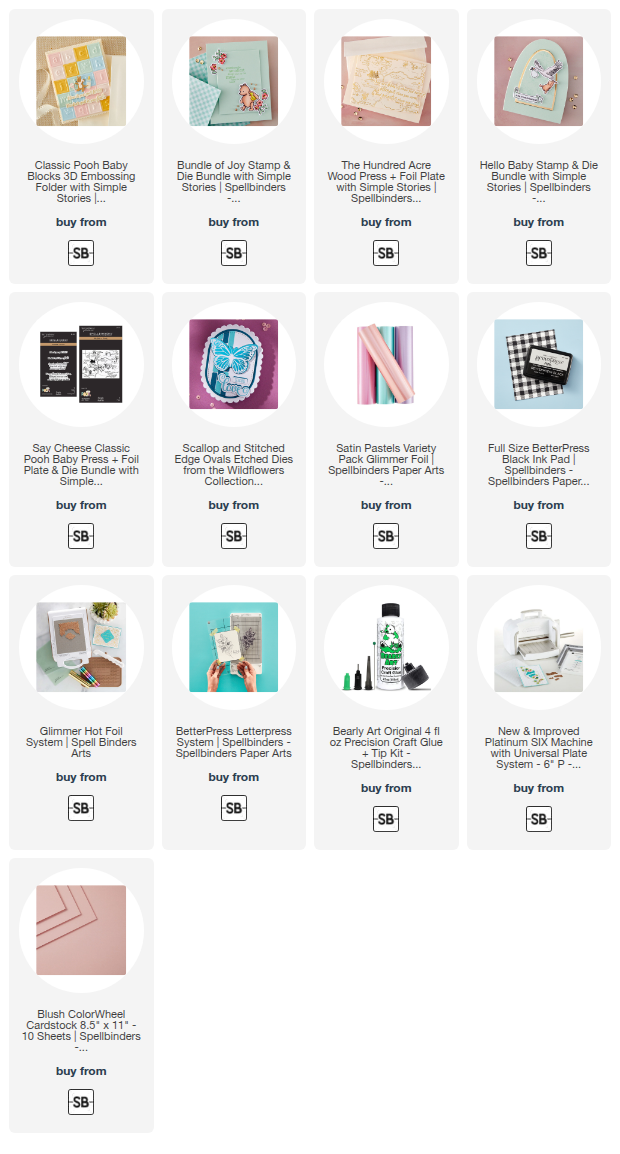
Hello friends!  Today I am sharing two cards I made with the new Classic Pooh Baby Collection by Spellbinders with Simple Stories.

These two cards will be perfect for my stash to have on hand for a sweet baby celebration!

This first card features two of the new Classic Pooh Baby Collections sets!

The white background cardstock was embossed with the Classic Pooh Baby Blocks 3D embossing folder.  I used scraps of pink, yellow, and blue cardstocks and embossed each scrap separately with the Baby Blocks embossing folder.  I used my scissors to trim around each block.

The little Pooh stamped image and the sentiment are from the Bundle Of Joy Stamp & Die bundle.  I used a few Copic markers to color the image and then cut it out with the coordinating die.

I created another layer for the card with dies from the Scallop and Stitched Edge Ovals.  I love the sweet little bow die that's also included!  The sentiment is from the Bundle of Joy stamp set and is stamped with black pigment ink.

My next card uses the new Sweet Sentiments and the Hundred Acre Wood Press & Foil Plates and the Hello Baby stamps and dies.

I foiled the Hundred Acre Wood Press & Foil plate with pastel pink foil using my Glimmer machine.  I trimmed it to 4" x 5-¼" and glued it to an A2 card base.

The stamped and colored image from the Hello Baby stamps and dies is adhered to the card with foam tape.

There are four wonderful sentiments in the Sweet Sentiments Press & Foil set.  There is one die to press all of the sentiments at once.  I pressed it in black ink with the BetterPress Letterpress System and cut them all out with the single coordinating die.

I really love the tone-on-tone of cardstock and foiling of this card!

There are several other sweet sets in the Classic Pooh Baby Collection that you can check out by clicking HERE.

Thank you so much for stopping by!  Have a wonderful, and crafty weekend!!

Thank you for using my affiliate links to shop (never any additional cost to you)!

Monday, July 21, 2025

Cozy Wishes -- Using A Pressplate to Hot Foil

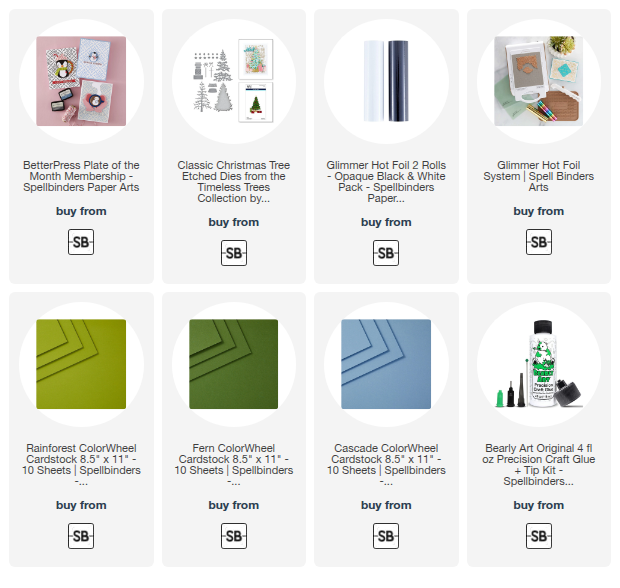
Hi!  Today I am sharing my card that features Spellbinders' July 2025 Betterpress Club Kit.  This press plate, called Festive Press, can also be used with foil, like I did here.  Read on for the details!

First I used opaque white Glimmer Foil with the Festive Press plate and my Glimmer Hot Foil System.  Most press plates are multi-functional and can be used with the Glimmer Hot Foil System!  Note: You cannot used hot foil plates in the Betterpress System.

This is the first time I've tried using a press plate to hot foil and I was very happy with the results!  I trimmed the piece to 4" x 5-¼" and adhered it with glue to an A2 card base.  There are two sentiments included with the July Betterpress of the month.  I did the same and hot foiled them and cut it out with the included die.

The Christmas tree is from the Classic Christmas Tree die set.  I die cut the layers from colored cardstock.  After I assembled the tree with glue, I added Star Dust Stickles to the ornaments and star.

I added foam strips to part of the sentiment and glue to the rest for adhere it to the card.

I happy to add this beautiful card to my Christmas card stash!  I hope you've been inspired and will check out the Club Kits to see what appeals to you!  I hope you have a wonderful week!

Thank you for using my affiliate links to shop (never any additional cost to you)!

Monday, October 28, 2024

Grateful For You!

Hello friends!!  Today I'm sharing my card that features Altenew's wonderful Zero-Waste: Autumn Leaves Die!  I also have a reel over on Instagram showing some of the process to make this card.

I have seen many beautiful projects that feature the Zero-Waste: Autumn Leaves die and wanted to think of a different way to use it.  So I had the idea to use the Exquisite Marble Hot Foil Plate with an ink blended background!

First I blended the four inks in the Warm & Cozy set of inks.  Then I die cut it with the Zero-Waste: Autumn Leaves die.  I adhered the outside die cut to a white A2 card base.  I shaped the leaves a bit with my fingers then glued them into the openings.  Some of the circles fell out and I didn't try to place those back into the die cut.

The sentiment is from the Timeless Sentiments 3.  I added more copper foil by adhering double-sided adhesive to cardstock and sticking the foil to it.

Check out my reel over on Instagram to see more!  Thanks so much for stopping by!

Thank you for using my affiliate links to shop (never any additional cost to you)!

Friday, March 22, 2024

Just Wanted To Say... -- Spellbinders Stitching Die Of The Month

Happy Friday friends!  Today I'm sharing my fun card featuring Spellbinders March Stitching Die of the Month called Stitched Read & Sip!  If you've ever thought about trying a stitching die, this is a good one to try.  It has minimal stitching and would also be beautiful without any stitching!

All of Spellbinders monthly clubs, including the Stitching Dies of the Month have a window of time to enroll and receive that month's featured product.  This month's "window" is March 6-27.  The only time it might not be available is if the item has sold out for the month.  Also, you can cancel at any time.  Check out all of the specific details here.

I die cut the Stitched Read & Sip from purple, green, yellow, and neutral cardstocks.  All available cardstocks are linked in the list below.  I added a bit of shading to the cup and flowers with coordinating ink.

Then I used purple and green DMC embroidery floss for the quick stitching.  The thread on the book is one that I had in my stash that I saved years ago when I used to do counted cross-stitch a lot.

To adhere the stitched layers to the base layer, I just put glue on the back of the stitching and aligned it with the base piece.  It gives instant dimension!

I embossed a white cardstock panel with the Checkered Scallops embossing folder.  This is the March Embossing Folder of the Month.  I embossed all but about ¾" of the bottom edge of the panel.  Then I glued it to an A2 card base.

I adhered the Stitched Read & Sip elements to the card.  I added a sentiment from the Just Wanted to Say Glimmer set that I foiled with Fuchsia Flower Glimmer Foil.  For easy foiling I used Spellbinders Glimmer Specialty cardstock.

I hope I've inspired you today to try these fabulous stitching dies.  It's really fun and makes a very special and unique card to give.  Thank you for stopping by!

Thank you for shopping with my affiliate links (never any additional cost to you)!

Wednesday, January 10, 2024

You Are So Loved -- 3D Embossing & Hot Foil Fun

Hello crafty friends! Do you send Valentine cards? Whether you do or not, my card that I'm sharing today could be a Valentine, birthday, or even an anniversary card! It all just depends on the message you add inside the card! I've featured some of my favorite sets from Honey Bee including the Spring Medley 3D embossing folder and the Lovely Layers: Heart Vine Honey Cuts!

First I die some peach colored cardstock with a Stacking Hearts die. Then I embossed the piece with the beautiful Spring Medley 3D embossing folder. Next I trimmed it to 4" x 5-¼". I used a blending brush to add coordinating ink just around the edges.

I glued a piece of acetate to the back to cover the heart opening. When it was dry, I added thick foam tape (if you don't have thick foam tape, add a double layer) around the heart, being careful to leave no gaps between the ends of the foam tape. I also added foam tape around the edges of the embossed panel.

I sprinkled some pretty bling from my stash onto the acetate and then removed the foam tape backing. I added another piece of acetate to cover the opening. Then I removed the backing of the rest of the foam tape, added glue to it, and then adhered it to an A2 card base. (I sometimes add glue to foam tape for two reasons: you can be sure it is firmly adhered and it allows you to slightly move the panel for correct placement.) I set this aside to dry.

Next I die cut a Scallop Heart from 80# Neenah. Then I die cut a darker shade of peach cardstock with a Stacking Hearts die. I placed this heart into the Spring Medley 3D embossing folder and ran it through my die cutting machine. I used glueto adhere them together.

I used my Glimmer Hot Foil System and Blush Glimmer Foil to foil the sentiment from the Foil Script: Love Hot Foil Plates. I cut it out with the included coordinating die.  NOTE: I just noticed this set is "retiring" and is now at a reduced price!

Before I die cut the outline of the Lovely Layers: Heart Vine, I added a piece of Tear Tape Sheet to the back of brushed gold cardstock. I die cut the outline from the brushed gold cardstock and also the solid layer from peach cardstock. I used glue to adhere the layers together and also to adhere it to the card. After I glued the heart layers onto the card, I adhered the sentiment with narrow foam tape strips.

For a bit more shine, I added some gold pearls from the Metallic Mix Pearl Stickers set.

Thank you so very much for stopping by today!  I hope you have lots of crafty fun this week!

Thank you so much for using my affiliate links to shop (never any additional cost to you)!

Thursday, August 10, 2023

One Swirling Foliage Tree Hot Foil Plate = Three Beautiful Christmas Cards

There's a gorgeous new Spellbinders hot foil plate available today called Swirling Foliage Tree and I had so much fun making these three cards!  This is part of the Glimmer for the Holidays Collection release that's filled with many selections of dies, coloring stencils, hot foil plates, sentiments and so much more!

It was lots of fun thinking of three different looks for this beautiful Swirling Foliage Tree hot foil plate!  The sentiments on all of the cards are from the Glitter Wishes hot foil plates set.  It has 31 sentiments!!  Plus a long narrow rectangle die to use to die cut each one!

I used my Glimmer Hot Foil System to add Aura Glimmer Foil to red cardstock.  After foiling the Swirling Foliage Tree I trimmed the piece to 3-¾" x 5".  Then I used ink blending brushes to add dark red ink around the edges, followed by black ink.

It was super easy to make a perfectly coordinating layer for the image and sentiment by adding a sheet of double sided adhesive to white cardstock.  Then just remove the adhesive backer and carefully place a sheet of the Aura Glimmer Foil onto the adhesive.  It was easy--just go slow and smooth the foil with you other hand as you place it down.  Be sure to peel off the clear film of the Glimmer Foil after you adhere the foil!

I added some pretty gold gem stickers to the tree to up the bling factor!

The next version of the Swirling Foliage Tree is done in a dark teal cardstock with Opaque White Glimmer Foil.

The white foil is added to Spellbinder's Blue Spruce cardstock.  Now...this is my honest opinion:  After hot foiling on several different brands of colored cardstock, I have to say that I get perfect results when I use Spellbinder's colored cardstock!  I do not know what the difference is, but it's there!

If you look closely at the previous card, and the next card, there are small imperfections in the foiling, which was on a different brand of cardstock.  I didn't like it, but decided to stop being totally picky!  LOL!

I inked the edges of this cardstock with Pine Needles Distress Ink and also Black Soot.  I used Opaque White Glimmer Foil for the sentiment on this card.

I added silver gem stickers from my stash to the tree this time.

And finally, here is my third rendition of this card!

I used Red Glimmer Foil on 80# Neenah for this card.  Then I used my scissors to trim around the tree.  I added thin foam tape to the back of the tree.

I inked a 4" x 5-¼" panel of the red cardstock with dark red and black inks and adhered it to an A2 card base.  Of course, it was after this step that I decided I wanted white splatters, but not on the tree and sentiment!  Haha!  I just covered the tree with scrap paper as I added the splatters.

This sentiment is also done in silver foil and added to a white layer.  I popped it up onto the card and added red gem stickers.

These cards really were easy to make and I enjoyed the process of finding different versions for each card.  Be sure to check out the Swirling Foliage Tree hot foil plate and lots more fun elements in the Glimmer for the Holidays Collection!

Thank you so much for stopping by!  I hope you have a wonderful, and crafty day!

I appreciate you so much for using my affiliate links to shop (never any additional cost to you)!

Friday, July 21, 2023

Stitched For Christmas - Christmas Cards with Stitching!

Happy Friday!!  Today I'm sharing two cards I made with two products from Spellbinders new Stitched For Christmas Collection.

This first card is a cute sweater shaped card that was super fast and easy to make!

This adorable sweater is from the Stitched Christmas Sweater die set.  In addition to the snowflake I used, the set also has a little Christmas tree and an ornament to embellish your sweater with.  I die cut two of the snowflakes from 80# Neenah and used glue to adhere them together.  

Having a double layer adds a lot of stability to the piece as you stitch.  I used DMC #3755 to stitch in the die cut openings.  Be sure to check out Spellbinders shop to see the nice selection of embroidery thread they have.

To create the card, I die cut the sweater in the Stitched Christmas Sweater set two times from Glacier cardstock (all cardstock is linked below).  I scored one piece just above the base of the collar (about ¼") and adhered the two with glue on the scored tab.  To give the back a finished look, I die cut the sweater once more from 80# Neenah and adhered it to the back with the "pretty" side out.

I die cut the sweater trim pieces from a white Flock Transfer Sheet.  (This can be used with a laminator, or just used as I did by die cutting).  I love the soft fluffy look it adds to the sweater!

I found a Christmas sentiment from a retired set that would fit inside the card and stamped it in a coordinating blue ink.

I used the third smallest Matting Basics B die to cut it out.  I made it fit by doing partial die cutting to shorten the rectangle.

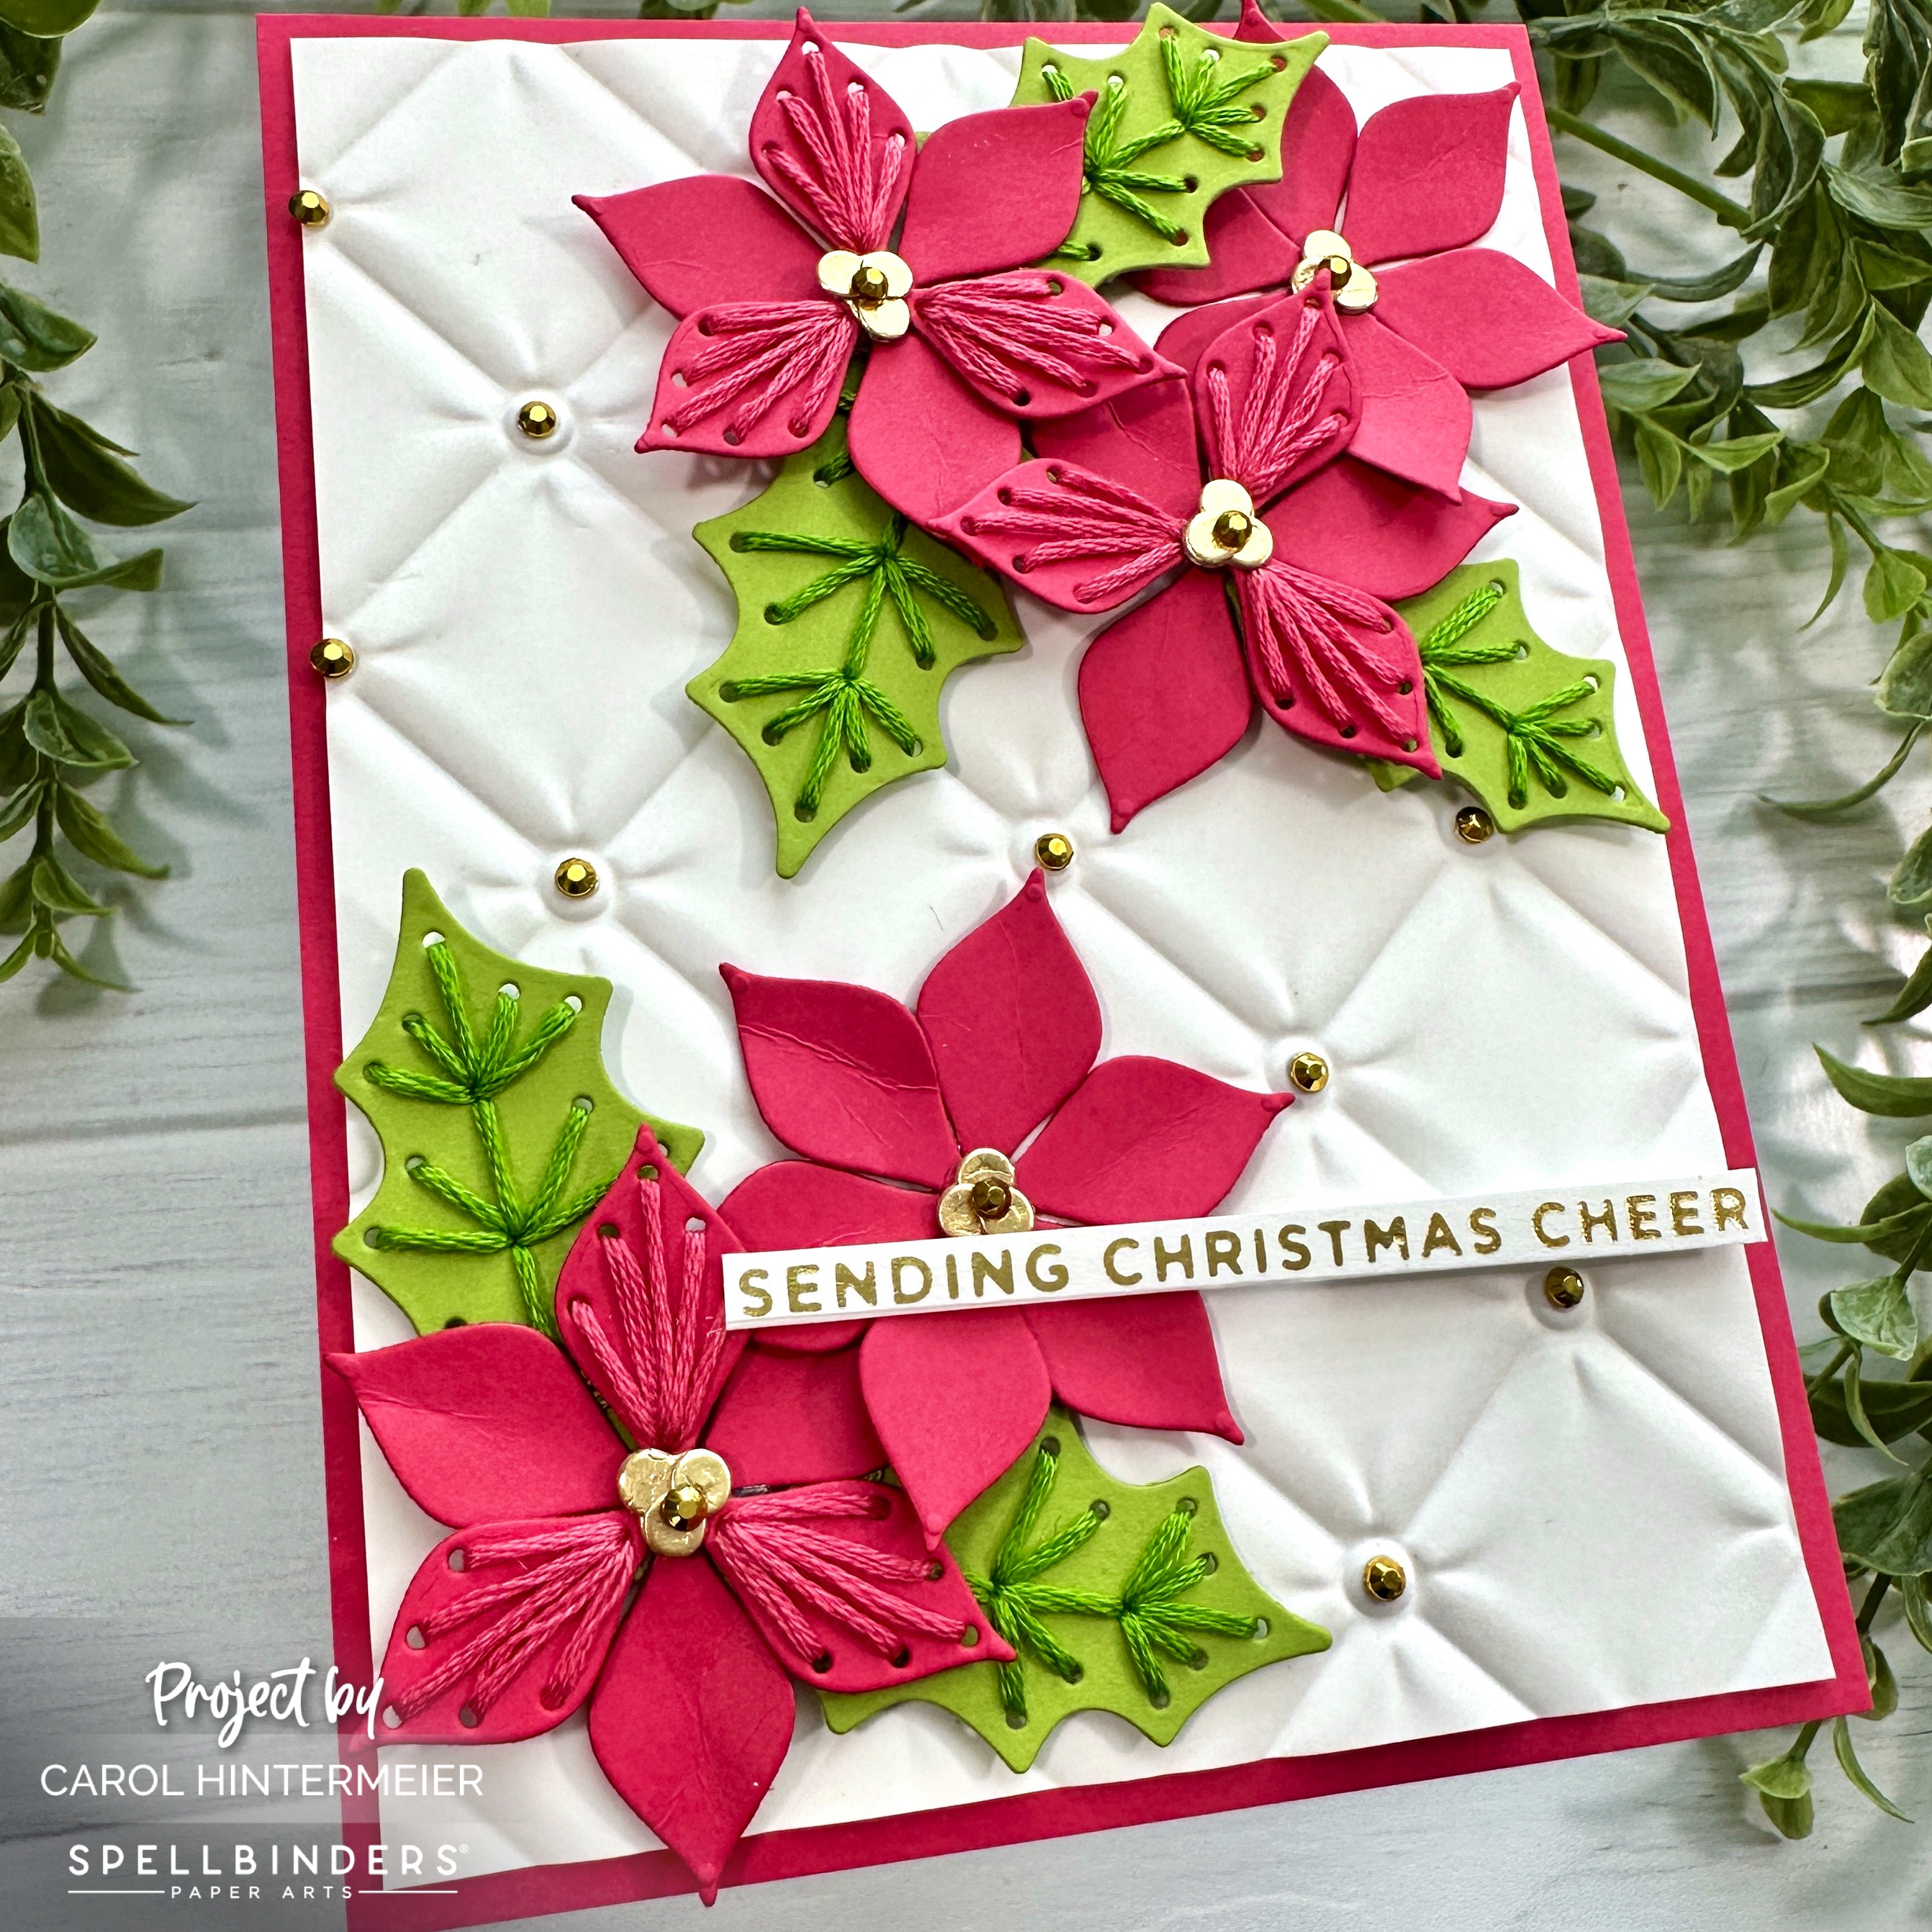
My second card features the beautiful Stitched Poinsettia & Holly die set.  Had I just used one of the flowers, this card would have been pretty quick to make too!

I die cut the poinsettia flowers from Wild Berry cardstock and the holly leaves from Rainforest.  I decided to make the stitching close to the same color as the cardstock and used DMC #335 and #906.

I embossed some 80# Neenah with the Tufted 3D embossing folder and added it to a layer of Wild Berry cardstock and an A2 card base.

I used glue to assemble the flower layers.  I die cut the poinsettia centers from matte gold cardstock and added them to the flower centers.  To adhere the poinsettias and holly leaves to the card, I used a combination of glue and foam dots.

I used my Glimmer Hot Foil System to create the gold sentiment found in the Glitter Wishes Hot Foil Plate & Die set.  I added more sparkle by adhering some gems in my stash to the card layer and onto the center of the poinsettias.

I'm very happy to have two very pretty Christmas cards ready for mailing in December.  I hope you've been inspired to give stitching on your cards a try.  These small die cuts are a great way to try it out!  Thanks so much for stopping by!

Thank you for using my affiliate links to shop (never any additional cost to you)!