Showing posts with label Alex Syberia Designs. Show all posts

Wednesday, September 9, 2026

Simon Says Stamp 2026 STAMPtember® & Alex Syberia Designs Collaboration

Hello friends!  If you know about STAMPtember®, you also know that there are daily surprises like this awesome Lovely Day stamp and die set that I've used for my card here!

These are available only while supplies last and will not be restocked.  Most collabs sell out quickly so grab it now if you like it!  I love this beautiful floral image from the collab set with Simon Says Stamp and Alex Syberia Designs!  I had so much fun having a coloring session to make this!

Here's a peek at the Lovely Day product images:

I stamped this sweet floral from the Lovely Day stamp set with Copic marker safe ink.  After I colored it with my markers, I cut it out with the coordinating die.   There are two separate small flower stamps in the set that I colored and die cut too.  However, I totally forgot to put them on the card!  Duh.  LOL!

I topped the A2 card base front with this beautiful Delicate Frame & Friend die set.  I die cut the frame three times from white cardstock.  I glued the layers together and then to the card.

I used foam tape to attach the Lovely Day floral to the card.  There are two sentiments in this stamp set that also have coordinating dies.  I love that!

Be sure to head to Simon's shop on their website to check out this gorgeous set!  Thank you very much for stopping by today!

Thursday, August 27, 2026

Summer Chill Birthday Card -- Two-stencil Technique!

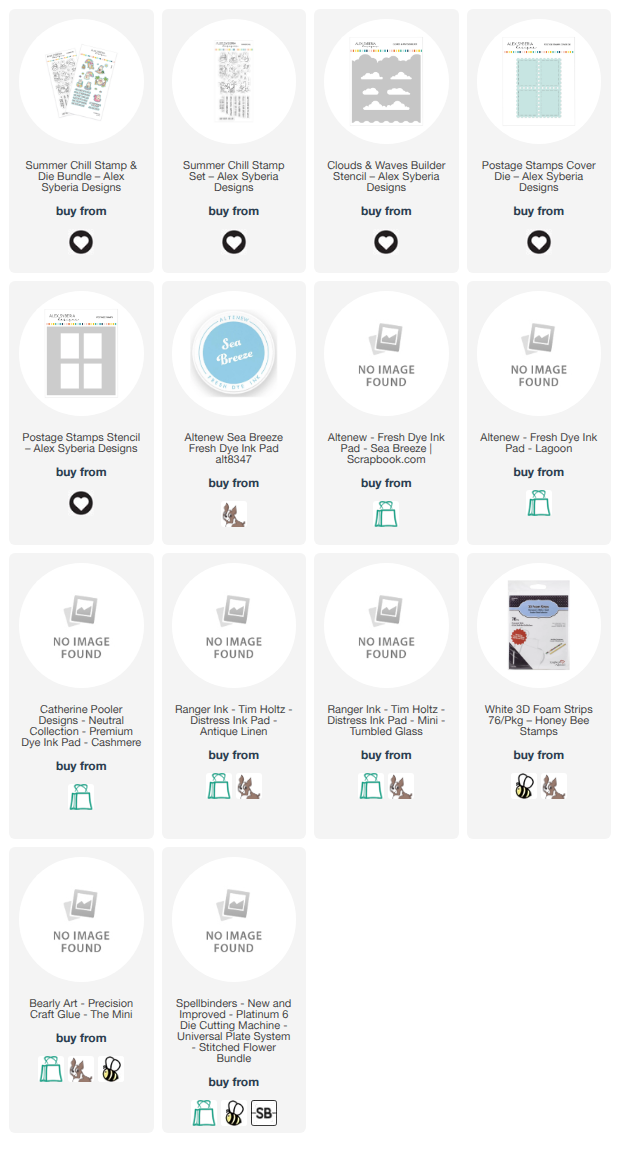
Hello, crafty friends!  Today I'm sharing a few details of this card I made that features a few of the Alex Syberia Designs August 2026 release products along with the Postage Stamp die and stencil.

First I die cut white cardstock with the Postage Stamp die.  I used two sandy-colored inks and blending brushes to add my beach to each rectangle.  Use removable tape to mask off where needed.

I placed it onto my grip mat and positioned the Postage Stamp stencil over it.  (Note: I just found that this is currently sold out.  Click the "notify me" button to be notified when it's back.  Masking tape could easily be used here.)  That's the first stencil.  I placed the second stencil, Clouds & Waves Builder, over the top rectangles with the waves portion of the stencil.

Then I used teal and blue inks with the cloud and waves edges of the Clouds & Waves Builder stencil.  I glued this panel to an A2 card base.

Next I stamped the cute images from the Summer Chill stamp set with Copic safe ink.  I colored the images with my Copic markers and then cut them out with the coordinating Summer Chill dies.

I trimmed the edges of the image with the palm tress to match the width of the stenciled rectangle.  Then I used foam adhesive to adhere it and the other images to my card.

The Summer Chill stamp set has seven sentiments to choose from.  I decided on a birthday sentiment and stamped it with black pigment ink.  I cut it out with the coordinating die and adhered it with foam strips.

Thanks so much for stopping by!  If you'd like to see some of how I made this, please watch my reel over on my Instagram!

I so appreciate that you use my affiliate links to shop! (Never any additional cost to you.)  It helps me with the expenses of posting my creative content, thank you!

Friday, August 7, 2026

Alex Syberia Designs August Release: Happy Cuties and Peony Corners | Blog Hop & Giveaway

 Hello, crafty friends!  Today is Alex Syberia Designs' August Release day!  We are celebrating with a blog hop filled with lots of inspiration for this wonderful new release!  You can check out all of the wonderful products in the Happy Cuties and Peony Corners release over in the Alex Syberia Designs shop.

Of course, there are prizes!  Alex Syberia Designs is giving away a $15 or £15 gift card to three lucky winners.

This giveaway is open internationally.  All three winners will be selected from entrants who take part in the blog hop by 11:59 BST on August 16, 2026.  The winners will be announced on the 'Giveaway Winners' page of the Alex Syberia Designs blog on August 17, 2026.

The blog hop order is below. Be sure to at each stop for more fabulous inspiration and leave comments for more chances to win.

Now on to my card that features the new Mermaid Kitties stamp set and coordinating dies!

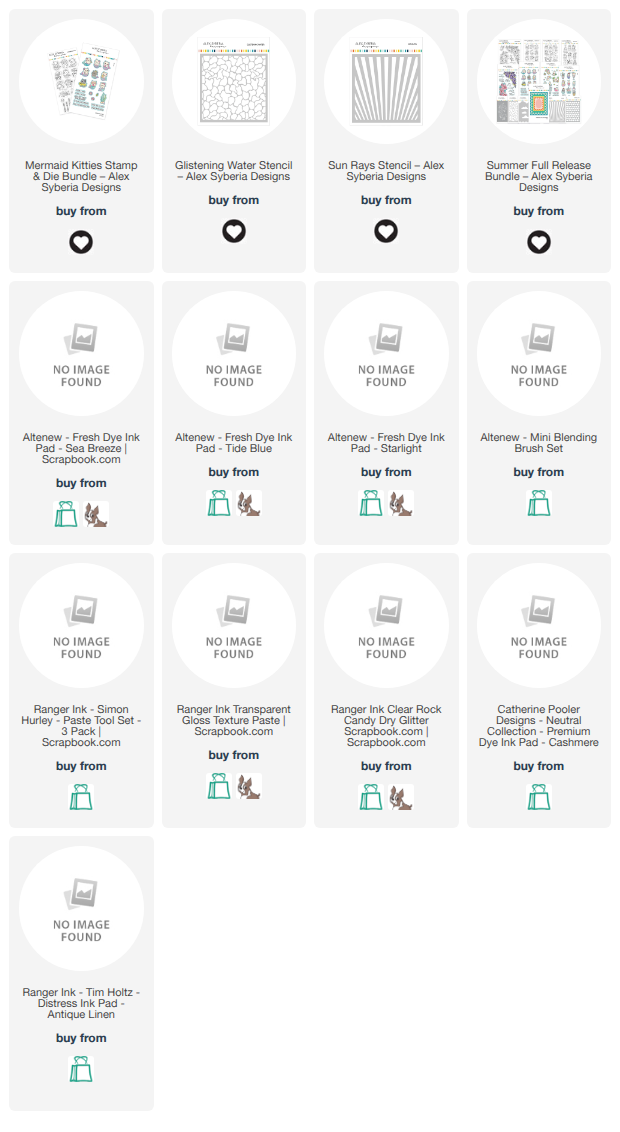
First I created the underwater background for my Mermaid Kitties images.  I started out with the new Glistening Water stencil and white cardstock.  I used two shades of blue ink and blending brushes to color through the stencil.

I replaced the Glistening Water stencil with the Sun Rays stencil.  I turned it so the rays appeared to be coming from above the water and were shining down through the water.  I used a palette tool to spread some transparent glossy texture paste through the stencil.  I removed the stencil and used my fingers to lightly sprinkle some clear glitter onto the wet paste.  Then I set the panel aside to dry.

Next I stamped three of these cute Mermaid Kitties and the shells and sea grass with Copic marker safe black ink.  After I finished coloring the images I cut them all out with the coordinating dies.

Once the stencil and textured panel was dry, I wanted to make the sun rays stand out more.  I placed the Sun Rays stencil over the panel again and used blending brushes to add more of the same ink colors.  Then I glued the panel to an A2 card base.

I used foam adhesive and glue to adhere the Mermaid Kitties images to the card.  There are two small bubble stamps in the Mermaid Kitties stamp set and I placed them, one at a time, onto a small stamp block and stamped them around the images with two shades of the blue inks.

The sentiments are three of the seven included in the Mermaid Kitties stamp set.  I stamped them with black pigment ink and cut them out with the Mermaid Kitties dies.

This was so fun to make!  There are also six more adorable Mermaid Kitties included in this set.  If you want to see more of this release, check out all of the goodies in Alex Syberia Designs' shop!

Here is the blog hop order!  Stop by to see more and comment for chances to win on of the three gift cards!

Blog Hop Order:

Alex Syberia Designs

Bobbi

Brenda

Carol <<<that's me!

Hanh

Keisha

Lea

Martin

Mona

Nicoletta
Samantha

Sylvie


I always appreciate you using my affiliate links to shop (never any additional cost to you)!

Friday, June 19, 2026

You're Always In Style -- Alex Syberia Designs

Hey, friends!  Did you hear??  Earlier this month the announcement was made that I'm now on the amazing Alex Syberia Designs design team!  I'm so thrilled!  She is an individual owner of this company and has the most gorgeous designs!  Please check out her fabulous designs here.

I'll be sharing reels over on my Instagram a few times a month, and when I can, I'll have a corresponding blog post, like today!

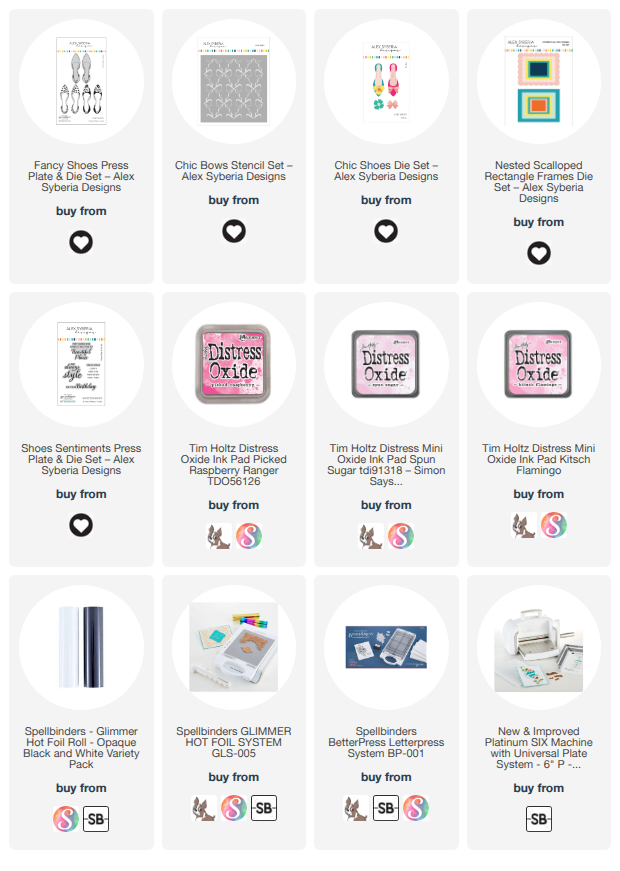
This sweet card features these awesome products:

I used Distress Oxide inks with the Chic Bows stencils and blending brushes to create a pretty pink ombre effect.

After I trimmed the panel to 4" x 5-¼" I glued it to an A2 card base.

Next I used some opaque black foil and the Fancy Shoes Press Plates.  These can be used with both the BetterPress Letterpress System and the Glimmer Hot Foil System (or other similar foiling machines).

I added pretty stripes and dark pink color to the shoes' insides with two Copic markers.  Then I cut them out with the included dies.

The cute bows are from the Chic Shoes Die Set.  I blended Picked Raspberry and Spun Sugar Distress Oxide inks onto the pieces and then glued the layers together.

The shoes are adhered to a die cut vellum Nested Scallop Frames piece with thin foam squares.  I added more thin foam squares onto the vellum, behind the shoes to adhere the piece to the card.

I hot foiled the sentiments from the Shoes Sentiments Press Plate & Die Set, cut them out with the coordinating dies, and then popped the sentiments up with foam adhesive.

Thanks so much for stopping by today!  I hope you have a fabulous weekend and lots of crafty time too!

Thank you for using my affiliate links to shop (never any additional cost to you)!