Happy 17th STAMPtember®!!! I'm thrilled to be joining in the Simon Says Stamp Blog Party to help celebrate STAMPtember® and Simon's HUGE new release!!!! There are many other blogs participating and sharing lots more awesome inspiration with the products in Simon's release, so be sure to head over to Simon's blog when you are finished here.
Click this graphic to check it all out!
Also, keep reading to the end of this post! Simon Says Stamp has given me a very special promotional code for you to use. You can check out the graphic at the end to see what this awesome special is! Also, there are many other surprises on the other blogs!
-----------------------------------------------------------------------------------------------------------
I have several cards to share with you today all featuring new crafty goodies from Simon Says Stamp!
First up is this sweet Halloween card that features the new Little Pumpkin House die set and the Fable Friendly Foxes embossing folder.
To begin, I die cut orange, green, and brown cardstocks with the dies in the adorable Little Pumpkin House die set. I used ink blending brushes a coordinating inks to add shading to each piece.
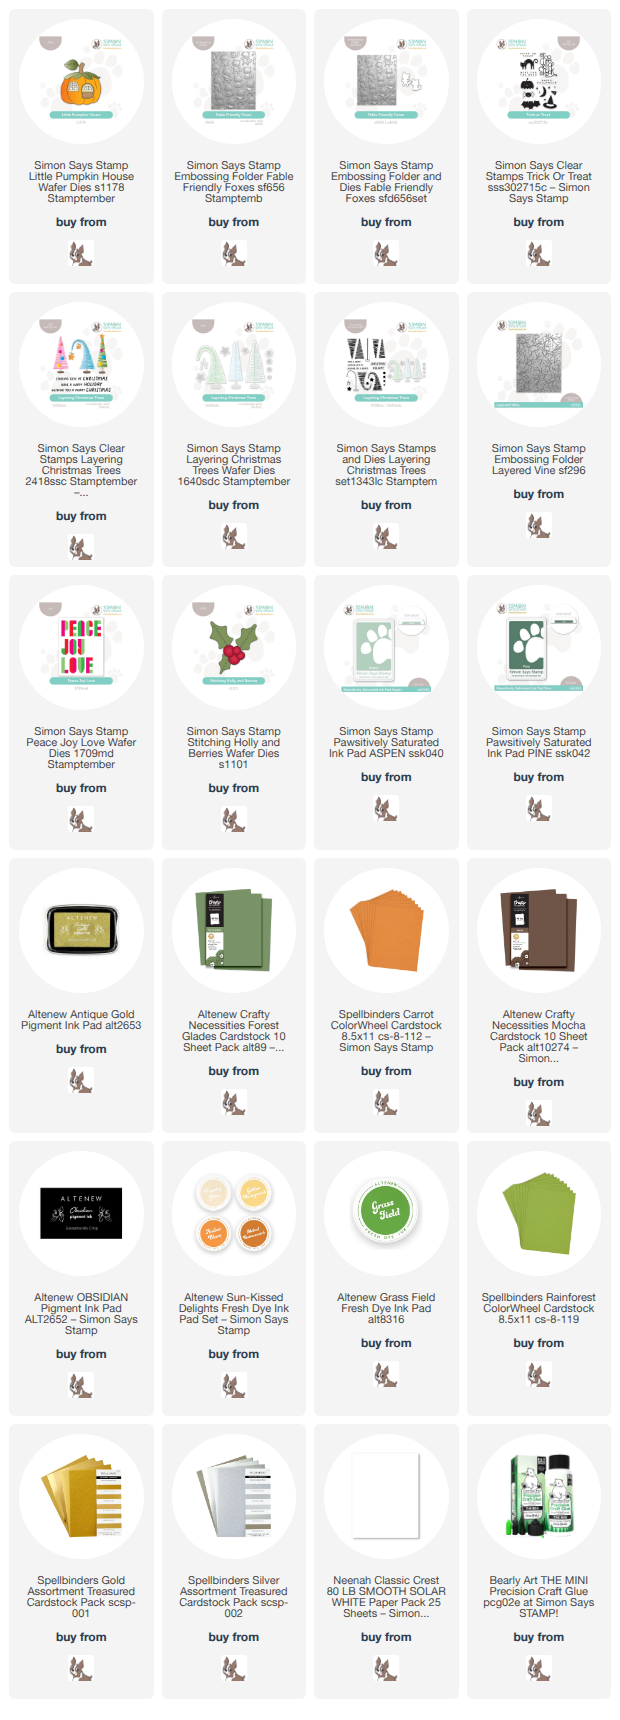
Then I embossed white cardstock with the Fable Friendly Foxes embossing folder. After trimming it to 4-¼" x 4" I glued it to an A2 card base. I added two narrow strips of green and orange cardstock just below the embossed panel. (I have all of the cardstock and other supplies linked in my list below.)
To finish up, I used thin foam adhesive to adhere the Little Pumpkin House to my card.
Then I stamped a simple sentiment from the Trick Or Treat stamp set with black pigment ink.
Next up is this card that features the new Layering Christmas Tree stamp set.
I stamped two of the Layering Christmas Trees onto panels of white cardstock that measure 1-¾" x 3-¾". I used two shades of green inks. I used gold metallic pigment ink to stamp the trees' stars.
Next I inked up the edges of two 2" x 4" panels with gold pigment ink by swiping the ink pad directly onto the paper. I glued the stamped Christmas Trees panels to the layers.
There's a stamp in this set for the round ornaments. I stamped it a few times with the gold metallic ink. I don't have the coordinating Layering Christmas Trees dies so I used a hole punch to cut out the smallest. Then I used my scissors to cut out the others.
I glued one of the Layering Christmas Trees panel to my card base that has an embossed layer I made with the Layered Vine embossing folder (previously released). The other panel is popped up with foam adhesive.
I stamped the sentiment, also in the Layering Christmas Trees stamp set, in black pigment ink and trimmed each one into a strip. These are also popped up with foam tape.
My final project features one die, the Peace Joy Love cover die, and easily made three cards!
All I needed to do was die cut white cardstock, and gold and silver glitter cardstock panels with the Peace Joy Love die. I removed all of the letter pieces from the panels and glued the panels to A2 card bases. Then I paper pieced the various back into the openings.
I added a little embellishment to each card with die cuts from the Stitching Holly and Berries die set.
Thank you so much for stopping by! Happy STAMPtember®!!!
Here is the very special promotion, just for YOU! This amazing Jingle All the Way stamp set and coordinating dies is free with a $100+ purchase! Be sure to follow the steps shown on this photo! Click the photo to get started shopping!
I know you have lots of options for shopping and I so appreciate you using my affiliate links (never any additional cost to you)!