Showing posts with label BetterPress Letterpress System. Show all posts

Thursday, September 11, 2025

Autumn Birthday Wishes Card

 This is my last card I've made with Spellbinders September Club Kits.  This one features the beautiful 3D Embossing Folder called Patchwork.


This card has another piece of a panel I made with the Sketchy Hexi press plate.  It's layered on top of a piece of Saffron cardstock that I embossed with the Patchwork 3D embossing folder.

I glued a strip of brown cardstock against the edge of the Sketchy Hexi piece.  If you saw the first card using this, you saw that I pressed a piece of Porcelain cardstock with the Sketchy Hexi plate with no ink.  I still had some of that, so I die cut leaves from it with the dies from the Autumn Wonder set.

I pressed a sentiment from the Sentiments of Wonder Press Plate set with brown ink.  Then I used a die from the Envelope of Wonder die set to cut it out.  As of the date of this post, the Envelope of Wonder collection sets are on clearance!

I tied a bit of twine onto the tag, then used foam tape to adhere it to the card.

This is an easy card to make with few elements, but with the press plate and embossed pieces, not much more is needed!  Be sure to check out the Club Kit details to decide if one (or more) of these would be good for you.

Thanks for stopping by today.  I hope you are having a wonderful week so far!

Thank you for shopping with my affiliate links (never any additional cost to you).

Monday, July 14, 2025

Warm Hellos and Days To Remember!

I'm still in catch-up mode after returning from our 3-week trip to Greece, Croatia, and Italy!!  I'm sharing three cards today that feature three of Spellbinders June 2025 Club Kits.  Two cards also use products from their fabulous La Dolce Vita Collection!

NOTE:  These June club kits are currently available for separate purchase!  Check under Club Kits, then "Shop Past Kits".  Club Kits are not always available for a separate purchase, so be sure to check!

This first card features the June Betterpress called Harbor Weave along with a previously released Set Sail die set.

I used my Betterpress System and Tawny Betterpress ink to press the plate and sentiment onto Porcelain Cotton cardstock.  The set also has a die to cut out the two included sentiments.

The rest of the card is made with the dies in the Set Sail die set cut from colored cardstock.  (All cardstocks used are in the list below.)  I thought this set went with the nautical theme of the Press Plate perfectly!

---------------------------------------------------------------------

Next up is my card with the 3D Embossing Folder of the Month called Nautical Knots.

I love the detail of Spellbinder's 3D embossing folders!  This one looks beautiful on light blue cardstock!  

For the feature elements I used another set from my favorite La Dolce Vita Collection called Deckside Dreams.  The sentiment is from the La Dolce Vita Sentiments Press Plate and Die Set.

---------------------------------------------------------------------

My third card features the June Embossing Folder of the Month called Mariner's Weave.

I made these three cards a cohesive set by using the same light blue cardstock on each one.  The sun is the Under The Sun die set from the La Dolce Vita Collection.

The sentiment is another from the La Dolce Vita Sentiments.  There are nine total sentiments in this set!

I'm off to do more catching up!  Thank you always for stopping by!

Thank you for choosing to use my affiliate links to shop (never any additional cost to you)!

Friday, June 20, 2025

Ciao Bella! Sending Warm Thoughts Your Way

Have you seen the La Dolce Vita Collection by Spellbinders?  I absolutely love it!  This card features three of the products from this collection!  I am actually about to head out for a trip to Italy and Greece and this collection just makes me even more excited!

Because of my trip, I need to keep this post brief!  I'll share all of the product links in the list below.  

The background is the gorgeous Lemon Fresco 3D embossing folder embossed onto teal card stock.

I die cut the die from the Citrus Spritz die set from white and colored cardstocks.

The sentiment is one of several in the La Dolce Vita Sentiments Press Plate & Die Set.  Again, I love that all of the sentiments are on one plate and then cut out with the die that is included!

I added white gel pen dots on the lemons, and a few yellow gem stickers for some sparkle!

Well, all that's left for me to say is, "Ciao Bella"!  Thanks so much for stopping by!

I can't even say how much I appreciate that you might use my affiliate links to shop (never any additional cost to you)!

Monday, May 5, 2025

Sending Hugs -- An Easy Die Cut Card

Hello crafty friends!  Today I'm sharing this easy card that features Spellbinders beautiful Yana's Daisies die set.

I made the card base layer by embossing Violet cardstock with the Perforated Stamp Edges embossing folder (this was the April Embossing Folder of the Month club kit).  I glued it to my A2 card base and then added white splatters.  I set it aside to dry.

The Yana's Daisies die set includes two dies--one that die cuts the petal and leaves with a narrow border and the other cuts a solid shadow layer to use adhere the flower pieces to.  I die cut white cardstock with both dies.

I used a few Copic markers to shade the petals and color the flower centers and leaves.  First I glued the outline die cut to the shadow layer.  Then I glued the individual petals and centers.  I added foam tape to the back of the daisies and adhered it to my card.

For the sentiment, I pressed the Ideal Moments Sentiments Press Plate with black ink onto 110# white cardstock with my BetterPress Letterpress system.  Then I die cut the sentiments with the coordinating die.

I added a foam strip to the back of the sentiment to adhere it to my card.

And that's how easy it is to make this card!  Thank you very much for stopping by!  Have a wonderful week!

Thank you for using my affiliate links to shop (never any additional cost to you)!

Saturday, March 22, 2025

Sending Love, Just Because I Care

Today I'm sharing my card I made with the Spellbinders' BetterPress Club Kit for March.  This beautiful press plate is called Quilted Memories and I love the more generic design so I can use it with different styles of cards!

I decided to use the Quilted Memories Press Plate with coordinating cardstock and ink for a subtle tone-on-tone background.  I used a piece of Bellini cardstock and inked up the press plate with a coordinating peachy color ink.  After running it through my BetterPress Letterpress System, I trimmed it to 4" x 5-¼" and glued it to an A2 card base.

I used the Sealed Blooming Stems die set and die cut the pieces from BelliniCoral and Rainforest cardstocks.  Before I glued the layers together, I inked up the flower edges and under layer with a darker peachy ink.

The main sentiment is the Copperplate Sending Love BetterPress letter press plate.  The March BetterPress club kit includes two sub-sentiments and I chose one to go along with the other sentiment.  They both are pressed onto Porcelain cotton card with BetterPress black ink.  I cut the main sentiment with a rectangle die from the A2 Matting Basics A set and the small sentiment with the die that is included in the BetterPress Club Kit.

I added foam tape to the back of both sentiments and adhered the Sending Love first.  Then I arranged the flowers and adhered them with glue.  I finished up by adding the other sentiment as shown.

If you have never checked out Spellbinders' Club Kits, I would encourage you to do so.  There is a club for several different products if you aren't into press plates.  Also you can cancel at any time!  

Thanks so much for stopping by!  

Thank you for using my affiliate links to shop (never any additional cost to you)!

Saturday, March 8, 2025

So Grateful For You -- Featuring Spellbinders March Embossing Folder

Spellbinders' March Club Kits are out now!  My card today features the beautiful and very versatile Embossing Folder Of The Month called Mosaic Memories!

I have fun creating this card with a bit of a different look!  If you look at the image of the Mosaic Memories embossing folder, you can see that the pattern is in a grid.  First I embossed white cardstock and then I used my paper trimmer to trim the center piece out.  I use two shades of warm yellow inks to add color to the piece.

Then I used the Mosaic Memories embossing folder to emboss a piece of Beeswax cardstock.  I trimmed it to about 5-¼" x 4".  I also trimmed the inked center piece by about ¼".  Then I matted both with white cardstock and glued the large piece to an A2 card base.  I used foam tape to adhere the smaller piece.

I used a few of the dies from the Vivid Blooms set to die cut Rainforest, Fern, and a periwinkle colored cardstocks.  (All available cardstocks are in the list below.)  I used glue to adhere the flowers and stems and the glued them to the card.

I used a sentiment from the Spring Magnolias Press Plates (currently on sale ½ off!) set with a warm orange ink.  I cut it out with the coordinating die and popped it up with foam squares.

I have several ideas on different ways to use this beautiful embossing folder!  Check out all of the Club Kits to see which ones you like!  Thanks so much for stopping by.  I hope you have a wonderful weekend!

Thank you for using my affiliate links to shop (never any additional cost to you)!

Friday, February 14, 2025

Vivid Blooms Floral Card with Letterpress Background

Today I'm sharing details about this card I made featuring Spellbinders gorgeous February BetterPress Of The Month Club Kit!   This beautiful press plate, Luxe Damask, made an awesome background for the die cuts from the Vivid Blooms die set!

The February BetterPress press plate actually presses two rows of the Luxe Damask pattern.  There is a preprinted "registration template" with guide lines for placement of the press plate to get a perfect pattern for a full card front.

I used three shades of yellow ink for the Luxe Damask press plate and the flowers from the Vivid Blooms die set.  The inks are linked in the list below.  After you tape the registration template to your magnetic insert on the BetterPress Letterpress System's chase, you line up the press plate according to the template.  Ink up the press plate and run the chase through your die cutting machine.  I use a Platinum 6.

Then I moved the Luxe Damask press plate to the next set of lines on the template and repeated the above steps until I had the entire piece of Porcelain cotton card covered with the pattern.

I used several of the dies from the Vivid Blooms die set and cut them from white, light green, and dark green cardstocks.

I used blending brushes to add yellow inks to the flowers and a black Copic marker for the flower centers.

The sentiment is one of three sentiment press plates (and coordinating dies) included with the February BetterPress of the month.  I pressed it with black ink onto Porcelain cotton card.  I used foam tape to pop it up on the card.

 I wish you could see the beautiful impressed, textured background this Luxe Damask press plate creates!  You can check out all of the Spellbinders Club Kits and the information for subscribing by clicking HERE.

Thanks so much for stopping by!  Have a wonderful, crafty weekend!

Thank you for using my affiliate links to shop (never any additional cost to you)!


Thursday, February 6, 2025

Spellbinders February Embossing Folder with Winnie The Pooh

I knew I wasn't done playing with the awesome sets of Spellbinders' Classic Pooh Collection!  Today I've paired it with the awesome February Embossing Folder of the Month.

This month's Embossing Folder of the Month, Wicker Basket, is a fabulous more generic design that you can use to create your textured background for all of your stamps and dies!

I've paired the Wicker Basket embossed panel with two sets from the most adorable Classic Pooh Collection.

I die cut Pooh that is from the Pooh & Piglet die set.  I colored him with YR12, YR21, and Y21 Copic markers.

Next I die cut the pieces from Pooh's Hunny Pot from white cardstock.  This time I used a blender brush and green and brown inks to color it.  To get the green band, I created a mask by die cutting printer paper with the dies.  I used temporary adhesive to hold each piece in place as I blended on the ink.  The bee is colored with Copic markers.

I colored the honey layer with E33, E31, Y38, Y35, and Y32 Copic markers.  Then I added a few white gel pen highlights.  Since the honey and Pooh are similar colors, I wanted to help distinguish the honey from Pooh.  I did that by added Crystal Glaze to the honey.  I love the shine this gives!

The background features the Wicker Basket Embossing Folder of The Month.  I used my Platinum die cutting machine to emboss white cardstock.  Then I cut it to 4" x 5-¼" and matted it with black cardstock before I glued it to my A2 card base.

When the Crystal Glaze was dry, I adhered the layers of Pooh together and added him to the honey pot.

The sentiments are from the Silly Old Bear Sentiments BetterPress Press Plates & Die set.  I totally love that the press plate is one piece with all of the sentiments!!  After inking it with black BetterPress ink, I ran the BetterPress System plates through my Platinum machine.  I used the die to cut out the sentiments.

I like how the Wicker Basket embossing folder compliments this adorable Pooh set!  Be sure to check out all of the Spellbinders Club Kits and see which clubs you might like to join!

Thank you for using my affiliates links to shop (never any additional cost to you)!

Sunday, January 26, 2025

Little Things Make Big Moments

 Hello crafty friends!  I adore all things Winnie the Pooh!  I'm so happy to get to make this card that features the Spellbinders & Simple Stories - Say Cheese Classic Pooh Collection sets!

For this card I've used the Friendly Moments BetterPress Press Plates set that features two press plates to use on your cards.  I've used one of them to create a background for this adorable Tigger from the Tigger & Eeyore die set.

First I used my BetterPress Letterpress System to press the image from the Friendly Moments set with BetterPress black ink onto porcelain cotton card.  (All supplies are linked in the list below.)  After using my heat tool to dry the ink, I used a few Copic markers to color Pooh and Piglet.  While this image is in the background, I wanted them to stand out and coloring them helps that.

I die cut the dies from Tigger & Eeyore die set for Tigger and the butterfly.  Tigger is die cut with black and a dull orange cardstock.  I used a few Copic markers to add shading to Tigger and to color the white cardstock of the butterfly. 

I used two shades of green ink and a blending brush to add a ground for Tigger.  I trimmed the background panel to 3-¾" x 5" and adhered it with foam tape to a layer of black cardstock.  I adhered this piece to an A2 card base with glue.  I used foam tape to adhere Tigger to the card.

There is a sentiment set called Silly Old Bear Press Plates & Die Set that coordinates with this collection.    However, I do not have it, (This set is sitting in my cart right now!) but I did find a sentiment that works just great in the Woodland Tales Impressions Press Plates.  After cutting the pressed sentiment out with the coordinating die, I used foam tape to adhere it.

I just love this card!  I hope you do too, and are inspired by it!  Have a wonderful, and crafty, week ahead!

Thank you for using my affiliate links to shop (never any additional cost to you)!

Thursday, January 9, 2025

Spellbinders January 2025 Club Kit Cards

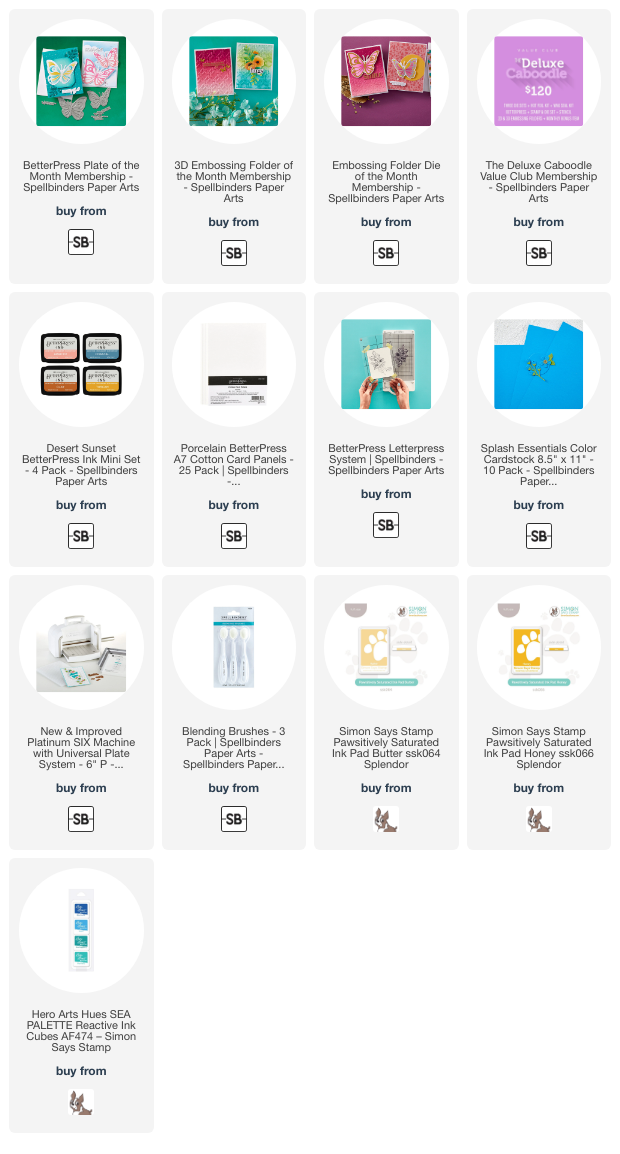
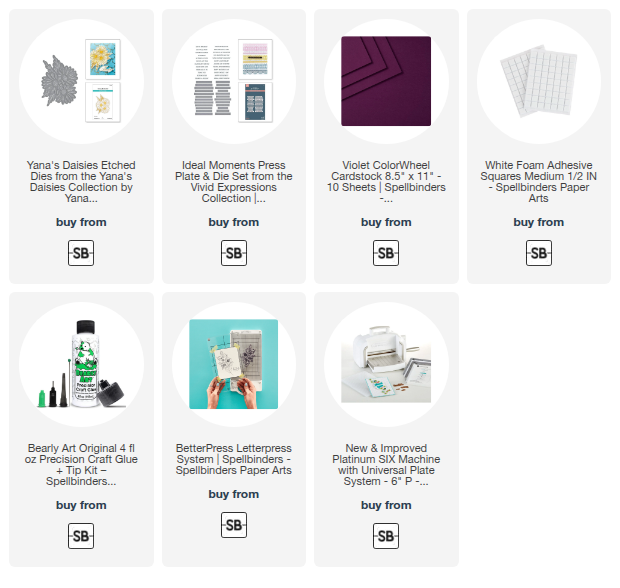
I'm thrilled to have the honor of creating with three of Spellbinders' Club Kits for 2025!  I'll be sharing the monthly club kits for the BetterPress, 3D Embossing Folder, and the Embossing Folder of the month!

There's nothing better than getting two cards from one Press Plate set!  The Take Flight BetterPress Club Kit for January includes press plates for two butterflies and three sentiments.  There are dies included to cut out each one too!

This first card features the Take Flight BetterPress Club Kit with the Stylized Lattice 3D Embossing Folder of the Month.

For the BetterPress Plates and sentiments, I used Porcelain Cotton card for all with my BetterPress Letter Press System.

The A2 card base is layered with Splash cardstock and white cardstock, both embossed with the Stylized Lattice 3D embossing folder.  This was trimmed to 3-¾" x 5" and adhered to the card with glue.

A note about the stencils I used to color the butterflies:  This stencil set is the "bonus item" for January for those in the Deluxe Caboodle Value Club.  Here is Spellbinders' description of this club:

Join the Deluxe Caboodle Value Club and receive expertly designed kits, complete with inspiration each month. Plus, members get store savings, extra deals, gifts, and more. Click Here to learn more about club membership. The Deluxe Caboodle Club Value Club Membership includes ALL TEN club options plus an additional monthly BONUS item. The bonus item will sometimes be a cardmaking essential & sometimes it will be an exclusive item ONLY available in this club.

This club is the most affordable way to snag the Small Die + Large Die+ Stitching Die + Clear Stamp & Coordinating Die + Glimmer Hot Foil Kit and Embossing Folder (2D) & 3D Embossing FolderWax SealBetterPress + NEW Stencil Clubs. Create unique projects individually or combine them together for even more creative utility. $315.00 Value!

I used the large butterfly from the Take Flight BetterPress of the Month and inked it up with a coordinating blue ink from my stash onto Porcelain cotton cardstock.  I used ink blending brushes and two shades of buttery yellow inks to color the butterfly.  All available inks are in my list below!

I added glue just to the center of the butterfly to adhere it to the card.  The Take Flight sentiment was inked with BetterPress Black ink onto Cotton card.

I added black dots with a black Micron 08 pen for some fun details.  Sparkle was added with a few gem stickers!

This next card features the Faceted Petals Embossing Folder of the Month.

I inked up white cardstock with the same blue inks in an ombre pattern before I embossed it with the Faceted Petals embossing folder.  This time I inked up the Take Flight butterfly with Tuscan ink.  I used the coordinating stencils to add shades of blue ink to the butterfly.

I chose another sentiment included with the Take Flight Betterpress of the Month.  After I die cut it with the coordinating die, it was popped up with foam tape strips.

I added sparkly gem stickers for some fun bling!

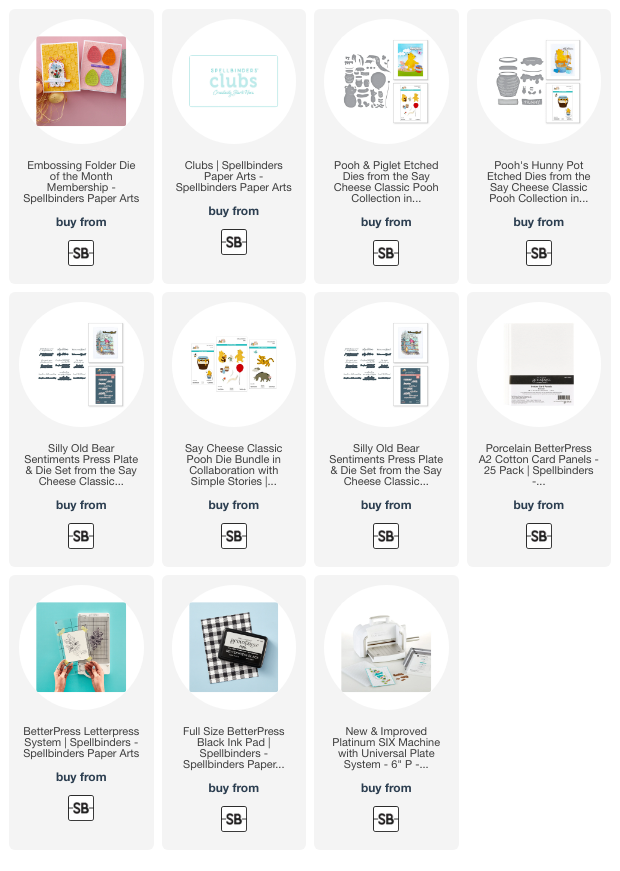
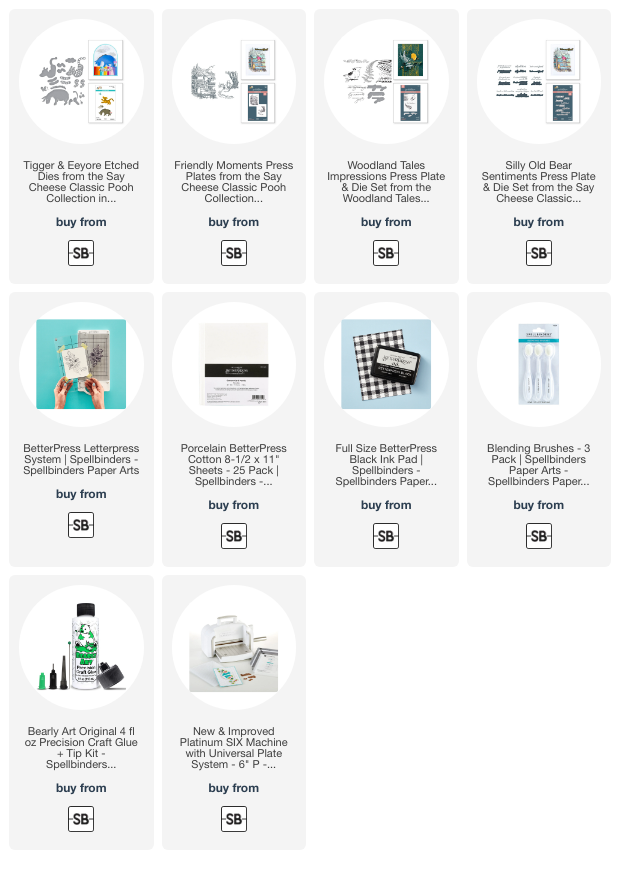
Have you ever looked into all of the monthly Club Kits Spellbinders has to offer?  If not, I really think  you should!  The terms are so flexible and you can read all about them here.

I hope you are staying warm (it's actually sleeting/snowing here in N. Texas!).  It's a great day to be in the craft room!  Thanks so very much for stopping by!

Thank you for using my affiliate links to shop (never any additional cost to you)!

Monday, November 25, 2024

Floral Happy Birthday Card

Hello crafty friends!  Have you tried any of Altenew's marker coloring sheets?  I tried one out for my card today, and I really love them!  These are preprinted onto smooth cardstock and come with 12 designs.  There are two of each, one in a bold black outline and another in a subtle gray outline for a no-line coloring look.

This beautiful floral image that I colored today comes from the Botanical Elegance marker coloring sheets set.  Another first for me is using Altenew's alcohol markers!

I selected one of the 12 prints that I wanted to use from the Botanical Elegance set.  I colored the image using nothing but the alcohol markers from the Cottage Garden Set.

I thought I was going to do something different in my card design, but after I finished the coloring, I just did not want to add another image or cut it up a lot smaller.  So I decided to trim it into a 5" square.  I glued it to a card base that I made from Mountain Pine cardstock and measures 5-¼" square.

The sentiment is one that I had previously made from Spellbinders Always and Forever Sentiment Strips press plate.

I added a few coordinating green enamel dots for a bit of bling.

After using these Botanical Elegance Marker Coloring Sheets, I can definitely say that I recommend them!   The cardstock is smooth, and I really love that I don't have to worry about any ink from stamping will get smeared while coloring!

During this week of our Thanksgiving holiday, I hope you realize how thankful I am for those of you that stop by here!

Be sure to check out all of the Black Friday sales that have begun over at Altenew!  Have a wonderful week and a very blessed holiday!

Thank you for choosing to use my affiliate links (never any additional cost to you)!

Monday, October 7, 2024

It's Your Day -- Embossing, Stencils, & Ink Blending Fun!

 Hello friends!  Today I'm sharing my card featuring Altenew's beautiful Fairyland Florals 3D embossing folder and the Simple Coloring Stencil Set.  I've also used the new One-Go: Solid Sentiment Sentiment Strips Press Plate which can also be used with your hot folding!

I think y'all know how much of a fan I am of 3D embossing folders and I love this Fairyland Florals 3D embossing folder!  After I embossing a 6" x 6" piece of white cardstock, I used various Fresh Dye Inks and the Mini Blending Brushes I ordered (love these!) to color in each of the four Fairyland Florals stencils.

I used these ink colors:

A note about these Mini Blending Brushes.  I paid for these and these were not part of my being on the team.  My honest opinion here.  I think these are some of the best brushes out there.  I really like how the brush is short and flat, plus the bristles are thick.  I really do recommend these.

I trimmed the panel and used glue to adhere it to a black layer and a Sweet Leaf cardstock layer.

The sentiment is one from the One-Go: Solid Sentiment Strips Press Plate.  The awesome thing about the is that not only does it give you all the sentiments in one pass, it has a coordinating die and can be used as a hot foil plate too!

I placed the press plate onto my BetterPress plate, tapped on Obsidian pigment ink, and pressed it with my Platinum onto 80# Neenah.  I cut the sentiments out with the coordinating Sentiment Strips die.

I used foam tape to adhere the sentiments to my card and added a few Crystal Clear enamel dots for a bit of bling!

If you'd like, I would love for you to check out my reel for this card over on Instagram!  Thank you for stopping by, and I hope you have a wonderful week!

Thank you for using my affiliate links to shop (never any additional cost to you)!