Showing posts with label Always and Forever Sentiment Strips. Show all posts

Monday, November 25, 2024

Floral Happy Birthday Card

Hello crafty friends!  Have you tried any of Altenew's marker coloring sheets?  I tried one out for my card today, and I really love them!  These are preprinted onto smooth cardstock and come with 12 designs.  There are two of each, one in a bold black outline and another in a subtle gray outline for a no-line coloring look.

This beautiful floral image that I colored today comes from the Botanical Elegance marker coloring sheets set.  Another first for me is using Altenew's alcohol markers!

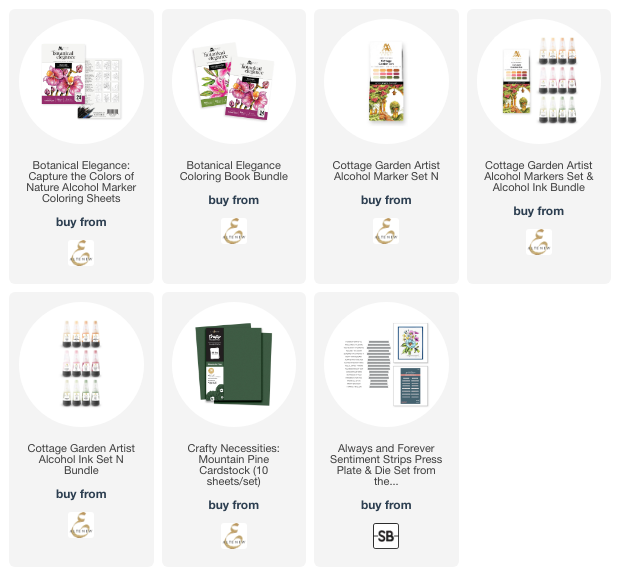
I selected one of the 12 prints that I wanted to use from the Botanical Elegance set.  I colored the image using nothing but the alcohol markers from the Cottage Garden Set.

I thought I was going to do something different in my card design, but after I finished the coloring, I just did not want to add another image or cut it up a lot smaller.  So I decided to trim it into a 5" square.  I glued it to a card base that I made from Mountain Pine cardstock and measures 5-¼" square.

The sentiment is one that I had previously made from Spellbinders Always and Forever Sentiment Strips press plate.

I added a few coordinating green enamel dots for a bit of bling.

After using these Botanical Elegance Marker Coloring Sheets, I can definitely say that I recommend them!   The cardstock is smooth, and I really love that I don't have to worry about any ink from stamping will get smeared while coloring!

During this week of our Thanksgiving holiday, I hope you realize how thankful I am for those of you that stop by here!

Be sure to check out all of the Black Friday sales that have begun over at Altenew!  Have a wonderful week and a very blessed holiday!

Thank you for choosing to use my affiliate links (never any additional cost to you)!
Monday, July 15, 2024

Floral Get Well Card with Die Cutting and 3D Embossing

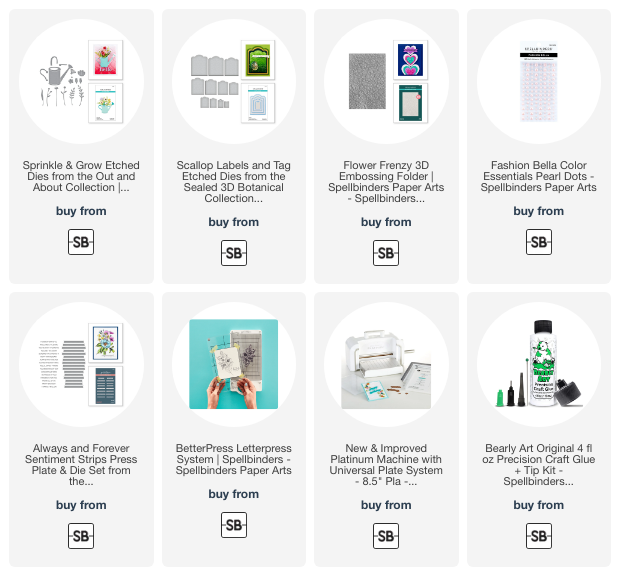
Today I'm sharing another card from Spellbinders Out & About Collection.  This one features the sweet Sprinkle & Grow dies.  I used the Scallop Labels and Tag for this adorable shaped card!

I die cut the Sprinkle & Grow dies from the same cardstocks that I used on my first card from this collection.  You can check out the specific cardstocks in the list on this blog post.  I die cut the watering can from some mat silver cardstock.

After I assembled the flowers, stems and leaves I glued them into the watering can.

Next I took a side folding A2 card base and placed the second largest die from the Scallop Labels and Tag die set with the left edge of the die just beyond the folded edge.  I ran that through my Platinum die cutting machine to die cut the shaped card.  Then I die cut purple cardstock with the same die and glued the layer to the card base.  The finished card is about 4" x 5-¼".

The next layer is made by die cutting white cardstock with the third largest Scallop Labels die and then embossing it with the Flower Frenzy 3D embossing folder.

The sentiment is from the Always and Forever Sentiment Strips Press Plate and Die Set.  I love how this presses and then die cuts all of the sentiments at once.  It's so handy to have all of the extra sentiments on hand ready to use!

I hope you've enjoyed this sweet card today and have been inspired too!  Thank you for stopping by!

Thanks so much for using my affiliate links to shop (never any additional cost to you)!

Monday, June 24, 2024

Floral For You 3D Emboss & Cut Folder Anniversary Card

Ooh, y'all!  I'm in love with Spellbinders' new Floral For You 3D Emboss & Cut Folder!!!  Emboss and die cut in one pass?  Yes, please!!!

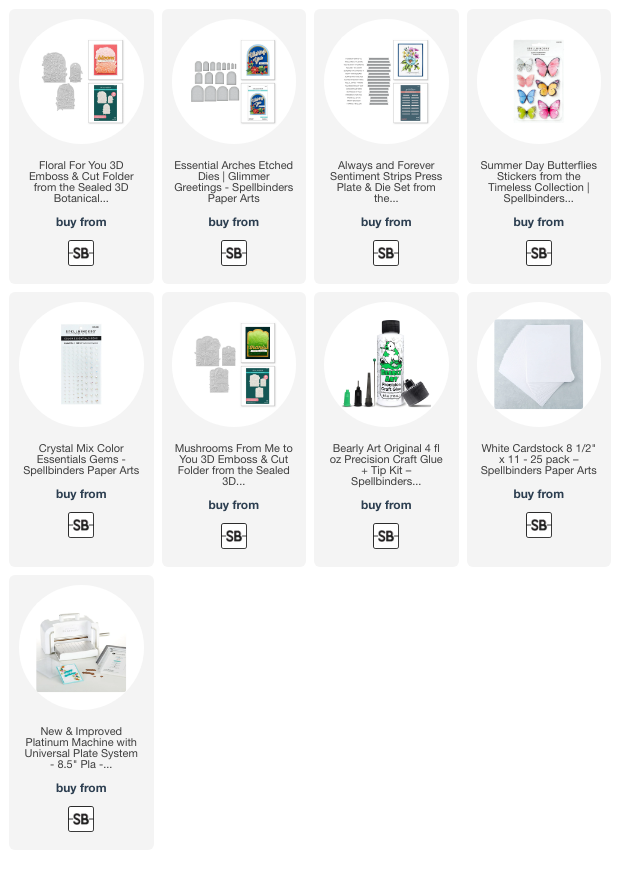
I went with an all white card to make a special anniversary card.  This Floral For You set is absolutely awesome--you just place the dies onto the embossing folder, add your cardstock, and then run it through your die cutting machine!  Use the same sandwich for your machine that you would for any 3D embossing folder.

Before I ran the folder and dies through my machine, I used a brayer to swipe on clear embossing ink.  After this was embossed and die cut, I added clear sparkle embossing powder to each piece and heat set it.  I will save the other two pieces for other projects.

I made a shaped card base from white cardstock with an Essential Arches die.  Then I glued the embossed panel to the base.

I added a sentiment from the Always and Forever Sentiment Strips Press Plate & Die Set.  The beautiful butterfly is one of six in the Summer Day Butterflies.  I Love the bit of sparkle it adds to the card.  A few more bits of sparkle with a few clear gems.

There's another fabulous 3D Emboss & Cut Folder called Mushrooms From Me To You that you might want to check out too.  I have to say that I REALLY hope Spellbinders comes out with many more of these!!

Thanks for stopping by!  I hope your day is wonderful with lots of crafty time!

Thank you for shopping with my affiliate links (never any additional cost to you)!

Monday, March 11, 2024

Spellbinders Through The Arbor Garden Carnation Birthday Card

Today I'm sharing my card I made with the absolutely gorgeous Carnation die set from the Through The Arbor Garden collection by Spellbinders.

A little bit about me is that some of my very first dies were flower petal dies to make shaped flowers.  To this day I find it so fun and satisfying to take plain white cardstock and create beautiful flowers!

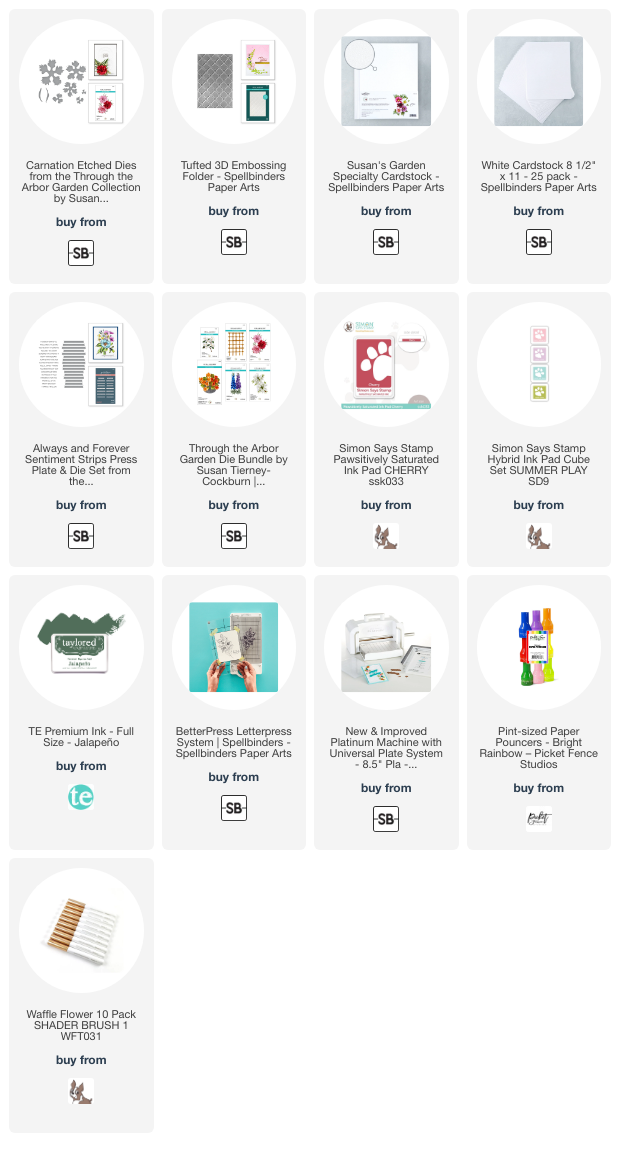
I used, for the first time, this specialty cardstock called "Susan's Garden Specialty Cardstock".  I don't even remember when I ordered it, but I surely should have used it a lot sooner! Haha!  I die cut all of the Carnation dies from this cardstock.  These dies have a number etched into them to indicate how many times they should be die cut, which is so helpful.

I used paper pouncers and a small ink blending brush to color the flowers with Cherry and Twirling Tutu inks and the leaves with green ink.  The inks are in the list below for your reference.

For the shaping and construction of the Carnations, I followed the directions on Spellbinders' YouTube.  With the shaping tools and these directions, it's easy to get beautifully shaped carnations!

I embossed the background layer with the Tufted 3D embossing folder, leaving the bottom edge hanging out.  The sentiment is one that I had on hand.  The Always and Forever Sentiment Strips letterpress plate creates 16 sentiments at once!  There's also a die included that cuts them out all together.


If you think you could never create beautiful paper flowers, I would disagree!  I really hope I've inspired you to give this a try.

Thank you so much for stopping by.  Have a wonderful week!

Thank you so much for using my affiliate links to shop (never any additional cost to you)!

Wednesday, February 21, 2024

You're In My Thoughts -- A BetterPress Letterpress Card

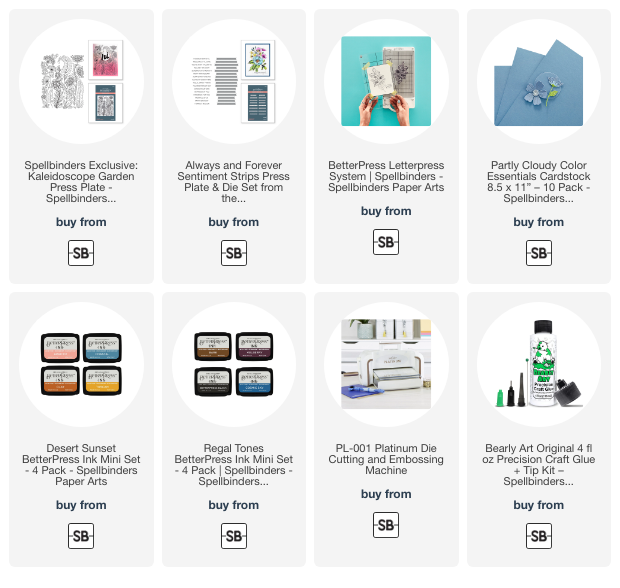
Today I'm sharing this beautiful letter pressed card that features Spellbinders' Kaleidoscope Garden BetterPress press plate.

If you need a card that is beautiful and super quick to make, this one is for you!  What made it even faster is the Always and Forever Sentiment Strips press plate I used.  This presses all of the sentiments in one pass and then die cuts them all together with one die!

Using my BetterPress Letter Press System I tapped Coastal BetterPress ink onto the Kaleidoscope Garden press plate.  After adhering Porcelain Cotton card to the clear plate, I ran the base through my Platinum die cutting machine.  P.S.:  The original Platinum is on sale now!!  I love the crisp, clear images you get with the BetterPress!

Next I trimmed the image and glued it to an A2 sized piece of Partly Cloudy cardstock.  I added this to a top folding card base.

I used Porcelain Cotton card and black BetterPress ink for the sentiment from the Always and Forever Sentiment Strips.  I love having one die to die cut all of the sentiments!

I added a layer of Partly Cloudy cardstock to the back of the sentiment and popped it up with foam tape strips.

The Kaleidoscope Garden press plate would work great for a variety of occasions.  Change the ink color and sentiment and color the image with your preferred medium, for totally different looks!

I hope you've found some inspiration here today.  Thank you, always, for stopping by!

Thank you so much for using my affiliate links to shop (never any additional cost to you)!