Showing posts with label Flower Frenzy embossing folder. Show all posts

Monday, July 15, 2024

Floral Get Well Card with Die Cutting and 3D Embossing

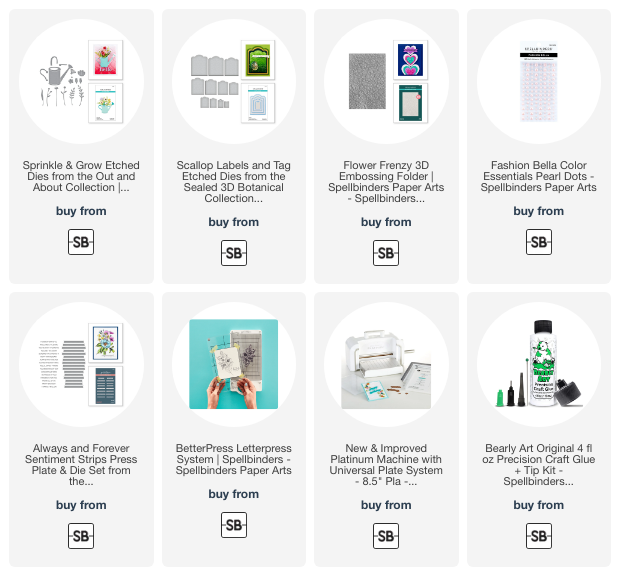
Today I'm sharing another card from Spellbinders Out & About Collection.  This one features the sweet Sprinkle & Grow dies.  I used the Scallop Labels and Tag for this adorable shaped card!

I die cut the Sprinkle & Grow dies from the same cardstocks that I used on my first card from this collection.  You can check out the specific cardstocks in the list on this blog post.  I die cut the watering can from some mat silver cardstock.

After I assembled the flowers, stems and leaves I glued them into the watering can.

Next I took a side folding A2 card base and placed the second largest die from the Scallop Labels and Tag die set with the left edge of the die just beyond the folded edge.  I ran that through my Platinum die cutting machine to die cut the shaped card.  Then I die cut purple cardstock with the same die and glued the layer to the card base.  The finished card is about 4" x 5-¼".

The next layer is made by die cutting white cardstock with the third largest Scallop Labels die and then embossing it with the Flower Frenzy 3D embossing folder.

The sentiment is from the Always and Forever Sentiment Strips Press Plate and Die Set.  I love how this presses and then die cuts all of the sentiments at once.  It's so handy to have all of the extra sentiments on hand ready to use!

I hope you've enjoyed this sweet card today and have been inspired too!  Thank you for stopping by!

Thanks so much for using my affiliate links to shop (never any additional cost to you)!
Monday, March 4, 2024

Three Easy Cards with the Every Occasion Floral Alphabet Collection

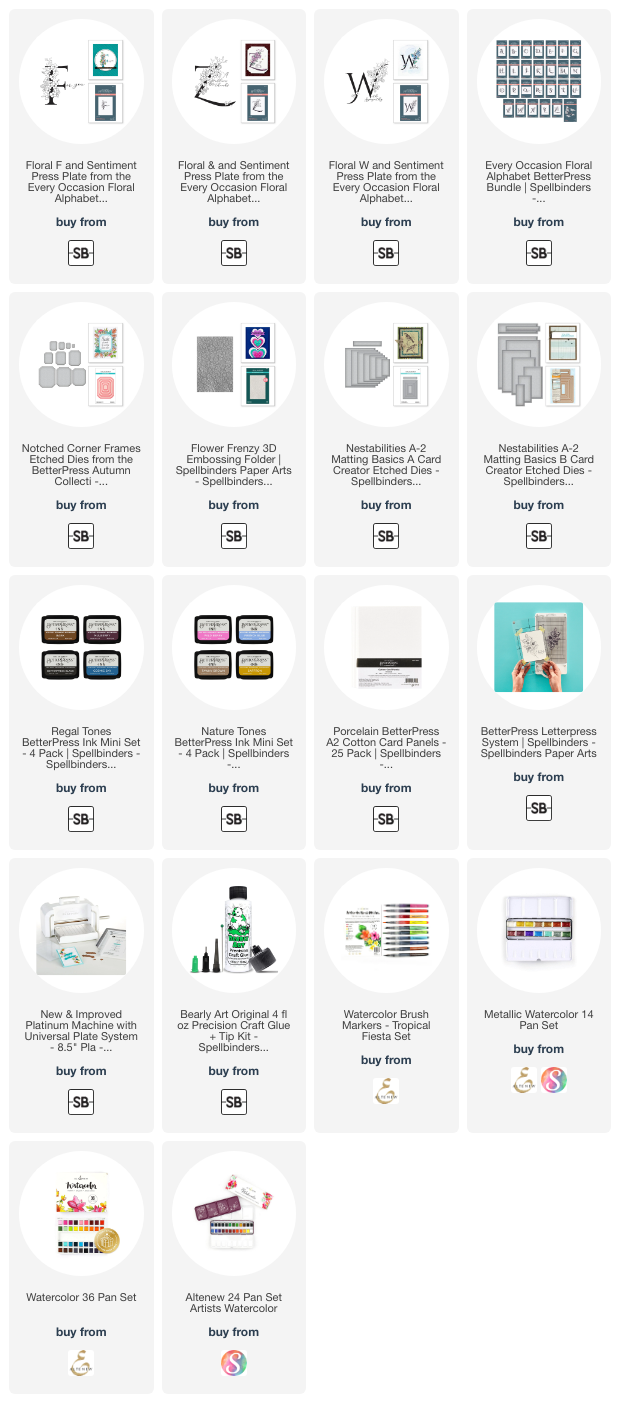
Happy Monday friends!  Today I'm sharing three cards featuring the so beautiful Every Occasion Floral Alphabet Collection by Spellbinders.  These are designed to be used with their BetterPress Letterpress System.

Next up are the details for these three beautiful cards!

For my first card I used the Floral F and Sentiment Press Plate set.  I arranged the press plates, inked them up with BetterPress black ink and passed it through my Platinum die cutting machine to press the image onto a piece of  Porcelain Cotton Card.

For each card I used a variety of coloring mediums that are linked below.  I painted the flowers with a teal metallic watercolor.  Then I die cut the image with a Notched Corner Frame die.  I die cut teal cardstock with another Notched Corner die then embossed it with the Flower Frenzy 3D embossing folder.

For a little extra, I added a bit of splatters with the teal metallic watercolor.

This next card is perfect to have on hand or to make very quickly when needed.  I pressed the Floral W and Sentiment Press Plate with Cosmic Sky ink.  I did some simple coloring of the flowers with yellow and green Prismacolor pencils.

I used the A2 Matting Basics B die to cut out the image.  The blue layer is die cut with an A2 Matting Basics A die.  I adhered the layers together with glue and then to an A2 card base.

I could send this next card to each of you that stop by to take a look at my blog: A zillion thanks! 💖

This final card is the Z Floral and Sentiment Press Plate inked up with Wild Berry BetterPress ink.  As you can see in the photo, the sentiment is pressed with BetterPress Black ink.

After some simple watercoloring of the flowers, I added Ripe Pumpkin Nuvo Crystal drops.  LOL, yes I still have these and store them upside down to prevent any problems of clogging up.

I should have waited to add the Nuvo drops so that I could use those Matting Basic dies to cut the layers.  Since I did not, I just used my trimmer to cut down the black and pink cardstock for layers.  

I still continue to be amazed at being able to create three cards so quickly with the BetterPress Letterpress system.  I love the crisp impressions too.

Thank you so much for stopping by today!  I hope you have a wonderful week!

Thank you for using my affiliate links to shop (never any additional cost to you)!

Saturday, November 4, 2023

Thinking of You Card -- Sunflower Serenade

Hello, crafty friends!  Today I'm sharing this card that features Spellbinders' Sunflower Serenade die set!  I added a sentiment that makes this card perfect for many different occasions.

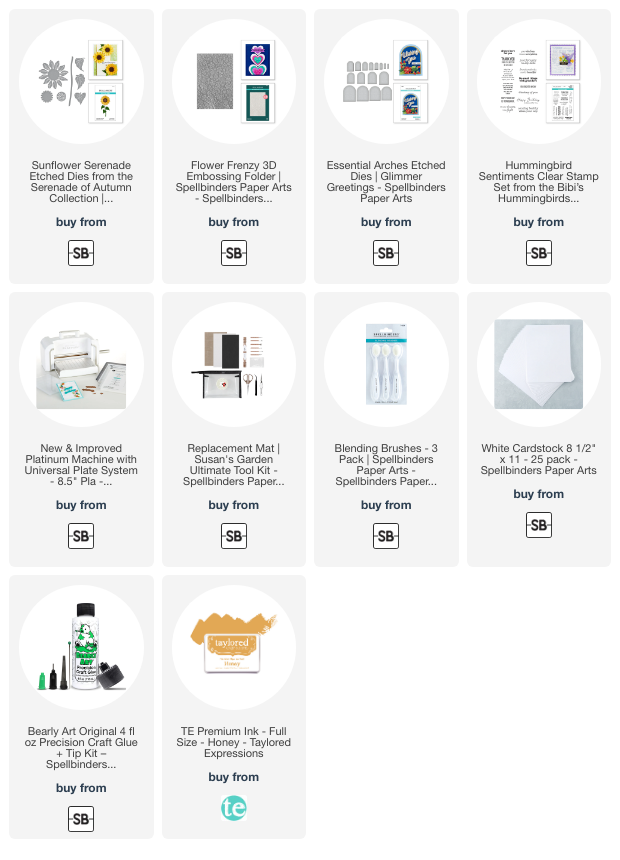
First I die cut the Sunflower Serenade dies from 80# Neenah.  (I die cut two of the flower die.)  I used small ink blending brushes to add some warm golden yellows to the flower petals and two green inks to the leaves and stem.

For extra dimension on the flower, I used a ball stylus from the Ultimate Tool Kit to shape the petals.  Next I glued the flower together and set it aside while I made the frame.

For the frame, I used 80# Neenah and die cut the opening with the 5th largest Essential Arches die.  Then I blended on a warm yellow ink over all of the piece.  Next I placed it into the Flower Frenzy 3D embossing folder and ran it through my Platinum die cutting machine.

To make the embossed detail stand out even more, I added a bit darker warm yellow ink by lightly brushing the details with a blender brush.  I glued the flower onto an A2 card base, and added foam tape to the back of the frame to adhere it to the card.

The sentiment is from the Hummingbird Sentiments set.  I trimmed it into a strip and popped it up with a few foam squares.  It doesn't really show in the photos, but I added some pretty and subtle sparkle with a Wink of Stella glitter pen.

Thank you for stopping by!  I hope you're having lots of fun crafty time this weekend!!

Thank you very much for using my affiliate links to shop (never any additional cost to you)!

Saturday, June 17, 2023

Birthday Card and Wax Seals

Today I'm sharing a card that features Spellbinders new Sealed Blooming Stems die set from the new Sealed For Summer collection!  I added a fun wax seal to the card in lieu of stamping a sentiment.  (P.S.:  I just noticed that as of the date of this blog, the product title describes these as "hot foil plates".  They are not!)

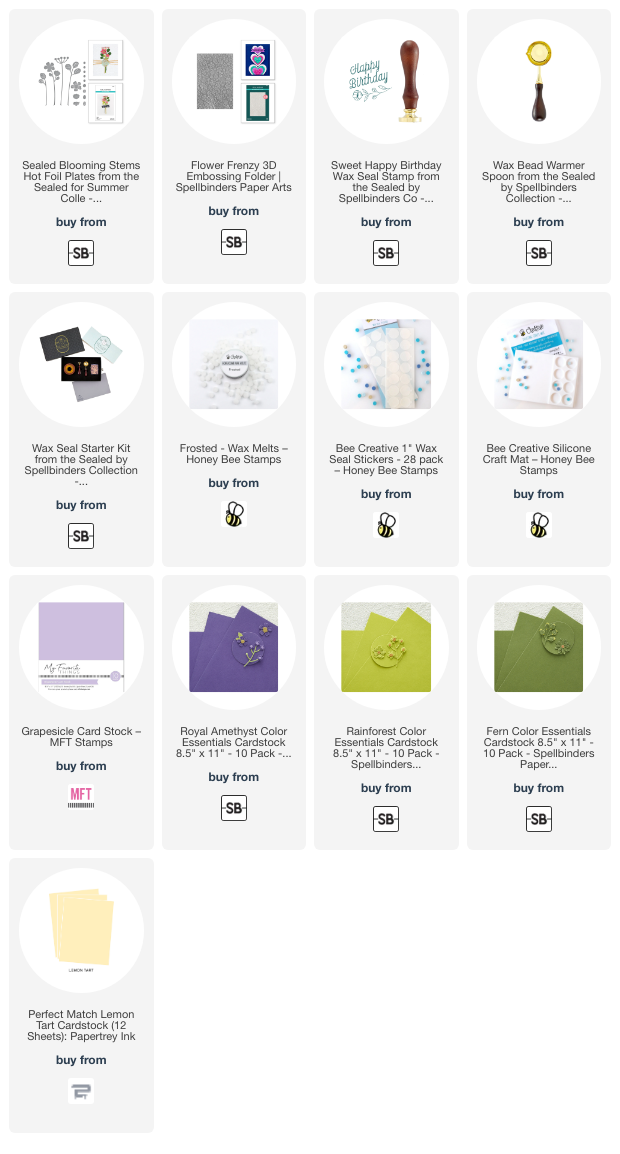
First I created the stems and flowers by die cutting all of the pieces in the Seal Blooming Stems set from colored cardstock.  I have all of the cardstock I used in the list below.  Using colored cardstock makes it super easy and quick to create the elements for a card.  I didn't even add shading to the die cuts--may be a first for me!  Haha!

After I glued the layers together, I created my wax seal by melting some frosted wax beads.  I just use my heat tool to melt wax beads in the melting spoon.  So much faster!  I poured the melted wax onto my silicone mat and pressed the Sweet Happy Birthday wax seal stamp into the wax.  Once it had cooled, I used a gold pen to highlight the sentiment and flower.

For the A2 card base and layers, I added a dark violet layer to the card.  I had an embossed piece leftover from a previous project that I used for the next layer.  It was embossed with the gorgeous Flower Frenzy 3D embossing folder and measures 3" x 4".

I glued the Blooming Stems onto the embossed layer.  Then I added an wax seal sticker to the back of the wax seal to adhere it to the card.

This was such an easy card to make and I really love how it turned out!  I hope you do too!  Thanks so much for stopping by today!

Thank you for using my affiliate links to shop (never any additional cost to you)!

Saturday, April 15, 2023

Four Easy & Beautiful Cards with Spellbinders Floral Friendship Collection

Hello crafty friends!  Today I'm sharing four cards I made with elements from the new Spellbinders Floral Friendship Paper Suite.   I was able to make these four beautiful cards using just three of the seven products available in this collection.  And the awesome thing is, I could have made so many more cards with all of the products I have leftover.  I just ran out of time!  LOL!

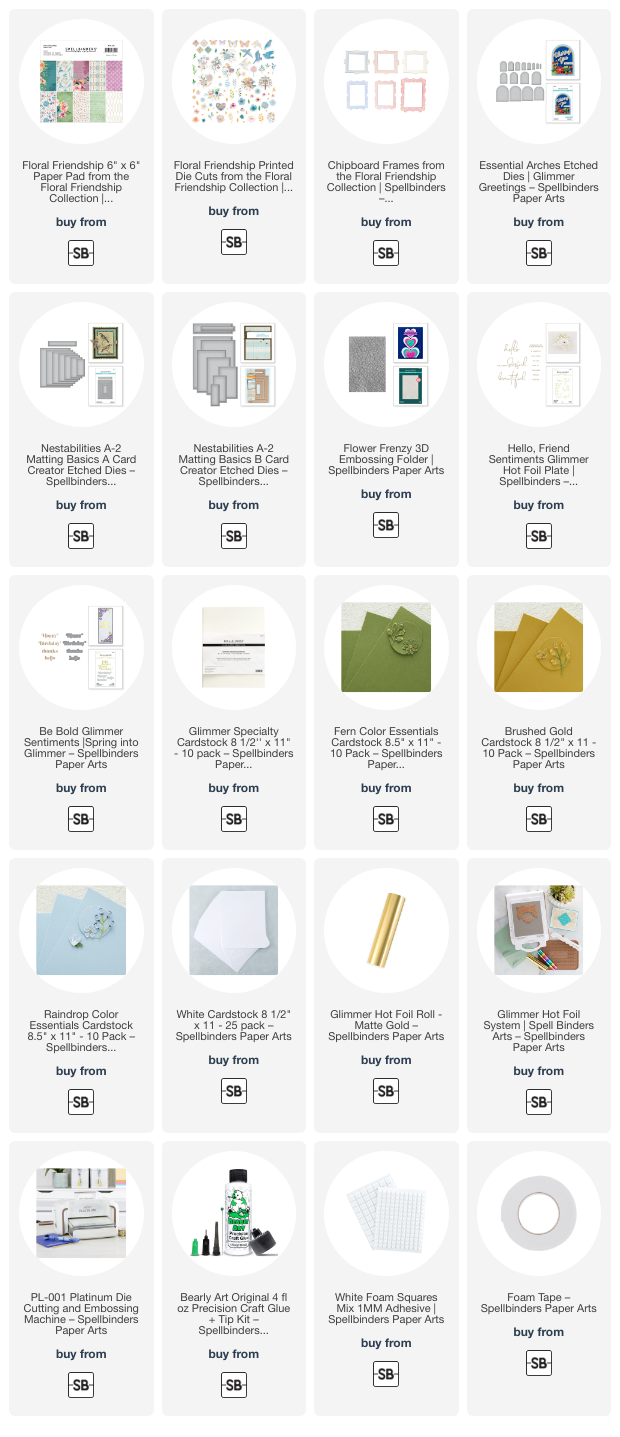
I used different elements of the Floral Friendship paper pad, Printed Die Cuts, and the Chipboard Frames on each of the following cards.  I have a complete supply list at the end.

I used just a few basic supplies to make these cards such as the Matting Basics A and Matting Basics B die sets.  These make creating the perfect layers so easy!  Another basic shape die I used is the Essential Arches, which you will see on this first card.

Before I began to assemble these cards, I chose two different hot foil plates sets and used my Glimmer Hot Foil System to foil all of the sentiments in each set with Matte Gold Glimmer Foil.  This way, as I created the cards, I would have several different sentiments to choose from!  For this card I added a sentiment from the Hello, Friend Sentiments hot foil plates.  (Note: if you've not tried Spellbinders Glimmer Specialty Cardstock for your foiling, I highly recommend it.  I has a super smooth surface that gives flawless foiling!)

Of course, if you don't have the supplies for hot foiling, just use those wonderful stamps you have for your sentiments!!

I used a piece of the Floral Friendship paper pad and coordinating green cardstock to create the layers with the Essential Arches dies.

I also saved time by using the beautiful Flower Frenzy 3D embossing folder on two of the cards.  The card above and this next one!

I added matte gold foil layers to coordinate with the gold on the Printed Die cuts I used.  The Chipboard Frame looks so pretty with the butterfly die cut.  I love how the pack of Printed Die Cuts includes small embellishments like the flower and heart near the sentiment that can be used for a bit of bling!

The next two cards have sentiments from the Be Bold Glimmer Sentiments in Matte Gold Glimmer Foil.

The papers in the Floral Friendship paper pad are absolutely gorgeous!!  I used one piece of paper to create this card.  The flowers are actually printed on the left side of the paper so I was able to trim a rectangle to adhere behind the frame and then use what was left as the background layer!


More matte gold cardstock for the layer coordinates with the gold on the flowers, sentiment and butterfly!


There are several beautiful birds in the Printed Die Cuts set and this sweet bird coordinates very nicely with the patterned paper and floral elements I chose!  The matted blue layer and patterned paper were die cut with the Matting Basics A and B die sets.  I also used these dies to die cut the layers on the previous card.

I absolutely love how these cards turned out and hope you do too!  I think the Floral Friendship collection would be so fun to create cards with a church group or even a non-card making group of friends.  Who knows, you might just convert some friends into card makers!

Thank you so much for stopping by!  Have a wonderful and crafty weekend!!

Thank you for using my affiliate links to shop (never any additional cost to you)!