Showing posts with label Sealed Blooming Stems. Show all posts

Saturday, March 22, 2025

Sending Love, Just Because I Care

Today I'm sharing my card I made with the Spellbinders' BetterPress Club Kit for March.  This beautiful press plate is called Quilted Memories and I love the more generic design so I can use it with different styles of cards!

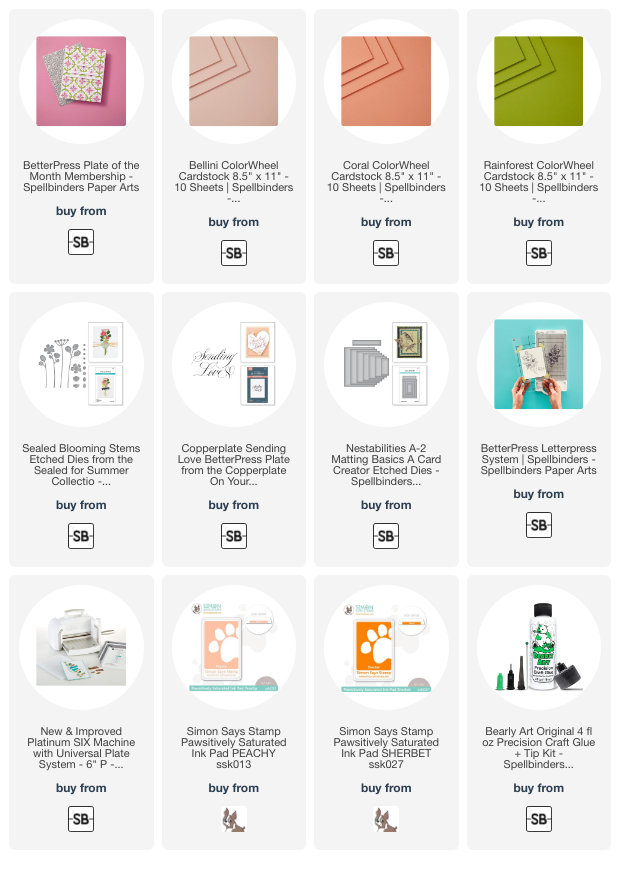
I decided to use the Quilted Memories Press Plate with coordinating cardstock and ink for a subtle tone-on-tone background.  I used a piece of Bellini cardstock and inked up the press plate with a coordinating peachy color ink.  After running it through my BetterPress Letterpress System, I trimmed it to 4" x 5-¼" and glued it to an A2 card base.

I used the Sealed Blooming Stems die set and die cut the pieces from BelliniCoral and Rainforest cardstocks.  Before I glued the layers together, I inked up the flower edges and under layer with a darker peachy ink.

The main sentiment is the Copperplate Sending Love BetterPress letter press plate.  The March BetterPress club kit includes two sub-sentiments and I chose one to go along with the other sentiment.  They both are pressed onto Porcelain cotton card with BetterPress black ink.  I cut the main sentiment with a rectangle die from the A2 Matting Basics A set and the small sentiment with the die that is included in the BetterPress Club Kit.

I added foam tape to the back of both sentiments and adhered the Sending Love first.  Then I arranged the flowers and adhered them with glue.  I finished up by adding the other sentiment as shown.

If you have never checked out Spellbinders' Club Kits, I would encourage you to do so.  There is a club for several different products if you aren't into press plates.  Also you can cancel at any time!  

Thanks so much for stopping by!  

Thank you for using my affiliate links to shop (never any additional cost to you)!
Thursday, February 8, 2024

Spellbinders Beautiful February 2024 Embossing Folder of the Month

The Spellbinders' February Embossing Folder called "Swirling Blooms" is part of their amazing club kits, and I love it!  I created a simple, sweet and so pretty get well card -- keep reading for the details!

I used my brayer to ink up the smooth side of the Swirling Blooms embossing folder with a lovely shade of teal ink.  I placed 80# Neenah inside and ran it through my Platinum die cutting machine.  I love how this shows off the beautiful embossed detail!

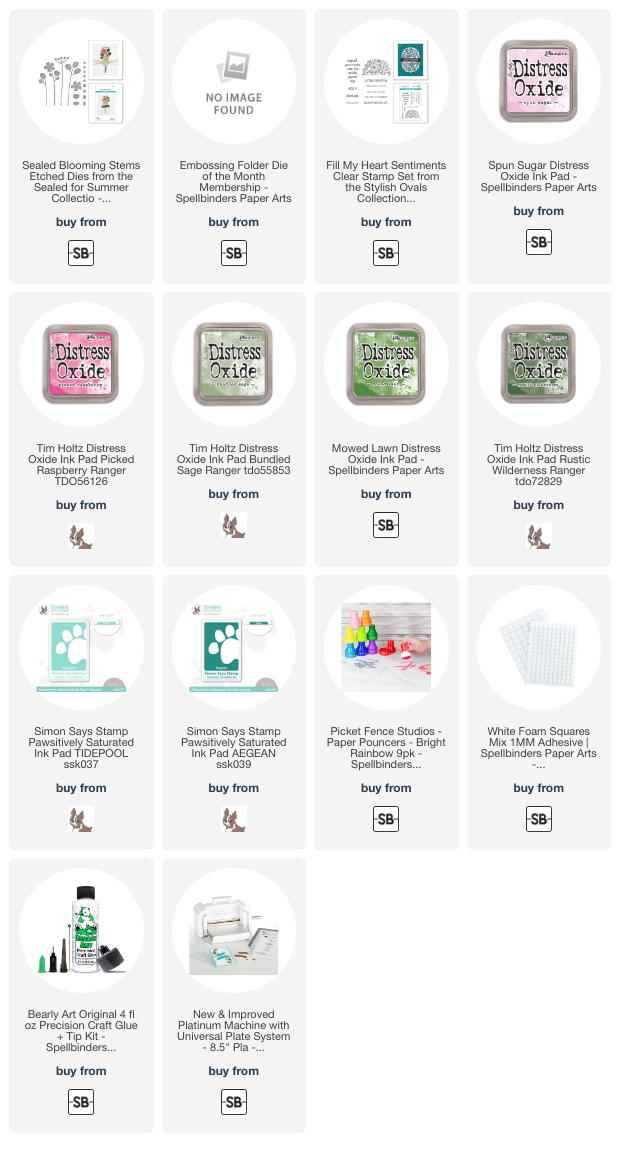
Next I die cut white cardstock with the die in the Sealed Blooms Stems die set.  I used these awesome Paper Pouncers to color them with a few different inks (listed below).

I adhered the arranged blooms with glue and some small foam squares.

The sentiment is from the Fill My Heart Sentiment set and stamped in a darker teal ink.  After I trimmed it into a strip, I used foam tape strips to adhere it to the card.

I hope you will check out all of the monthly Club Kits by Spellbinders.  I love the broad selection of club kits that suit everyone's favorite product!

Thank you so much for using my affiliate links to shop (never any additional cost to you)!

Saturday, June 17, 2023

Birthday Card and Wax Seals

Today I'm sharing a card that features Spellbinders new Sealed Blooming Stems die set from the new Sealed For Summer collection!  I added a fun wax seal to the card in lieu of stamping a sentiment.  (P.S.:  I just noticed that as of the date of this blog, the product title describes these as "hot foil plates".  They are not!)

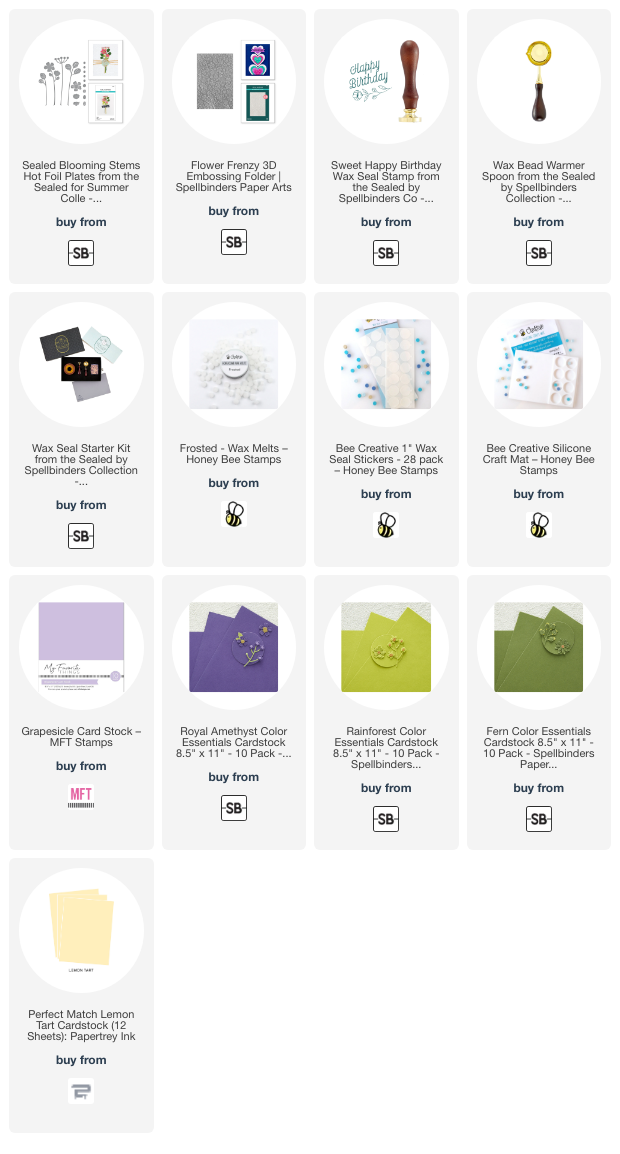
First I created the stems and flowers by die cutting all of the pieces in the Seal Blooming Stems set from colored cardstock.  I have all of the cardstock I used in the list below.  Using colored cardstock makes it super easy and quick to create the elements for a card.  I didn't even add shading to the die cuts--may be a first for me!  Haha!

After I glued the layers together, I created my wax seal by melting some frosted wax beads.  I just use my heat tool to melt wax beads in the melting spoon.  So much faster!  I poured the melted wax onto my silicone mat and pressed the Sweet Happy Birthday wax seal stamp into the wax.  Once it had cooled, I used a gold pen to highlight the sentiment and flower.

For the A2 card base and layers, I added a dark violet layer to the card.  I had an embossed piece leftover from a previous project that I used for the next layer.  It was embossed with the gorgeous Flower Frenzy 3D embossing folder and measures 3" x 4".

I glued the Blooming Stems onto the embossed layer.  Then I added an wax seal sticker to the back of the wax seal to adhere it to the card.

This was such an easy card to make and I really love how it turned out!  I hope you do too!  Thanks so much for stopping by today!

Thank you for using my affiliate links to shop (never any additional cost to you)!