Showing posts with label die cutting. Show all posts

Friday, May 31, 2024

You Make It Shine!

 Hi crafty friends!  Today I'm sharing my card featuring Picket Fence Studios beautiful Sweet Summer Bellflowers stamps and Sweet Summer Bellflowers dies.  I absolutely love this sentiment that is part of the stamp set!

This is the shortest blog post I think I've ever done.  But for good reason!  I am into the 2nd day of being at the Nashville Craft retreat!  So fun!

I have a reel on my Instagram that shows a lot of the details of creating this card with these beautiful stamps and dies!  I hope you will watch and leave me a comment there!

I used a handful of Copic markers to color the flowers.  The colors are shown in my Instagram reel! 😊

I really do appreciate you stopping by for a look!!  Have a wonderful, and very crafty, weekend!

Thank you for using my affiliate links to shop (never any additional cost to you)!

Saturday, May 4, 2024

Fresh Picked Angel Trumpets Birthday Card

Hello crafty friends!  Today I'm sharing my card featuring the beautiful Fresh Picked Angel Trumpets die set by Spellbinders.  This is one of the sets in the new More Fresh Picked Collection.

I've also used some of Spellbinders glitter cardstock for the flowers and the background layer of the card.  The only ink used on this card is where I added green ink for shading on the leaves die cut!

I die cut the flower pieces from two shade of blue glitter cardstock.  The smaller pieces are die cut from yellow and more green cardstock.  The assembly is easy and I used glue for this step.

I used a sentiment from the Be Bold Glimmer Sentiments that I had saved from a previous project.  I popped it up with some foam squares for a bit of dimension.

I just love the Fresh Picked Collections and how the die fills up an entire A2 card front!  Thank you for stopping by today!  I hope you have a wonderful, and crafty weekend!

Thank you for shopping with my affiliate links (never any additional cost to you)!

Wednesday, April 17, 2024

A Floral Shaker Card for Your Friend With A Mailable Card Stand

Hello crafty friends!  Today I'm sharing my shaker card that features Honey Bee Stamps new Squared Spring Florals stamps, Honey Cuts, and coordinating coloring stencils.  I love the design of this stamp with the flowers spilling from the upper left corner! I've also made a card stand with the new Ornate Card Stand Honey Cut that can be mailed with the card! How fun it would be to receive a card with a matching stand to display it? Read on for all of the details.

First I used the Squared Spring Florals stencil set and blender brushes to color the image.  I used Distress Oxide inks in the colors of Abandoned Coral, Peacock Feathers, Squeezed Lemonade, Mowed Lawn, and Rustic Wilderness. Then I placed the piece into my MISTI and centered the Squared Spring Florals stamp over the image. I stamped it with Intense Black ink.

The Squared Spring Florals Honey Cuts have dies for all of the sentiments as well as a die to cut out the floral image and a die to cut out just the center square. So many options! As you can see from the photos, I just used the center square die to cut the opening for my shaker window. After I added a piece of acetate to the back of the opening, I added The World's Best foam tape around the opening and all of the edges. I sprinkled in my sequins and closed the opening with another piece of acetate. This makes it easy to adhere the card to your card base.

After I stamped the sentiment in black ink and cut it out with the coordinating die, I used Bee Creative Glue to adhere it to the shaker window. I added pretty yellow gems from the Let's Party Gem Stickers.

Next I die cut the Ornate Card Stand from some coordinating teal cardstock. Since I've had this Gilded Distress Foundry Wax for quite some time (and have NOT even tried it!) I thought I'd add some gold touches to the stand. I followed the directions on the bottle and added the wax with an old paint brush. TIP: I held the brush almost sideways to the cardstock to lightly brush it on in a more natural looking way. To set the wax, you use your heat tool over it and it becomes so pretty and shiny!

This was super fun to make! It was so easy and quick, that I am going to try to make more to send with the cards I mail. This next photo shows how pretty it looks with the card!

I hope you've enjoy my post today and have been inspired to try out the Ornate Card Stand for your cards! Thanks so very much for stopping by!

Thank you so much for shopping with my affiliate links (never any additional cost to you)!

Thursday, February 8, 2024

Spellbinders Beautiful February 2024 Embossing Folder of the Month

The Spellbinders' February Embossing Folder called "Swirling Blooms" is part of their amazing club kits, and I love it!  I created a simple, sweet and so pretty get well card -- keep reading for the details!

I used my brayer to ink up the smooth side of the Swirling Blooms embossing folder with a lovely shade of teal ink.  I placed 80# Neenah inside and ran it through my Platinum die cutting machine.  I love how this shows off the beautiful embossed detail!

Next I die cut white cardstock with the die in the Sealed Blooms Stems die set.  I used these awesome Paper Pouncers to color them with a few different inks (listed below).

I adhered the arranged blooms with glue and some small foam squares.

The sentiment is from the Fill My Heart Sentiment set and stamped in a darker teal ink.  After I trimmed it into a strip, I used foam tape strips to adhere it to the card.

I hope you will check out all of the monthly Club Kits by Spellbinders.  I love the broad selection of club kits that suit everyone's favorite product!

Thank you so much for using my affiliate links to shop (never any additional cost to you)!

Monday, May 22, 2023

Vintage Is In! A Totally Masculine Birthday Card

Do you need a quick and easy masculine card?  This one is totally masculine!!  It features several of Honey Bee Stamps new products from the Adventure Awaits release.  This card did not take me long to make and that's always a bonus for me!

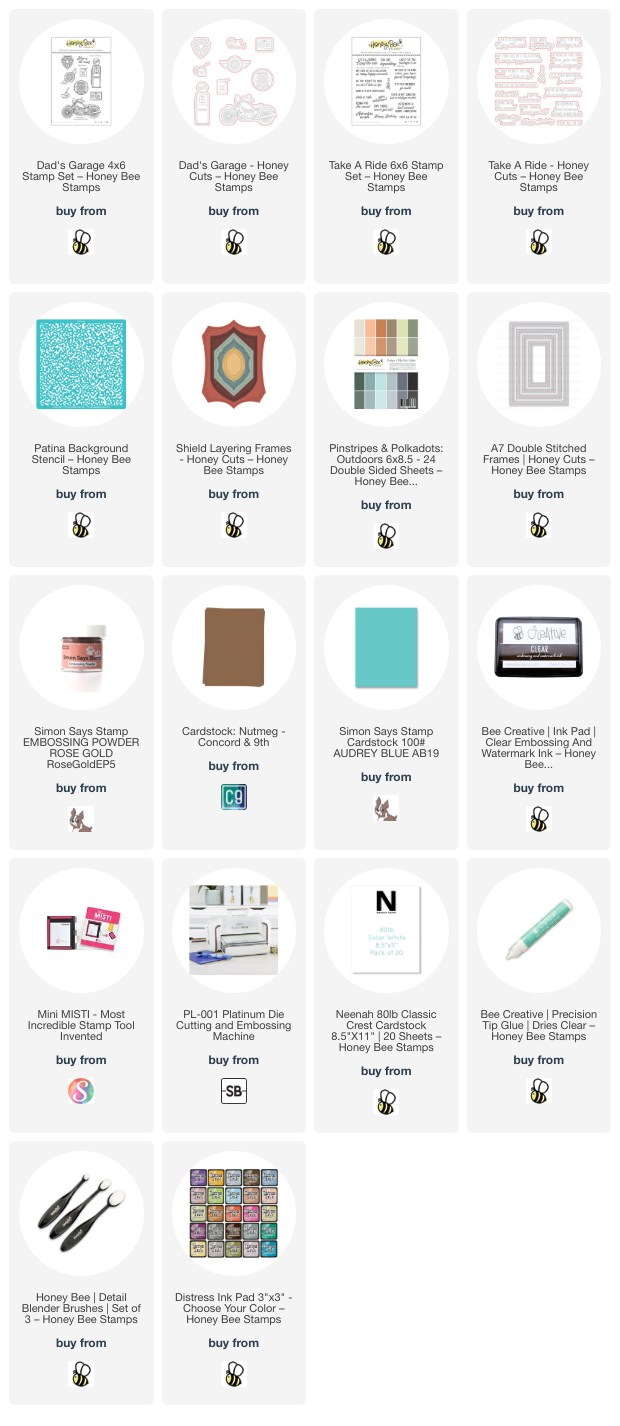
First I made two pieces using the new Patina Stencil.  I die cut brown cardstock (all product links are below) with the A7 Double Stitched Frames die.  The stencil doesn't cover the entire piece but you can't tell that at all.  The Clear Embossing Ink I stenciled through is very subtle.  (I used a new Paper Pouncer to add the clear ink through the stencil!  Makes it SO easy!)

Next I added more embossing ink through the stencil onto teal cardstock.  I added rose gold embossing powder and heat set it.  I die cut that piece and the striped paper (the new Pinstripes & Polka Dots: Outdoors paper pad) with dies from the Shield Layering Frames set.  I blended on some Brushed Corduroy Distress ink around the teal layer for more of a vintage look.

I added the layers to an A7 card base.  Then I stamped the motorcycle and the sentiments with clear embossing ink and heat set the rose gold embossing powder.  These are found in the Dad's Garage and Take A Ride stamp sets.  There are coordinating Dad's Garage and Take A Ride dies to cut them out!  Be sure to check out all of the awesome sentiments in the Take A Ride stamp set.

I added foam tape to the motorcycle and sentiments to pop them up on the card.


And just like that, you have a fabulous masculine card!  Be sure to check out all of the other amazing things in the Adventure Awaits release.  Thank you so much for stopping by!

Thank you very much for using my affiliate links to shop (never any additional cost to you)!

Thursday, March 16, 2023

Three Vintage Style Cards with Flea Market Finds Collection by Cathe Holden

Hello my crafty friends!  I'm thrilled to be a guest blogger over on the Spellbinders' Blog today!   

I made three cards that feature the beautiful new Flea Market Finds Collection by Cathe Holden!  Check out the entire collection in the Spellbinders shop.

The details for each of these cards are over on the Spellbinders' Blog.  I'd love for you to pop over and leave a comment for me over there!  Have a wonderful and crafty day!


Friday, February 10, 2023

New Spellbinders Four Petals Collection

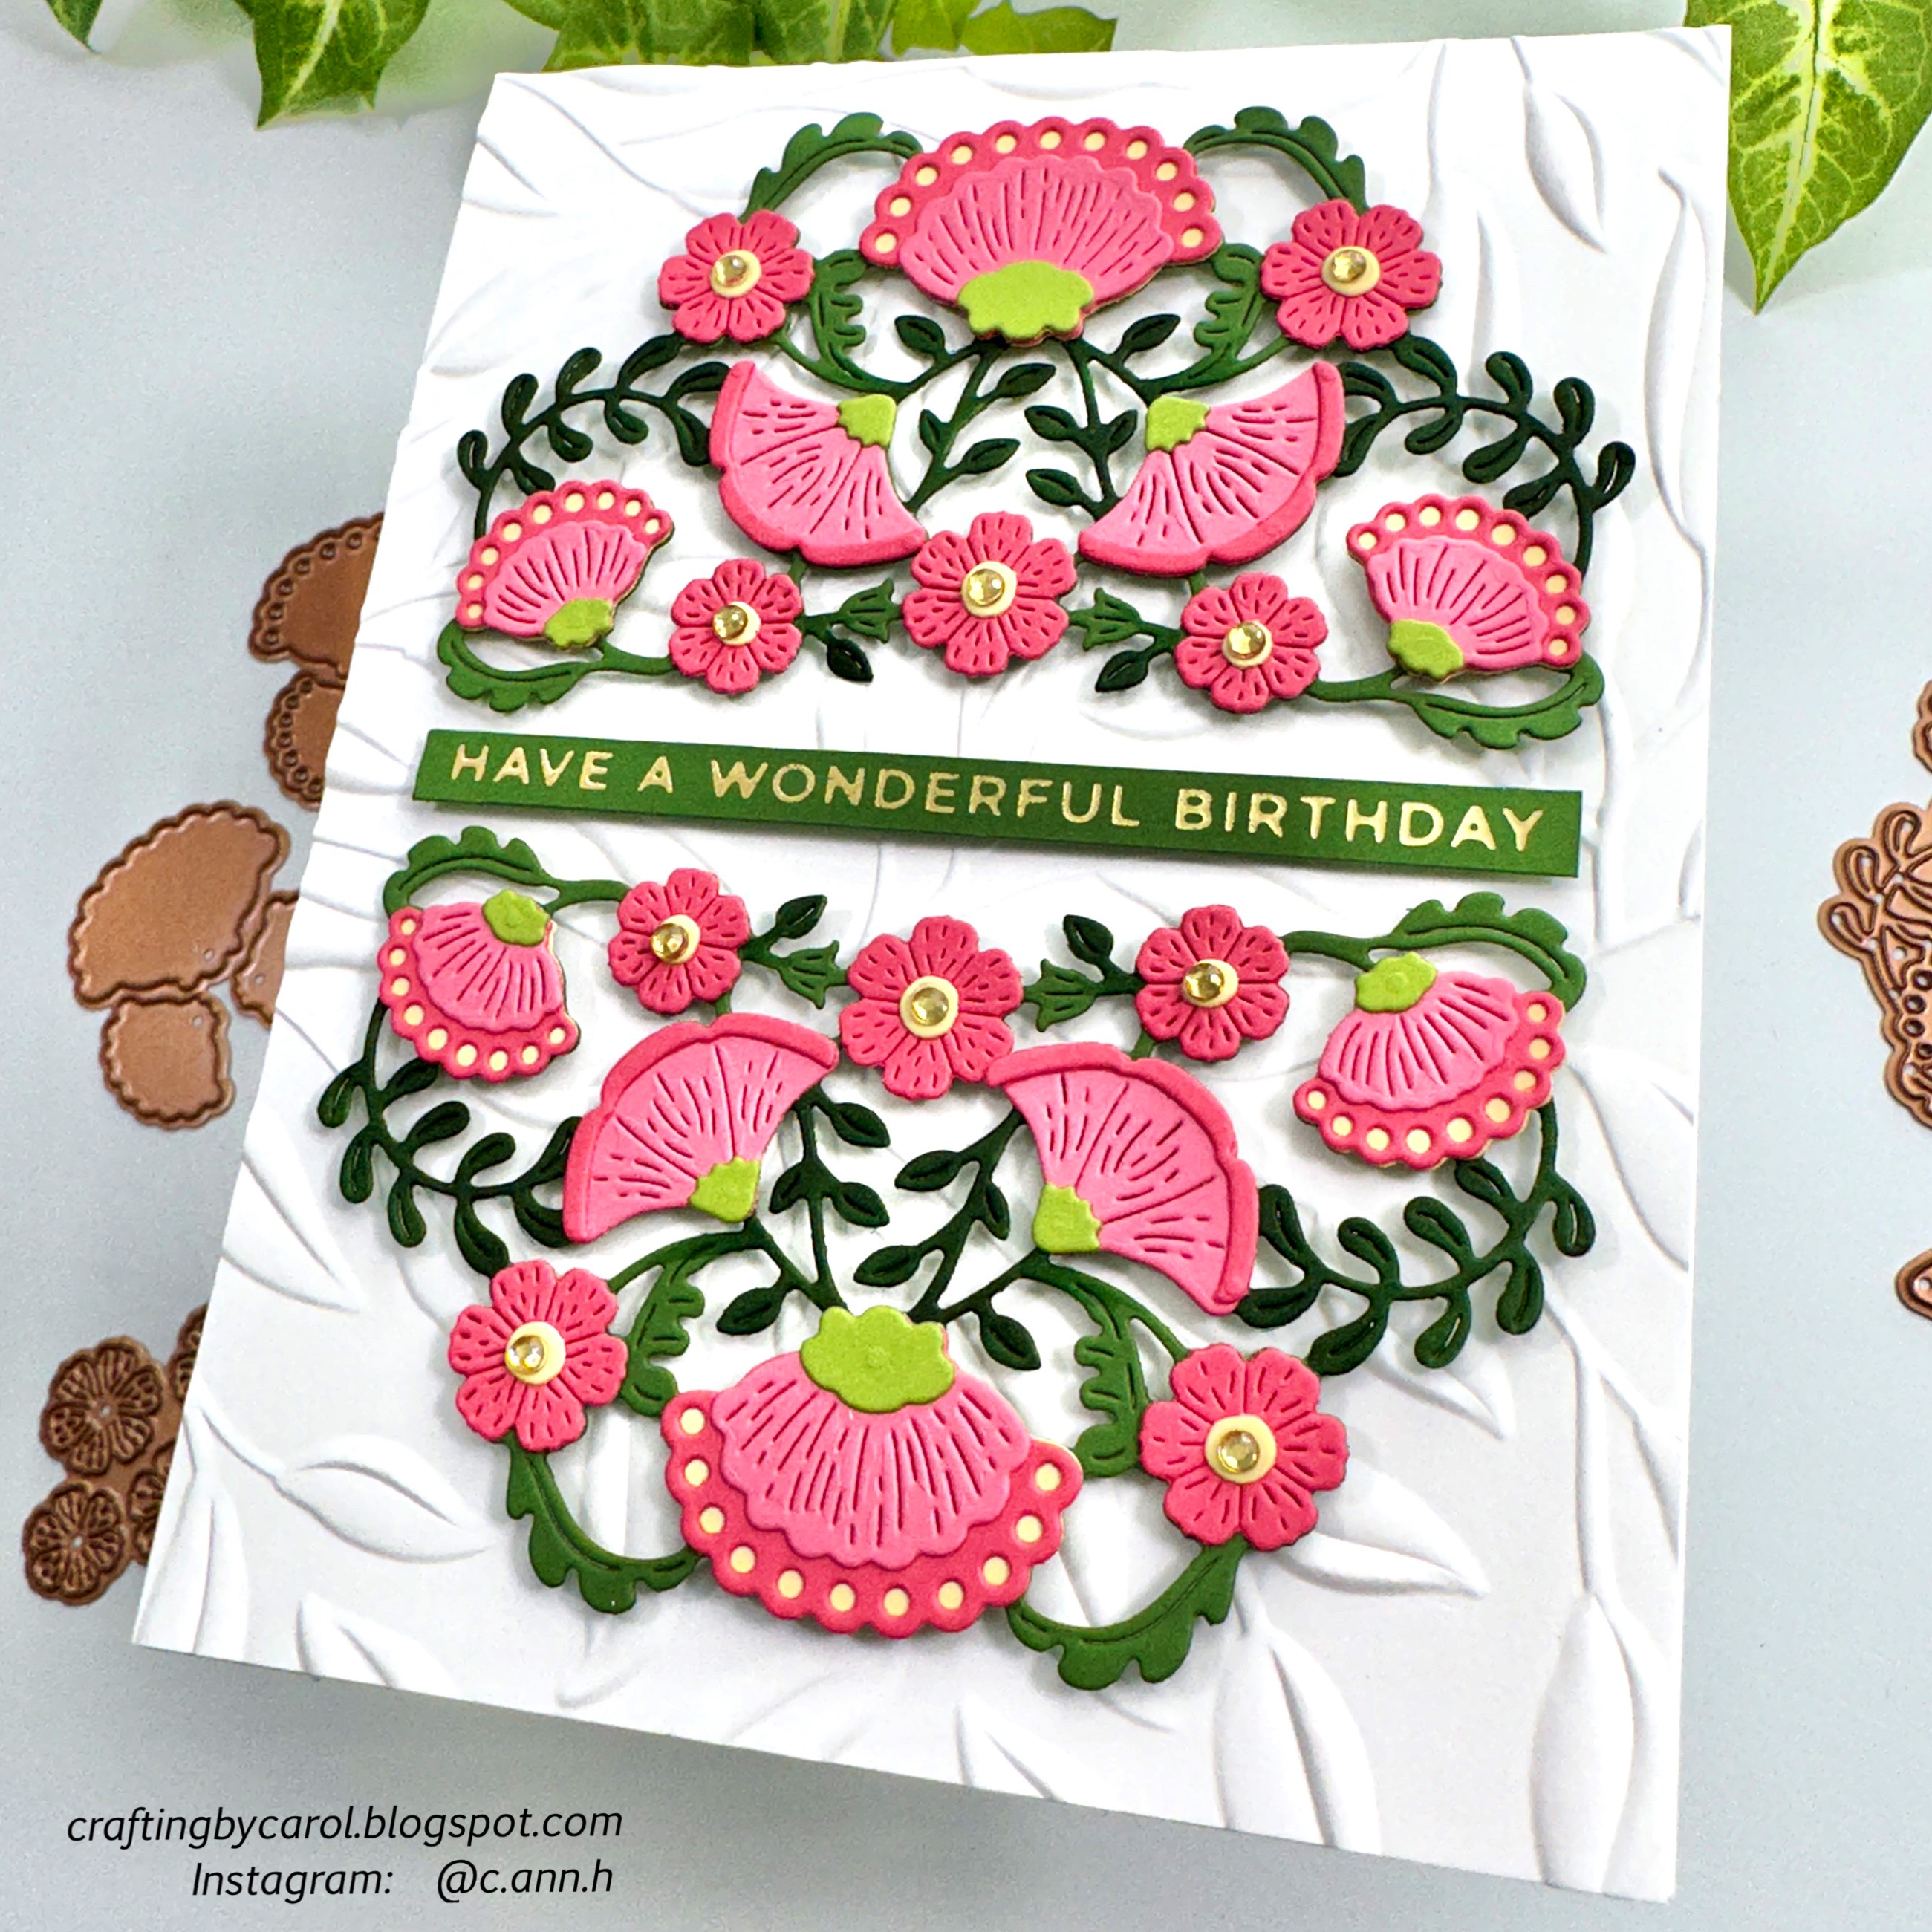
Today Spellbinders is releasing the gorgeous Four Petal Collection and my card features the Four Petal Blooms Reflection dies.  I have always loved die cut elements and this one is a beauty! 

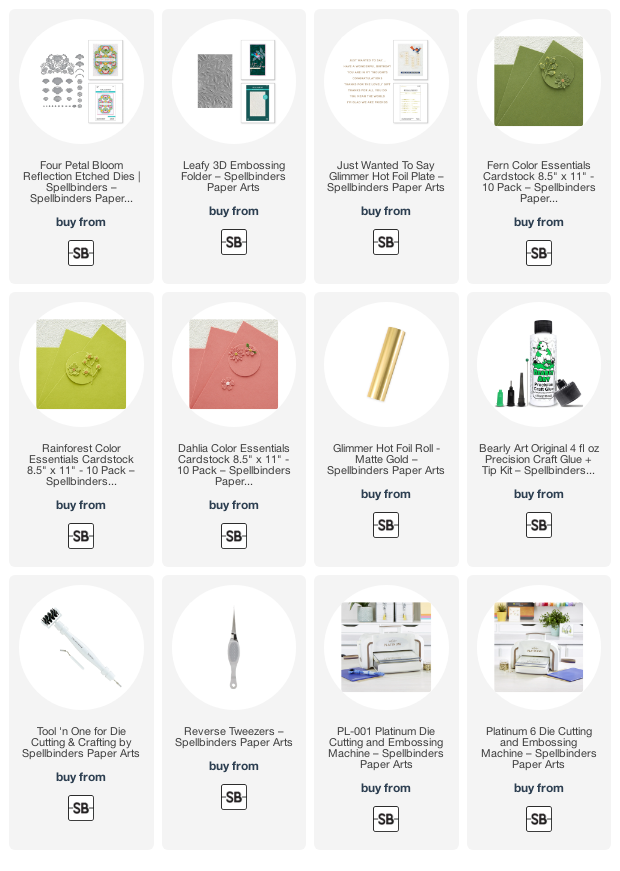
I used a few different colored cardstocks (in the list below) by Spellbinders.  I have recently tried their cardstock and really love the quality and variety of colors.

After I die cut the various elements from the Four Petal Reflection set two times each, I used reverse tweezers and a pick up tool to glue everything together.  I used glue that has a fine tip and the one in the list is my most favorite that I use!  Using these tools really makes the assembly very easy.

The photo above shows the pieces as they are partially assembled.  I used a darker green Copic marker to color some of the leaves to create more interest.

I adhered both complete pieces to my card base.  The background layer of the card is 80# Neenah embossed with the Leafy 3D Embossing  Folder.

I used my Glimmer Hot Foil System to foil matte gold foil onto Fern cardstock.  The sentiment is from the Just Wanted to Say Glimmer set.  After I trimmed it into a strip, I popped it up on the card with a foam tape strip.  A few sparkly gem stickers adds some pretty bling to the card!

Be sure to check out the complete Four Petal Collection--there are so many beautiful products!  Thank you so much for stopping by!!!

Thank you very much for using my affiliate links for shopping (never any additional cost to you).

Wednesday, December 21, 2022

Sparkling Winter White Poinsettias Card

Hello crafty friends! Today I'm sharing my monochromatic winter card that features the Lovely Layers: Poinsettia Honey Cuts with lots of gorgeous sparkles! I love adding sparkles to cards anytime I can get away with it! Haha!

For the card base, I used a Detail Blender brush to add Stormy Sky Distress Oxide just around the edges of the folded card base. Then I used one of the papers that comes in the current "FreeBee" paper pack (free with a qualifying purchase). I used Bee Creative glue to adhere it to the card base.

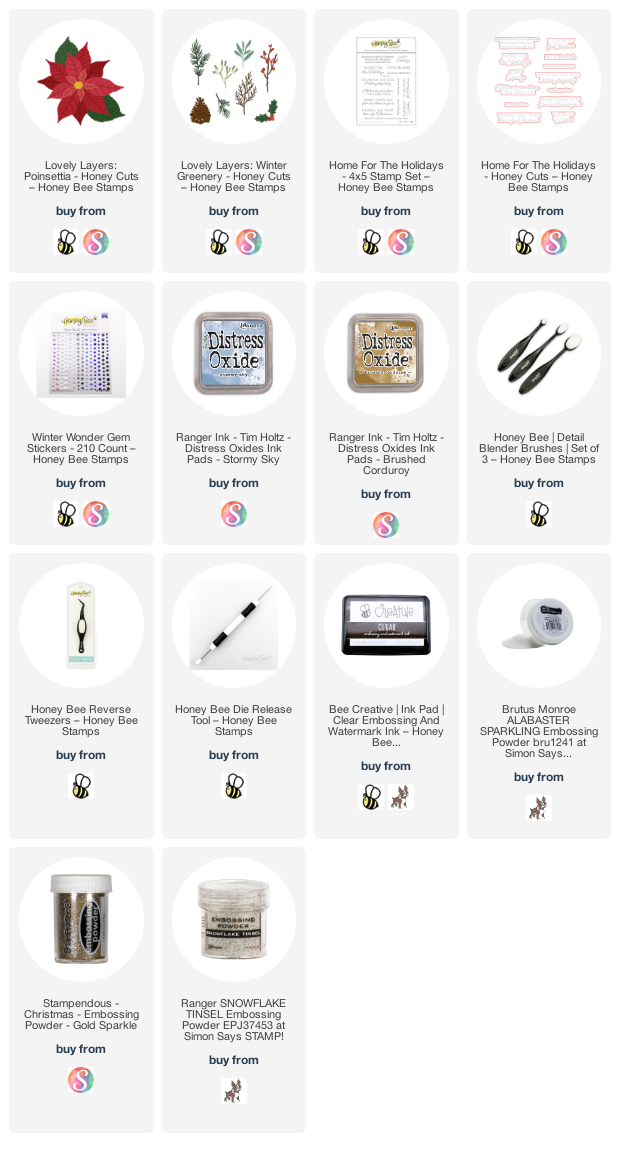
Next I die cut the Lovely Layers: Poinsettia and Lovely Layers: Winter Greenery (pine sprigs, branch, and berries) from 80# Neenah. To add the sparkle to the poinsettia, I used an embossing dabber and swiped it along the edges of the petals. Then I added some embossing powder that I've had in my stash forever (and I just learned it is now discontinued) but I think that this sparkly gold embossing powder would be beautiful too.  I also linked a few at the end of my supply list below that would be very pretty!  I heat set the powder and repeated the steps for each layer of the poinsettia. I used glue to adhere the layers together.

Before I embossed the leaves and berries, I colored them with some Stormy Sky Distress Oxide using a Detail Blender brush. I repeated the embossing steps. My reverse tweezer made this easy and also protected my fingers from the heat!

I quickly colored the twigs with a blender brush and some Brushed Corduroy Distress Oxide.

I arranged the poinsettia and other die cuts on my card. I used a piece of Press N Seal to pick up all of the stems and branches to add glue to the back. Then just replace the Press N Seal to adhere the die cuts to the card. I added glue to the poinsettia to adhere it. Then I tucked in the leaves with some glue. To add more dimension, I used my fingers to slightly shape the twigs, sprigs, and leaves.

Next I colored a scrap of white cardstock with Stormy Sky Oxide. Then I brushed it with my anti-static tool and stamped the sentiment from the Home For The Holidays stamp set with clear embossing ink. I added white sparkle embossing powder and heat set it. Then I used the coordinating Honey Cut to die cut it out. I popped it up with a few foam squares.

I added a few gem stickers from the Winter Wonder gem sticker set to the center of the poinsettia.

I so wish cameras would pick up the gorgeous sparkle! It's so pretty in real life. If you celebrate Christmas, I wish you the happiest of holidays! If not, have a wonderful day, and I'll see you next week after Christmas! Thank you so much for stopping by--you are so appreciated! 

Tuesday, November 29, 2022

The Magic of The Season

Happy Tuesday, crafty friends!  Today my sparkly card is featuring some beautiful paper from Rubbernecker Stamps new Festive Farmhouse paper pad!  I've coordinated it with some glittery stenciling and a sparkly poinsettia!  Read on for the details.

First I created my card base.  These are the steps:

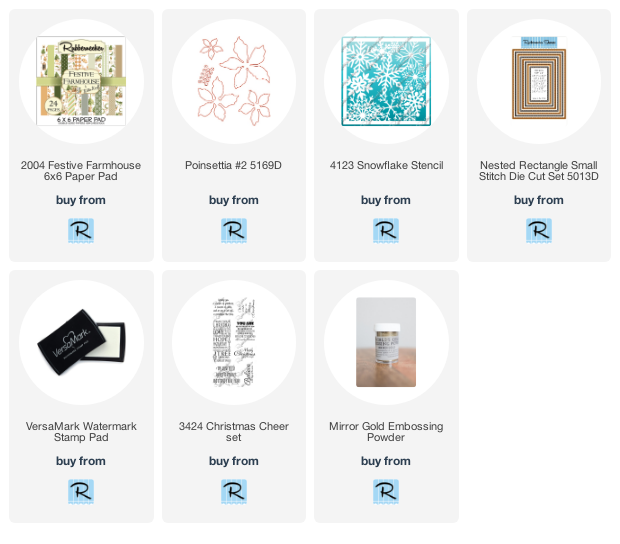
  • I used the Snowflake stencil and spread some chunky gold glitter clear glaze through it onto 110# white cardstock.  Set it aside to dry.
  • Die cut patterned paper from the Festive Farmhouse paper pad with the largest Nested Rectangle Small Stitch die.
  • Partially die cut the dry stenciled panel with the same Rectangle Stitch die.  Adhere on top of the patterned paper die cut.
  • Adhere the layer to an A2 card base.
  • Cut some dark green paper from the Festive Farmhouse paper pad into a narrow strip and adhere to the card.

  • I die cut the Poinsettia #2 from 80# white cardstock.
  • Then I used some flower shaping tools to shape all of the petals.
  • Before adhering all of the flower layers together, I used my finger to add some of the chunky glitter glaze to the petals' edges.
  • After it dried, I used liquid glue to adhere the layers together and to add it to the card.
  • The sentiment is from the Christmas Cheer Set and heat embossed with gold embossing powder.
  • I added foam tape to the sentiment to pop it up on the card.

I totally love all of dimension, sparkle and shine with this gorgeous paper!  Thank you so much for stopping by today!

Thank you for shopping with my affiliate links (never any additional cost to you).

Saturday, October 15, 2022

3D Vignette Pet House by Spellbinders

Hello friends!  Today I'm sharing a beautiful and fun kind of project.  This features the new 3D Vignette Pet House die set by Becca Feeken for Spellbinders.  This fun project folds flat to fit into a padded envelope for a fun and unique surprise for the recipient!
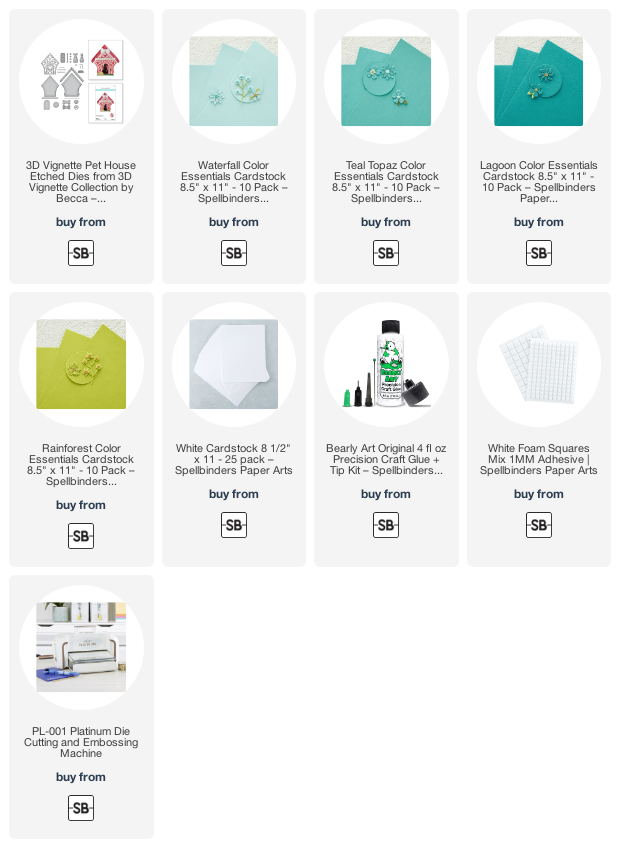
I followed the included layering directions (downloadable PDF on the Spellbinders' site) and die cut the pieces from a few shades of teal cardstock using my Spellbinders Platinum die cutting machine.  I die cut the little dog in white (after our sweet Maltese, Baxter) and also the bowl and bone.  I Copic colored the bowl with a few gray markers.  That is the only piece that I colored!!

Here's a helpful photo showing the pieces before assembly.  The roof and roof trim is already glued onto each piece as well as the dog's collar and tail.  (There's also a die for a cat for the cat lovers!) You can cut little teal scraps to fit behind the bone and the sentiment to coordinate with the other pieces!

Here's a view of the side.

This folds totally flat for mailing!  I will use a larger and padded envelope when I mail it.

I used pieces of foam tape to adhere the grass strip, bone, and the sentiment.

I hope you've enjoyed this unique project!  It's super cute and a special treat for your friends with fur babies!  Thanks so much for stopping by.  I hope you have a wonderful, and craft, weekend!

Products used for this adorable project (affiliate links, never additional cost to you)

Sunday, September 25, 2022

Nordic Ornament Christmas Cards

 Today I have two cards to share using Spellbinders' beautiful new Nordic Ornaments die set.  This set has two different ornament shapes and several extra dies to go along with the ornaments!

To die cut the different color inlays, you have to die cut the ornament twice, which gives you extra pieces for another card!

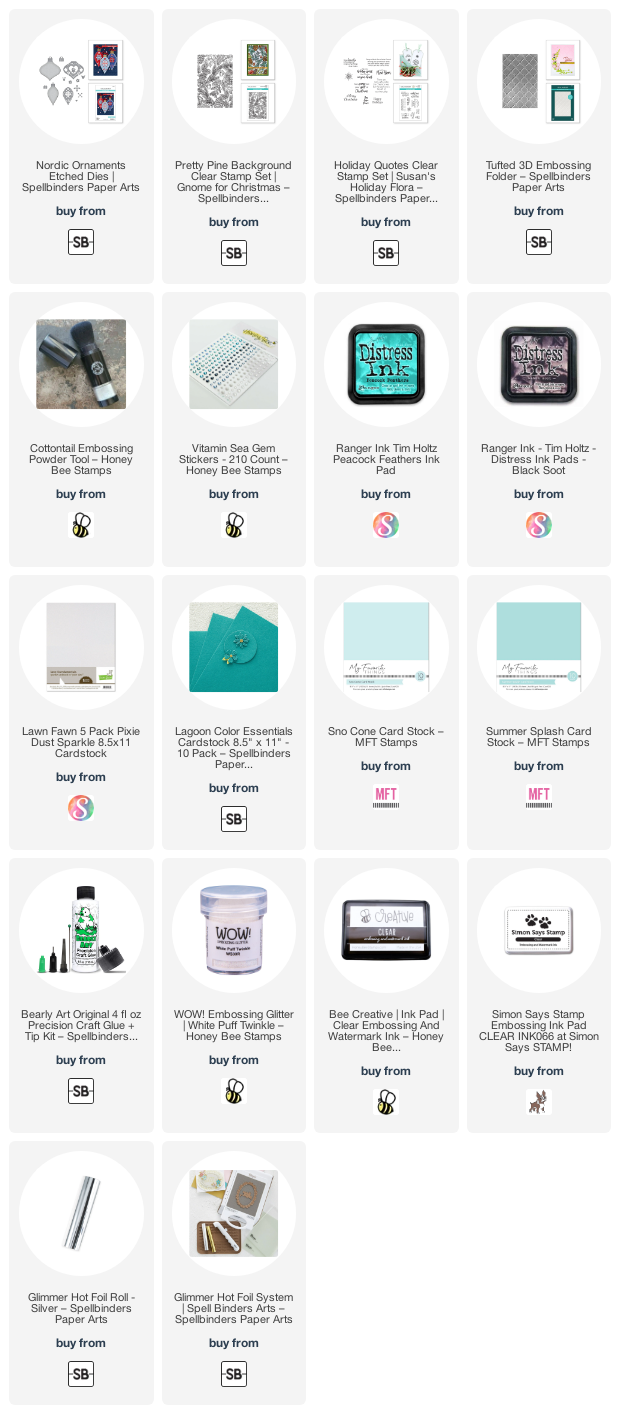
I created the background for this card by stamping the Pretty Pine Background stamp and heat embossing it with White Puff Twinkle embossing powder.  I trimmed it 3-¾" x 5-½" and adhered it to a medium teal card.

Then I die cut the ornament base from a lighter teal cardstock.  Next I used the medium teal cardstock to die cut the ornament detail die.  I cut it again from the light teal.  I used Press N Seal to secure all of the extra pieces!

I die cut the Nordic Ornament detail die once again from sparkle cardstock.  Then I used liquid glue to adhere the layers and inset pieces as shown in the photo.

I die cut the ornament top from silver mirror cardstock and glued it on.  I added a bow with some silver thread.  Then I popped it up onto the card with foam tape.

These sentiment is from the Holiday Quotes set and white embossed.  I hand cut it out and added foam tape to the back.

For this next card I used all of the extra pieces from the previous card!!  The only dies I had to cut again are the ornament base and another topper.

The first thing I die was add Glossy Accents to the reserved inlay pieces.  I set those aside to dry.  Then I created the base base by inking the edges of dark teal cardstock with Peacock Feathers and Black Soot Distress inks.

Next I used my Glimmer machine to hot foil the sentiment at the bottom of the inked panel.  This hot foil plate is one of three in the Gifts of Christmas Sentiments.

I put the foiled panel into the Tufted 3D embossing folder, making sure to leave the bottom edge hanging out to partially emboss it.  I ran it through my Platinum die cutting machine, and WOW!  I just love this embossing folder!

After I glued the pieces of the ornament together, I added foam tape to the back to pop it up on the card.  To finish I tied a little bow for the ornament and added a few gem stickers for a bit of sparkle.

Thanks so much for stopping by!  I hope you have a wonderful, and crafty, day!

Thank you if you use my affiliate links (never any additional cost to you).