Showing posts with label Snowflake stencil. Show all posts

Tuesday, July 11, 2023

Christmas in July! with new Polar Bear Friends

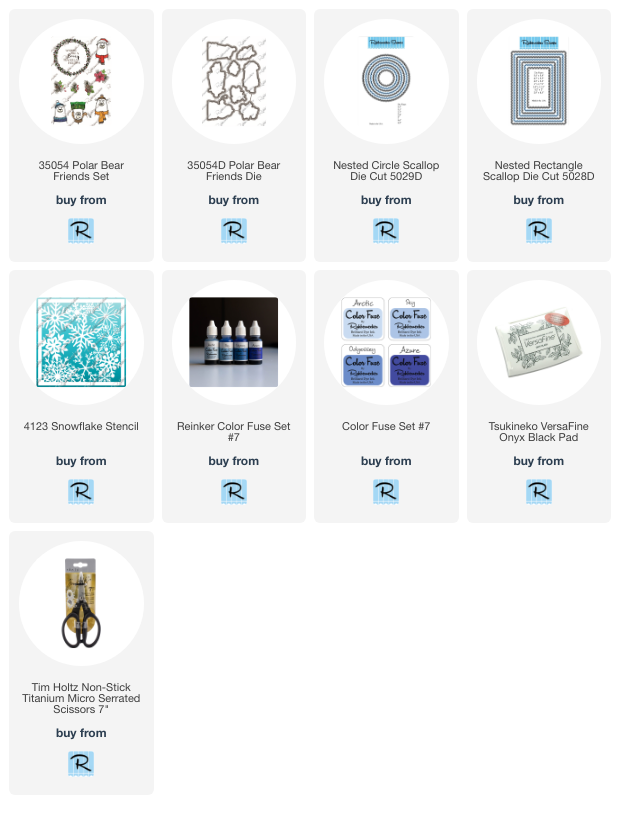
Hello friends!  Today's card features a new stamp set by Rubbernecker Stamps called Polar Bear Friends!  It's so cute and there are three other adorable polar bear faces that I didn't use!

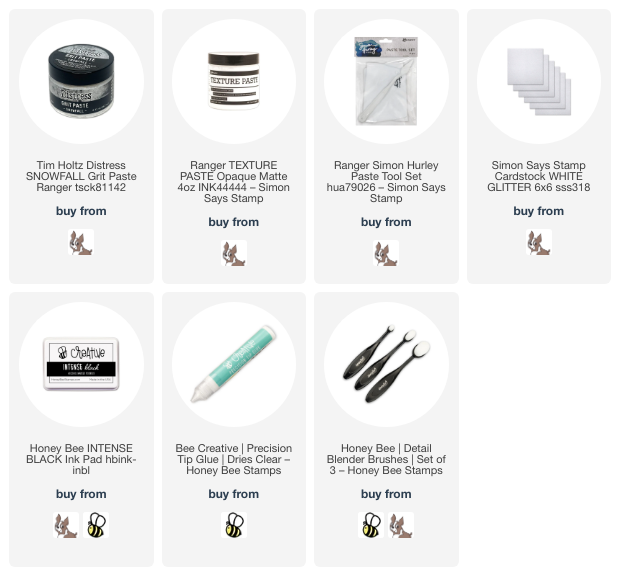
First I die cut some glitter cardstock with the largest Nested Scallops Rectangle die.  Then I mixed a drop of Sky re-inker with Snowfall Grit Paste (you can also use texture paste).  I spread that through the Snowflake Stencil onto the panel.  I set it aside to dry and washed the stencil and my tools.

I stamped the wreath and bear from the Polar Bear Friends set in Copic safe black ink.  After I colored it with my markers, I cut the bear out with the coordinating die and fussy cut the wreath.

Next I die cut 80# Neenah with the second and third largest Nested Circle Scallop dies.  I inked up the edges of the largest one with Sky ink.  I added a blue shadow in the center of the smaller circle with the same ink.

I adhered the two scallop circles together and then to the card with glue.  I popped up the wreath and bear with foam tape.  The sentiment from the Polar Bear Friends set is stamped in black ink, die cut with a Scallop Circle, and also popped up.

If you're a fan of bear stamps like I am, this Polar Bear Friends set is a great one for  your stash!  Thanks so much for stopping by!

Thank you so much for using my affiliate links to shop (never any additional cost to you)!
Tuesday, December 13, 2022

Snowflake Stenciled Winter Thank You Card

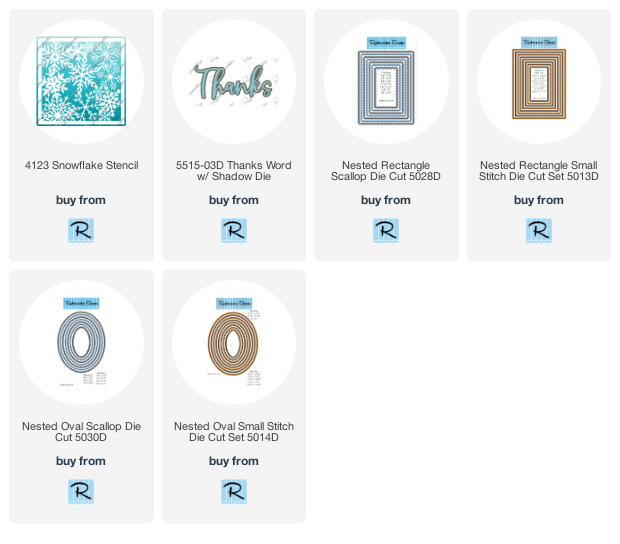
Today I'm sharing my wintery thank you card with Rubbernecker Stamps beautiful Snowflake Stencil and Thanks Word with Shadow die!  Other than the time for my texture paste to dry, this card came together very quickly!

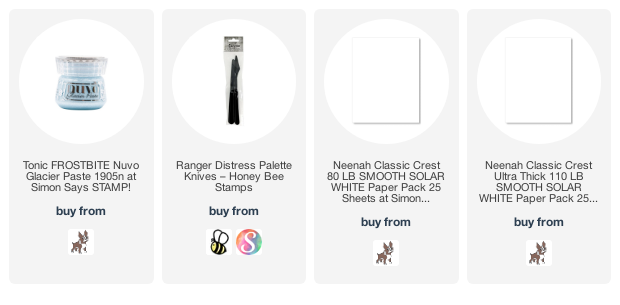
First I placed the Snowflake Stencil over some 110# Neenah white cardstock.  I spread Frostbite Nuvo Glacier paste through the stencil with a pallet knife.  I spread a bit more of the paste on some scrap cardstock in an area large enough for the Thanks Word die.  I set these aside to dry and cleaned up my tools.

I die cut a Nested Rectangle Scallop die from 80# Neenah and added foam tape to adhere it to an A2 card base.

I die cut the dry stenciled panel with a Nested Rectangle Small Stitch die and adhered it with glue.  I just LOVE the shine of the Glacier Paste!!!

The Thanks Word die sentiment shadow is die cut once from white cardstock. I die cut the work three times from white cardstock and also from the Glacier Paste piece.  I adhered these together with glue and added them to stitched and scalloped die cut ovals.

For a touch of bling I added some sequins and snowflakes I had in my stash here and there on the card!

I really think this is one of my most favorite thank you cards!!!!  Thank you so much for stopping by!!

Thank you if you choose to use my affiliate links (never any additional cost to you).

Tuesday, November 29, 2022

The Magic of The Season

Happy Tuesday, crafty friends!  Today my sparkly card is featuring some beautiful paper from Rubbernecker Stamps new Festive Farmhouse paper pad!  I've coordinated it with some glittery stenciling and a sparkly poinsettia!  Read on for the details.

First I created my card base.  These are the steps:

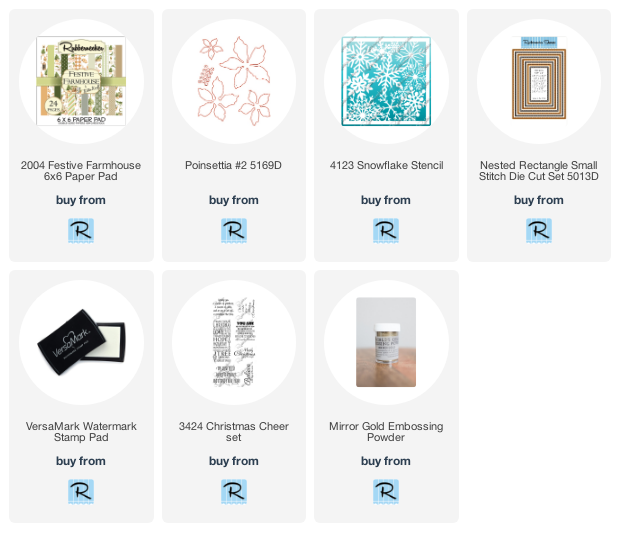
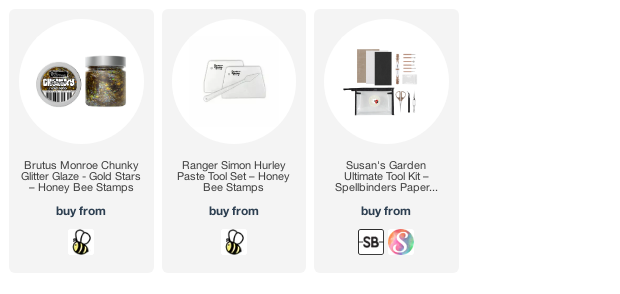
  • I used the Snowflake stencil and spread some chunky gold glitter clear glaze through it onto 110# white cardstock.  Set it aside to dry.
  • Die cut patterned paper from the Festive Farmhouse paper pad with the largest Nested Rectangle Small Stitch die.
  • Partially die cut the dry stenciled panel with the same Rectangle Stitch die.  Adhere on top of the patterned paper die cut.
  • Adhere the layer to an A2 card base.
  • Cut some dark green paper from the Festive Farmhouse paper pad into a narrow strip and adhere to the card.

  • I die cut the Poinsettia #2 from 80# white cardstock.
  • Then I used some flower shaping tools to shape all of the petals.
  • Before adhering all of the flower layers together, I used my finger to add some of the chunky glitter glaze to the petals' edges.
  • After it dried, I used liquid glue to adhere the layers together and to add it to the card.
  • The sentiment is from the Christmas Cheer Set and heat embossed with gold embossing powder.
  • I added foam tape to the sentiment to pop it up on the card.

I totally love all of dimension, sparkle and shine with this gorgeous paper!  Thank you so much for stopping by today!

Thank you for shopping with my affiliate links (never any additional cost to you).