Showing posts with label Nested Rectangle Small Stitched Die. Show all posts

Tuesday, August 15, 2023

Cute Snowman Shaker Card

Hello crafty friends!  Today I'm sharing this fun shaker card featuring a couple of newer Rubbernecker Stamps' products along with some older and still fun products.  And, one more holiday card is done!

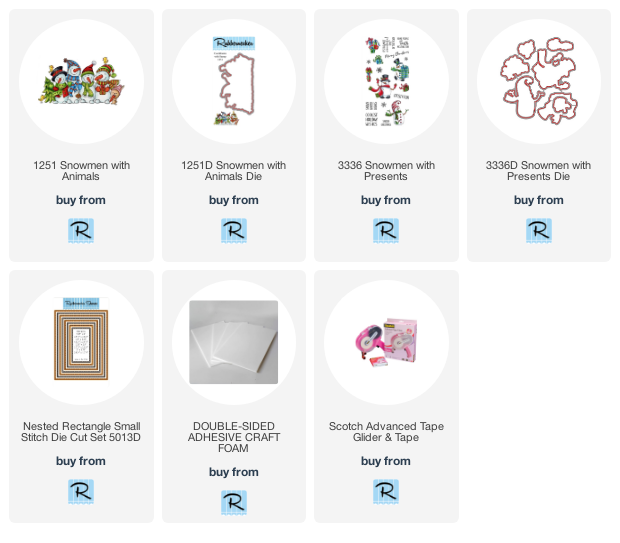
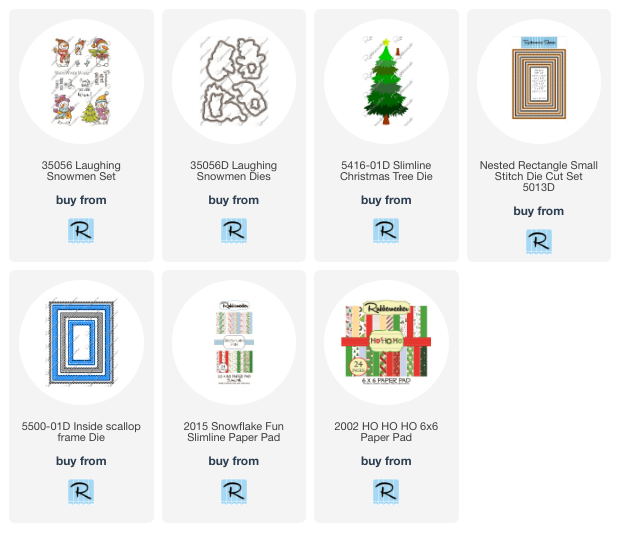
First I stamped the adorable little snowman from the Laughing Snowmen set in a very light gray ink so I could achieve a no-line coloring look.  I colored him with my Copic markers and used the coordinating die to cut it out.

This photo shows the marker colors I used:

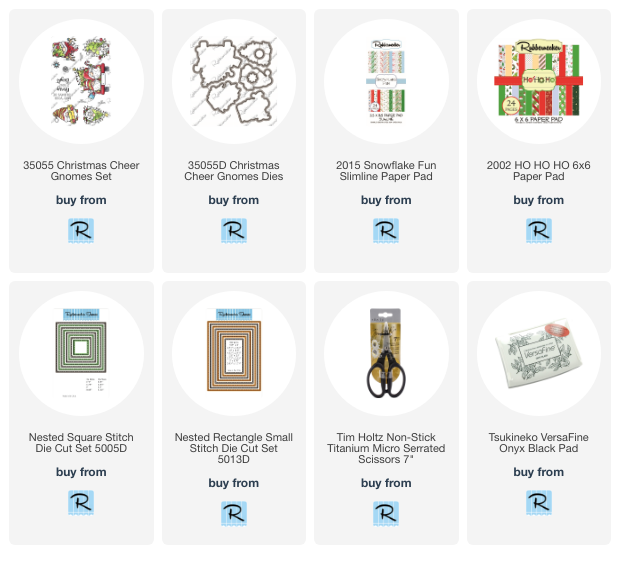
Next I die cut a rectangle opening in paper from the Ho Ho Ho paper pad with a Nested Rectangle Small Stitch die.  I trimmed this to 4" x 5-¼".  I glued a piece of acetate to the back of the patterned paper then die cut three Inside Scallop Frames to layer up with glue and then adhere around the front of the opening.

For the shaker background I die cut four layers of the Slimline Christmas Tree and adhered it off-center onto a piece of blue snowflake paper from the Snowflake Fun Slimline paper pad.  I added white dots for snow to the tree with a white gel pen.

I added foam tape to the back of the piece with the acetate.  I sprinkled in translucent Distress Mica Flakes, removed the foam tape and then adhered the piece with the tree to close the opening.

After I adhered the shaker to an A2 card base with a red paper layer (also in the Ho Ho Ho paper pad), I glued the snowman to the front of the window and adhered the sentiment.  The sentiment is one of several in the Laughing Snowmen set.

Thank you for stopping by today!  I hope you have a wonderful day!

Thank you so much for using my affiliate links to shop (never any additional cost to you)!
Tuesday, July 25, 2023

Christmas Cheer Gnomes

It's still Christmas in July for our Rubbernecker Stamps' posts and I'm happy about that!  One more Christmas card done now saves lots of time during the holidays!  This card features the totally adorable new Christmas Cheer Gnomes Set!


First I stamped the cute image from the Christmas Cheer Gnomes Set in Copic safe black ink.  I colored the image and the sky with my markers.  Then I used a white gel pen to add dots of snow onto the sky and image.

Next I die cut it with a Nested Square Stitch die.  I added a black mat layer and then foam tape on the back.  I adhered it to a piece red paper from the Ho Ho Ho paper pad that was die cut with the next largest Nested Square Stitch die.


I trimmed another piece of red paper to 4-¼" x 5-½" and glued it to an A2 card base.  Next I used the largest Nested Rectangle Small Stitch die to cut white cardstock and some striped paper from the Snowflake Fun slimline paper pad.  The measures striped piece measures about 2-¾" x 5-¼".

I used glue to adhere the matted image to the card.  Then I stamped the sentiment from the Christmas Cheer Gnomes Set in black ink.  I trimmed it and added a red mat layer before popping it up with foam tape.


Have you started making your Christmas cards?  If not, I hope I've given you some inspiration with this adorable and easy card!  Thanks so much for stopping by!

Thank you for using my affiliate links to shop (never any additional cost to you)!

Tuesday, April 25, 2023

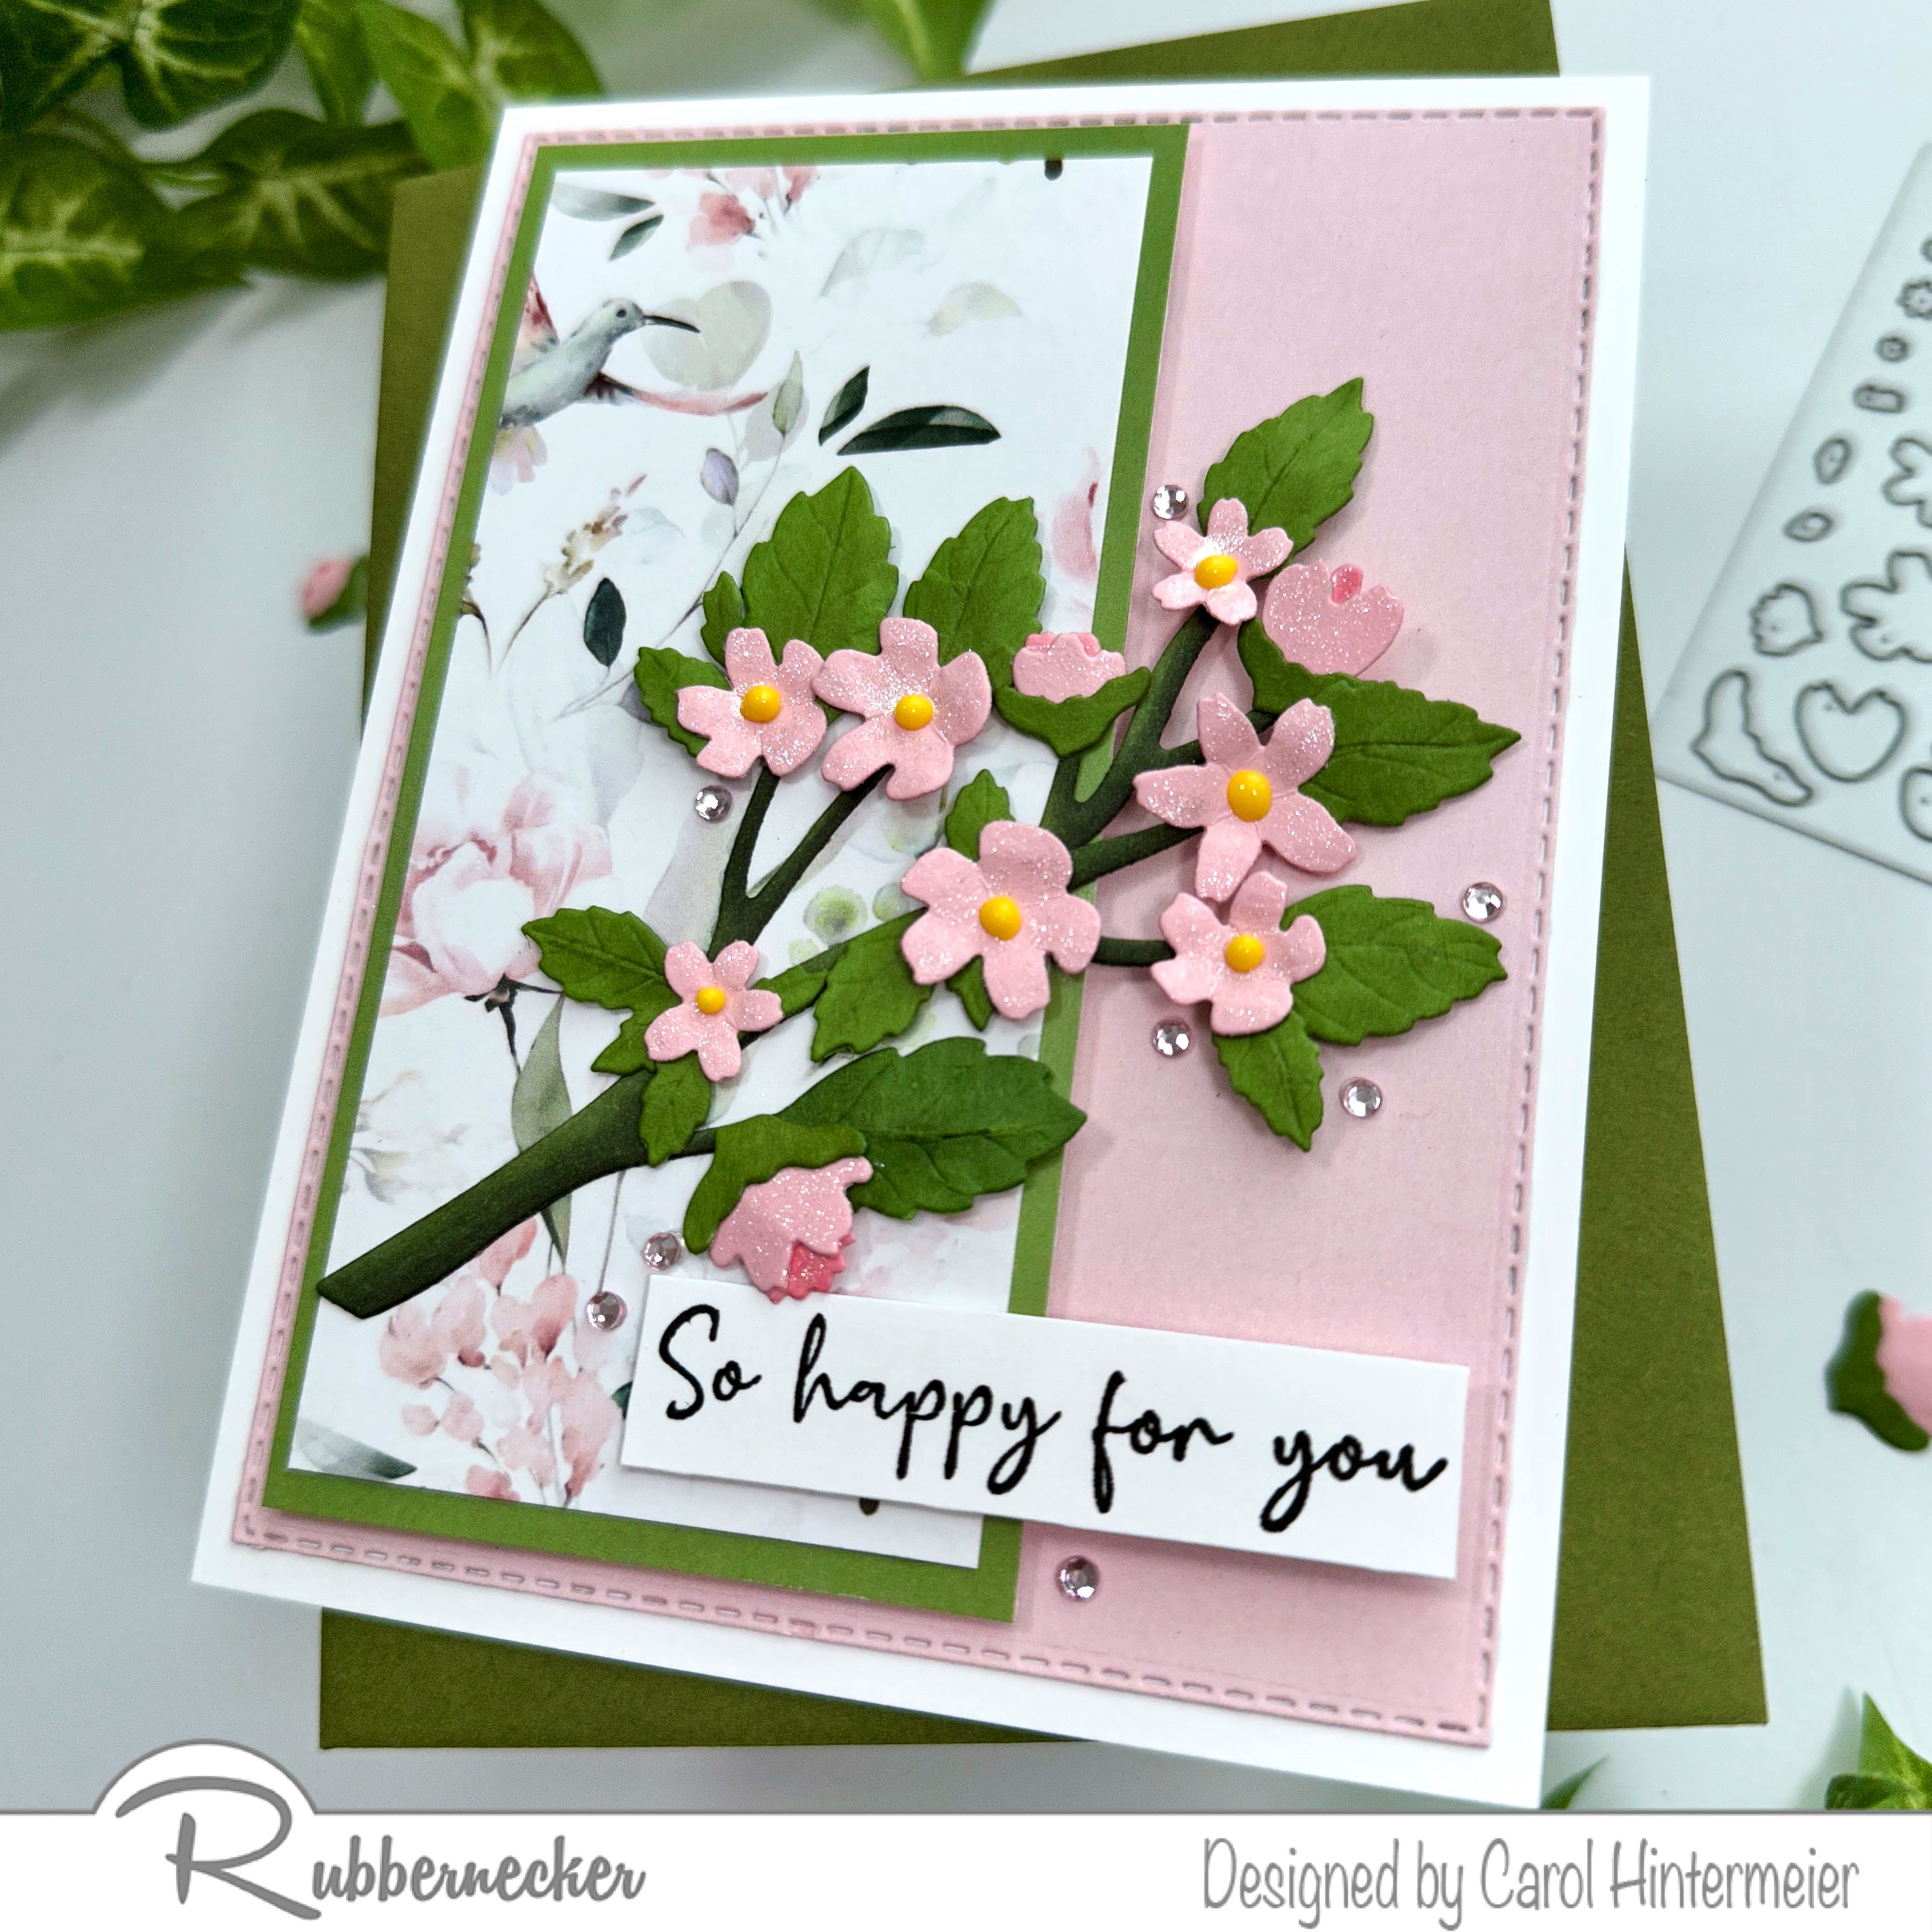
So Happy For You - A Spring Card with Dimensional Flowers

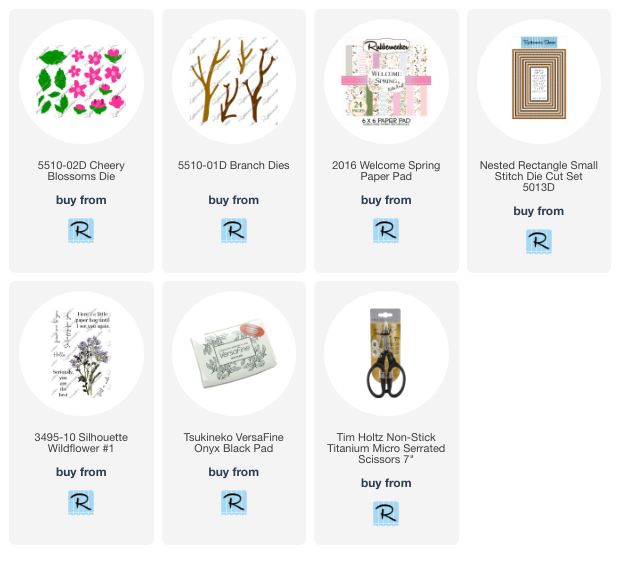
 Today I'm using Rubbernecker Stamps newest Welcome Spring paper pad along with a Cheery Blossoms Die to make a....cheery card!!!  Haha!

I chose a patterned paper and two solid color papers from the new Welcome Spring paper pad.  (The floral papers in this paper pad are gorgeous!!)  I die cut the pink paper with the largest Nested Rectangle Small Stitch die and adhered it to my A2 card base.  The floral paper was trimmed to 2-¼" x 4-¾" and adhered to the 2-½" x 5" green paper.  I added foam tape to the back and adhered it to the card.

I die cut the Cheery Blossoms die from pink and green cardstock.  I shaped the flowers with a stylus and used the packaging image as a guide to assemble the flowers.  Next I die cut the Branch Dies from white cardstock.  Then I colored them with copic markers: BG99, BG96, and G85.

I stamped the sentiment from the Silhouette Wildflower #1 set with black ink.  After I trimmed it into a strip, I added foam tape to the back to pop it up.

I got the sparkles I love by adding coordinating pink gem stickers around the flowery branch.  I also added some sparkle to the flowers with a clear glitter pen.

I think my card turned out quite cheery! Haha!  The Cheery Blossoms die can be used for so many occasions too!  Thanks so much for stopping by today!

Thank you so much for using my affiliate links to shop (never any additional cost to you)!

Tuesday, November 29, 2022

The Magic of The Season

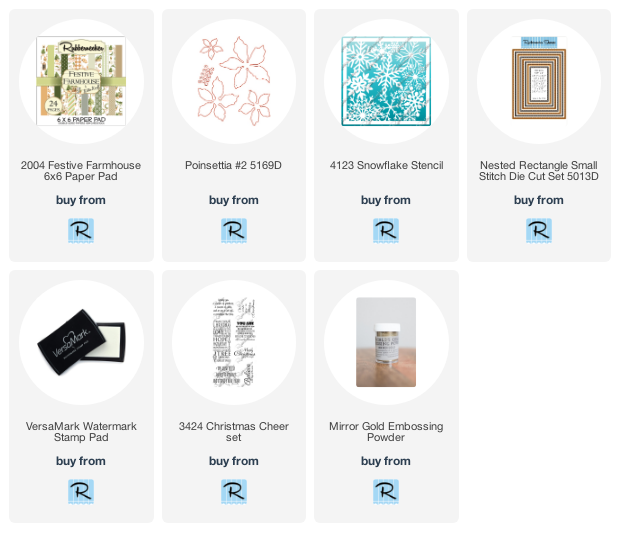
Happy Tuesday, crafty friends!  Today my sparkly card is featuring some beautiful paper from Rubbernecker Stamps new Festive Farmhouse paper pad!  I've coordinated it with some glittery stenciling and a sparkly poinsettia!  Read on for the details.

First I created my card base.  These are the steps:

  • I used the Snowflake stencil and spread some chunky gold glitter clear glaze through it onto 110# white cardstock.  Set it aside to dry.
  • Die cut patterned paper from the Festive Farmhouse paper pad with the largest Nested Rectangle Small Stitch die.
  • Partially die cut the dry stenciled panel with the same Rectangle Stitch die.  Adhere on top of the patterned paper die cut.
  • Adhere the layer to an A2 card base.
  • Cut some dark green paper from the Festive Farmhouse paper pad into a narrow strip and adhere to the card.

  • I die cut the Poinsettia #2 from 80# white cardstock.
  • Then I used some flower shaping tools to shape all of the petals.
  • Before adhering all of the flower layers together, I used my finger to add some of the chunky glitter glaze to the petals' edges.
  • After it dried, I used liquid glue to adhere the layers together and to add it to the card.
  • The sentiment is from the Christmas Cheer Set and heat embossed with gold embossing powder.
  • I added foam tape to the sentiment to pop it up on the card.

I totally love all of dimension, sparkle and shine with this gorgeous paper!  Thank you so much for stopping by today!

Thank you for shopping with my affiliate links (never any additional cost to you).


Tuesday, May 31, 2022

Sweet Floral Thinking of You Card with Coloring Stencils

 Hello friends!  Today I'm sharing a card I made with another Rubbernecker Stamps new floral image and coordinating coloring stencil.  This set is called Eternal Friendship Set and it has one beautiful floral stamp and three fun sentiments.  Instead of using one of those, I chose one from the new Composable Freehand Borders set.  This was a fun and quick card to make!

First I stamped the Eternal Friendship Set flower with black ink.  I stamped it twice, offset at the top and bottom of my card for a different look.  I made sure to dry the ink a bit with my heat tool before I stenciled on the inks.

Next I used the coordinating Eternal Friendship stencil and the purple inks in Color Fuse #6:  Lavender, Orchid, and Magenta.  I used Clover ink from Color Fuse #10 for the leaf and stem.

I used the largest nested Rectangle Small Stitch die to cut the panel.  Then I added a coordinating purple cardstock layer and adhered it to my A2 card with glue.

I stamped the sentiment from the Composable Freehand Borders set with Magenta ink.  Then I trimmed it into a strip, added a purple cardstock layer, and popped it up with foam tape.

For a bit of shine I added Dandelion Yellow Nuvo Crystal Drops on the flower stamens and Honeysuckle Nuvo Jewel Drops here and there on the card.

Thank you much for stopping by!  Have a wonderful day!

Tuesday, April 26, 2022

Life Was Meant For Good Friends

Hello craft friends!  Today I'm sharing a card I made using Rubbernecker Stamps adorable new Group of Friends set!  This is such a great set and it has three other fabulous sentiments for all of your friendship cards!

First I stamped the Group of Friends image with Copic safe black ink.  I Copic colored the bear first and then added texture to his fur with a scrap piece of washcloth and Copic Colorless Blender.  Just add a few drops of the Blender to the rag and dab.  Check out the before and after!  


I proceeded to color the other friends with my Copic markers.  I colored the elephant next, then the pig.  And horrors, I just did NOT like the shade of pink the pig turned out to be!  (Think Pepto-Bismal pink!!)   I couldn't correct it with more markers, and not even colored pencils!

So, rather than start all over, I fussy cut the elephant and bear together.  I put it aside for later and I re-stamped the Group of Friends and colored all but the elephant and bear.  I just put a line of color along the outer edges so it wouldn't show when I popped the fussy cut one up.

Next I created the frame.  I wanted this to look like a Polaroid selfie so I positioned the largest Nested Rectangle Small Stitch die with the next to largest Nested Square Stitch die.  I taped them together, leaving enough room for the sentiment at the bottom.

After I die cut these, I did some partial die cutting by sliding the rectangle die down a bit to create a narrow strip along the top of the frame.

Next I stamped the sentiment with Versamark embossing ink, sprinkled on some black embossing powder and heat set it.

My next step was to trim the stamped and colored image down to fit the frame.  Then I used some green and brown Copics to freehand color a tree in the background.  I used a couple blue markers for the sky.

I added foam tape to the back of the frame and attached the colored image to the frame.  I used some patterned paper for the layer on my card base and adhered the image to the card.

My final step was to add foam tape to the back of the fussy cut bear and elephant and pop it up onto the card!  The dimension is fabulous, especially in real life!  Photos sometimes just don't capture the details!

This is such a sweet image and I hope you've enjoyed my card.  Thanks so much for stopping by!

Tuesday, July 13, 2021

Christmas in July with Rubbernecker Stamps

It's Christmas in July over at Rubbernecker Stamps and we are getting a head start on our Christmas cards!  I absolutely love snowmen stamps and this one by Rubbernecker is no exception!  It's a single red rubber stamp (don't you love the crisp lines from this type?!) and also has a coordinating die.  I decided to color this adorable image with my Copic markers in some non-traditional Christmas time colors.

The steps for this card are fairly simple.  I have some photos of my coloring progression for you below.

  • Stamp the image in Copic safe ink.  I always use Neenah Solar White 80# card stock.
  • I stamped it at the bottom of the card stock piece, thinking I would use the coordinating die.  As I progressed into my coloring, I decided I wanted a scene.
  • I'm not a Copic coloring expert, however, I have learned that when an object is white, don't leave it totally white!  Even white objects have shadows and shading.  Here is a collage of my shading progress.  I hope these show you what a difference the shadows make.


Also, I colored the tree and rabbit in darker colors.  I think that helps to highlight the adorable snowmen even more!

  • After I finished the coloring, I used the fourth largest Nested Rectangle Small Stitch Die to cut the image out.  Then I masked the edges with some removable tape.  I colored in the background with dark blue Copic markers to create a night time scene.  I used B69, B28, B18 and FB2.
  • Next I added shadows under the snowmen.  I used BV20, C1, and B0000 adding 0 colorless blender along the edges.
  • Next I pulled away the masking tape.  I love the white edge!
  • However, there was some bleeding of the darkest blue around the edges.  Normally I would use a white gel pen.  I have found that, especially with dark Copic colors, the color will bleed up through the gel pen when I try to cover those bleeds.  The pen I used, and love, is a Posca white pen (I found mine at my local Michael's).  I went around the edges and cleaned them up.  I also used this pen on the pink striped scarf and yellow scarf to add in the white stripes and dots.
  • Next I used the white pen to add in dots for the snow.

  • Next I added the snowman panel to a black card stock layer.  Then I added foam tape to the back.
  • I used the largest Nested Rectangle Small Stitched die and dry embossed the front of my card base.  I just used the embossing sandwich for my die cutting machine.
  • Then I adhered the matted panel to the card front.
  • I used a sentiment from the Snowmen with Presents stamp set and stamped it in black ink.  I trimmed it into a strip, matted it with black card stock and adhered it to the card.
  • Of course, a Christmas card needs all the sparkle (at least I think so!)  So I added sparkle with a clear glitter pen to the snowmen and the snow on the ground.  In real life, it's so pretty and sparkly!

I hope I've inspired you to get out your holiday sets and get started on the cards before the rush of Christmas comes!  Thank you for stopping by!

Product links for items used in my card:

Friday, March 19, 2021

March 19 - Rubbernecker Coffee Loving Card Makers BH

Hello friends!  Today is the first day of the 2021 Spring/Summer Coffee Loving Card Makers blog hop!  Rubbernecker Stamps is one of their "super sponsors" and I've created two coffee cards for the occasion!  When you are finished here, be sure to head over to Rubbernecker's blog to get started on the hop and get the details for how to win a $50 gift certificate from Rubbernecker!   Also, be sure to check out the Coffee Loving Cardmaker's blog for how to win one of many prizes!!!!

For my first card, I've used Rubbernecker's new Layered Coffee Cup stamp set!  This is a cool layered stamp and it's very easy to line up each layer following the included guide! 

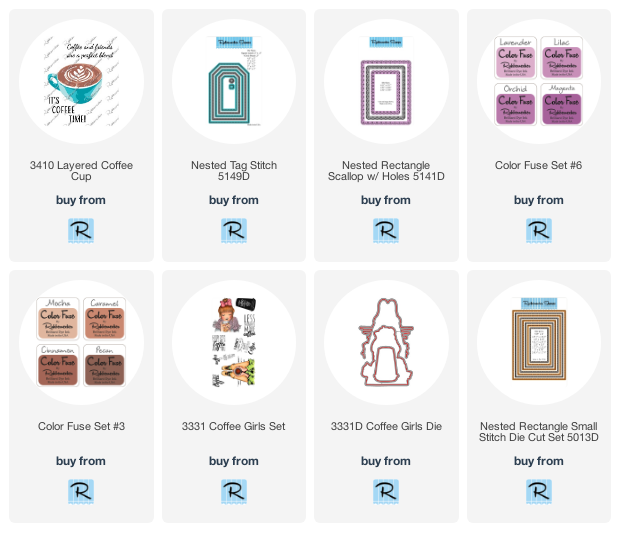
To start, I created the background by inking up the edges of a 4-¼" x 5-½" white card stock panel with Lavender ink (from Color Fuse Set #6).  I just swiped the ink pad along the edges.  I cut a 2-¼" strip of patterned paper from my stash and adhered it to another A2 sized white card stock.  I cut a thin strip of card stock and it with Lavender ink.  I adhered it above the patterned paper.  Then I die cut the piece out with the largest Nested Rectangle Scallops w/Holes die.  I adhered this to the inked panel and attached it to a top-folding A2 card base.

Next I stamped the beautiful Layered Coffee Cup with Lilac, Orchid, and Magenta inks.  I stamped the coffee layers with Cinnamon and Pecan inks (Color Fuse Set #3).  To add shine to the coffee, I used the base layer to stamp on some Versamark ink.  I sprinkled on clear embossing powder and heat set it.  I fussy cut the cup out, added foam tape to the back, and then adhered it to the card front.  I love how the embossing shines on the coffee!

I stamped the sentiment from the set in black ink and die cut it with the smallest Nested Tag Stitch Die.  I used a pencil to trace around the outside of the tag die, trimmed it along the pencil lines and then inked the edges with Lavender ink.  I adhered it to the sentiment and popped it up with foam tape.


*****************************************************

My next card features the beautiful gal from the Coffee Girls Set.

This is a very easy and quick card!  I stamped her in Copic safe black ink and colored her with my Copic markers.  Then I used the coordinating die to cut her out and added foam tape to the back.  I stamped the sentiment in Versamark black ink and trimmed it into a rectangle shape and added foam tape to this too.

For my card base, I chose two pretty patterned papers from the Carta Bella Flora #3 6x6 paper pad.  I die cut  both papers with the largest Nested Rectangle Stitch die.  Then I trimmed the floral paper into a triangle and adhered it to the bottom of the rose colored paper.  I added a thin strip of black card stock to the cut edge.  Next I adhered the paper to a top-folding A2 card base.  I added a few gems here and there for some sparkle!

Thank you so much for stopping by!  Be sure to go to Rubbernecker's blog to see more beautiful inspiration from the team!


Here are links to the Rubbernecker products I've used:

Friday, February 19, 2021

Rubbernecker Stamps Springtime Fun Release Instagram Hop

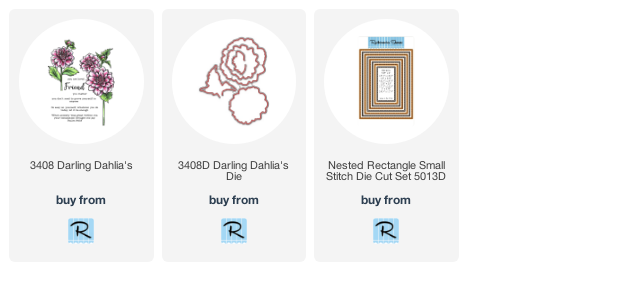
Hello friends!!  Thank you for coming from the Rubbernecker Stamps Springtime Fun release Instagram hop to check out my card today!  I've used the absolutely beautiful new Darling Dahlias stamp set for my card today.  This set has three gorgeous Dahlia flower stamps, two buds, leaves, and some awesome sentiments!  There's also a coordinating die set that I didn't use today.  I absolutely love this set!


I began by stamping the large Dahlia with Copic safe ink onto Neenah Solar White 80# card stock.  Next I stamped it onto some masking paper and fussy cut it out.  I placed the mask onto the stamped image and stamped the smaller flower, the bud, and the stem.  I stamped the leaves, and stem, and also a mask for one of the leaves.

Then I stamped the other leaves, placing the mask for the stem over the stem for the smaller flower.  I stamped the other leaves and then saw my boo-boo!  Do you see it?  Probably not until I mentioned it, right?  That is why I never give up on a card!  Especially after the stamping and masking I did!

I colored the flowers and leaves with Copic markers, which I've listed at the end.  When I finished coloring the flowers, I die cut the panel with the largest Nested Rectangle Small Stitched die.  Next I adhered it to an A2 sized pink card stock layer and added this to a top-folding card base.

Next I heat embossed the sentiment in gold onto heavy weight vellum and trimmed it into a banner shape.  I rolled up small glue dots and place under the embossing and adhered it to my card.


To finish up, I added some gold Nuvo drops around the arrangement.


I sure do thank you for stopping over to take a look!  Be sure to go back to my Instagram feed to continue on the hop.  Be sure to comment and tag friends for more chances to win!  

Copic markers:
flowers: RV25, RV23, RV21, RV10
leaves:  G07, YG17, YG25, YG03

Other supplies:

Shop the Rubbernecker products here:

Tuesday, January 12, 2021

Winter Thank You Card | Rubbernecker Stamps

 Hello my friends, and happy 2021!  I hope your year is off to good start!  Today I'm sharing a winter themed thank you card using Rubbernecker Stamps beautiful Winter Woodland stamps and coordinating die set.  I've used a fun technique of creating a watercolor look with clear stamps and Color Fuse inks.  I sometimes find that I'm in a bit of a creative slump after the holidays and having fun with a different technique can really help get me out of that!

Here are the steps for the watercolor look:

  • A stamping tool (I use a MISTI) and watercolor paper will be needed for this technique.  Be sure to leave the stamps in the stamping tool until you are totally finished with each layer of color.
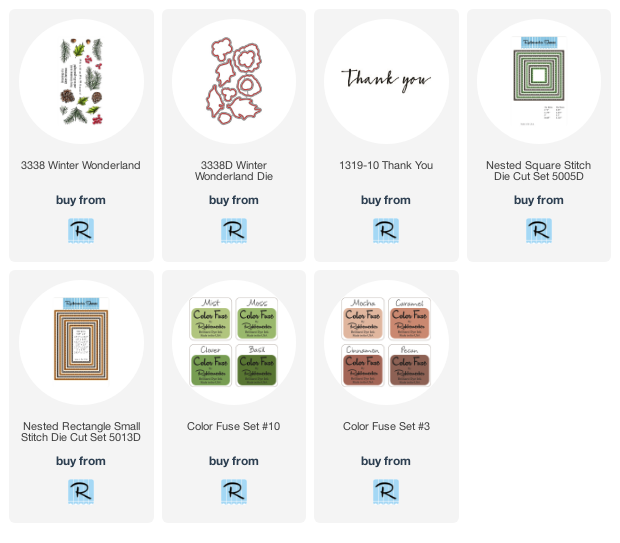
  • Using Color Fuse set #10 for the pine branches and set #3 for the pinecones, ink up the images with the lightest color first and spritz with water just until it beads up.  Use Mist, Clover and Basil for the pine branches.  For the pinecones use Mocha, Caramel and Cinnamon.
  • Ink up the stamp with the lightest color, spritz with water until you se little beads of inky water.  Stamp onto the watercolor paper and be sure to press the stamps down for a few seconds to allow the inky water to absorb into the paper.
  • Allow the images to dry naturally, or use a heat tool to dry the ink in between each layer.
  • Repeat the steps with each shade of ink and spritzing with water each time.  Repeat any layers to get the desired look.
  • Ink the stamp up with the darkest ink (Basil for the pine branches and Pecan for the pinecones) without adding water, and stamp it to add the detail back into the watercolored image.
  • Before removing the stamp, add some sparkle to the branches by swiping a clear sparkle pen over the stamp and stamp it down over the pine branches.
  • This photo shows the progression of stamping the layers.  

  • Stamp in the third pine branch when the other two are totally dry using the same steps as listed above.
  • Die cut some wood plank patterned paper with the largest Nested Rectangle Small Stitch die and then adhere it to a top folding A2 card base.
  • Die cut the dry image with the second largest Nested Square Stitch die and adhere to the card front with glue.
  • Stamp out the layers for two more pinecones using the same technique.  Die cut with the coordinating dies
  • Pop up the two additional pine cones with foam squares and adhere to the card front.
  • Here's a  closeup photo of the sparkle!

Stamp the sentiment Thank You in Versamark ink onto a 4" x 1" strip of watercolor paper.  Sprinkle on black embossing powder and heat set.

Use the same square die to die cut the edges of the sentiment strip to coordinate with the square.  Use liquid glue to adhere it to the card.

For a bit more sparkle, add some green and brown gem stickers!


I had so much fun with this technique!  I hope I've inspired you to give it a try.  Thank you so much for stopping by today!