Hello, crafty friends! Today I'm back to share another with several of the items in Honey Bee Stamps gorgeous Wrapped In Blooms card kit! Bonus if you get the kit: there will be an exclusive card class available only to those that have the kit! (You'll get a QR code in your package to access it.)
This is from the Honey Bee product description:
Get a head start on your holiday crafting with our beautiful Wrapped In Blooms Kit! Create elegant Christmas cards featuring stunning layered holiday florals and a unique gatefold card base that adds an extra-special touch. Whether you’re making cards for family, friends, or your holiday stash, this kit makes it easy to create handmade cards they’ll treasure. (Finished cards will fit in an A2 envelope.)
Today I decided to create a shaker card using the beautiful sequin mix that's included in the kit. I'll also share photos of a previous card I made with the kit at the end of this post! Check out the details below!

I found my inspiration color palette inspiration from this beautiful blush cardstock in the pack of Hive Hues Christmas In July cardstock pack (included with the kit). All of the items, except basic supplies, are included in this kit. I love this soft blush color!
First I die cut white cardstock twice with the gatefold die in the Lovely Layouts: Wrapped In Blooms dies. I used the coordinating Wrapped In Blooms stencil to add coordinating inks to the etched details of the cardstock.
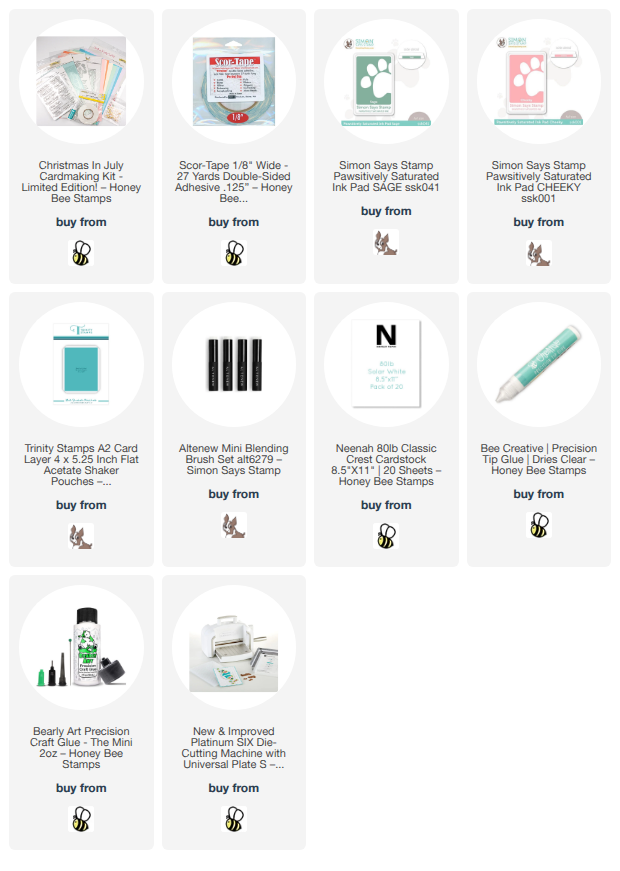
Next I created the shaker card portion by using a shaker pocket (you can also use packaging from a stamp set). I adhered the two sides and bottom around an A2 white cardstock panel. Then I poured in some of the sequin mix and sealed the top to close. Next I used Bee Creative double-sided tape and Bee Creative Glue (included in the kit) to adhere the shaker pouch to an A2 card base.

Next I die cut the poinsettia from the Lovely Layers: Festive Florals dies from the included blush cardstock, and white, gold, two greens and brown cardstocks. I die cut two extra of the poinsettia base layer and used ink to color them a sage green. I used a coordinating ink and blending brushes to add shading to the poinsettia petals.
Of course, there's a fabulous layering guide to help you adhere the layers together! Before I adhered these to my card, I die cut white cardstock with the belly band die in the Lovely Layouts: Wrapped In Blooms die set. Instead of using the full band, I used my paper trimmer to cut the top layer of the band to fit on my card front. I glued it to the center of the card.
I used Bee Creative glue to adhere the elements to the card. I also glued a few gold sequins from the sequin mix to the leaves.
I stamped the sentiment from the Filled With Wonder stamp set in black pigment ink. After I cut it out with the coordinating die, I added foam strips to the back to pop it up.

I absolutely love the soft tones of this card! Of course, a shaker card is always so fun!
In case you missed it, check out my other card I've made from the Wrapped In Blooms Kit. I have all of the details and photos on this blog post.

I love this gorgeous Wrapped In Blooms kit!! There are so many ways to use these products! I hope you've enjoyed my cards and have found lots of inspiration too!
There are still kits available, but I wouldn't wait long. Once these are gone, there will be no restock. Be sure to get yours soon!
Thank you so very much for stopping by today! I hope it's a good one for you!
I so appreciate it when you use my affiliate links to shop (there's never any additional cost to you)!