Showing posts with label Snowmen with Presents stamps. Show all posts

Tuesday, November 16, 2021

Most Wonderful Time | Rubbernecker Stamps

Hello friends!  Today I'm sharing a quick and easy holiday card using Rubbernecker Stamps Blossoms in Spring stamps and coordinating dies.  I've taken this non-holiday stamp set and created a shiny, heat embossed card that was really fun to make! 

Here are the steps for my card base:

  • Adhere some patterned paper to an A2 top-folding card base.  I used a piece from Honey Bee Stamps Holiday Cheer paper pad.
  • Die cut the Diamond w/Stitch Cover die three times from 80# Neenah Solar White card stock.  Adhere the layers together with glue and then to the card base.

  • Next I stamped the outline of the flower from the Blossoms in Spring stamp set with Versamark ink.  Then I sprinkled on some silver embossing powder and heat set it.  Then I stamped and heat embossed the flower center and leaf outline with silver embossing powder.
  • I stamped the detailed layer of the flower with Silver ink from the Color Fuse set #12.
  • I used both Silver and Chill inks to stamp the leaves.
  • Next I used the coordinating dies to cut out the flower and leaves.  I added foam squares to the flower and adhered it to the card front.
  • I arranged the leaves, then added some glue to the ends to adhere them to the card.
  • Next I stamped sentiment that's in the Snowmen with Presents stamp set with black ink.  I used a Nested Square Stitch die to cut it out.  I added some foam squares to the back to pop it up.
  • For a bit more shiny bling, I added some silver metallic pearls from Pretty Pink Posh to the card.

I hope you've enjoyed my quick holiday card today.  Thank you so very much for stopping by!

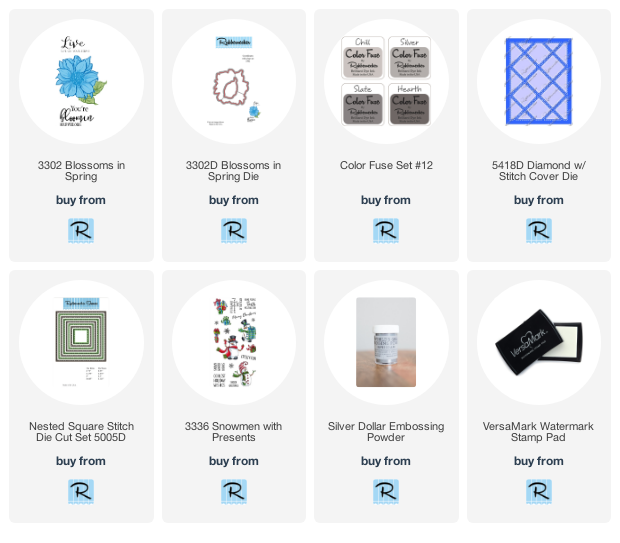
Product links for the details:
Tuesday, July 13, 2021

Christmas in July with Rubbernecker Stamps

It's Christmas in July over at Rubbernecker Stamps and we are getting a head start on our Christmas cards!  I absolutely love snowmen stamps and this one by Rubbernecker is no exception!  It's a single red rubber stamp (don't you love the crisp lines from this type?!) and also has a coordinating die.  I decided to color this adorable image with my Copic markers in some non-traditional Christmas time colors.

The steps for this card are fairly simple.  I have some photos of my coloring progression for you below.

  • Stamp the image in Copic safe ink.  I always use Neenah Solar White 80# card stock.
  • I stamped it at the bottom of the card stock piece, thinking I would use the coordinating die.  As I progressed into my coloring, I decided I wanted a scene.
  • I'm not a Copic coloring expert, however, I have learned that when an object is white, don't leave it totally white!  Even white objects have shadows and shading.  Here is a collage of my shading progress.  I hope these show you what a difference the shadows make.


Also, I colored the tree and rabbit in darker colors.  I think that helps to highlight the adorable snowmen even more!

  • After I finished the coloring, I used the fourth largest Nested Rectangle Small Stitch Die to cut the image out.  Then I masked the edges with some removable tape.  I colored in the background with dark blue Copic markers to create a night time scene.  I used B69, B28, B18 and FB2.
  • Next I added shadows under the snowmen.  I used BV20, C1, and B0000 adding 0 colorless blender along the edges.
  • Next I pulled away the masking tape.  I love the white edge!
  • However, there was some bleeding of the darkest blue around the edges.  Normally I would use a white gel pen.  I have found that, especially with dark Copic colors, the color will bleed up through the gel pen when I try to cover those bleeds.  The pen I used, and love, is a Posca white pen (I found mine at my local Michael's).  I went around the edges and cleaned them up.  I also used this pen on the pink striped scarf and yellow scarf to add in the white stripes and dots.
  • Next I used the white pen to add in dots for the snow.

  • Next I added the snowman panel to a black card stock layer.  Then I added foam tape to the back.
  • I used the largest Nested Rectangle Small Stitched die and dry embossed the front of my card base.  I just used the embossing sandwich for my die cutting machine.
  • Then I adhered the matted panel to the card front.
  • I used a sentiment from the Snowmen with Presents stamp set and stamped it in black ink.  I trimmed it into a strip, matted it with black card stock and adhered it to the card.
  • Of course, a Christmas card needs all the sparkle (at least I think so!)  So I added sparkle with a clear glitter pen to the snowmen and the snow on the ground.  In real life, it's so pretty and sparkly!

I hope I've inspired you to get out your holiday sets and get started on the cards before the rush of Christmas comes!  Thank you for stopping by!

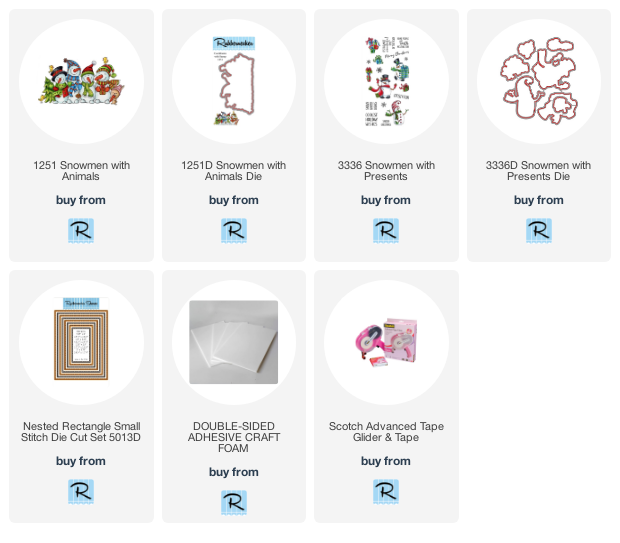
Product links for items used in my card: