Showing posts with label Springtime cards. Show all posts

Friday, February 6, 2026

Sending Springtime Smiles

Today I'm back to share another of Spellbinders' February Club Kits!  The main feature of this card is the Small Die of The Month, called Spring Haul!  Can you believe the amount of dies included in this "small" die set?  The dies may be individually smaller but there are actually 32 dies included in this set!  That makes this set a keeper to use a few, or more, of these dies on different projects.

This card actually features all three of the February Club Kits that I will be featuring each month this year.  In addition to the Spring Haul Small Die set, this features a card layer embossed with the Shady Leaves 3D Embossing Folder of The Month.  Also, the sentiment is from the Ears To Spring Clear Stamp & Die for the month!

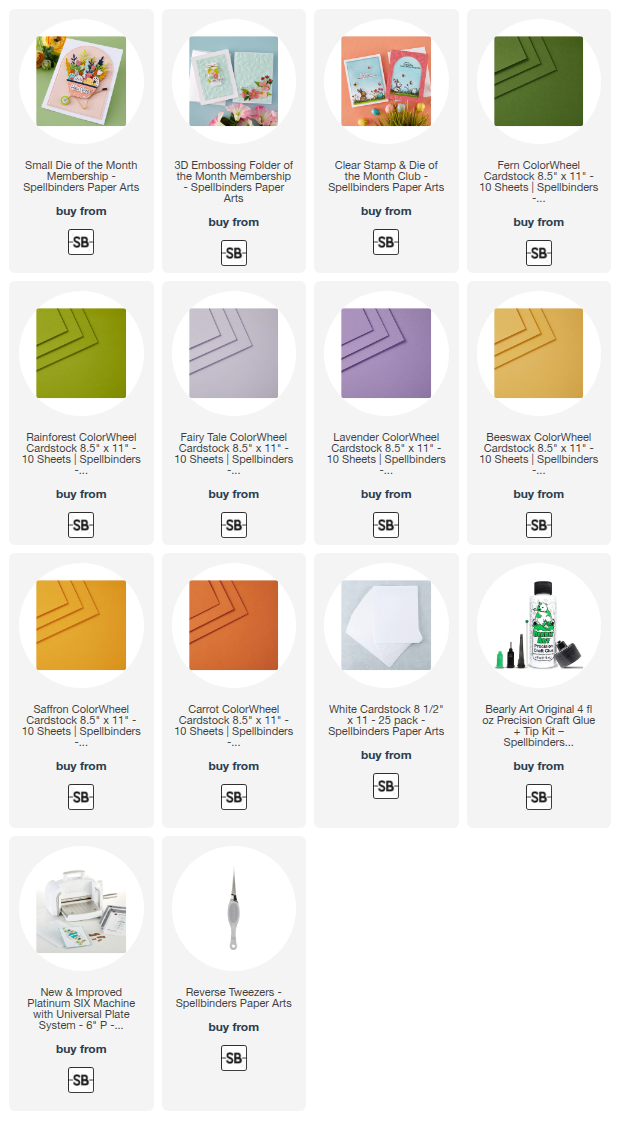
I die cut the dies for the Spring Haul greenery multiple times to have plenty to fill the wheel barrow.  The cardstocks I used are in the list below.

You can fill your wheel barrow with as few, or as many, die cut pieces of greenery as you want!  I die cut three of the eggs.  There are three dies to inset to the three oval dies to have a different design.  You get to choose!

The sentiment is from the Ears To Spring Clear Stamp & Die for February.  You really should check out this set to see the totally adorable image included!  Or, check out my previous blog post that features this!

Today is the day that the Club Kits subscriptions open for new subscribers!  These Club Kits have been very popular so far this year, with some Kits selling out!  Check them out here!

Thank you for stopping by today!  I hope you have a wonderful, and crafty, weekend!

Thanks so very much for using my affiliate links to shop (never any additional cost to you)!
Tuesday, April 25, 2023

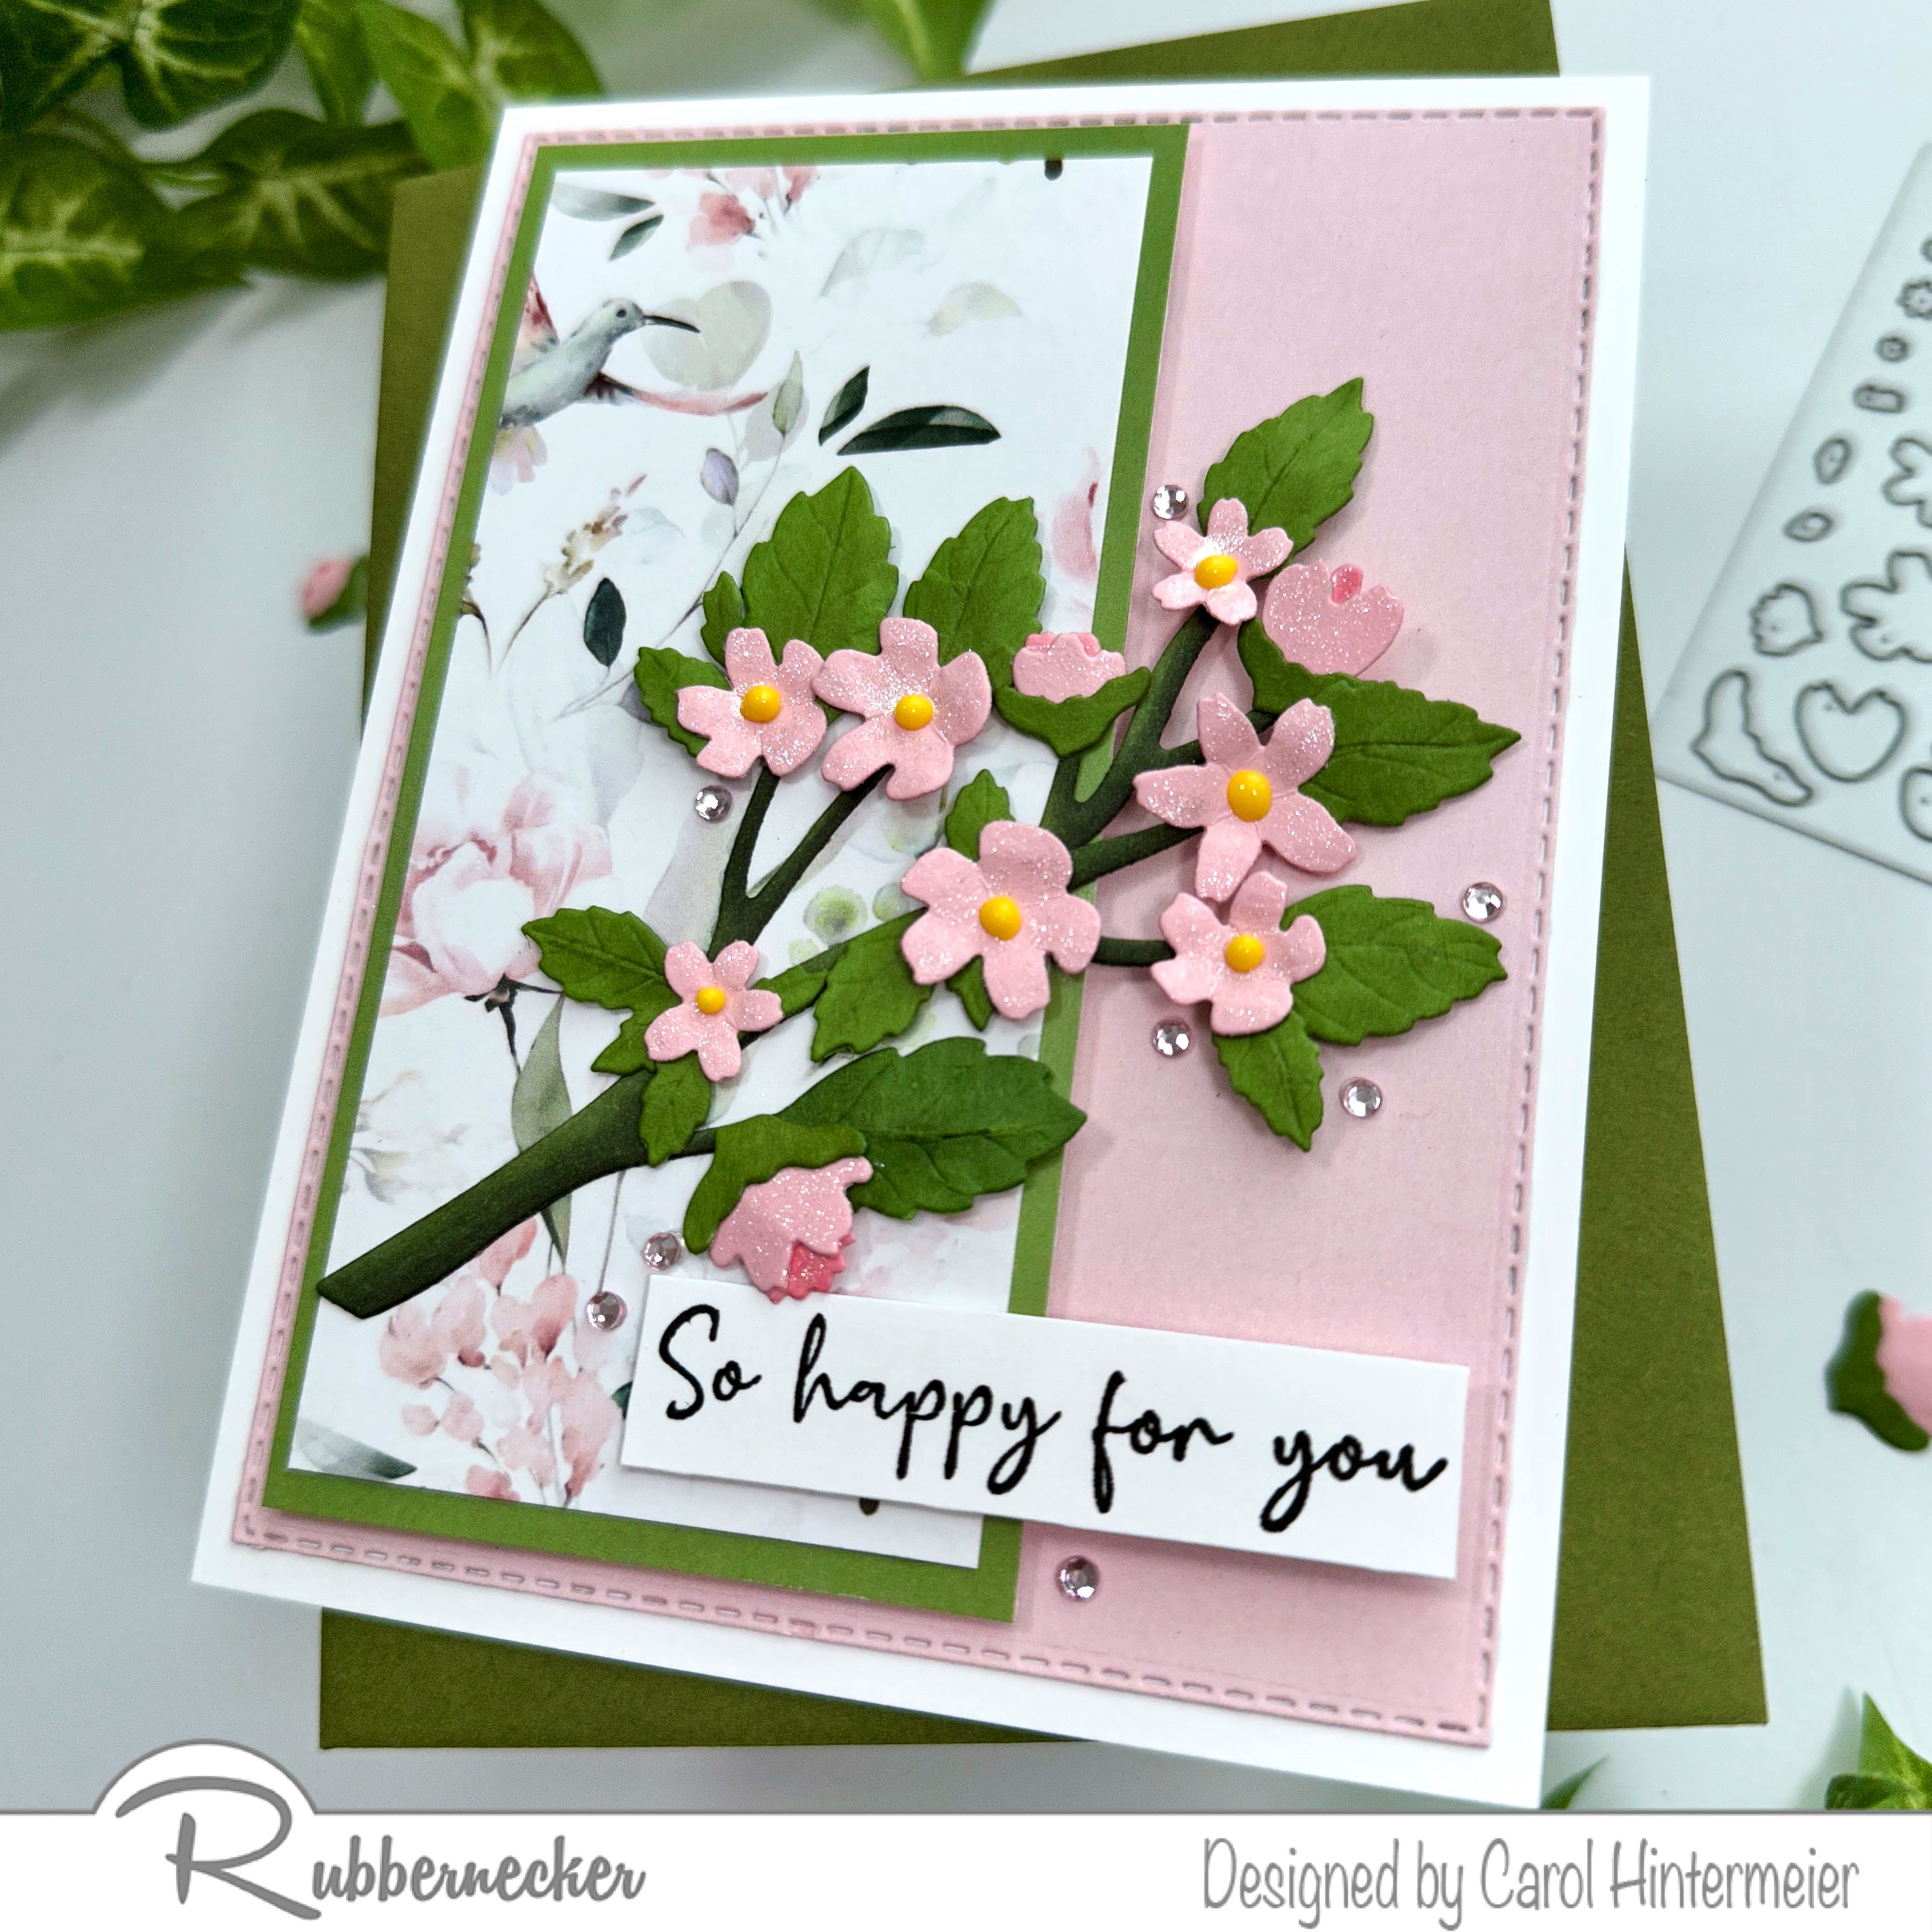
So Happy For You - A Spring Card with Dimensional Flowers

 Today I'm using Rubbernecker Stamps newest Welcome Spring paper pad along with a Cheery Blossoms Die to make a....cheery card!!!  Haha!

I chose a patterned paper and two solid color papers from the new Welcome Spring paper pad.  (The floral papers in this paper pad are gorgeous!!)  I die cut the pink paper with the largest Nested Rectangle Small Stitch die and adhered it to my A2 card base.  The floral paper was trimmed to 2-¼" x 4-¾" and adhered to the 2-½" x 5" green paper.  I added foam tape to the back and adhered it to the card.

I die cut the Cheery Blossoms die from pink and green cardstock.  I shaped the flowers with a stylus and used the packaging image as a guide to assemble the flowers.  Next I die cut the Branch Dies from white cardstock.  Then I colored them with copic markers: BG99, BG96, and G85.

I stamped the sentiment from the Silhouette Wildflower #1 set with black ink.  After I trimmed it into a strip, I added foam tape to the back to pop it up.

I got the sparkles I love by adding coordinating pink gem stickers around the flowery branch.  I also added some sparkle to the flowers with a clear glitter pen.

I think my card turned out quite cheery! Haha!  The Cheery Blossoms die can be used for so many occasions too!  Thanks so much for stopping by today!

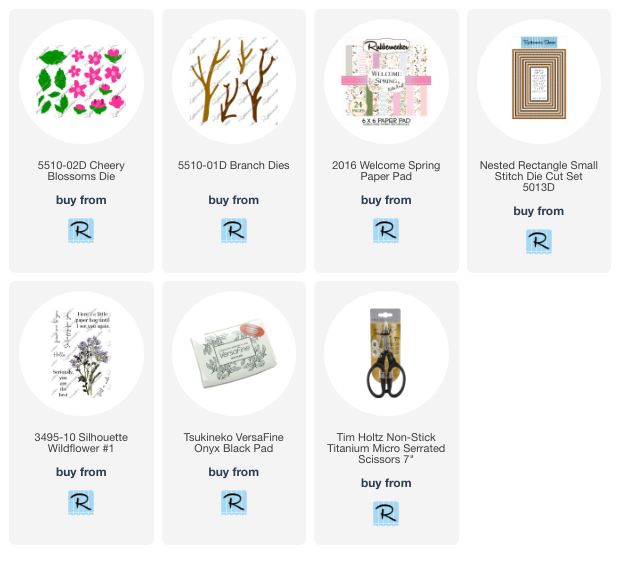
Thank you so much for using my affiliate links to shop (never any additional cost to you)!

Thursday, March 23, 2023

Two Pretty Spring Cards with Pretty Pink Posh March Release

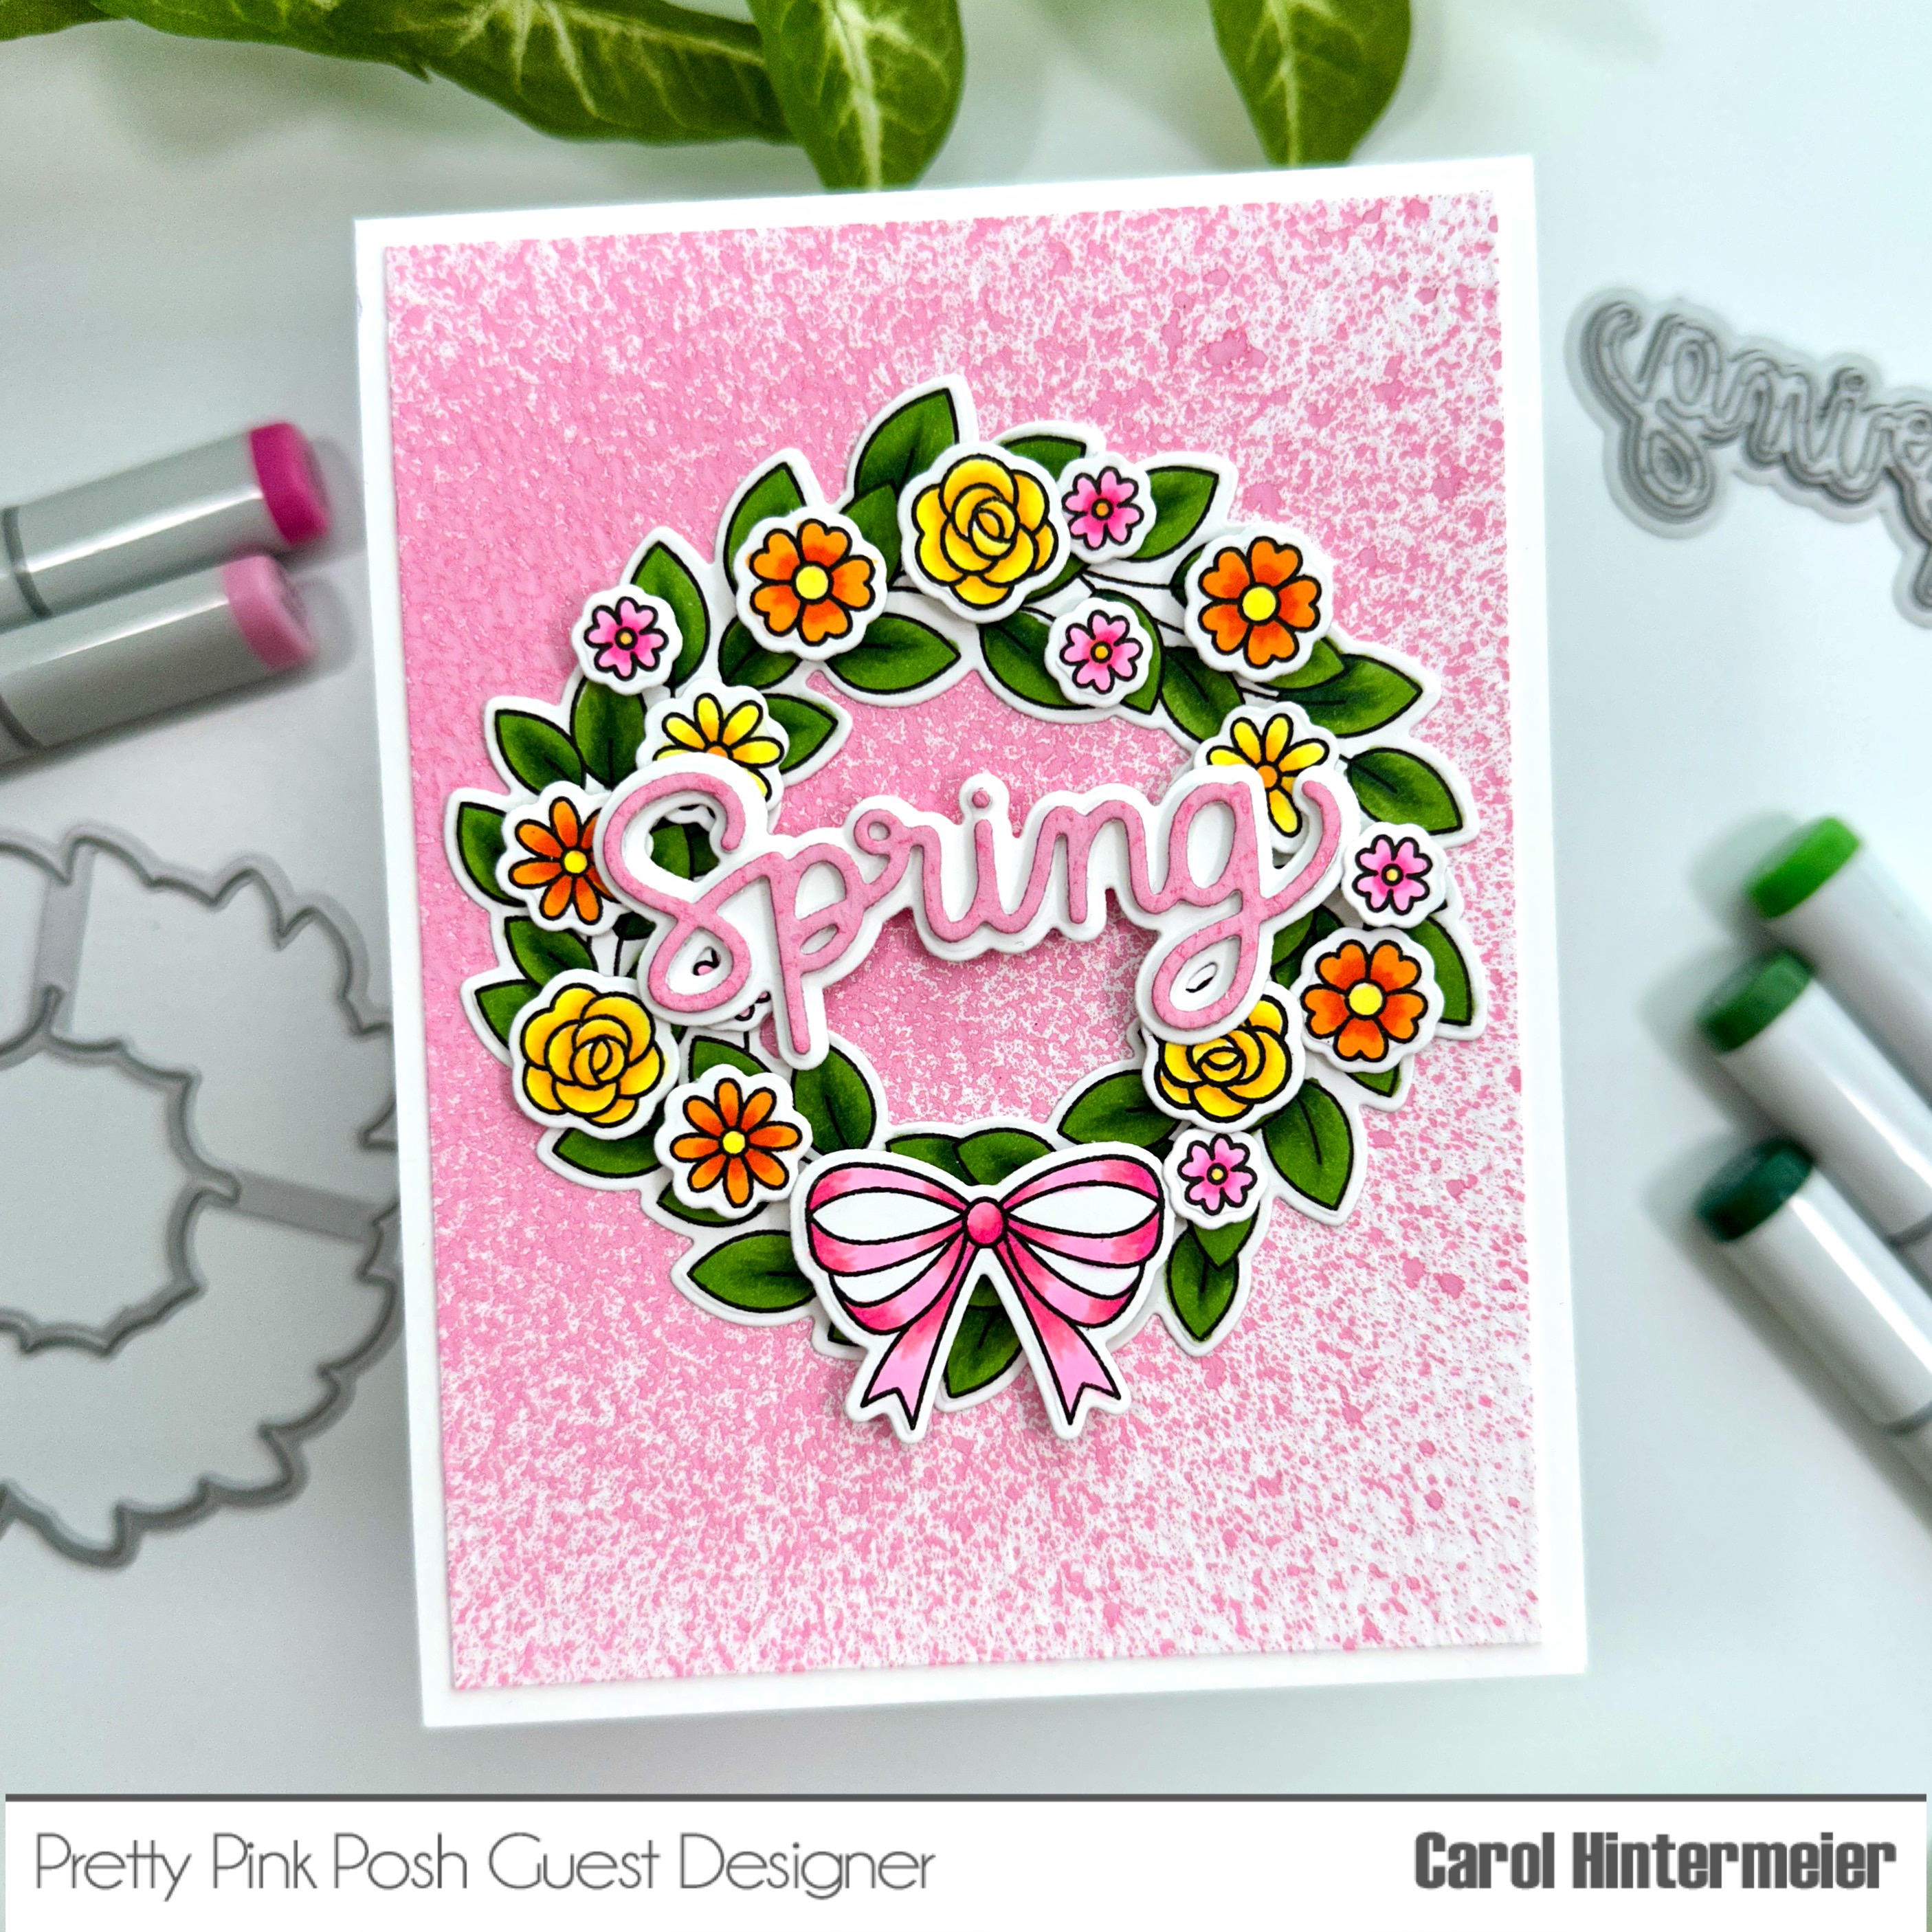
Today I'm sharing two cards I made with Pretty Pink Posh's March 2023 release!  One was super quick and the other is a fun shaker card!

This card has a background I quickly made by spritzing 80# Neenah with Kitsch Flamingo Distress Oxide spray!  Such a pretty and so easy way to make the base layer!  After trimming it to 4" x 5-¼" I adhered it to an A2 card base.

I sprayed some scrap cardstock with the Oxide Spray, let it dry and used the sentiment in the Happy Spring Shadow die set to cut it out.  I die cut the shadow and two more sentiments from white cardstock and adhered the layers together with glue.  I set it aside to dry.

Next I stamped the wreath, flowers, and bow from the Leafy Spring Wreath stamp set with marker safe ink.  After I colored the wreath, flowers, and bow I cut them out with the coordinating dies.

After gluing the wreath to the card base, I popped up the flowers, bow and sentiment with some foam tape.


My next card uses the Umbrella Shaker die set and the Layered Umbrellas stencil set.  I just love these new stencil sets!  Each one can make a card by itself--just add a sentiment!

I used a rainbow of Distress Oxide inks to add the colors through each layer of the Layered Umbrellas stencil set.  For the final stencil layer, I spread some pretty blue glitter gel through the openings.  When it was dry, I adhered it to a green A2 card base.

Next I created the umbrella shaker.  I die cut the Umbrella Shaker dies from 80# Neenah.  I used the included die to cut out the window openings.  The umbrella stem and button on the top is die cut from silver cardstock.  For the base of the shaker I inked on Distress Oxides in a rainbow order and die cut it.  Before I assembled the shaker, I inked Kitsch Flamingo Oxide onto the top layer.  Then I adhered some acetate to the back.  After I added thin strips of thick foam tape to the back of the umbrella (or add a double layer of regular foam tape) to give the clay pieces room to move around.

I finished assembling the umbrella and glued it to the card.  I stamped the sentiment from the Easter Sentiments stamp set and popped it up on my card.

I have really enjoyed making these cards with all the spring time colors!!  And if you haven't checked out the new release, be sure to click one of the links below.  There's something for all of us in this awesome release!  Thank you so much for stopping by today!

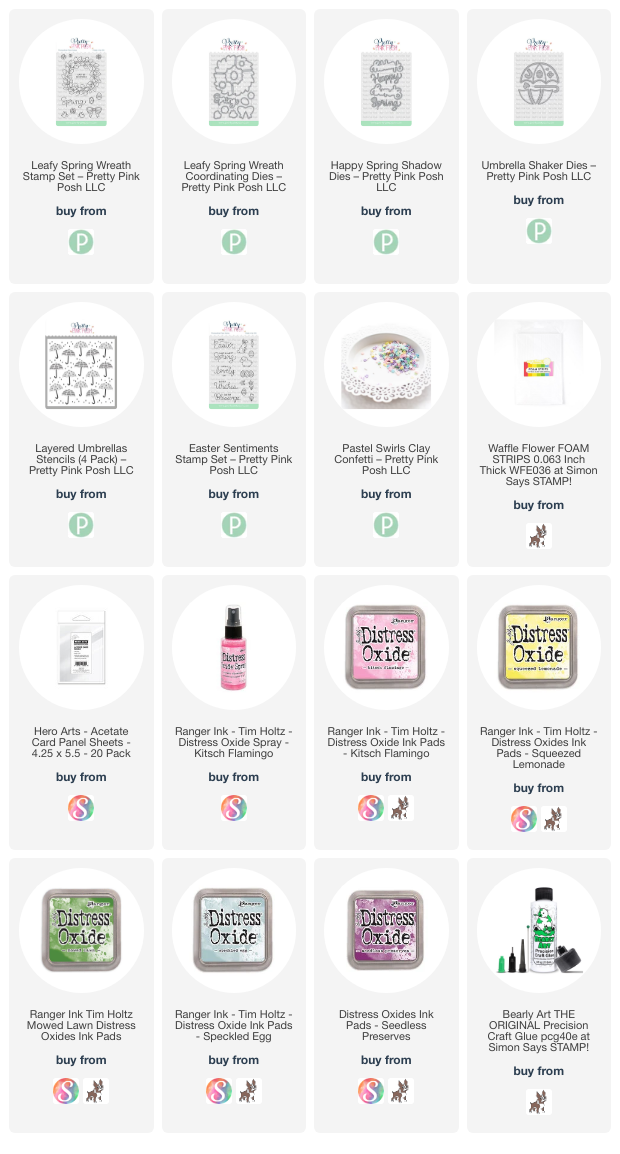
Thank you for using my affiliate links (never any additional cost to you)!