Showing posts with label Nested Rectangle Scallop with holes. Show all posts

Friday, March 19, 2021

March 19 - Rubbernecker Coffee Loving Card Makers BH

Hello friends!  Today is the first day of the 2021 Spring/Summer Coffee Loving Card Makers blog hop!  Rubbernecker Stamps is one of their "super sponsors" and I've created two coffee cards for the occasion!  When you are finished here, be sure to head over to Rubbernecker's blog to get started on the hop and get the details for how to win a $50 gift certificate from Rubbernecker!   Also, be sure to check out the Coffee Loving Cardmaker's blog for how to win one of many prizes!!!!

For my first card, I've used Rubbernecker's new Layered Coffee Cup stamp set!  This is a cool layered stamp and it's very easy to line up each layer following the included guide! 

To start, I created the background by inking up the edges of a 4-¼" x 5-½" white card stock panel with Lavender ink (from Color Fuse Set #6).  I just swiped the ink pad along the edges.  I cut a 2-¼" strip of patterned paper from my stash and adhered it to another A2 sized white card stock.  I cut a thin strip of card stock and it with Lavender ink.  I adhered it above the patterned paper.  Then I die cut the piece out with the largest Nested Rectangle Scallops w/Holes die.  I adhered this to the inked panel and attached it to a top-folding A2 card base.

Next I stamped the beautiful Layered Coffee Cup with Lilac, Orchid, and Magenta inks.  I stamped the coffee layers with Cinnamon and Pecan inks (Color Fuse Set #3).  To add shine to the coffee, I used the base layer to stamp on some Versamark ink.  I sprinkled on clear embossing powder and heat set it.  I fussy cut the cup out, added foam tape to the back, and then adhered it to the card front.  I love how the embossing shines on the coffee!

I stamped the sentiment from the set in black ink and die cut it with the smallest Nested Tag Stitch Die.  I used a pencil to trace around the outside of the tag die, trimmed it along the pencil lines and then inked the edges with Lavender ink.  I adhered it to the sentiment and popped it up with foam tape.


*****************************************************

My next card features the beautiful gal from the Coffee Girls Set.

This is a very easy and quick card!  I stamped her in Copic safe black ink and colored her with my Copic markers.  Then I used the coordinating die to cut her out and added foam tape to the back.  I stamped the sentiment in Versamark black ink and trimmed it into a rectangle shape and added foam tape to this too.

For my card base, I chose two pretty patterned papers from the Carta Bella Flora #3 6x6 paper pad.  I die cut  both papers with the largest Nested Rectangle Stitch die.  Then I trimmed the floral paper into a triangle and adhered it to the bottom of the rose colored paper.  I added a thin strip of black card stock to the cut edge.  Next I adhered the paper to a top-folding A2 card base.  I added a few gems here and there for some sparkle!

Thank you so much for stopping by!  Be sure to go to Rubbernecker's blog to see more beautiful inspiration from the team!


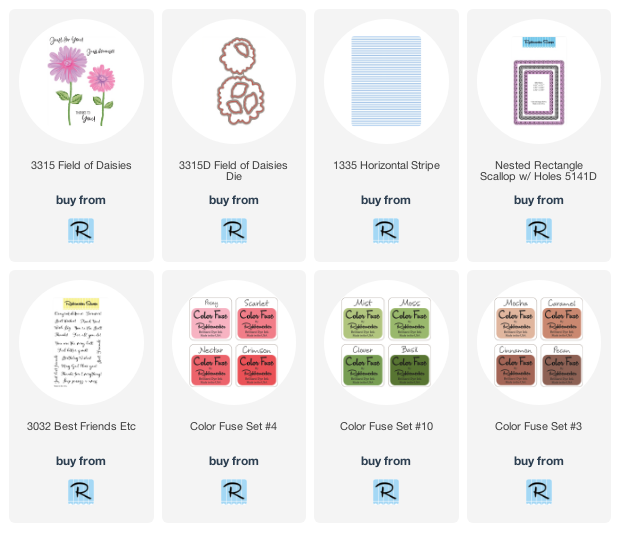
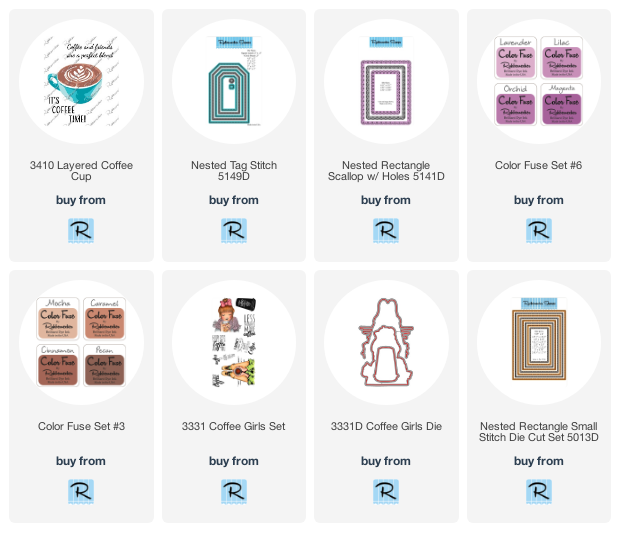
Here are links to the Rubbernecker products I've used:
Tuesday, February 16, 2021

Birthday Card with Field of Daisies Layering Stamps | Rubbernecker Stamps

Hello friends!  My card today is a sweet birthday card using the beautiful Field of Daisies layering stamp set by Rubbernecker Stamps.  I'm almost out of birthday cards to mail to friends and this is a easy fun card to make for the stash!

 
I began by creating the card base:

  • Using a blender brush, ink the edges of a 4-¼" x 5-½" white cardstock piece with Scarlet ink (Color Fuse set #4).  Adhere to a top-folding A2 card base with glue.
  • Ink up the Horizontal Stripe background stamp with Posey ink and stamp onto white cardstock.
  • Trim the striped piece to 4" x 5-¼" and adhere to the card base.
  • Stamp the stems from the Field of Daisies stamp set onto white cardstock.
  • Die cut with the middle sized Nested Rectangle Scallop w/Holes die.
  • Add foam tape to the back and attach to the card front.

Next I stamped the flower, leaves and sentiment:

  • I used my MISTI for stamping the flower and leaf layers.
  • I stamped the first layer of the flowers with Posey ink.  For each layer/color I repeated the stamping until I got the look I liked.
  • The small flowers are stamped with Scarlet and Nectar for the second and third layers.
  • The large flower layers are stamped with Scarlet and Crimson.
  • I stamped the flower centers with Crimson.
  • I didn't think the stamping through for the large flower!  Since I stamped the final flower layer with Crimson, when I stamped the flower center in Crimson, it just blended in.
  • My solution was to stamp the flower center with one layer of Mocha, which is a light brown in Color Fuse #3.  I took before and after photos to show you.  As you can see from this photo, adding just a bit of light brown makes the center stand out!

  • Next I stamped the leaves.  I stamped the first layer of them all with Moss ink (Color Fuse #10).  The second layer is stamped with Basil ink.  There is a nice variety of four different leaves in this set!
  • I used the coordinating dies to cut out all of the flowers and leaves.
  • Add foam tape to the back of the large flower and one small one.  I added a double layer of foam tape to the other small flower so it would be higher than the other two.
  • Adhere the flowers near the top of the stems.
  • For dimension on the leaves, I put a small foam square at the leaf tip and a dot of glue at the base and adhered them to the card base.
  • I stamped the sentiment from the Best Friends Etc. stamp set in black ink.  I trimmed it into a banner shape, added foam tape, and adhered it to the card.
  • For a touch of bling, I added a few rhinestones around the sentiment.


I love how this card turned out and will probably make a few more for my stash!  Thanks so much for stopping by!


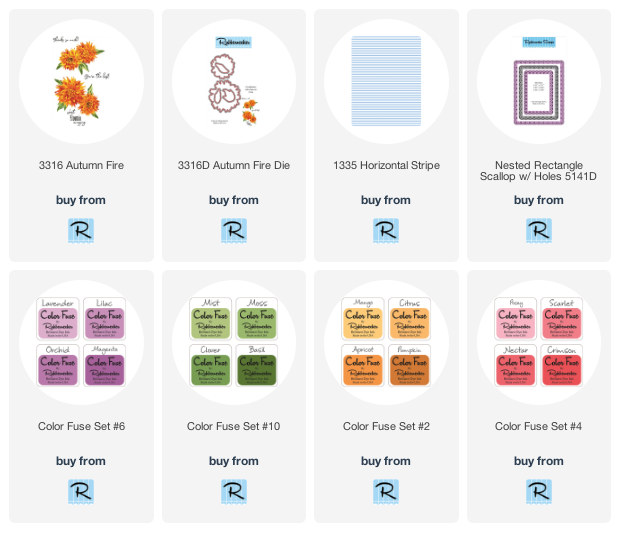
Click the links for these products I used:

Sunday, August 23, 2020

New Autumn Fire Layering Floral Stamps | Rubbernecker Stamps

 Oh my, I am so loving the new floral layering stamps from Rubbernecker Stamps!  For my cards today, I've used the beautiful Autumn Fire stamps with the coordinating dies.  I made two cards with this set--one that would suit any time of the year, and another that is in fall colors.


For the purple card I used the Color Fuse Set #6.  Here are the details:

  • Stamp the Horizontal Stripe background on white card stock with Lavender ink.  Trim the piece to 4" x 5-¼".
  • Cut two thin strips of white card stock.  Drag the Magenta ink pad along each strip to color coordinate them.  Adhere the strips with liquid glue.  Attach the layer to a top folding A2 card base.
  • For all of the floral stamping, I strongly recommend a stamping tool such as the MISTI.  If you need to re-stamp any layer there is no worry if you are using one.
  • I stamped all of the flowers using all of Set #6 inks.  Start with the lightest ink, Lavender, for the base layer.  Use Lilac, Orchid, then Magenta for each subsequent layer.
  • Stamp the flower center with a black ink.
  • Stamp the leaves with Clover and Basil inks from Set #10.
  • Die cut the flowers and leaves with the coordinating dies.
  • I arranged and then adhered the leaves and flowers with glue.  I popped up one large flower and the small one with foam tape.
  • Stamp the sentiment that's in the Autumn Fire set with black ink and trim it to a banner shape.  Adhere it with some glue and foam tape.

To finish the card with a bit of bling, I added some clear purple acrylic hearts with Distress Collage Medium Matte.  I added little dots of Ebony Black Nuvo Crystal Drops to the flower center.

My next card has the beautiful colors of fall!  I think I actually created a CAS card! LOL!

Here are the details for my more more fall themed card.

  • I die cut some white card stock with the Nested Rectangle Scallop w/Holes die.  Stamp the sentiment in black ink in the bottom right corner.
  • Attach this to an A2 red top-folding card base.
  • Place this layer into the MISTI and stamp the large flower layers.  Starting with the base layer and up, I used Mango, Citrus, and Apricot from Set #2.  The fourth layer is stamped with Crimson from Set #4.  Stamp the flower center with Pecan from Set #3.
  • I did a bit of masking for the leaves around the flower that is stamped on the card base layer.  I stamped the base layer onto a full stick Post-it Note.  I fussy cut it out (it really didn't make me fussy though! LOL!)  Place the mask onto the flower.
  • Stamp the leaves around it with Basil and Moss from Set #10.
  • On a separate piece of white card stock, stamp the small flower and some leaves with the same colors as above.
  • Die cut the small flower and leaves with the coordinating dies.
  • Add foam tape to the flower and leaves.  Adhere to the card base.

I love my bling so I added a few gem stickers around the arrangement.  For the dots on the centers I used Chocolate Chip Nuvo Vintage Drops.

I hope I've inspired you to give these beautiful floral layering stamps a try!  Thank you so much for stopping by!  Have a wonderful, crafty week!

Sunday, April 26, 2020

How to Use Layering Stamps with Dies | Rubbernecker Stamps

Hello Rubbernecker friends!  Today I have a bright and cheerful "Just Because" card that's sure to brighten anyone's day!  These beautiful flowers are from the Blossoms In Spring stamp set and the coordinating dies.  I added some dimensional fun with these beautiful Copic colored butterflies from the Brush Butterflies set.  My steps for creating this pretty card are going to be brief, as I hope you will continue reading to learn about using these clear layering stamps in my tips.


Create the card base:
  1. Ink the edges of a 4-¼" x 5-½" white card stock piece with Odyssey ink from Set #7.  I used an ink blending brush to get a smooth blending of the blue ink.
  2. Die cut another piece of white card stock with the largest die from the Nested Rectangle Scallop w/Holes die set.  Adhere it to the inked panel.
  3. Adhere the layered piece to a top-folding A2 card base.

Flowers, leaves, and butterflies:
  1. Ink the flower layers using the included layering guide.  I used Sky, Odyssey and Azure from Set #7.  I always use my MISTI when stamping so I can repeat if necessary.  I used Custard from Set #1 for the flower centers.
  2. Add small drops of Dandelion Yellow Nuvo Crystal Drops to the flower centers and set aside to dry.
  3. Stamp the leaves with ink from Set #11.  I used Fern and Juniper.
  4. Die cut with the coordinating dies.
  5. Stamp the butterflies with Copic-safe ink and color with alcohol markers.
  6. Die cut the butterflies with the coordinating dies.
  7. Adhere the flowers.  The top one with liquid glue, and the bottom flower with foam tape.
  8. Add a small dot of glue to the base of the leaves and tuck under the flowers.
  9. Add a thin line of glue to the center of the butterflies and adhere.
  10. When the glue on the butterflies is dry, bend up the wings slightly for some dimension.
  11. Add sparkle to the butterflies wings with a clear sparkle pen.
I LOVE these dimensional butterflies on the flowers!  This really adds so much interest.


Here are some tips that I hope will be helpful!  Click on the photos for a larger view.


These next three photo show a tip on how to be sure you have the outline stamp lined up correctly.  You will need your stamp positioner for this (I use a MISTI).  Line up the outline stamp with the layered image.  Pick up the stamp with the MISTI door.  Lay a piece of acetate over the image, ink up the stamp and stamp onto the acetate.  I can see here that I have it lined up just right!


This card has all three of my most favorite colors!  Blue, green and yellow make me happy!


I hope my tips will help you when you use your layering stamps and that you'll be inspired to give them a try!  Thank you for stopping by today and have a wonderful, crafty week!


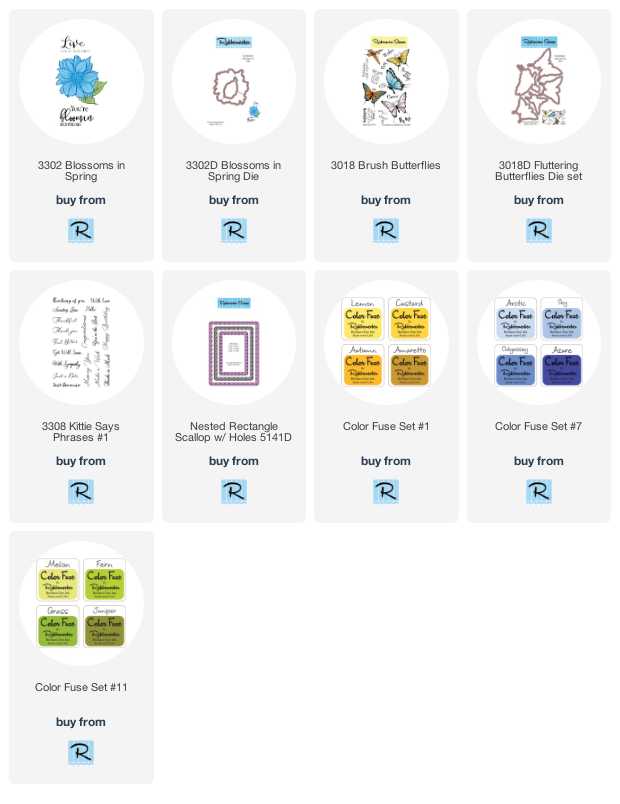
Shop the supplies by clicking these links: