
Hello Rubbernecker friends! Today I have a bright and cheerful "Just Because" card that's sure to brighten anyone's day! These beautiful flowers are from the Blossoms In Spring stamp set and the coordinating dies. I added some dimensional fun with these beautiful Copic colored butterflies from the Brush Butterflies set. My steps for creating this pretty card are going to be brief, as I hope you will continue reading to learn about using these clear layering stamps in my tips.

Create the card base:
- Ink the edges of a 4-¼" x 5-½" white card stock piece with Odyssey ink from Set #7. I used an ink blending brush to get a smooth blending of the blue ink.
- Die cut another piece of white card stock with the largest die from the Nested Rectangle Scallop w/Holes die set. Adhere it to the inked panel.
- Adhere the layered piece to a top-folding A2 card base.

Flowers, leaves, and butterflies:
- Ink the flower layers using the included layering guide. I used Sky, Odyssey and Azure from Set #7. I always use my MISTI when stamping so I can repeat if necessary. I used Custard from Set #1 for the flower centers.
- Add small drops of Dandelion Yellow Nuvo Crystal Drops to the flower centers and set aside to dry.
- Stamp the leaves with ink from Set #11. I used Fern and Juniper.
- Die cut with the coordinating dies.
- Stamp the butterflies with Copic-safe ink and color with alcohol markers.
- Die cut the butterflies with the coordinating dies.
- Adhere the flowers. The top one with liquid glue, and the bottom flower with foam tape.
- Add a small dot of glue to the base of the leaves and tuck under the flowers.
- Add a thin line of glue to the center of the butterflies and adhere.
- When the glue on the butterflies is dry, bend up the wings slightly for some dimension.
- Add sparkle to the butterflies wings with a clear sparkle pen.
I LOVE these dimensional butterflies on the flowers! This really adds so much interest.

Here are some tips that I hope will be helpful! Click on the photos for a larger view.


These next three photo show a tip on how to be sure you have the outline stamp lined up correctly. You will need your stamp positioner for this (I use a MISTI). Line up the outline stamp with the layered image. Pick up the stamp with the MISTI door. Lay a piece of acetate over the image, ink up the stamp and stamp onto the acetate. I can see here that I have it lined up just right!


This card has all three of my most favorite colors! Blue, green and yellow make me happy!

I hope my tips will help you when you use your layering stamps and that you'll be inspired to give them a try! Thank you for stopping by today and have a wonderful, crafty week!
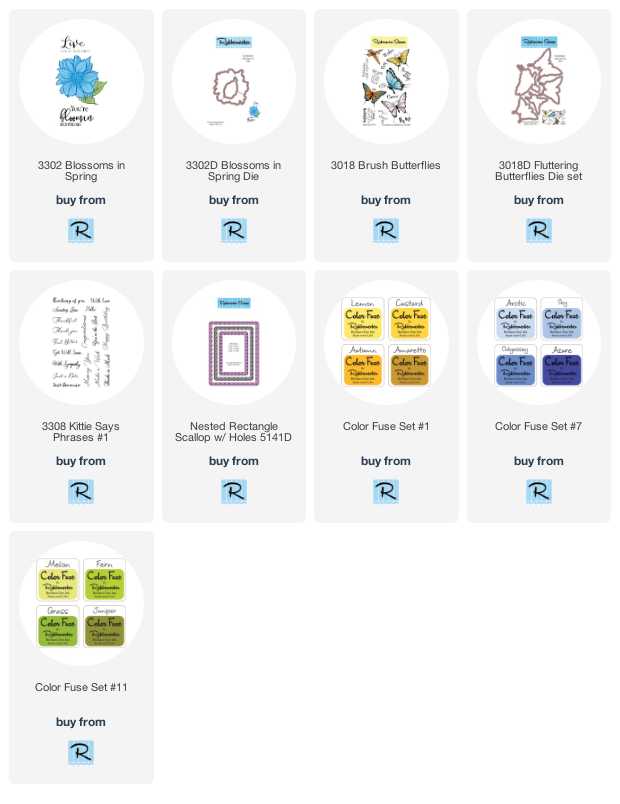
Shop the supplies by clicking these links:
Shop the supplies by clicking these links:
Beautiful card, beautiful colors! I'm so glad someone is successful at layered stamps, and I'll leave them to you :o) None of mine came with a "guideline" and I've NOT had much success (with any brand).
ReplyDeleteJust so Lovely! Again thanks for all the hints. I have only tried to do a layering stamp that I have one time. It was a complete fail! I need to remember your instructions and come back to try again later.
ReplyDelete