
Hello friends! I sure hope that today finds you safe and well. Today I have a cheerful birthday card that I hope will bring a smile to your face! I love creating dimensional flowers and just look at the size of these flowers made with the beautiful Organic Shapable Daisy Die!

Here are my steps to create the card base:
For the flowers:

I was having so much fun creating and arranging the flowers onto my card base, I kind of forgot about the sentiment! LOL! I used a sentiment from the It's Spring Time set and stamped it in black ink. Then I just fussy cut it and popped it up with thin foam squares.
I think all birthday cards should have a bit of sparkle, so I added some glitter onto the flower petals. If you have a fine tip on your glue bottle, you can get just a fine line of glue to sprinkle the glitter onto.

I hope this card gives you inspiration to give these shapable dies a try! Thank you for stopping by. I hope you have a wonderful week!

Here are my steps to create the card base:
- Die cut two of the Floral Frames. Adhere them together with liquid glue and let dry. (I didn't think of it before I die cut these, but I wish I had thought to use a sheet of Stick-It to adhere them! Maybe next time.)
- Adhere the Floral Frame die cuts to a top-folding A2 card base.
For the flowers:
- Die cut a set of petals for each flower from white, light pink, and pink card stock.
- Brush on a bit of pink ink from the Color Fuse Set #5 for shading. I used a small ink blending brush to do this. Test the pink shades on scrap pieces to decide which will work best for your particular shade of pink card stock.
- Die cut four of the leaves.
- Ink some shading onto the leaves with green ink from the Color Fuse Set #11.
- Using a ball tipped stylus and a foam mat, press the stylus onto the back of each petal to create a rounded shape.
- Flip the petals over and press the stylus into the petal centers.
- Adhere the three petal pieces for each flower by adding a dot of glue to the center and stacking one on top of another.
- Die cut the flower stamens from yellow card stock. I used two stamens per flower.
- Shape the stamens with a ball stylus by pressing the stylus on the back side first. Flip it over and press into the center to create a cup shape.
- Adhere two stamens for each flower and then glue them to the flower centers.
- Add a good sized drop of glue to the center of the flowers and sprinkle in some yellow Mini Prills.
- Adhere the flowers to the card base. I used glue dots for two of them and two stacked 3D foam squares for the middle flower.
- Adhere the leaves with liquid glue. I snipped the branches as needed to fit into the arrangement.

I was having so much fun creating and arranging the flowers onto my card base, I kind of forgot about the sentiment! LOL! I used a sentiment from the It's Spring Time set and stamped it in black ink. Then I just fussy cut it and popped it up with thin foam squares.
I think all birthday cards should have a bit of sparkle, so I added some glitter onto the flower petals. If you have a fine tip on your glue bottle, you can get just a fine line of glue to sprinkle the glitter onto.

I hope this card gives you inspiration to give these shapable dies a try! Thank you for stopping by. I hope you have a wonderful week!
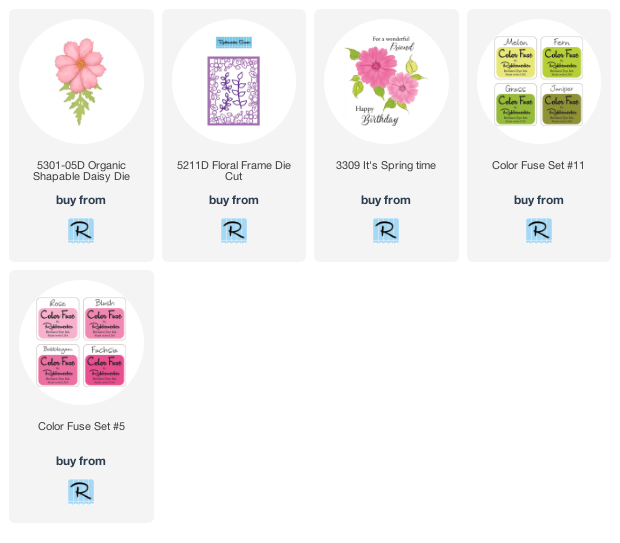
Supplies:
Rubbernecker products:
That frame is just STUNNING, and I too forget the double-sided adhesive until it's too late! This is just too pretty, Carol
ReplyDeleteThe frame is so pretty and so is your floral card. Great design.
ReplyDelete