Showing posts with label Floral Frame. Show all posts

Tuesday, March 30, 2021

Happy Easter, Happy Spring! | Rubbernecker Stamps

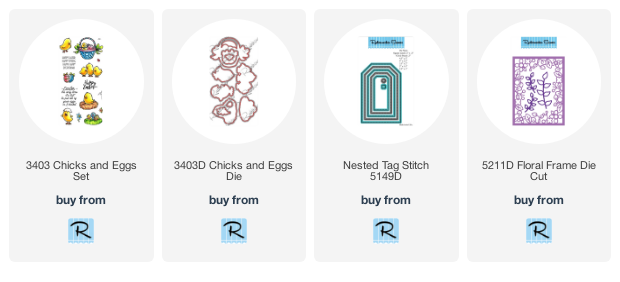
 Hello my friends!  I can't believe that March is almost over and that Easter is almost here!  Today I'm sharing a card I made using Rubbernecker Stamps' adorable new Chicks and Eggs Set.  I hope you will check this set out so you will see the oh so cute chick stamps and other images that are included!


For the card base, I die cut two Floral Frames from 80# white card stock and adhere together with liquid glue.  Then I adhered the Floral Frame to colored card stock and glued this to a top-folding A2 card base.


Then I used the largest Nested Tag Stitch die to cut 80# white card stock.  I used my MISTI and stamped the images from the Chicks and Eggs set in Copic safe ink.  I stamped the basket first, then the grass, flowers and ladybug.  I colored them all with my Copic markers.

Next I created a pink layer for the tag.  I traced around the largest tag die with a pencil and used my paper trimmer to cut it out.  I adhered the pink tag to the back of the tag with the images.  I added foam tape to the back of the tag and adhered it to the card front.

I used some of my ribbon hoard stash (LOL!) and added a pink bow to the tag.  Then I added some pink gem stickers and some sparkle to the eggs and flowers with a clear glitter pen.


Thank you so much for stopping by!  I hope you have had a wonderful beginning to spring with lots of crafty time!
Sunday, April 12, 2020

Birthday Card with Dimensional Flowers | Rubbernecker Stamps

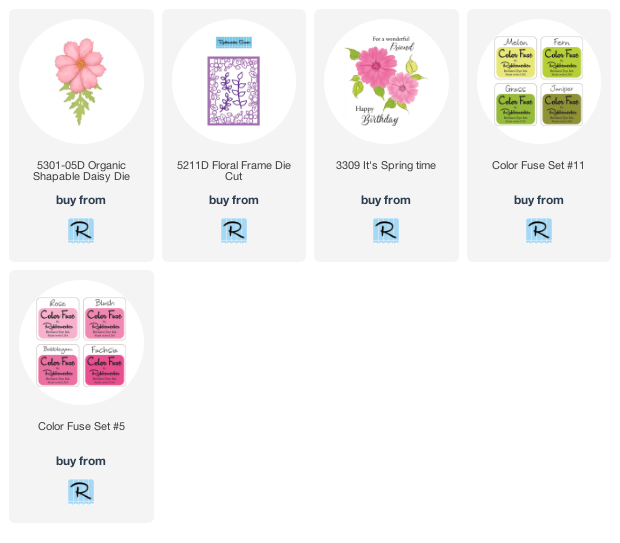
Hello friends!  I sure hope that today finds you safe and well.  Today I have a cheerful birthday card that I hope will bring a smile to your face!  I love creating dimensional flowers and just look at the size of these flowers made with the beautiful Organic Shapable Daisy Die!


Here are my steps to create the card base:

  1. Die cut two of the Floral Frames.  Adhere them together with liquid glue and let dry. (I didn't think of it before I die cut these, but I wish I had thought to use a sheet of Stick-It to adhere them!  Maybe next time.)
  2. Adhere the Floral Frame die cuts to a top-folding A2 card base.

For the flowers:

  1. Die cut a set of petals for each flower from white, light pink, and pink card stock.
  2. Brush on a bit of pink ink from the Color Fuse Set #5 for shading.  I used a small ink blending brush to do this.  Test the pink shades on scrap pieces to decide which will work best for your particular shade of pink card stock.
  3. Die cut four of the leaves.
  4. Ink some shading onto the leaves with green ink from the Color Fuse Set #11.
  5. Using a ball tipped stylus and a foam mat, press the stylus onto the back of each petal to create a rounded shape.
  6. Flip the petals over and press the stylus into the petal centers.
  7. Adhere the three petal pieces for each flower by adding a dot of glue to the center and stacking one on top of another.
  8. Die cut the flower stamens from yellow card stock.  I used two stamens per flower.
  9. Shape the stamens with a ball stylus by pressing the stylus on the back side first.  Flip it over and press into the center to create a cup shape.
  10. Adhere two stamens for each flower and then glue them to the flower centers.
  11. Add a good sized drop of glue to the center of the flowers and sprinkle in some yellow Mini Prills.
  12. Adhere the flowers to the card base.  I used glue dots for two of them and two stacked 3D foam squares for the middle flower.
  13. Adhere the leaves with liquid glue.  I snipped the branches as needed to fit into the arrangement.


I was having so much fun creating and arranging the flowers onto my card base, I kind of forgot about the sentiment! LOL!  I used a sentiment from the It's Spring Time set and stamped it in black ink.  Then I just fussy cut it and popped it up with thin foam squares.

I think all birthday cards should have a bit of sparkle, so I added some glitter onto the flower petals.  If you have a fine tip on your glue bottle, you can get just a fine line of glue to sprinkle the glitter onto.


I hope this card gives you inspiration to give these shapable dies a try!  Thank you for stopping by.  I hope you have a wonderful week!

Supplies:
Altenew Gradient Cardstock Sets: Red Cosmos, Green Meadows, Summer Afternoon