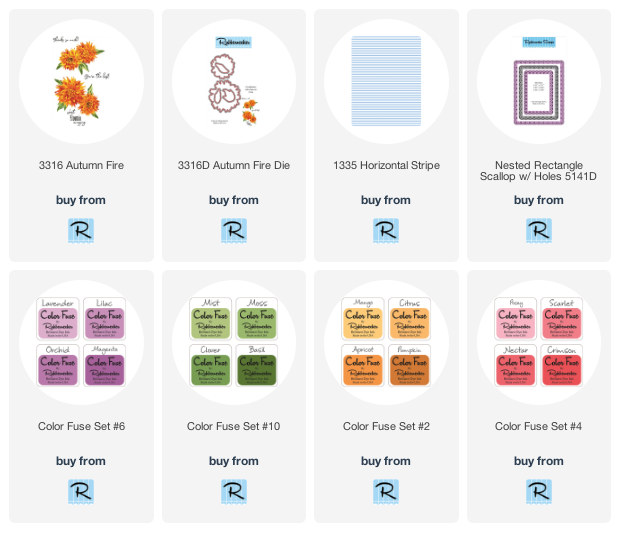
Oh my, I am so loving the new floral layering stamps from Rubbernecker Stamps! For my cards today, I've used the beautiful Autumn Fire stamps with the coordinating dies. I made two cards with this set--one that would suit any time of the year, and another that is in fall colors.


For the purple card I used the Color Fuse Set #6. Here are the details:
- Stamp the Horizontal Stripe background on white card stock with Lavender ink. Trim the piece to 4" x 5-¼".
- Cut two thin strips of white card stock. Drag the Magenta ink pad along each strip to color coordinate them. Adhere the strips with liquid glue. Attach the layer to a top folding A2 card base.
- For all of the floral stamping, I strongly recommend a stamping tool such as the MISTI. If you need to re-stamp any layer there is no worry if you are using one.
- I stamped all of the flowers using all of Set #6 inks. Start with the lightest ink, Lavender, for the base layer. Use Lilac, Orchid, then Magenta for each subsequent layer.
- Stamp the flower center with a black ink.
- Stamp the leaves with Clover and Basil inks from Set #10.
- Die cut the flowers and leaves with the coordinating dies.
- I arranged and then adhered the leaves and flowers with glue. I popped up one large flower and the small one with foam tape.
- Stamp the sentiment that's in the Autumn Fire set with black ink and trim it to a banner shape. Adhere it with some glue and foam tape.

To finish the card with a bit of bling, I added some clear purple acrylic hearts with Distress Collage Medium Matte. I added little dots of Ebony Black Nuvo Crystal Drops to the flower center.

My next card has the beautiful colors of fall! I think I actually created a CAS card! LOL!

Here are the details for my more more fall themed card.
- I die cut some white card stock with the Nested Rectangle Scallop w/Holes die. Stamp the sentiment in black ink in the bottom right corner.
- Attach this to an A2 red top-folding card base.
- Place this layer into the MISTI and stamp the large flower layers. Starting with the base layer and up, I used Mango, Citrus, and Apricot from Set #2. The fourth layer is stamped with Crimson from Set #4. Stamp the flower center with Pecan from Set #3.
- I did a bit of masking for the leaves around the flower that is stamped on the card base layer. I stamped the base layer onto a full stick Post-it Note. I fussy cut it out (it really didn't make me fussy though! LOL!) Place the mask onto the flower.
- Stamp the leaves around it with Basil and Moss from Set #10.
- On a separate piece of white card stock, stamp the small flower and some leaves with the same colors as above.
- Die cut the small flower and leaves with the coordinating dies.
- Add foam tape to the flower and leaves. Adhere to the card base.

I love my bling so I added a few gem stickers around the arrangement. For the dots on the centers I used Chocolate Chip Nuvo Vintage Drops.

I hope I've inspired you to give these beautiful floral layering stamps a try! Thank you so much for stopping by! Have a wonderful, crafty week!