Showing posts with label layering stamps. Show all posts

Tuesday, June 14, 2022

I'll Always Be There For You! -- A Mixed Media Background Card

Hello crafty friends!  Today I'm sharing a card featuring Rubbernecker Stamps beautiful new Layered Daisy Bouquet stamp set.  I've created a mixed media background to show off these pretty flowers.  Read on for the details!

First I created my background on a 4" x 5-¼" piece of watercolor cardstock.

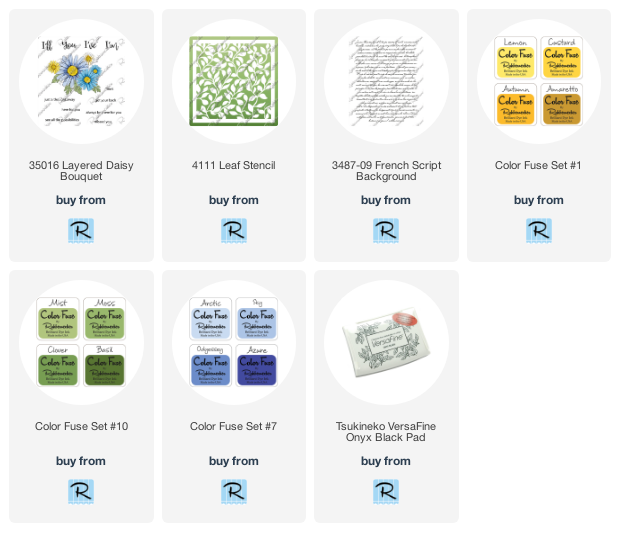
  • Using a brayer, I swiped on two shades of yellow ink onto the watercolor cardstock.  I used Lemon and Autumn from the Color Fuse #1 set.
  • I let that dry, then added some random stamping with the French Script background stamp and Amaretto ink.
  • Next I sprayed the back of the Leaf Stencil with Pixie spray.
  • Then I spread some texture paste through the stencil.  I didn't cover the entire stencil, but just applied the paste here and there.
  • When the piece was dry, I used a glue pen to add glitter to the dry texture paste.

Next I stamped the outline stamp of several of the flowers and leaves from the Layered Daisy Bouquet set in black ink.  Then I used the included layering guide to stamp each layer with blue ink from Color Fuse #7.  For the leaves I used Color Fuse #10.  I fussy cut the images and arranged them on my card with glue and some with foam tape.

I stamped the sentiment from the Layered Daisy Bouquet set in black ink.  I popped it up with foam tape for more dimension.

This was super fun to make!  I like how the texture paste absorbs some of the yellow inks to create a subtly textured background!  Thanks so much for stopping by!
Tuesday, March 1, 2022

Altenew Build-A-Flower: Giant Bellflower Release Blog Hop + Giveaway ($200 in total prizes)

 Hello crafty friends!  I'm so happy to be joining in Altenew's blog hop to celebrate the release of the beautiful Build-A-Flower: Giant Bellflower!

You should have arrived here from the very talented Virginia's blog.  If you need to start from the beginning, head over to the Altenew Card Blog.  You can find the complete hop list at the end of this post.

This gorgeous layering stamp set, along with coordinating dies, is available now in the Altenew store.  You can purchase the Build-A-Flower: Giant Bellflower Layering Stamp & Die Set, or save more by subscribing to the Build-A-Flower Monthly Subscription Plan to save 14%.

Now on to my card details!

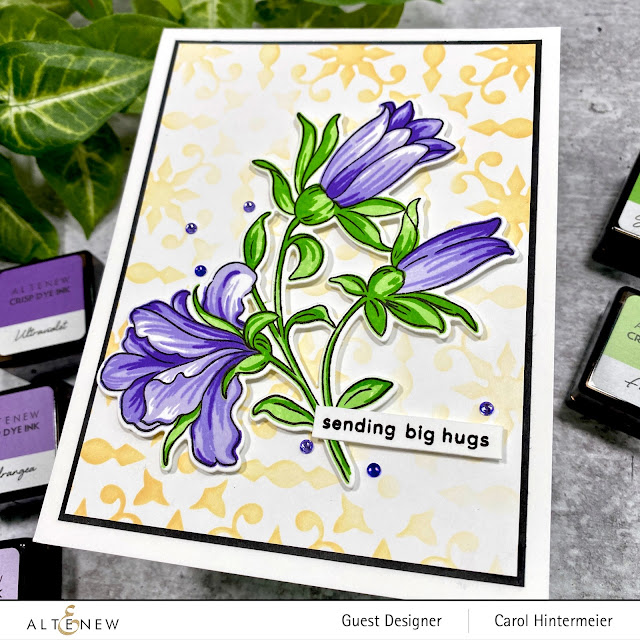
First I stenciled some warm yellow ink through the Lacy Tile stencil onto a 3-¾" x 5" piece of white card stock.  I adhered this to a black mat layer and then to a top-folding A2 card base.

Next I stamped the images of the beautiful Build-A-Flower: Giant Bellflower.  I stamped the outline with Jet Black ink.  The flower layers are stamped with Wisteria, Hydrangea, and Ultraviolet inks from the Enchanted Garden ink cube set.  I stamped the stem and leaves with Firefly and Grass Field ink from the Green Valley ink cube set.  The included layering guide makes this so easy!  I cut the image out with the coordinating die and added foam tape to the back to adhere it to the card.

I stamped one of the sentiments from the BAF Giant Bellflower set with black ink, trimmed it into a strip and added some foam tape to the back to pop it up.  I added a few crystal gems from my stash for a touch of sparkle!

Thank you very much for stopping by!  Be sure to leave a comment here, on my blog, to increase your chances to win one of the wonderful prizes!

Continue hopping to the next amazing designer:  Nanette S. Madero and leave comments at each stop!

Giveaway Prizes

$200 in total prizes! To celebrate this release, Altenew is giving away a $50 gift certificate to 2 lucky winners and a $20 gift certificate to 5 winners! Please leave a comment on the Altenew Card Blog and/or each designer’s blog post on the blog hop list below by 03/06/2022 for a chance to win. Altenew will draw 7 random winners from the comments left on each stop of this blog hop and announce the winners on the Altenew Winners Page on 03/09/2022.


Blog Hop List:

Tuesday, October 12, 2021

Daisy Daydream Thank You Card | Rubbernecker Stamps

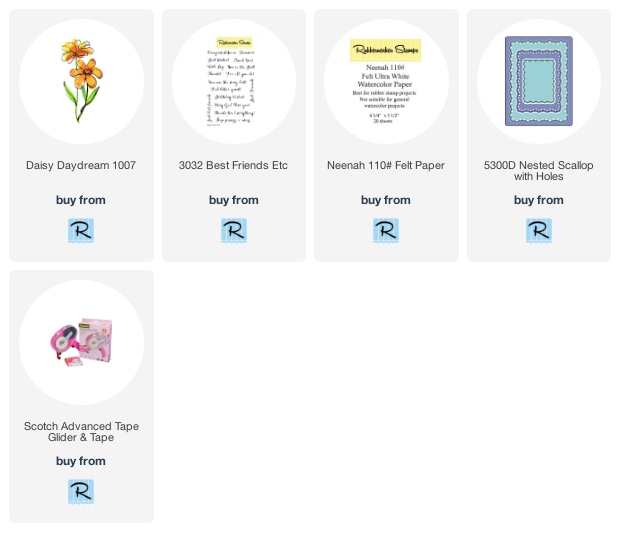
Hello friends!  Today I'm sharing a fun-to-make, quick-and-easy thank you card using Rubbernecker Stamps beautiful Daisy Daydream stamp set.

The Daisy Daydream stamp set is the style of stamp that was used when I very first saw the demo in a Rubbernecker booth at a craft show several years ago!  I was hooked on this company since then!!  I have always been fascinated by the technique used with this style of set.   Check out this video over on Rubbernecker's YouTube channel.  This shows the technique for all of the sets with the solid and outline stamps.

Stamp the image:

  • Place a piece of Neenah 110# Felt Ultra White Watercolor Paper in your MISTI.  Position the solid stamp and pick it up with the MISTI door.
  • Using watercolors of your choice, paint the lightly diluted color onto the solid stamp in the Daisy Daydream set.  I used Tangerine and Coral Crush Color Bursts.  A tip I learned is to use just slightly diluted color.  Too much water, and the color will bead up on the stamp.
  • Mist lightly with water, and then stamp.  You can repeat this step as much as you want!  It's really fun to just play and have fun with the colors.  Just be sure to use colors, that when blended, are harmonious.
The first photo shows the image after one stamping.  I added more color at the petal tips and more dark green on the leaves.  Sap Green Color Burst was used for the entire leaf, and I used a darker green from my watercolor stash.

Finishing the card:

  • Position the outline stamp of the Daisy and stamp with Versafine Onyx Black ink.  What I really love about these sets is that they are in a very sketchy style.  If your outline doesn't line up with the color image, you've done it right!
  • Die cut the piece with the largest die of the Nested Scallop with Holes die set.  Be sure to save the outer piece!
  • Add some striped patterned paper to an A2 card base and glue the die cut outer piece to the card.
  • I wanted to add some pretty gold spatters to my background, but didn't want the spatters on the flower.  I recently had an idea to use the actual stamp itself as a mask to avoid unwanted splatters!  Place the stamp over your image, splatter away, and then clean off the back of your stamp!  I used Yellow Gold from the Gansai Tambi Starry Colors set.
  • After the spatters were dry, I stamped the sentiment from the Best Friends Etc. set in Versafine Onyx Black ink.

  • Next, wrap some twine around the die cut piece, securing with some tape.
  • Add foam tape to the back and adhere to the card.

Thank you so much for stopping by today!  Have a wonderful, craft week!

Tuesday, August 10, 2021

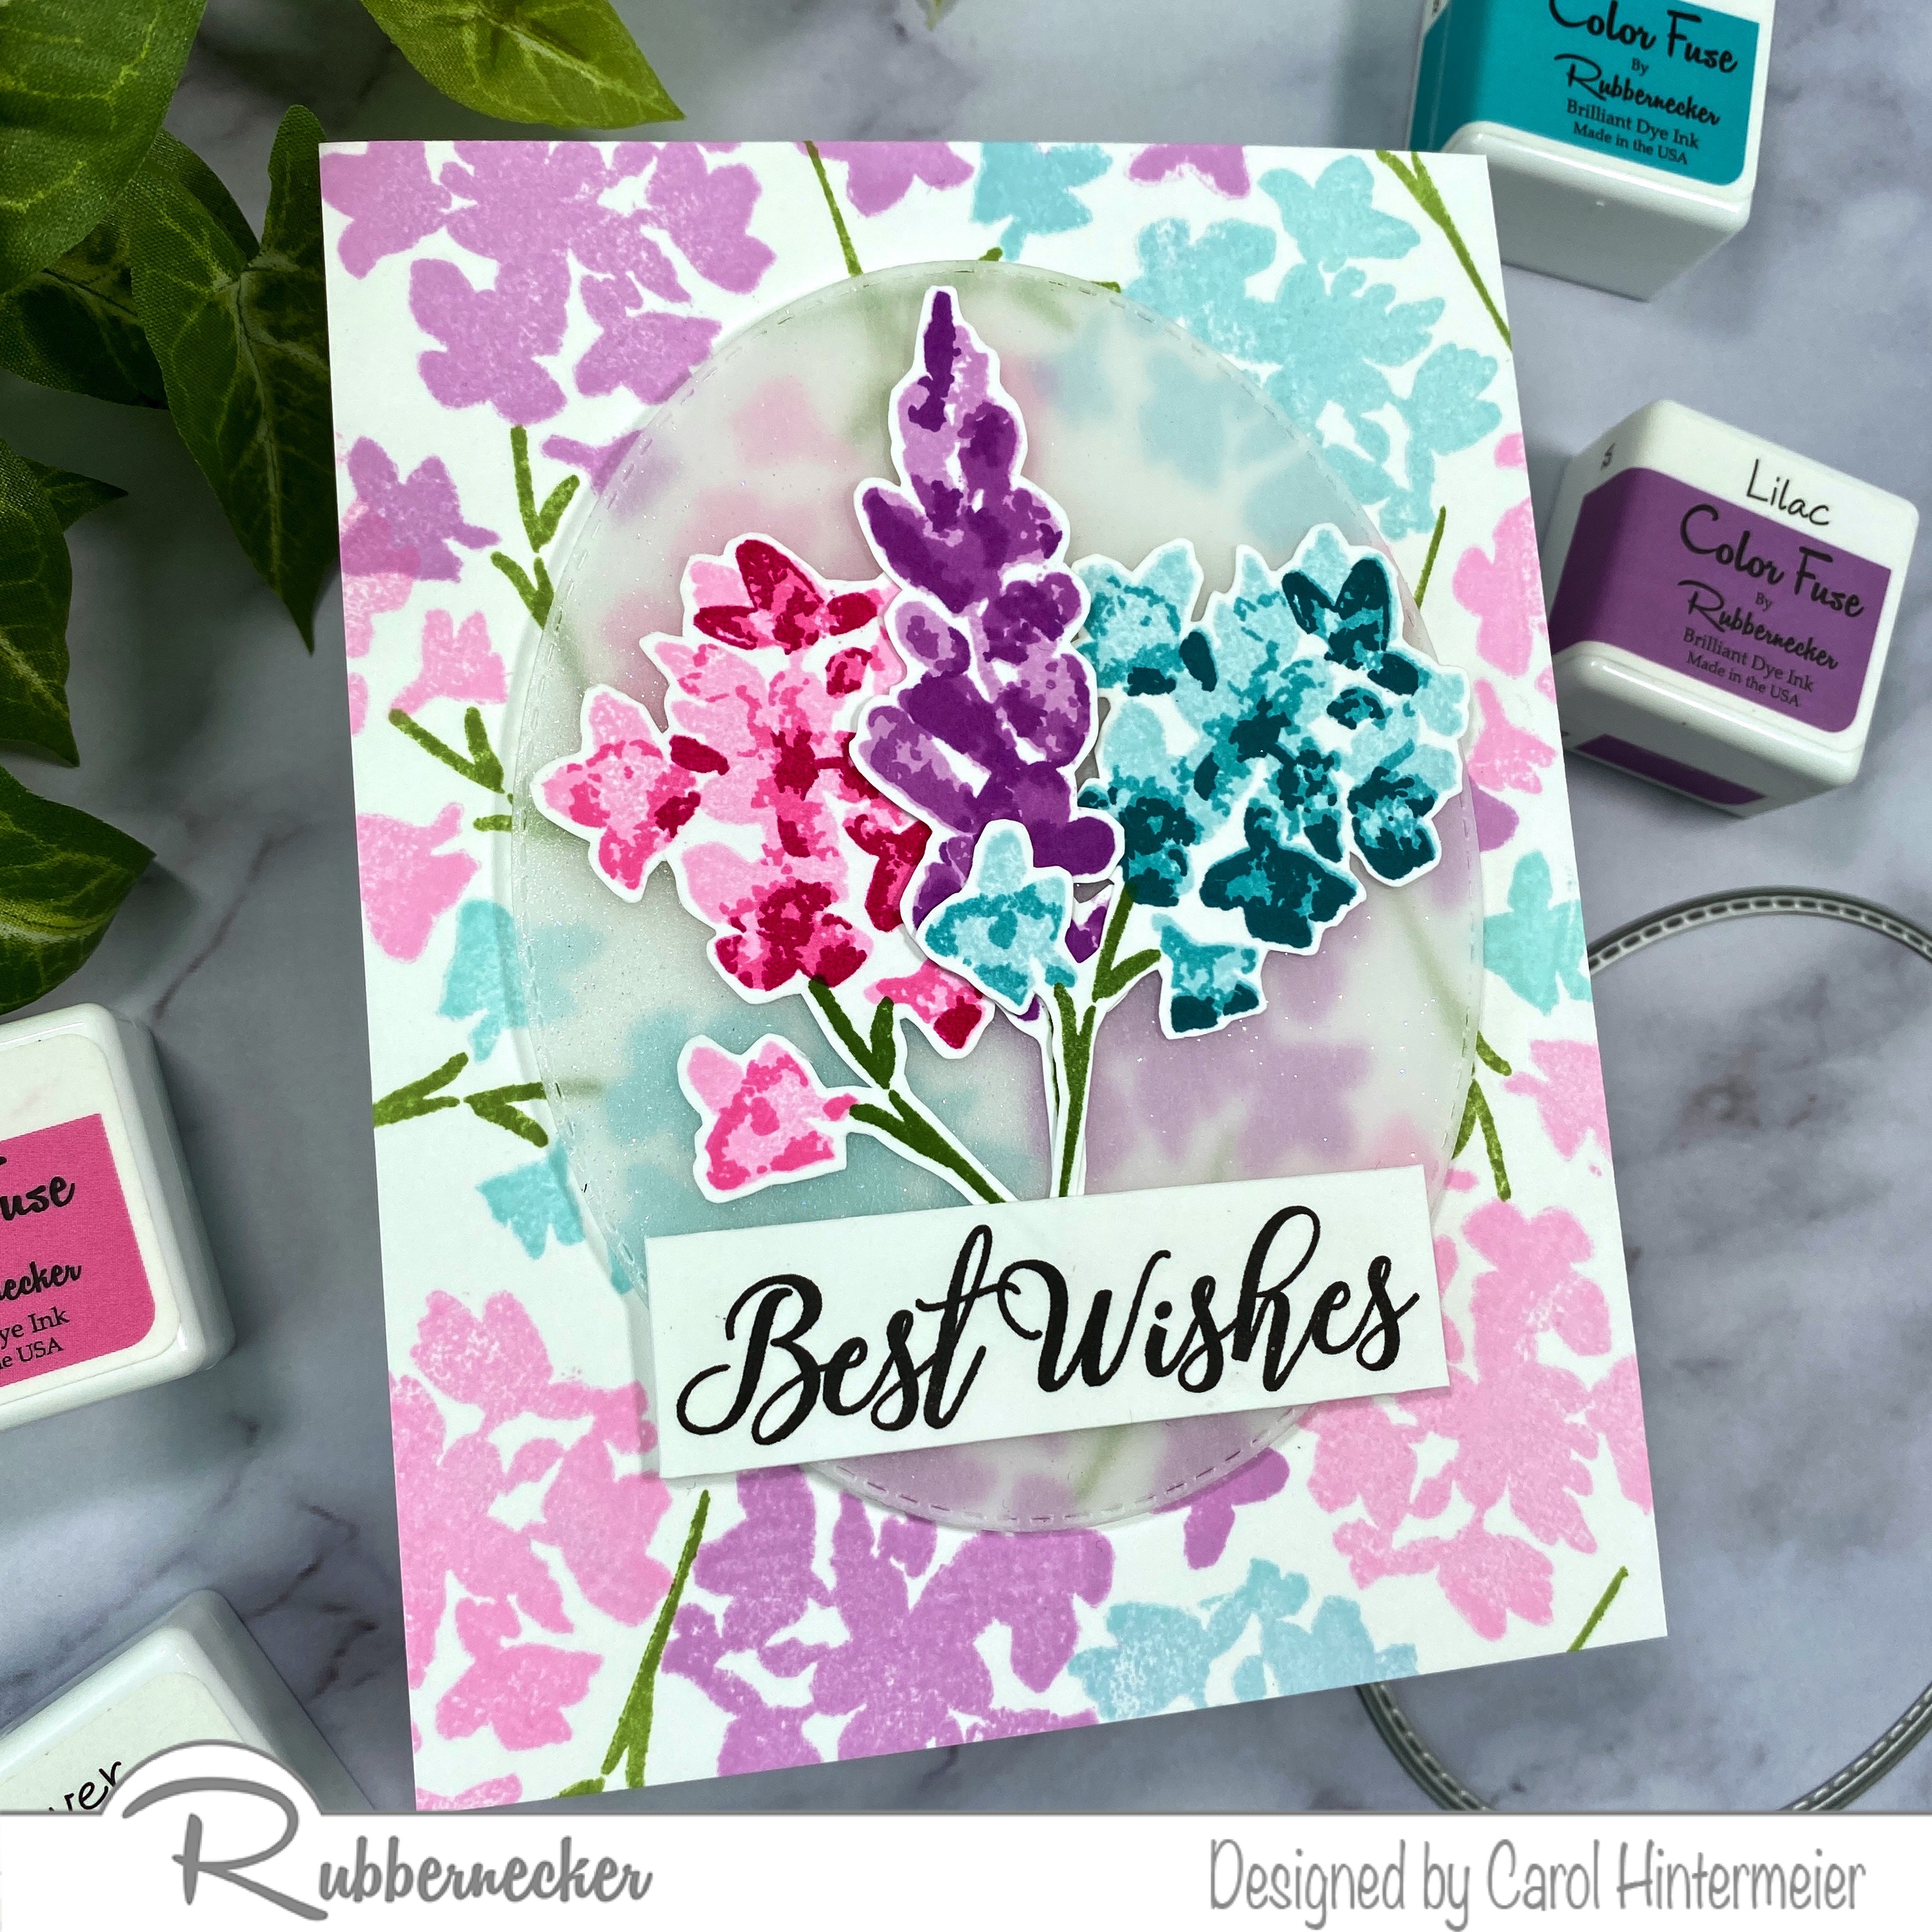
Best Wishes Card Featuring the New Fresh Breeze Stamp Set | Rubbernecker Stamps

 Hello friends!  Today my card is featuring one of the beautiful new Rubbernecker Stamps floral stamp sets!  This one is called Fresh Breeze, and it is a gorgeous set with solid stamp images and additional layering stamps that add so much dimension!

First created the background piece:

  • I "conditioned" the Fresh Breeze stamps by rubbing a white eraser over them until the shine was gone.  This really helps to minimize any beading up of the ink!
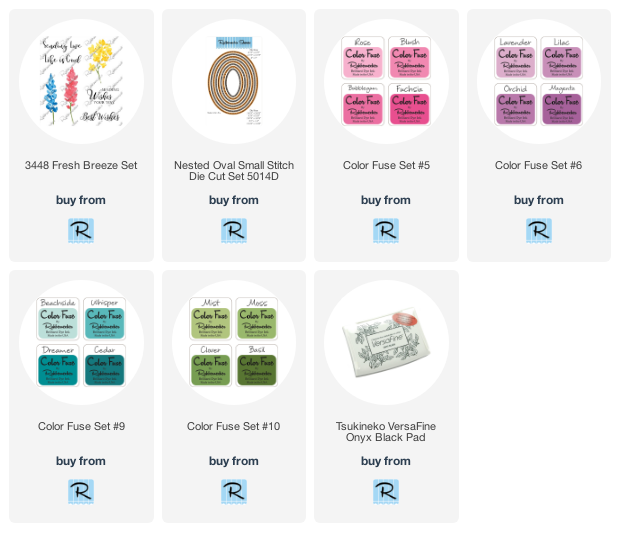
  • Stamp the base layer using two of the flower stamps from the Fresh Breeze set and the stems randomly over the A2 sized white card stock.  I used the lightest shade of ink from the Color Fuse ink Set #s 5, 6, and 9.  I stamped all of the stems with Clover ink from set #10.  I have these and all products linked at the end of my post.
  • Here's a peek at it all in progress:

  • I used an acrylic stamp block for this to make it quick and easy.  I was sure to let some of the flowers hang off of the card stock edge to create more of a natural background look.
  • I adhered the piece to a top-folding card base.

  • Next I stamped all of the layers for each of the two flowers creating three flowers and stems.  I switched to my MISTI for stamping the layers in case I decided to stamp the layer more than once.  I used the same Color Fuse sets as above, but for the three layers, I used shades 1, 2, and 4.  (Don't you love how the ink cubes are labeled 1 through 4?!!  I used Basil from ink set #10 for the stems.  Then I fussy cut them out.
  • I had a piece of sparkly vellum leftover from another project.  It was a piece that I had sprayed with Therm O Web Iridescent Glitter Dust.  It creates such a pretty, yet subtle sparkle!  I die cut the vellum with the next to largest Nested Oval Small Stitch die.
  • Next I adhered the flowers to the vellum oval with liquid glue.
  • Then I stamped the sentiment from the Fresh Breeze stamp set in black ink.  I trimmed it to a rectangle shape and adhered it to the oval.
  • I added foam tape to the back of the oval, but only behind the flowers and sentiment.  Don't want that to show through!  I adhered the piece to the card.

I love how this turned out!  It was really fun creating the background too!  Thank you so much for stopping by!  Have a wonderful, crafty week!

Thursday, July 1, 2021

Altenew Build-A-Flower: Bearded Iris Release Blog Hop + Giveaway

 Hello crafty friends!  Welcome to my stop in the blog hop to celebrate the release of Altenew's gorgeous new Build-A-Flower: Bearded Iris!

You should have arrived here from awesome Seeka's blog.  If you need to start at the beginning, head on over to the Altenew Card Blog.

The stunning Build-A-Flower: Bearded Iris is available now in Altenew's shop!  There are three ways you can purchase this beautiful set.  Click each image for the details.  It's available as a Layering Stamp & Die set, Layering Stamp, Die Set & Ink Bundle (saving 5%); or you can subscribe to the Build-A-Flower Monthly Subscription Plan (saving 14%).


*********************************

I really think that the Build-A-Flower: Bearded Iris layering stamp set is one of Altenew's most beautiful layering sets!!  In the spring I have purple bearded irises in my garden, so of course, I had to make the irises on my card purple!

First I stamped the layers of the Bearded Iris in purple with Shades of Purple ink set.  I stamped the leaves with Firefly and Grass Field inks from the Green Valley ink cube set.  I used the coordinating die to cut them out.

For the background layer, I stamped the other Bearded Iris outline stamp twice with Soft Lilac ink.  Then I used the Creative Edges: Scalloped Scallops die set to cut the edges.  I then used a drop of Deep Iris Dye Ink re-inker and slightly diluted it with some water to add splatters to the panel.  I used Jet Black ink to stamp the sentiment from the set.


Next I adhered the scalloped panel to a purple card stock layer and added it to an A2 card base.  I popped up the iris with some foam tape and adhered the leaves with glue.

Thank you for stopping by and don't forget to leave a comment before you go to the next stop!

Now hop on over to the blog of the awesome Dana Joy!

Giveaway Prizes

$200 in total prizes! To celebrate this release, Altenew is giving away a $50 gift certificate to 2 lucky winners and a $20 gift certificate to 5 winners! Please leave a comment on the Altenew Card Blog and/or each designer’s blog post on the blog hop list below by 07/07/2021 for a chance to win. Altenew will draw 7 random winners from the comments left on each stop of this blog hop and announce the winners on the Altenew Winners Page on 07/09/2021.

Blog Hop Order

Altenew Blog

Jaycee Gaspar

LauraJane

Tenia Nelson

Jenny Colacicco

Emily Midgett

Amanda Baldwin

Virginia Lu

Michelle Short

Verity Biddlecombe

Seeka

Carol Hintermeier <<< that's me

Dana Joy

Nathalie DeSousa

Sandhya Iyer

Daniel Diaz

Bridget Casey

Justine Hovey

Keren Baker

Linda Westfall

Nenette S. Madero

Saturday, May 1, 2021

Altenew Build-A-Flower: Indian Lotus Release Blog Hop + Giveaway

Hello friends!  Welcome to the Altenew Build-A-Flower: Indian Lotus blog hop!


You should have arrived from the blog of super talented Emily Midgett.  If you need to begin at the start, head on over to the Altenew Card Blog.  The entire hop list is at the end--so much beautiful inspiration!

The gorgeous Build-A-Flower: Indian Lotus is available in the Altenew shop with three different options:  Indian Lotus Layering Stamp & Die Set; Indian Lotus Layering Stamp & Die Set & Ink Bundle (save 5%); or the Build-A-Flower Monthly Subscription Plan (14% off).  Click the images to go to the shop for all the details:


********************************************************

Now onto my card!  I love this gorgeous set and wanted to use the various layers of the set.  I created a beautiful watery background for the images--read on for the details!

I began by taping around the edges of a 4" x 5-¼" watercolor panel with masking tape.  First I used a wide brush to add water to the entire panel.  Then I did a swirly wash of color by using Lagoon from the 36 Pan Watercolor Set creating a watery ombré background.   I set this aside to dry.  Once dry, I slowly peeled off the masking tape.  I love how this turned out!


Next I stamped the Indian Lotus flowers in shades of pink from the Rose Petals Dye Ink Cube set.  I stamped the greenery with greens from the Green Fields Dye Ink Cube set.  To give the images somewhat of a "no-line" look, I also stamped the outline stamp in a medium shade from those ink cube sets.

I used the coordinating Indian Lotus dies to cut them all out.  Then I added foam tape to the back of the flowers.

I stamped the sentiment that's in the Indian Lotus set in black ink and trimmed it with my paper trimmer.


Thank you so much for stopping by! I hope you've enjoyed my card and will leave a comment below for your chance to win!


Your next stop on the hop is Amber Rain Davis!


Giveaway Prizes

$200 in total prizes! To celebrate this release, Altenew is giving away a $50 gift certificate to 2 lucky winners and a $20 gift certificate to 5 winners! Please leave a comment on the Altenew Card Blog and/or each designer’s blog post on the blog hop list below by 05/06/2021 for a chance to win. Altenew will draw 7 random winners from the comments left on each stop of this blog hop and announce the winners on the 

Altenew Winners Page on 05/08/2021.


Blog Hop Order:

Altenew Card Blog

Norine Borys

Amanda Baldwin

Emily Midgett

Carol Hintermeier <<< that's me

Amber Rain Davis

Erin Thompson

Therese Calvird

Jenny Colacicco

Tenia Nelson

Joylita Dsouza

Virginia Lu

Keren Baker

LauraJane

Linda Westfall

Nathalie DeSousa

Nandini Karmarkar

Sandhya Iyer

Seeka

Teresa Litchfield

Terri Koszler

Verity Biddlecombe

Helen Kalb

Thursday, April 1, 2021

Altenew Build-A-Flower: Coneflower Release Blog Hop + Giveaway

 Hello my crafty friends!  I'm so very thrilled to be joining in Altenew's Build-A-Flower: Coneflower blog hop!  This is such a beautiful set and you will see lots of gorgeous inspiration along the hop!

You should have arrived here from the awesome blog of Dana Joy!  I have the complete list at the end, and if you need to begin at the start, head over to the Altenew Card Blog.  This gorgeous set as described by Altenew:

"Extend a hand in gratitude and friendship with this delightful floral layering set.


This stamp set features two beautiful layering coneflowers. For ease of use, we have included two coloring layers for each part of the flower: the flower center, petals and leaves, and stem. The larger flower has three color layers for the petals.


The Build-A-Flower: Coneflower special edition stamp and die set is only sold as a bundle. It includes one 6" x 8" clear photopolymer stamp set (24 individual stamp images) and one coordinating die set (2 dies)."

This amazing set is available in three different options.  Please click the photo to go to Altenew's shop for the specific details.


For my card I created a white-on-white background.  I love this crisp and elegant look!

I die cut the beautiful Striped Leaf Cover Die and adhered it to a top-folding A2 card base.  Next I stamped the Coneflower images in Jet Black ink.  I love layering stamp sets for the quick and easy dimension you achieve!  I stamped the flower layers in Rose Quartz, Puffy Heart, and Purple Wine which are in the Rose Petal Mini Cube Set.  The leaves are stamped in Forest Glades, and Evergreen from the Green Fields Mini Ink Cube set.  Then I used the coordinating dies to cut them out.  I added foam tape to the back of two flowers and adhered them to the card.  I tucked the third flower in at the top with liquid glue.

The sentiment I chose is one of several in this set!  I love having a set with sentiments for different occasions.  I stamped it in Jet Black ink and trimmed it into a rectangle.  I added a black mat and popped it up on the card.  For a bit of bling, I added some black enamel dots.

This was a fun, quick and easy card to make and I hope I've given you inspiration for this beautiful set.  Thank you for stopping by and have fun hopping!  Your next stop is Christine Pennington!


Giveaway Prizes

$200 in total prizes! To celebrate this release, Altenew is giving away a $50 gift certificate to 2 lucky winners and a $20 gift certificate to 5 winners! Please leave a comment on the Altenew Card Blog and/or each designer’s blog post on the blog hop list below by 04/07/2021 for a chance to win. Altenew will draw 7 random winners from the comments left on each stop of this blog hop and announce the winners on the Altenew Winners Page on 04/09/2021.


Blog Hop Order


Altenew Card Blog

Jaycee Gaspar

LauraJane

Nathalie DeSousa

Verity Biddlecombe

Keren Baker

Norine Borys

Jenny Colacicco

Nicole Watt

Terri Koszler

Amber Rain Davis

Amanda Baldwin

Erum Tasneem

Sandhya Iyer

Emily Midgett

Nichol Spohr 

Tenia Nelson

Dana Joy

Carol Hintermeier << that's me!

Christine Pennington

Joylita Dsouza

Teresa Litchfield

Agnieszka Małyszek

Yoonsun Hur