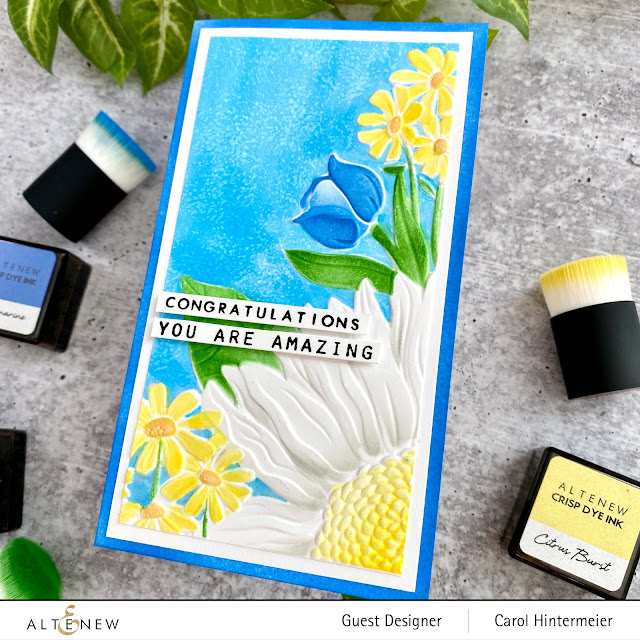
Hello, and welcome to the blog hop to celebrate Altenew's release of the absolutely gorgeous Build-A-Garden: Magnificent Branch! You should have arrived here from the blog of Jaycee Gaspar. If you need to start at the beginning, head on over to the Altenew Card Blog.
From Altenew:
Enjoy our Build-A-Garden project set, an exciting monthly package that is sure to get the creative juices flowing! Each month includes a stamp set along with a coordinating stencil set and/or die set PLUS a customer-favorite Mini Blending Brush! Build your collection of brushes from month to month so you will never be left looking for the perfect tool while crafting.
This set contains the following products:
- one 6" x 8" stamp set containing 10 stamps made in the USA from high-quality photopolymer
- one layering stencil set containing 4 stencils that coordinate with the stamp set
- one Mini Blending Brush for ink blending
Note: These products are NOT sold separately.
Click here to check out all of the details of the monthly Build-A-Garden subscription!
******************************************
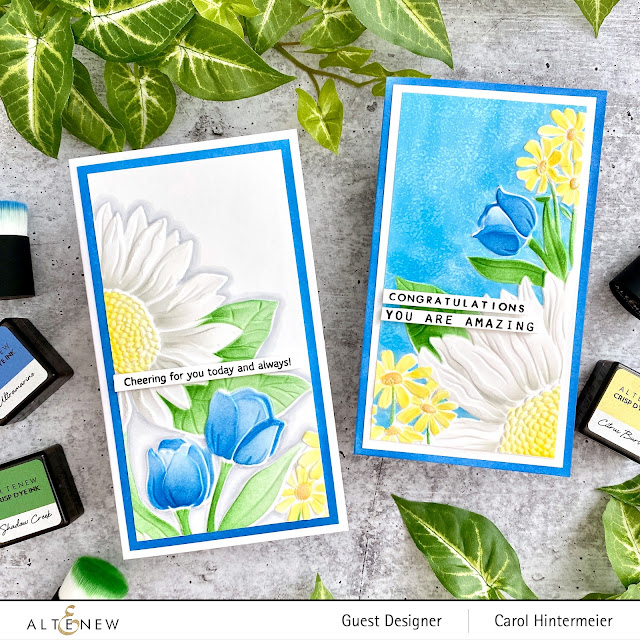
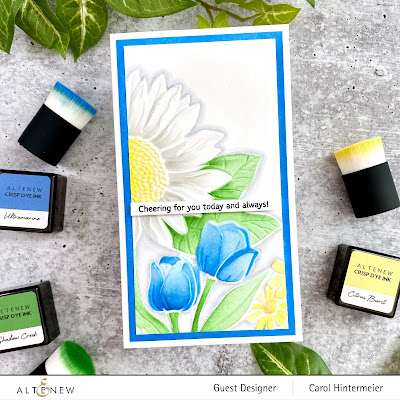
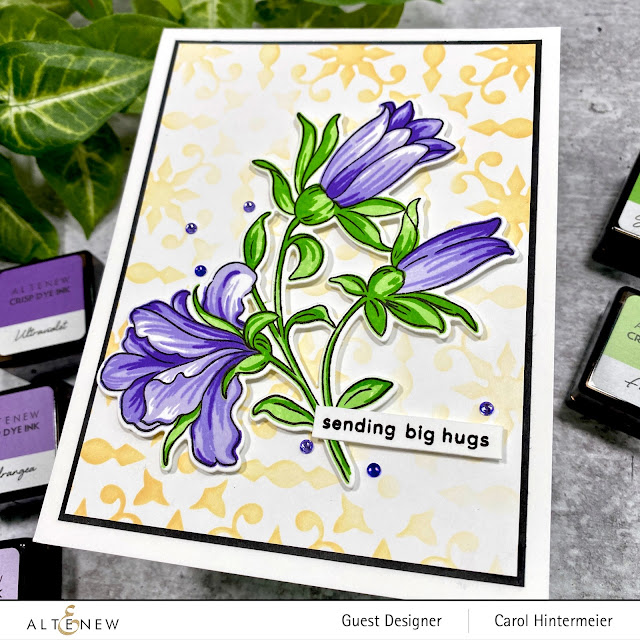
I thought about stamping the Build-A-Garden: Magnificent Branch image onto two A2 cards. However, I just think it's so beautiful as one large image on a slimline card, and that's what I went with! First I stamped it with black ink and then used the coordinating Build-A-Garden: Magnificent Branch Layering Stencils to color it with ink blending brushes and various Altenew Crisp Dye Inks. The colors I used are Coral Bliss, Heart Beat, Vineyard Berry, Maple Yellow, Firefly, Grass Field, and Mountain Pine. For the branch I used Gathered Twigs Distress Ink.
After I finished the stenciling, I smooshed the ink pads onto my glass mat and used a watercolor brush to pick up the colors and added more more depth and details to the leaves and flowers. When it was dry, I trimmed the card to 8" x 3-½".
For the coordinating mat layer I inked the edges of a 8-¼" x 3-¾" piece of white cardstock with Coral Bliss Crisp Dye ink. Just drag the ink pad along the edges for a quick and easy coordinating layer!
I adhered the mat layer to my slimline card base with glue. Then I stamped the sentiment, including in the stamp set, onto a strip of vellum with clear embossing ink. I added black embossing powder and heat set it. Next I trimmed it into a strip and adhered the edges on the back of my stamped and colored panel.
I adhered the piece to the card and added a few clear acrylic drops for some shine.
Thank you very much for stopping by! Be sure to leave a comment here, before heading to the next stop, for your chance to win an awesome prize.
Giveaway Prizes
$200 in total prizes! To celebrate this release, Altenew is giving away a $50 gift certificate to 2 lucky winners and a $20 gift certificate to 5 winners! Please leave a comment on the Altenew Card Blog and/or each designer’s blog post on the blog hop list below by 05/07/2022 for a chance to win. Altenew will draw 7 random winners from the comments left on each stop of this blog hop and announce the winners on the Altenew Winners Page on 05/09/2022.
Blog Hop Order: