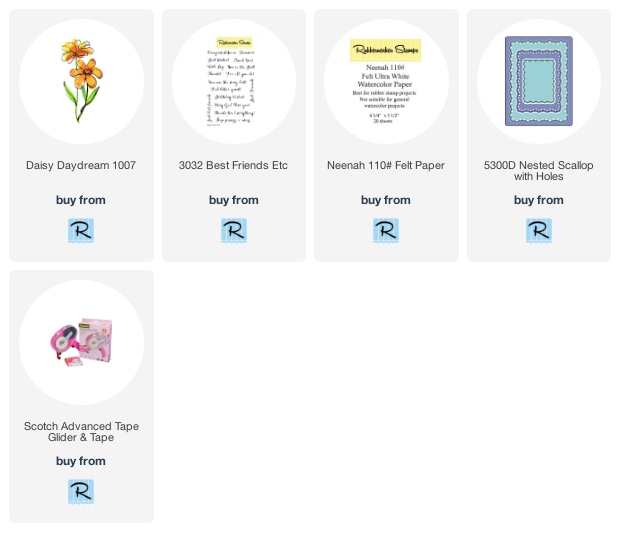
Hello friends! Today I'm sharing a fun-to-make, quick-and-easy thank you card using Rubbernecker Stamps beautiful Daisy Daydream stamp set.
The Daisy Daydream stamp set is the style of stamp that was used when I very first saw the demo in a Rubbernecker booth at a craft show several years ago! I was hooked on this company since then!! I have always been fascinated by the technique used with this style of set. Check out this video over on Rubbernecker's YouTube channel. This shows the technique for all of the sets with the solid and outline stamps.
Stamp the image:
- Place a piece of Neenah 110# Felt Ultra White Watercolor Paper in your MISTI. Position the solid stamp and pick it up with the MISTI door.
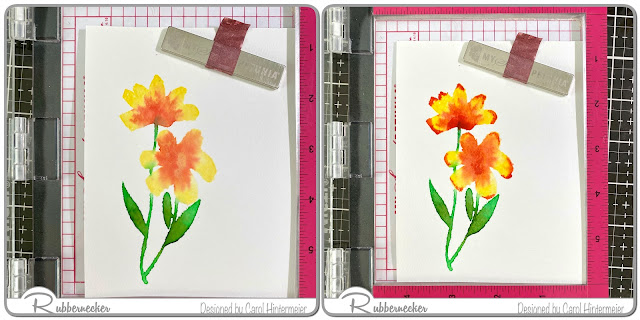
- Using watercolors of your choice, paint the lightly diluted color onto the solid stamp in the Daisy Daydream set. I used Tangerine and Coral Crush Color Bursts. A tip I learned is to use just slightly diluted color. Too much water, and the color will bead up on the stamp.
- Mist lightly with water, and then stamp. You can repeat this step as much as you want! It's really fun to just play and have fun with the colors. Just be sure to use colors, that when blended, are harmonious.
Finishing the card:
- Position the outline stamp of the Daisy and stamp with Versafine Onyx Black ink. What I really love about these sets is that they are in a very sketchy style. If your outline doesn't line up with the color image, you've done it right!
- Die cut the piece with the largest die of the Nested Scallop with Holes die set. Be sure to save the outer piece!
- Add some striped patterned paper to an A2 card base and glue the die cut outer piece to the card.
- I wanted to add some pretty gold spatters to my background, but didn't want the spatters on the flower. I recently had an idea to use the actual stamp itself as a mask to avoid unwanted splatters! Place the stamp over your image, splatter away, and then clean off the back of your stamp! I used Yellow Gold from the Gansai Tambi Starry Colors set.
- After the spatters were dry, I stamped the sentiment from the Best Friends Etc. set in Versafine Onyx Black ink.
- Next, wrap some twine around the die cut piece, securing with some tape.
- Add foam tape to the back and adhere to the card.
Thank you so much for stopping by today! Have a wonderful, craft week!


Very pretty, I love the warm and bold colors!
ReplyDelete