Showing posts with label Best Friends Etc.. Show all posts

Tuesday, October 12, 2021

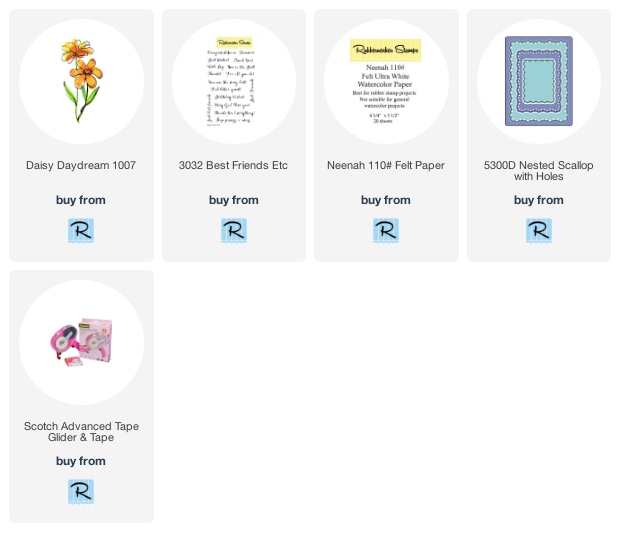
Daisy Daydream Thank You Card | Rubbernecker Stamps

Hello friends!  Today I'm sharing a fun-to-make, quick-and-easy thank you card using Rubbernecker Stamps beautiful Daisy Daydream stamp set.

The Daisy Daydream stamp set is the style of stamp that was used when I very first saw the demo in a Rubbernecker booth at a craft show several years ago!  I was hooked on this company since then!!  I have always been fascinated by the technique used with this style of set.   Check out this video over on Rubbernecker's YouTube channel.  This shows the technique for all of the sets with the solid and outline stamps.

Stamp the image:

  • Place a piece of Neenah 110# Felt Ultra White Watercolor Paper in your MISTI.  Position the solid stamp and pick it up with the MISTI door.
  • Using watercolors of your choice, paint the lightly diluted color onto the solid stamp in the Daisy Daydream set.  I used Tangerine and Coral Crush Color Bursts.  A tip I learned is to use just slightly diluted color.  Too much water, and the color will bead up on the stamp.
  • Mist lightly with water, and then stamp.  You can repeat this step as much as you want!  It's really fun to just play and have fun with the colors.  Just be sure to use colors, that when blended, are harmonious.
The first photo shows the image after one stamping.  I added more color at the petal tips and more dark green on the leaves.  Sap Green Color Burst was used for the entire leaf, and I used a darker green from my watercolor stash.

Finishing the card:

  • Position the outline stamp of the Daisy and stamp with Versafine Onyx Black ink.  What I really love about these sets is that they are in a very sketchy style.  If your outline doesn't line up with the color image, you've done it right!
  • Die cut the piece with the largest die of the Nested Scallop with Holes die set.  Be sure to save the outer piece!
  • Add some striped patterned paper to an A2 card base and glue the die cut outer piece to the card.
  • I wanted to add some pretty gold spatters to my background, but didn't want the spatters on the flower.  I recently had an idea to use the actual stamp itself as a mask to avoid unwanted splatters!  Place the stamp over your image, splatter away, and then clean off the back of your stamp!  I used Yellow Gold from the Gansai Tambi Starry Colors set.
  • After the spatters were dry, I stamped the sentiment from the Best Friends Etc. set in Versafine Onyx Black ink.

  • Next, wrap some twine around the die cut piece, securing with some tape.
  • Add foam tape to the back and adhere to the card.

Thank you so much for stopping by today!  Have a wonderful, craft week!
Tuesday, February 16, 2021

Birthday Card with Field of Daisies Layering Stamps | Rubbernecker Stamps

Hello friends!  My card today is a sweet birthday card using the beautiful Field of Daisies layering stamp set by Rubbernecker Stamps.  I'm almost out of birthday cards to mail to friends and this is a easy fun card to make for the stash!

 
I began by creating the card base:

  • Using a blender brush, ink the edges of a 4-¼" x 5-½" white cardstock piece with Scarlet ink (Color Fuse set #4).  Adhere to a top-folding A2 card base with glue.
  • Ink up the Horizontal Stripe background stamp with Posey ink and stamp onto white cardstock.
  • Trim the striped piece to 4" x 5-¼" and adhere to the card base.
  • Stamp the stems from the Field of Daisies stamp set onto white cardstock.
  • Die cut with the middle sized Nested Rectangle Scallop w/Holes die.
  • Add foam tape to the back and attach to the card front.

Next I stamped the flower, leaves and sentiment:

  • I used my MISTI for stamping the flower and leaf layers.
  • I stamped the first layer of the flowers with Posey ink.  For each layer/color I repeated the stamping until I got the look I liked.
  • The small flowers are stamped with Scarlet and Nectar for the second and third layers.
  • The large flower layers are stamped with Scarlet and Crimson.
  • I stamped the flower centers with Crimson.
  • I didn't think the stamping through for the large flower!  Since I stamped the final flower layer with Crimson, when I stamped the flower center in Crimson, it just blended in.
  • My solution was to stamp the flower center with one layer of Mocha, which is a light brown in Color Fuse #3.  I took before and after photos to show you.  As you can see from this photo, adding just a bit of light brown makes the center stand out!

  • Next I stamped the leaves.  I stamped the first layer of them all with Moss ink (Color Fuse #10).  The second layer is stamped with Basil ink.  There is a nice variety of four different leaves in this set!
  • I used the coordinating dies to cut out all of the flowers and leaves.
  • Add foam tape to the back of the large flower and one small one.  I added a double layer of foam tape to the other small flower so it would be higher than the other two.
  • Adhere the flowers near the top of the stems.
  • For dimension on the leaves, I put a small foam square at the leaf tip and a dot of glue at the base and adhered them to the card base.
  • I stamped the sentiment from the Best Friends Etc. stamp set in black ink.  I trimmed it into a banner shape, added foam tape, and adhered it to the card.
  • For a touch of bling, I added a few rhinestones around the sentiment.


I love how this card turned out and will probably make a few more for my stash!  Thanks so much for stopping by!


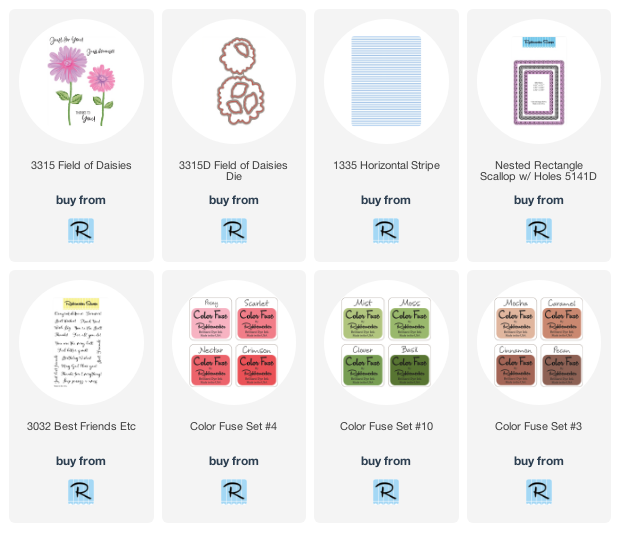
Click the links for these products I used:

Sunday, November 22, 2020

Thanks For Everything! & Coloring Tips for Slimline Stamps | Rubbernecker Stamps

 Hello friends!  It's almost Thanksgiving and I have a card that would be perfect to give to a host or mail to anyone to say thank you!  I had so much fun coloring this beautiful Rubbernecker Stamps' Slimline Fall stamp.  This is a gorgeous slimline collage of autumn images!

Except for the time it takes to color the image, this card is very simple to make!  I'll be sharing some tips for coloring this style of image that helps me.  I hope you'll keep reading and let me know if these are helpful to you too!

Getting started:

  • Cut 80# Neenah card stock to 7" x 8-½" and score it at 3-½".  This creates a side-folding 3-½" x 8-½" card that will fit into a standard business size envelope.  No extra postage required! (In the USA.)
  • Stamp the greeting from the Best Friends, Etc. set with Versamark clear ink onto white card stock.  Sprinkle with gold embossing powder and heat set.  Trim it to about ½" x 3-¼".  Add foam tape and set aside.

Coloring tips:

  • This image can be colored with any medium you want such as colored pencils, watercolors, or alcohol markers.  I used my Copic markers to color this card and stamped it in a Copic safe ink.
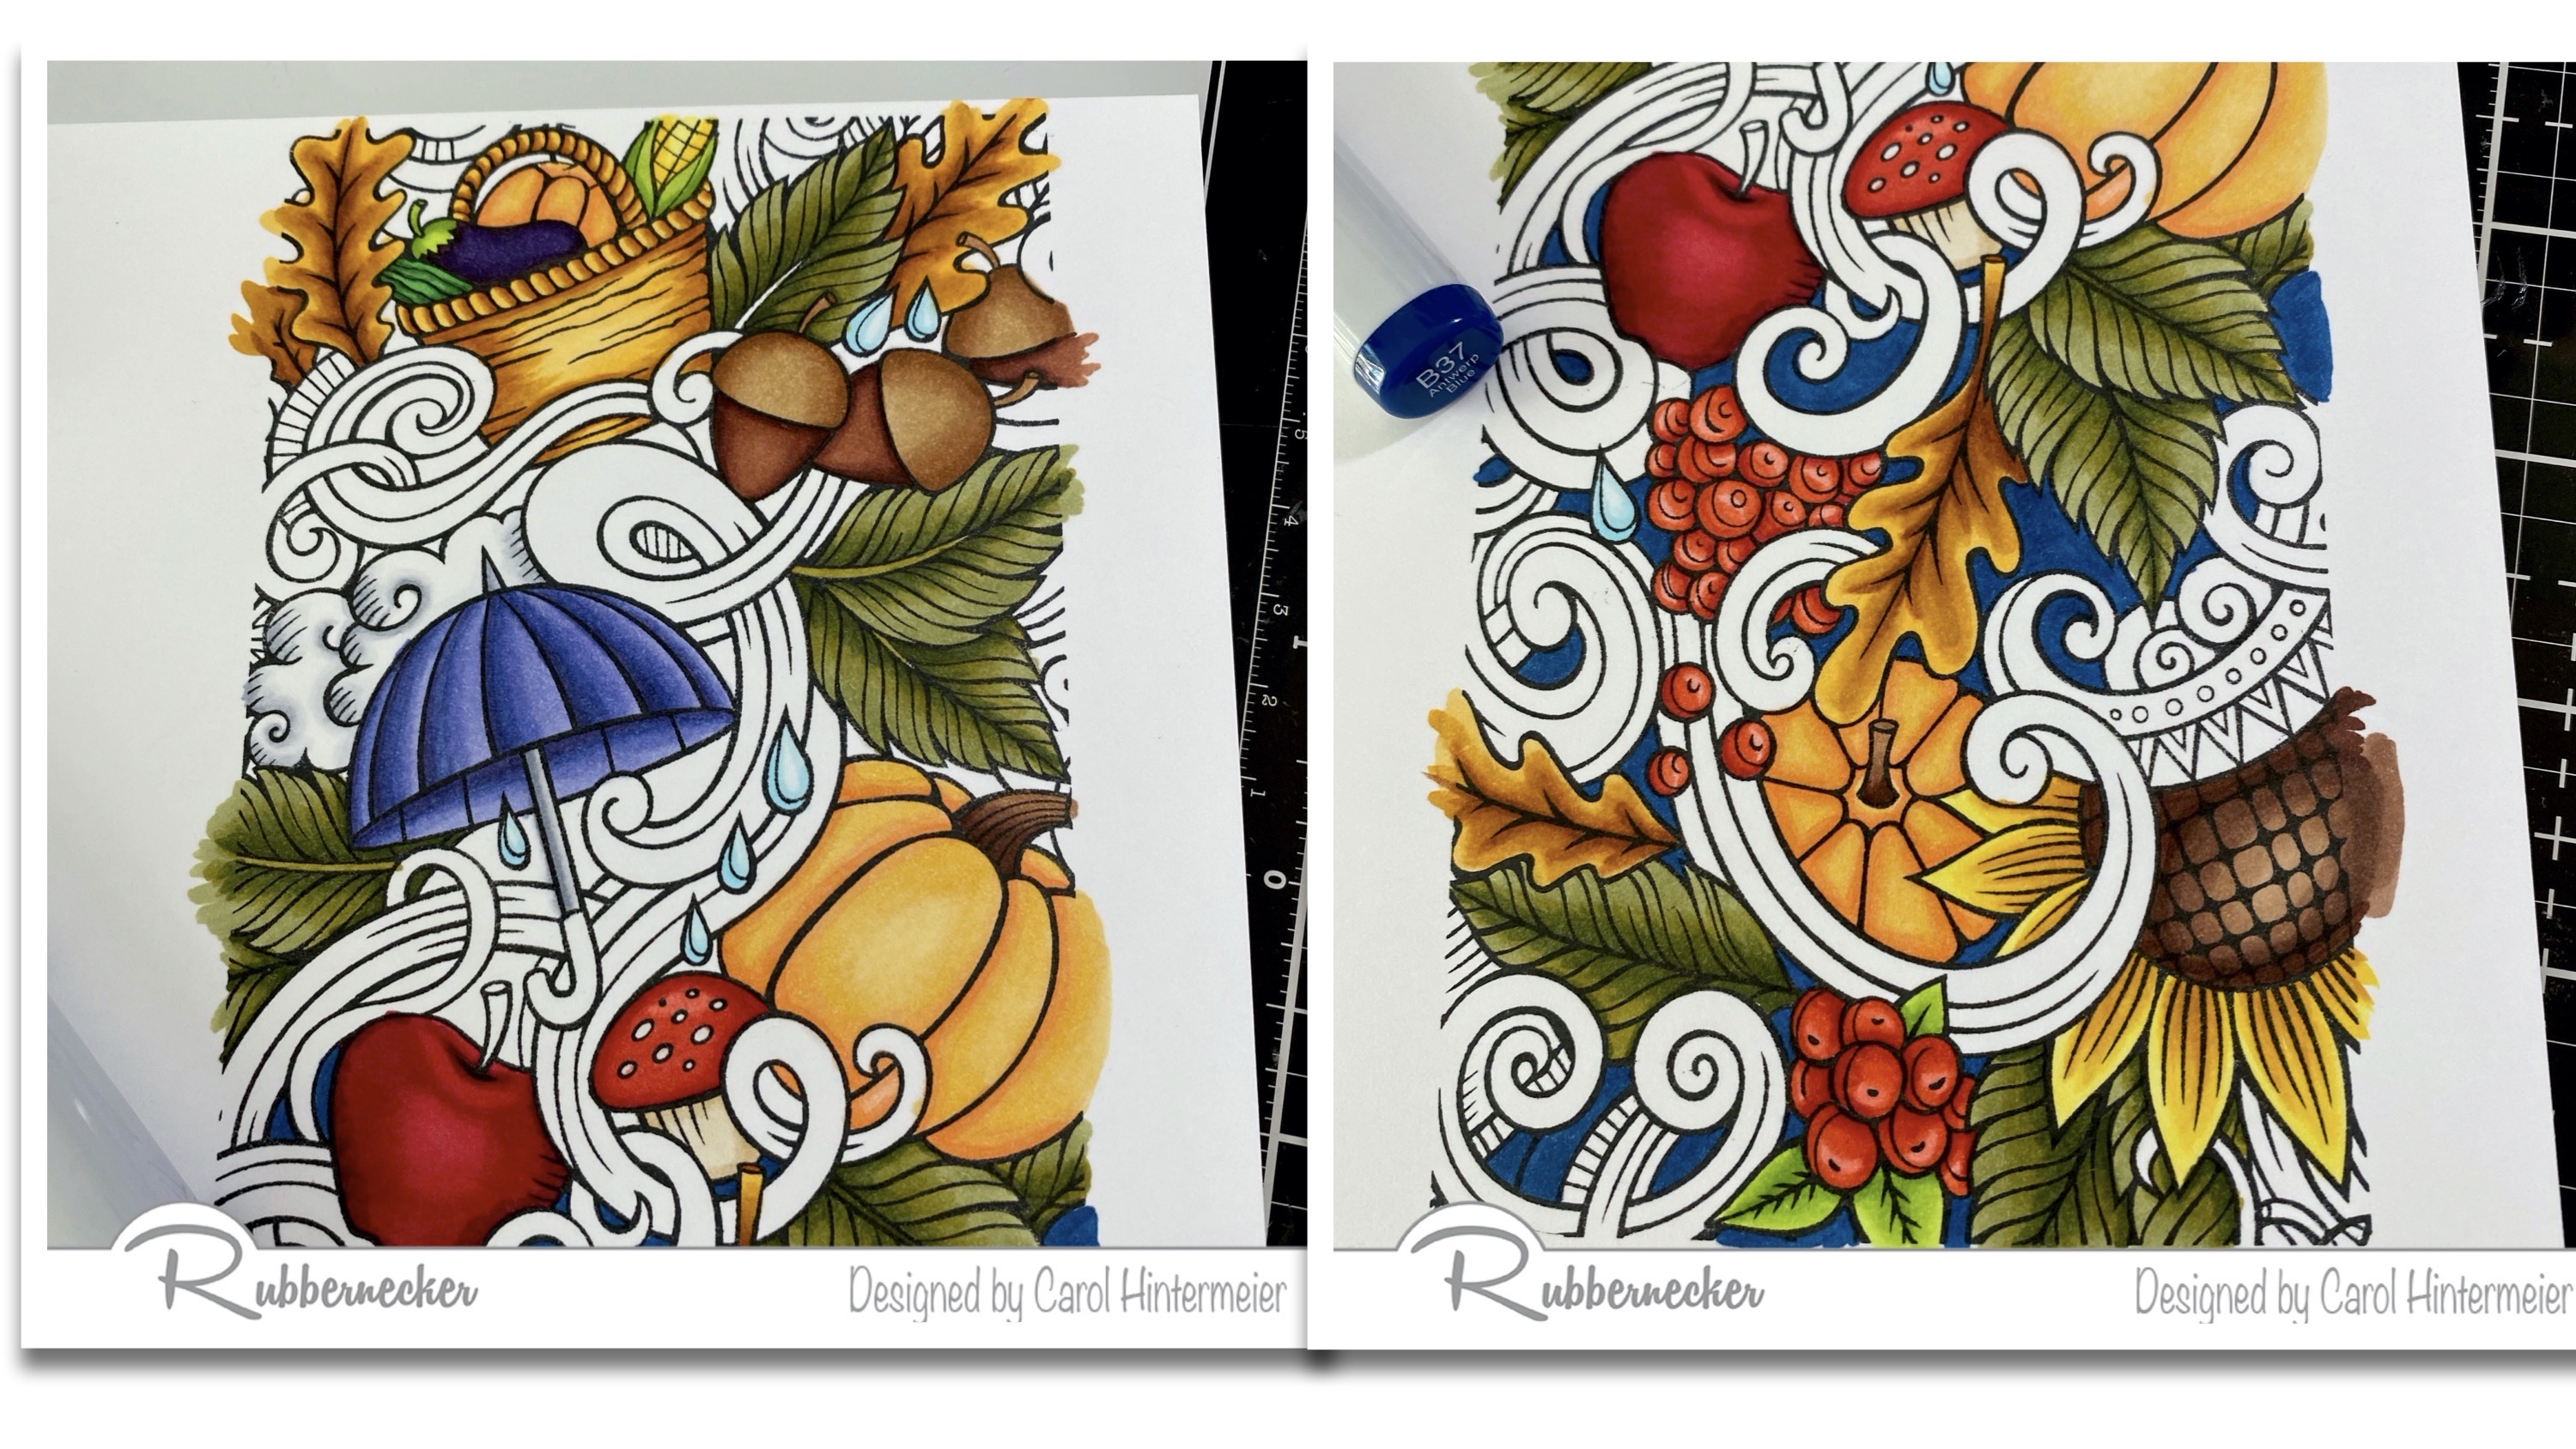
  • My first tip is to choose the easily identifiable images and color those first.  I began with the pumpkins, then went to the green leaves, and then the golden brown oak leaves.  The more images you color, the clearer it all becomes!
  • I agonize a LOT over what colors to use, all the time!  I purchased a very inexpensive color wheel that helps so much!  I knew I wanted to stay with warm colors and this wheel helped keep me away from the cooler toned colors!

  • The ribbony tendrils and the background were the last things to color.  It really helped to see the tendrils when I colored in the background.  The next two photos show the before and after coloring the background.  (Note:  I used Copic B37 here.  When I was totally finished coloring, I decided I wanted it darker and went over it with a B39.)

  • My final tip is to stamp the image TWICE!  So I am showing you a NOT PRETTY image here!  Haha!  I use that second image to test out colors and color blends.  This sure helps prevent making huge mistakes on the original image!  You can see where I almost went over to the "cool" side of the color wheel on the tendrils (lower left side).  While these are my usual go-to greens, these definitely didn't fit in with my other color choices!

  • To complete my card, I trimmed my colored panel to 8-¼" x 3-¼" and adhered it to the card base.  Then I added the sentiment strip towards the bottom of the card.

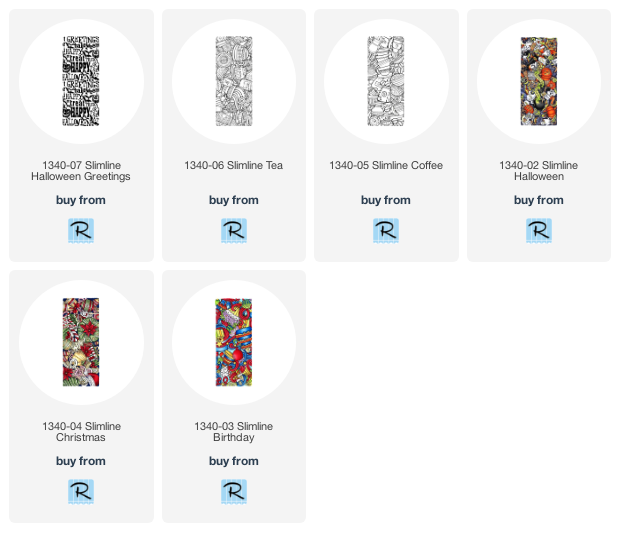
Rubbernecker has several of these beautiful collage sets that I've linked below.  I hope these tips are helpful to you and that I've inspired you to give this beautiful stamp set a try!  Have a wonderful, and crafty, week!

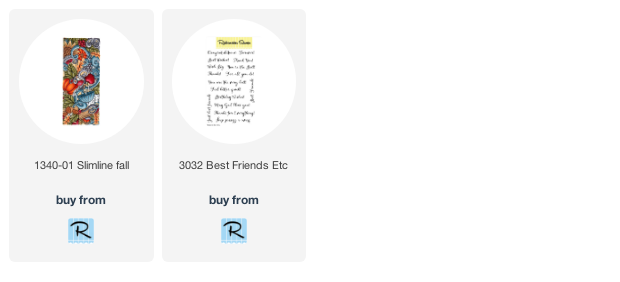
For this card I used:

Other beautiful slimline stamps from Rubbernecker:

Monday, May 4, 2020

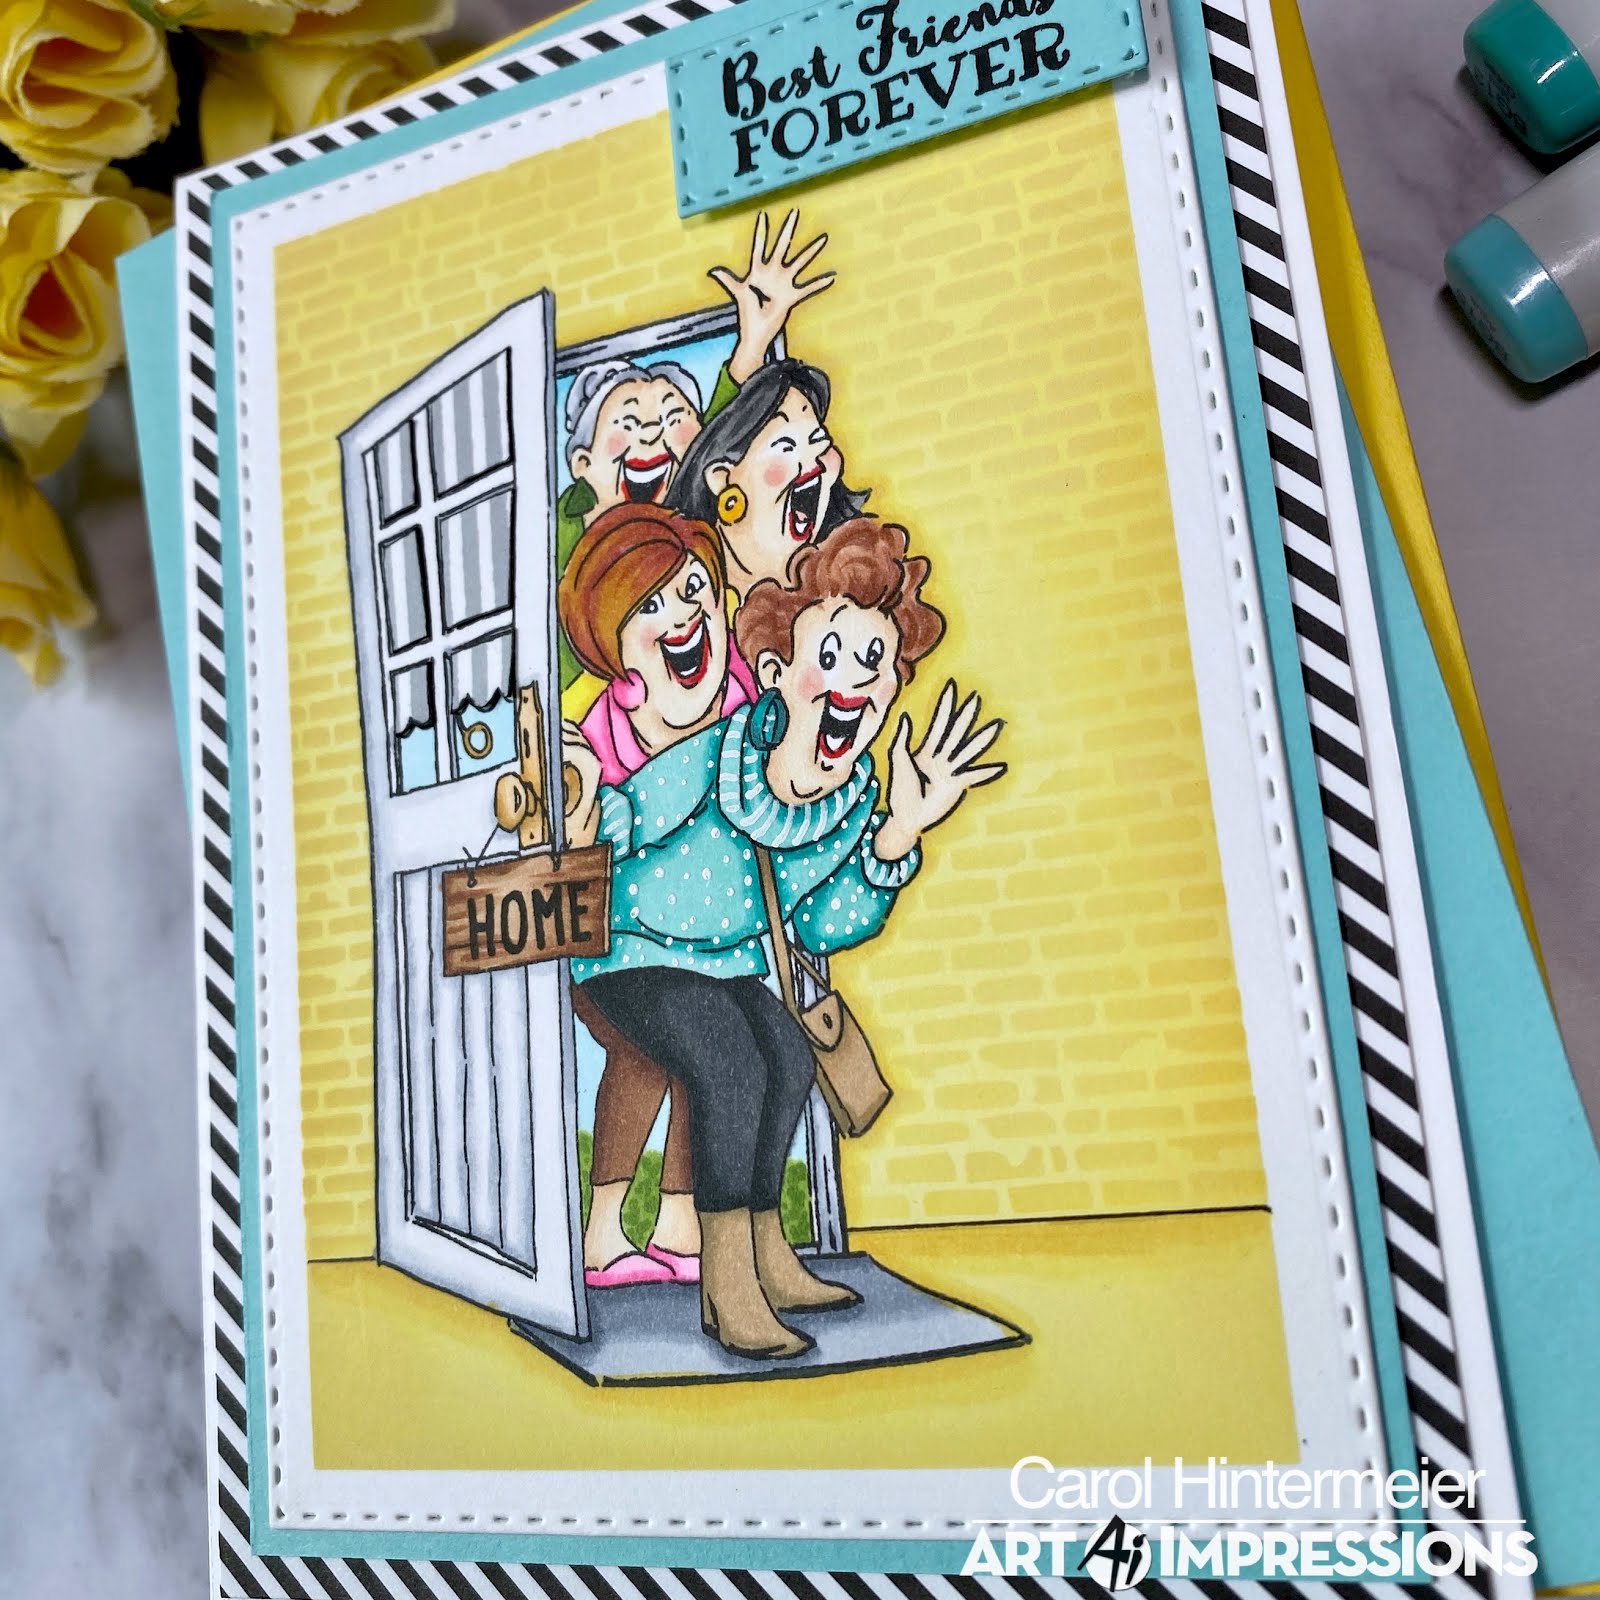
Best Friends Forever! | Art Impressions

Happy Monday friends!  Today I have a fun card that would be perfect for sending to all of our friends that we miss so much!  I've used Art Impressions' new We're Here Set for this card.


I began by stamping the image onto white card stock that I die cut with a Rectangle Double Stitched die.  I also stamped it onto some masking paper and fussy cut it out.  I used the Copic markers listed below to color the image.  I used a white gel pen to add details to the blue sweater.  I found a "Home" stamp in my stash and stamped it onto the door sign.


For the background, I put the mask over the image and taped off the die cut edges.  I used a rectangle masking stencil and a blender brush to add Squeezed Lemonade Distress Oxide ink.  I used a black pen to draw a line to separate the floor and wall and used some Post-It Tape to mask the floor.  Next I used a brick stencil to ink on more Squeezed Lemonade ink.  I blended a bit of Mustard Seed Distress Oxide around the edges.

After removing the masks, I layered the panel onto some blue card stock and some black/white patterned paper.  I adhered these layers to a top-folding A2 card base.  I stamped the sentiment onto some of the blue card stock and die cut it with the smallest Rectangle Double Stitched die.  I shifted the die cut piece in the die and ran it through my machine again to make it shorter.  I repeated this for the other end.  I popped the sentiment up with some foam tape.


Thanks so much for stopping by today!  Have a wonderful, crafty week!


Copic markers:
BG000, BG01, BG11, BG13, BG15, BG18,
C00, C1, C3, E07, E08, E13, E15, E21, E23,
E25, E27, E31, E39, E50, E51,
N5, N7, N9, R20, R35, RV02, RV04,
T3, T5, T9, Y00, Y06, Y13, Y15, Y28,
YR20, YR21, YR23, YR24,
YG17, YG25, YG67

Supplies:
Distress Oxide Inks: Squeezed Lemonade, Mustard Seed

Sunday, January 12, 2020

Birthday Wishes | Rubbernecker Stamps

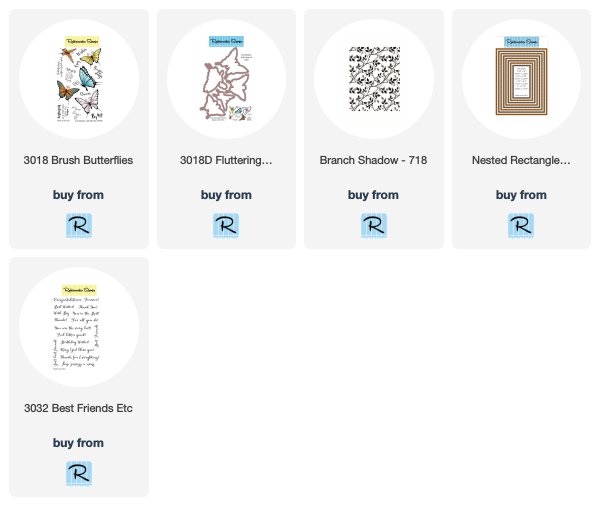
Hello friends! I'm so thrilled to have my first card for Rubbernecker Stamps today!  One thing about me that you may notice over time is that I love flowers, butterflies, and all things nature related.  I had a lot of fun creating this birthday card using the Branch Shadow stamp and the Brush Butterflies and coordinating butterfly dies!  I also used the Nested Rectangle Small Stitch Die set and the Best Friends, Etc. sentiment set.


Here are the steps for the background.
  1. Die cut a piece of Neenah 110# Felt Ultra White Watercolor Paper using the third largest rectangle die.
  2. Tape this piece down using removable tape.  (I like the blue removable painter's tape.)  Since I was using my MISTI, I taped each edge of the panel to the MISTI so that there would be a white border.
  3. Add Tumbled Glass Distress Ink using an ink blending brush and a light hand.
  4. Position the Branch Shadow stamp on the MISTI door and apply some light green ink to the stamp.  Mist lightly with water and stamp onto watercolor paper.
  5. Use a darker green watercolor marker and "color" onto the stamp's branches and part of the leaves.  Mist lightly with water and stamp.  Repeat this step as needed until you like the look.
  6. Dry the panel with a heat tool.  I kept it about 12" away so as not to warp it (or ruin my MISTI!).
  7. Ink the stamp again with the light green ink and stamp.  This will bring back some of the details and crisp edges.  Repeat, if needed.


Steps for the butterfly and sentiment:
  1. Stamp the butterfly in Copic safe ink and color.  I used V17, V15, V12, Y19, Y15, and Y02.
  2. Die cut with the coordinating butterfly die.  While you have the butterfly die out, die cut two more from vellum.
  3. Stamp the sentiment in black ink.  Then use a paper trimmer to cut into a strip.  To get the stitching on the edges of it and the green layer behind it, I used the fifth largest die for the sentiment and the next size larger for the green layer.  The photo below will explain how I did this.  Just run it through your die cutting machine to add the stitching.
  4. Adhere the sentiment to the green layer and add some thin foam tape to the back.


Card layers:
  1. The card base is an A2 top-folding card from light green card stock.
  2. Use the largest stitched die and die cut a piece of the 110# Neenah Felt watercolor paper.  Adhere it to the green card base.
  3. Cut another piece of green card stock with the second largest die and adhere it to the watercolored panel.  Add foam tape to the back of the piece.  Adhere it to the card base.
  4. Add some adhesive only down the middle of a vellum butterfly and adhere the other on top. Next adhere the colored butterfly on top.  Once dry, slightly bend the wings up.
  5. Adhere the butterfly to the watercolored panel.  Add the sentiment piece.
  6. Add some sparkle to the butterfly with a clear glitter pen.  Finish with a "butterfly trail" of NUVO Glitter Drops Lilac Whisper.  


This card was easy and quick to make!  I need to make some more for my birthday card stash.  Do you make cards to keep on hand?  Thank you so much for stopping by today!  Stay crafty!