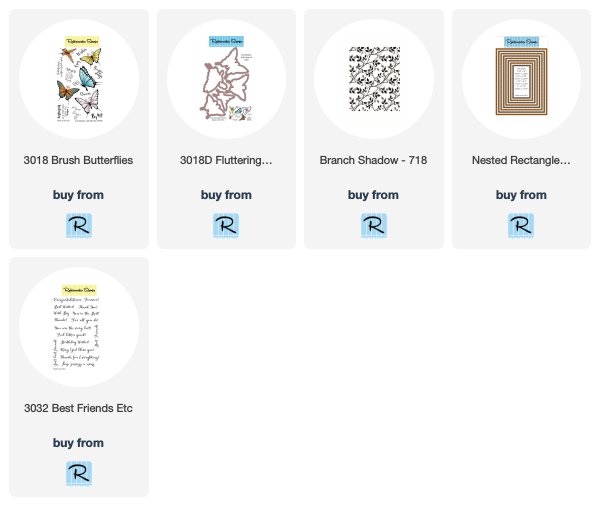
Hello friends! I'm so thrilled to have my first card for Rubbernecker Stamps today! One thing about me that you may notice over time is that I love flowers, butterflies, and all things nature related. I had a lot of fun creating this birthday card using the Branch Shadow stamp and the Brush Butterflies and coordinating butterfly dies! I also used the Nested Rectangle Small Stitch Die set and the Best Friends, Etc. sentiment set.
Here are the steps for the background.
- Die cut a piece of Neenah 110# Felt Ultra White Watercolor Paper using the third largest rectangle die.
- Tape this piece down using removable tape. (I like the blue removable painter's tape.) Since I was using my MISTI, I taped each edge of the panel to the MISTI so that there would be a white border.
- Add Tumbled Glass Distress Ink using an ink blending brush and a light hand.
- Position the Branch Shadow stamp on the MISTI door and apply some light green ink to the stamp. Mist lightly with water and stamp onto watercolor paper.
- Use a darker green watercolor marker and "color" onto the stamp's branches and part of the leaves. Mist lightly with water and stamp. Repeat this step as needed until you like the look.
- Dry the panel with a heat tool. I kept it about 12" away so as not to warp it (or ruin my MISTI!).
- Ink the stamp again with the light green ink and stamp. This will bring back some of the details and crisp edges. Repeat, if needed.
Steps for the butterfly and sentiment:
- Stamp the butterfly in Copic safe ink and color. I used V17, V15, V12, Y19, Y15, and Y02.
- Die cut with the coordinating butterfly die. While you have the butterfly die out, die cut two more from vellum.
- Stamp the sentiment in black ink. Then use a paper trimmer to cut into a strip. To get the stitching on the edges of it and the green layer behind it, I used the fifth largest die for the sentiment and the next size larger for the green layer. The photo below will explain how I did this. Just run it through your die cutting machine to add the stitching.
- Adhere the sentiment to the green layer and add some thin foam tape to the back.
Card layers:
- The card base is an A2 top-folding card from light green card stock.
- Use the largest stitched die and die cut a piece of the 110# Neenah Felt watercolor paper. Adhere it to the green card base.
- Cut another piece of green card stock with the second largest die and adhere it to the watercolored panel. Add foam tape to the back of the piece. Adhere it to the card base.
- Add some adhesive only down the middle of a vellum butterfly and adhere the other on top. Next adhere the colored butterfly on top. Once dry, slightly bend the wings up.
- Adhere the butterfly to the watercolored panel. Add the sentiment piece.
- Add some sparkle to the butterfly with a clear glitter pen. Finish with a "butterfly trail" of NUVO Glitter Drops Lilac Whisper.

This card was easy and quick to make! I need to make some more for my birthday card stash. Do you make cards to keep on hand? Thank you so much for stopping by today! Stay crafty!


Very pretty card! Thank you for the great instuctions too on how you made this card!
ReplyDeleteBeautiful, and I adore that greenery background!
ReplyDelete