Showing posts with label Slimline Christmas Tree die. Show all posts

Tuesday, August 15, 2023

Cute Snowman Shaker Card

Hello crafty friends!  Today I'm sharing this fun shaker card featuring a couple of newer Rubbernecker Stamps' products along with some older and still fun products.  And, one more holiday card is done!

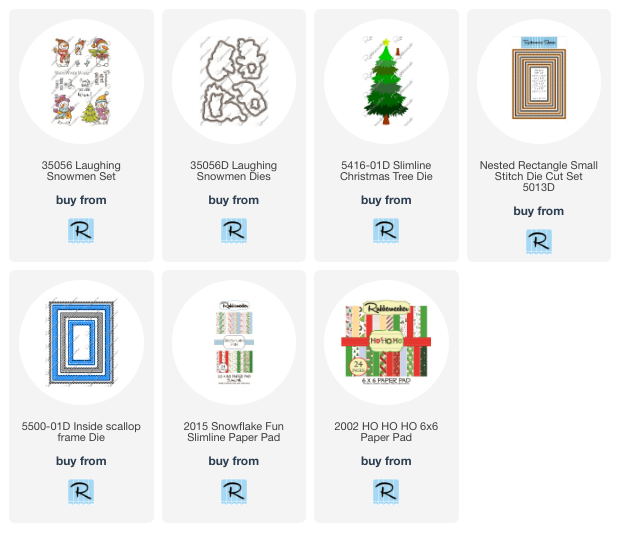
First I stamped the adorable little snowman from the Laughing Snowmen set in a very light gray ink so I could achieve a no-line coloring look.  I colored him with my Copic markers and used the coordinating die to cut it out.

This photo shows the marker colors I used:

Next I die cut a rectangle opening in paper from the Ho Ho Ho paper pad with a Nested Rectangle Small Stitch die.  I trimmed this to 4" x 5-¼".  I glued a piece of acetate to the back of the patterned paper then die cut three Inside Scallop Frames to layer up with glue and then adhere around the front of the opening.

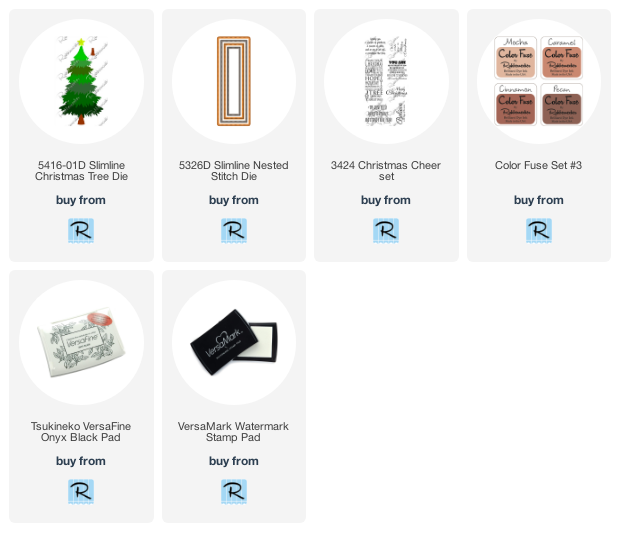
For the shaker background I die cut four layers of the Slimline Christmas Tree and adhered it off-center onto a piece of blue snowflake paper from the Snowflake Fun Slimline paper pad.  I added white dots for snow to the tree with a white gel pen.

I added foam tape to the back of the piece with the acetate.  I sprinkled in translucent Distress Mica Flakes, removed the foam tape and then adhered the piece with the tree to close the opening.

After I adhered the shaker to an A2 card base with a red paper layer (also in the Ho Ho Ho paper pad), I glued the snowman to the front of the window and adhered the sentiment.  The sentiment is one of several in the Laughing Snowmen set.

Thank you for stopping by today!  I hope you have a wonderful day!

Thank you so much for using my affiliate links to shop (never any additional cost to you)!

Tuesday, July 26, 2022

Christmas In July - A Slimline Card with Gold Embossed Dimensional Tree

 Hello crafty friends!  Making Christmas cards in July makes me think of much cooler weather!  Which is good, because here in Texas we're in a major heat wave and severe drought.  Today I'm sharing my card featuring Rubbernecker Stamps gorgeous Slimline Christmas Tree die set.  I've heat embossed, shaped, and popped up the tree for extra dimension!  Read on for the details.

First I created my card base using some of my much loved, and hoarded (LOL!) patterned cardstock.  It's a vellum and gold  piece that I die cut with the largest Slimline Nested Stitch die.  You can use any patterned, festive paper that will coordinate with the tree you create.  I adhered it to a slimline card base that measures 3-¼" x 8-¼".

Next I created the tree.  First I die cut all of the Slimline Christmas Tree dies from 120# Neenah cardstock.  Then I added temporary adhesive to the back of the pieces, and a few at a time, I placed them in my MISTI.  I made sure that the grouping fell within the dimensions of the stars stamp from the Stars/Wavy Background Strip stamp.  I inked up the stamp with Versamark ink, then sprinkled on some gold sparkle embossing powder from my stash, and heat set it.  I repeated these steps until all the tree sections were heat embossed.

For the star topper, I pressed the Versamark pad directly onto it, picked it up with my reverse tweezers, added the embossing powder and heat set.  You can get a thicker layer by dipping it back into the embossing powder while it's still hot and heat setting again!

I die cut the tree trunk from woodgrain cardstock.  Then I used a small ink blender brush to color it with Pecan Ink from the Color Fuse set #3.  Before adhering the tree layers together, I used my fingers to curl the edges and round each section.  I added a thin line of glue just at the top edge of each tree layer to adhere the layers together.  Next I added a double layer of foam tape squares to the center back of the tree and added it to my card.

I stamped the sentiment from the Christmas Cheer set with Versafine Onyx Black ink and trimmed it into a rectangle shape.  Next I used a Pentel gold sparkle pen to color in the Christmas lights that are on the sentiment.  Then I added foam tape to the back to adhere it to the card.

I used the same gold sparkle pen to add more bling to the tree with random dots all over.  I love the subtle sparkle this adds!

I hope you've enjoyed my card today!  Thank you so much for stopping by!

Check out the product details here: