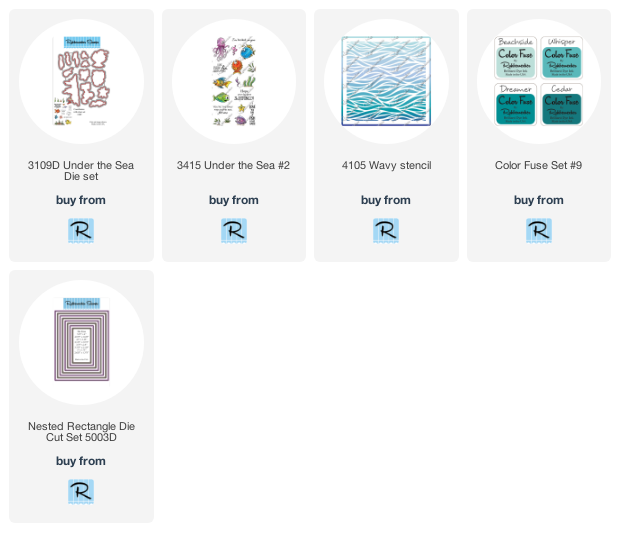
Hello crafty friends! Today I'm sharing two cards I made from one stencil panel I made with Rubbernecker Stamps' new release of the Wavy Stencil and the Under The Sea #2 stamp set and coordinating dies.
For my first card I used the adorable sea creatures from the new Under the Sea #2 set with the new stencil. I also challenged myself to get some no-line coloring practice in too! Here are the steps for my card.
Create the background:
- Prep the stencil by spraying the back of it with Pixie Spray. This is a temporary adhesive that will hold the stencil in place and prevent any movement of the delicate lines.
- Place the stencil onto a 6" x 6" piece of white card stock. Blend all four ink colors from Color Fuse Set #9 in an ombré pattern using ink blending brushes. Do not remove the stencil.
- Use a pallet knife to spread Glitz Glitter Gel over the entire project. Remove the stencil and wash it and your tools immediately.
- Set the panel aside to dry.
- When it is dry, use the largest Nested Rectangle Die to cut the panel. (NOTE: place the die up to either the right or left edge of the stenciled panel to have a strip left over for another card.)
- Adhere the die cut piece to a top-folding A2 card base.
- These photos show my process: 1) my supplies; 2) after ink blending; 3) after adding glitter texture paste; and 4) so you can see the beautiful sparkle!
The card elements:
- Stamp the images with Copic safe, no-line coloring ink.
- Use Copic markers to color the fish. Use a black Micron .005 pen to add in the details such as the eyes, mouths, and dots on the fish.
- Next die cut with the coordinating dies.
- Stamp one of the included sentiments from the Under The Sea #2 stamp set with black ink. Then trim it into a rectangle.
- Add foam tape to the fish, sentiment, and two pieces of the plants. Add to the card front, using liquid glue to adhere the remaining plants.
I love the sparkle of the embossing paste and how it makes the ink colors even more beautiful!! Now for my quick bonus card!
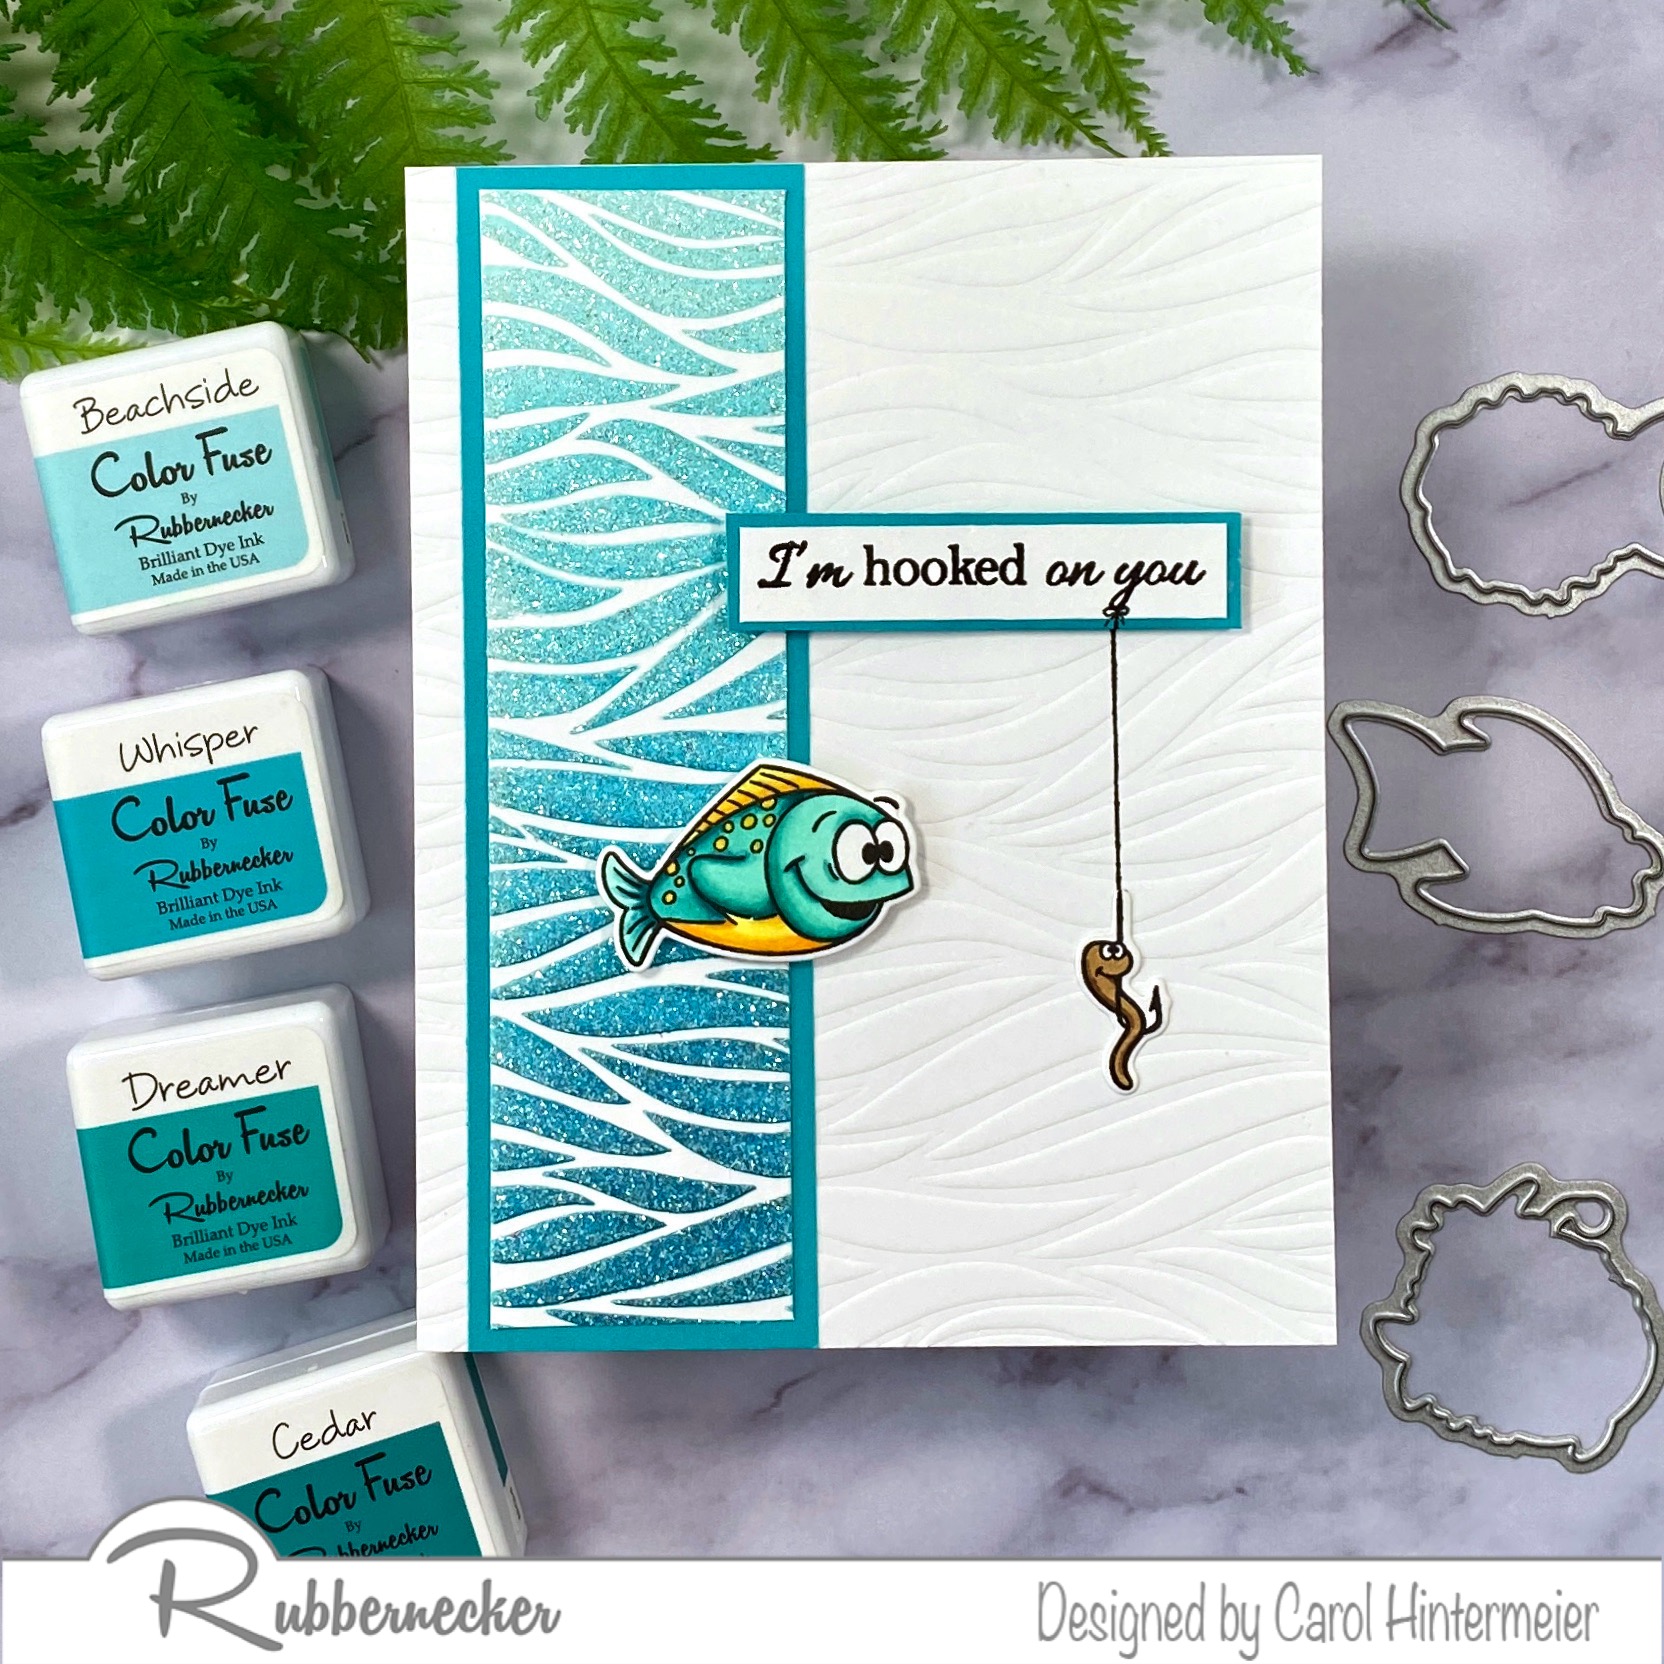
- Dry emboss a white A2 sized card panel with the Wavy Stencil by using the embossing sandwich recommended for your die cutting machine. Adhere it to a top-folding card base.
- The leftover strip from the previous card measured at about 1-3/8". I trimmed the length to 5-¼". Layer it onto a 1-5/8" x 5-½" piece of teal card stock and adhere it to the card front.
The card details:
- Stamp the fish and worm in Copic safe black ink and color with a few Copic markers. Die cut with the coordinating dies.
- Stamp the sentiment in black ink, trim to a slim rectangle shape and layer it onto a teal card stock strip. Add foam tape to the back.
- Add foam tape to the back of the fish and add it to the card.
- Plan where to place the sentiment and the worm, then use a ruler and black marker to draw a line, as shown.
- Adhere the sentiment and add the worm with liquid glue.
I love the subtle dimension you get from dry embossing with the stencil! Thank you so much for stopping by! Have a wonderful week.
Click the icon for more details of the Rubbernecker products I used.